Is your Christmas cactus looking limp, pale, or refusing to bloom? Don’t toss it yet! These 3 simple kitchen tricks use everyday ingredients to revive your plant and spark incredible growth.
There’s something heartbreaking about watching a beloved Christmas cactus decline. Those once-firm, vibrant green segments turn soft and pale. New growth stalls. Flowers that should be decorating your holidays never appear. If you’ve been tempted to toss that struggling plant in the trash, please don’t—at least not yet.
Christmas cacti (Schlumbergera) are remarkably resilient plants. Even when they look weak and lifeless, they often just need a little boost to bounce back. And the best part? Some of the most effective revival tricks use ingredients you already have in your kitchen.
Unlike desert cacti, Christmas cacti are tropical epiphytes native to Brazilian rainforests, where they grow in tree crevices with filtered light and gentle moisture . When they struggle, it’s usually because they’re not getting the right nutrients or conditions. A simple, natural boost can make all the difference.
Here are three kitchen tricks that gardeners swear by for reviving weak Christmas cacti and encouraging spectacular blooms.
Trick #1: The Yeast and Sugar Energy Tonic
This simple tonic provides a burst of beneficial nutrients, enzymes, and microbe-activating sugars that help energize the roots and boost blooming potential .
Why It Works
Yeast contains natural growth hormones and B vitamins that stimulate root development. Sugar provides carbohydrates that feed beneficial soil microbes, which in turn help the plant absorb nutrients more effectively. Together, they create a gentle, natural energizer for struggling plants .
How to Make and Apply It
· Ingredients: 1 liter of lukewarm, settled water, 1 teaspoon of dry baking yeast, 1 tablespoon of sugar
· Instructions: Dissolve the sugar and yeast in the lukewarm water. Let the solution sit at room temperature for 1–2 hours, allowing light fermentation to begin .
· Application: Stir again before use, and apply directly to the soil around your Christmas cactus. For a medium-sized plant, use about 150–200 ml (approximately one cup) of the mixture .
When to Use It
Apply this treatment once every 4–6 weeks during the plant’s active growing period or shortly before blooming (usually in autumn or early winter). Do not apply during the cactus’s rest phase after blooming, typically from February to April .
Trick #2: The “Cactus Tea” Revival Blend
This powerful combination uses two common kitchen scraps to create a nutrient-rich “tea” that can bring a dying cactus back to life .
Why It Works
Black tea contains tannins with mild antifungal and antibacterial properties that help combat root rot, while providing a gentle source of nitrogen and other nutrients. Banana peels are rich in potassium, essential for overall plant health and blooming, plus phosphorus for root development and calcium for cell wall strength .
How to Make and Apply It
· Ingredients: 1 black tea bag (regular breakfast tea), 1 banana peel (chopped), 4 cups water
· Instructions:
- Bring 4 cups of water to a boil. Place the tea bag in a container and pour the hot water over it. Let it steep until the water cools completely to room temperature .
- Chop the banana peel into small pieces and add to the cooled tea. Cover and let steep for 24-48 hours at room temperature, shaking occasionally .
- Strain the liquid through a fine-mesh sieve or cheesecloth. Your “cactus tea” is now ready to use .
· Application: Use this tea to water your cactus instead of regular water once a month during the growing season (spring through early fall) .
Pro Tip
Before applying, check for root rot by gently removing the plant from its pot. Healthy roots are firm and white or cream-colored; rotten roots are brown, black, and mushy. If you find rot, trim away affected roots and repot in fresh, well-draining cactus mix before using the tea .
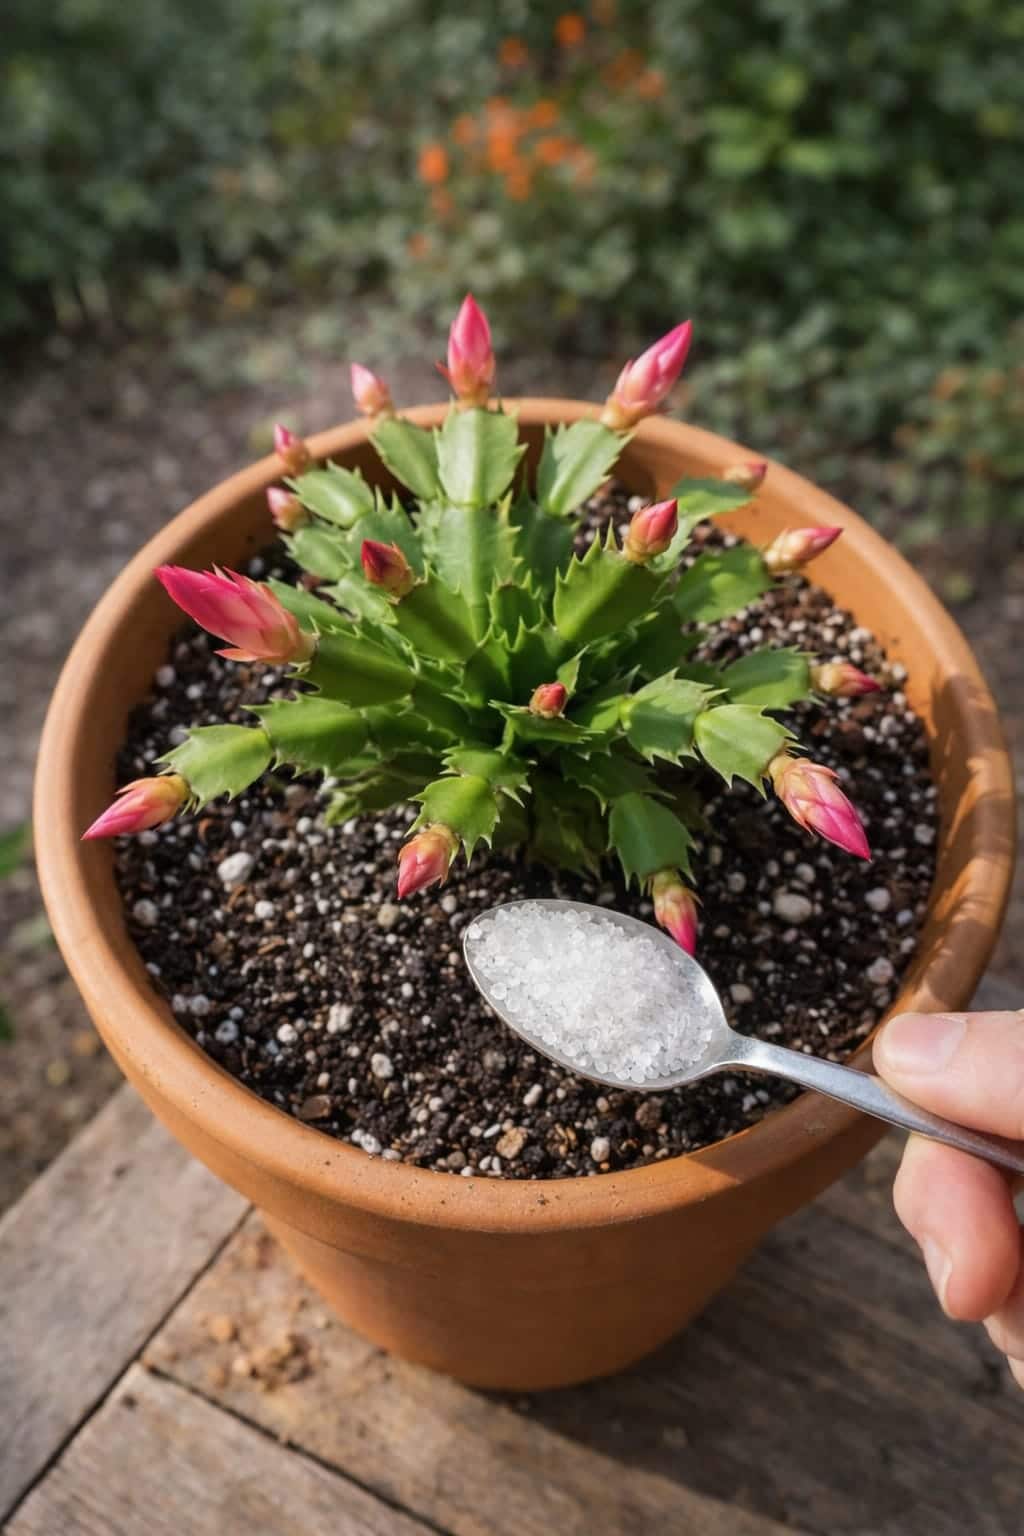
Trick #3: The Eggshell Calcium Boost
Calcium helps plants develop strong roots and sturdy cell walls, which is especially important for Christmas cacti .
Why It Works
Eggshells are packed with calcium carbonate, plus small amounts of phosphorus and potassium. If you’ve noticed your Christmas cactus’s roots turning black or new leaves becoming soft, your plant could use a little more calcium .
How to Make and Apply It
Method A: Calcium-Infused Water
- Fill a pot with water and drop in at least 10 clean eggshells (you can add up to 20) .
- Bring the water to a boil for a few minutes, then leave the shells in the water for several hours or until the next morning .
- Strain out the shells and use this calcium-rich water on your cactus every once in a while, using only a little at a time to avoid providing too much of the nutrient .
Method B: Powdered Eggshells
- Rinse the shells and let them dry completely to remove any remaining raw egg .
- Drop the dry shells into a coffee grinder or blender and process until no large pieces remain .
- Sprinkle this powder over the soil in your cactus’s pot and gently stir it in .
Important Caution
While eggshells are beneficial, too much calcium can damage the plant’s roots. Use these treatments sparingly—every few months is plenty .
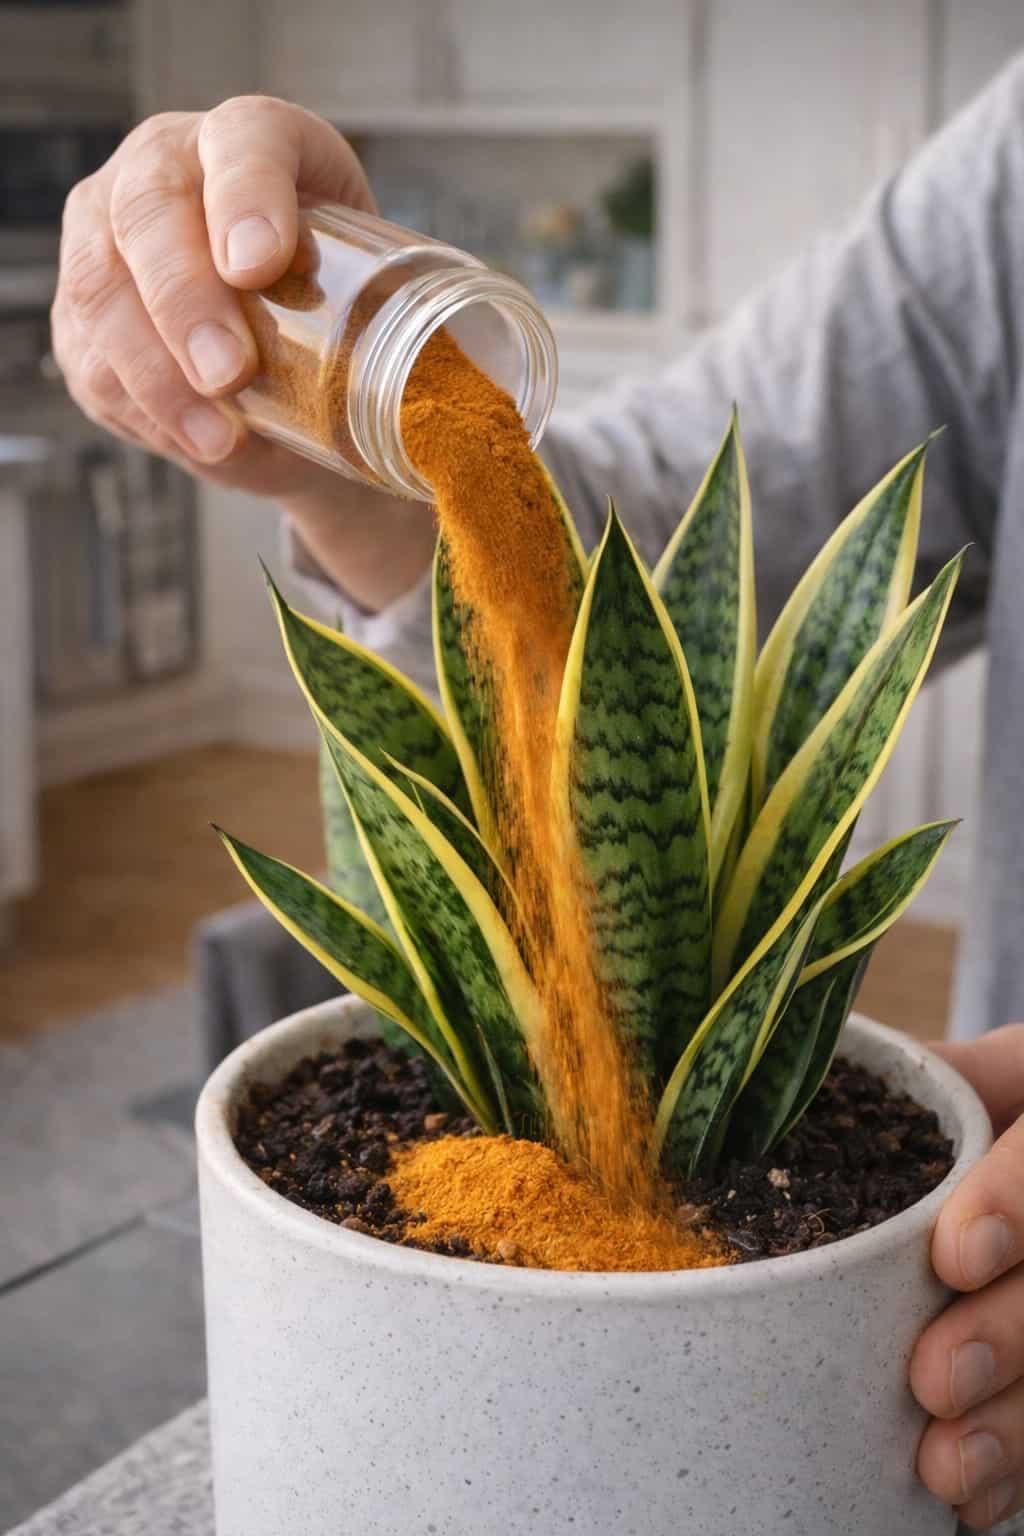
Bonus Kitchen Boosters for Christmas Cactus
If you want to expand your kitchen-based plant care repertoire, here are a few additional options gardeners have found effective:
Coffee Grounds
Coffee grounds contain nitrogen, phosphorus, and potassium, though in relatively low amounts. They’re better described as a soil amendment or conditioner than a fertilizer. Sprinkle a small amount directly onto the pot every two weeks to condition the soil and add slight acidity .
Rice Rinse Water
When you rinse rice before cooking, save the cloudy water—it’s rich in starch and minerals that gently feed your plant. Water your Christmas cactus with it once a month to encourage flowering .
Lemon Juice Solution
For plants suffering from alkaline soil, a mild lemon juice solution can help. Mix 3-5 drops of fresh lemon juice in one cup of water and use this solution to water or mist your Christmas cactus once every 3–4 weeks from spring to early fall .
Potato Starch
Just 2 to 3 teaspoons of potato starch sprinkled directly onto the soil at the base of the plant can stimulate growth, strengthen the immune system, and help the plant recover from stress .
Basic Care Tips for a Thriving Christmas Cactus
While these kitchen tricks can provide an amazing boost, they work best alongside proper care:
Light
Place your Christmas cactus in bright, indirect light. An east or north-facing window is ideal. Keep it about 6 feet away from a south or southwest-facing window to avoid scorching .
Watering
Water when the top inch of soil feels dry. During autumn and winter, once a week is often sufficient; in spring and summer, water every 4 to 5 days . Always use room-temperature water and ensure good drainage .
Temperature
Maintain temperatures between 65-75°F during the day, with slightly cooler nights. To encourage blooming, expose the plant to cooler temperatures (around 59-64°F) and longer nights for about 4-6 weeks in the fall .
Humidity
Christmas cacti enjoy humidity. Mist them occasionally or place the pot on a tray of pebbles and water to keep the air moist .
Soil
Use a light, well-draining mix. A good combination is 2 parts peat moss with 1 part perlite or builder’s sand .
Troubleshooting Common Problems
Problem Likely Cause Solution
Soft, mushy segments Overwatering or root rot Reduce watering, check roots, repot if needed
Wrinkled, shriveled segments Underwatering Water more frequently; use revival tonic
Pale, slow-growing, no blooms Nutrient deficiency Apply one of the kitchen fertilizer tricks
Bud drop Temperature stress or drafts Move to stable spot away from vents/drafts
Stretched growth, pale color Insufficient light Move to brighter location with indirect light
What to Expect: The Revival Timeline
Be patient—revival takes time. Here’s what you can typically expect :
· Weeks 1-2: No visible changes (plant absorbing nutrients)
· Weeks 3-4: Segments become firmer, color deepens
· Months 2-3: New segments appear, plant looks fuller
· Months 3-6: Plant recovers fully; flower buds may appear
My Final Thoughts
The Christmas cactus that almost ended up in my trash is now thriving and blooming like crazy, all thanks to a simple cup of “cactus tea” made from black tea and banana peels . These kitchen tricks work because they provide exactly what a struggling plant needs—gentle, natural nutrition without the risk of chemical burn.
Before you give up on your tired-looking Christmas cactus, try one of these three kitchen tricks. You might be surprised at how quickly it bounces back, rewarding you with lush growth and spectacular blooms for years to come.
Have you tried any of these methods? Do you have other kitchen scrap tricks for reviving plants? Share your experiences in the comments below!
Did these tricks help revive your Christmas cactus? We’d love to see your before-and-after photos! Share them with us on social media and tag us.
More Ideas You Might Like
-

How to Make Your Spider Plant Bushy and Full Instead of Thin and Sparse – The Complete Guide
Is your spider plant looking thin, stretched, or uneven? Learn how to make it bushy and full with better light, … Read more
-

How to Make African Violets Bloom Abundantly All Year Long
Are your African violets all leaves and no flowers? Learn the secrets to abundant blooms – bright indirect light, proper … Read more
-
How to Make a Snake Plant Grow in a Spiral or Circular Shape – The Complete Guide
Want a stunning spiral snake plant? Learn how to gently train your Sansevieria into a spiral or circular shape. Step‑by‑step … Read more