The Environment – What Determines Whether the Orchid Truly Recovers
After treatment, the environment is what determines success or failure. This is where many orchid rescues go wrong. You can have perfect roots, but if the conditions are not right, the orchid will decline again.
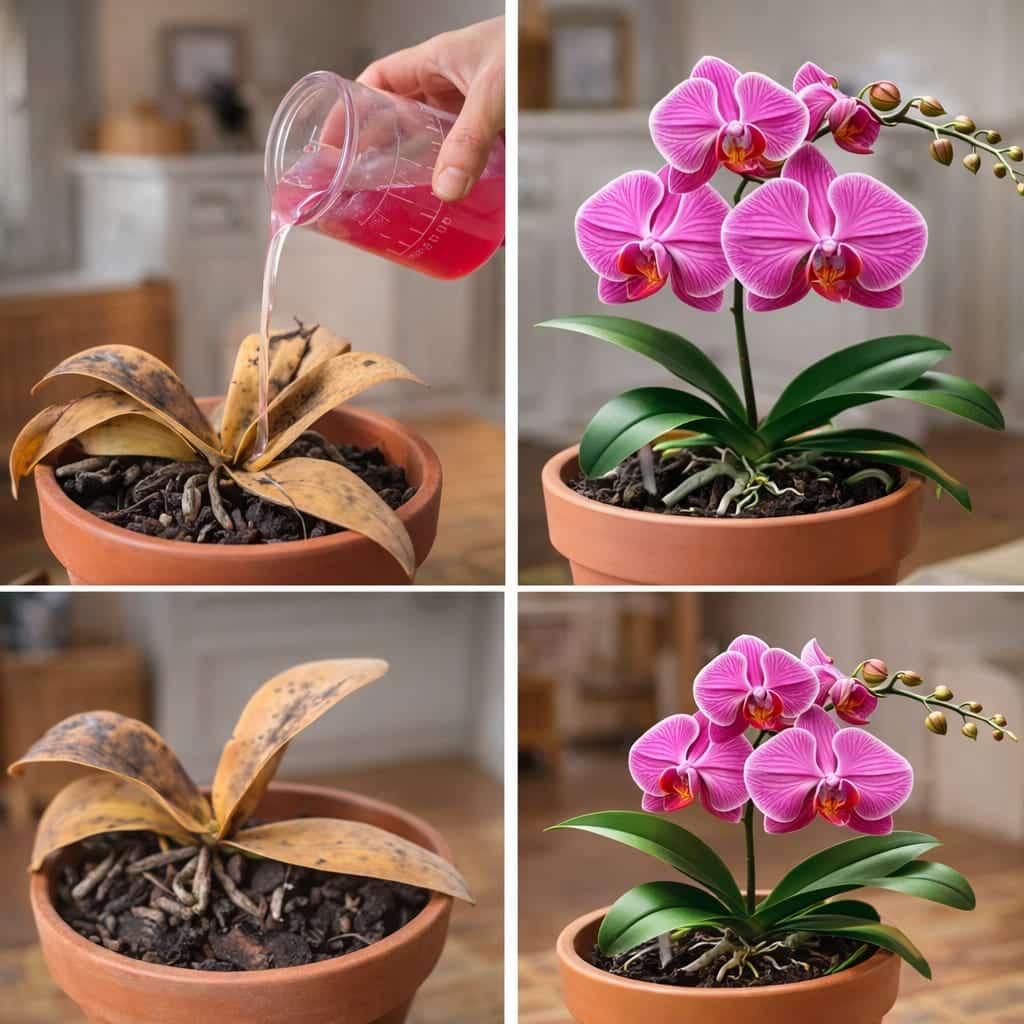
Post‑Recovery Conditions
Factor Ideal Setting
Temperature Stable around 68–75°F (20–24°C). Avoid cold drafts and sudden swings.
Light Bright, indirect light – an east or north‑east window is ideal. No direct sun.
Humidity 50–70%. Use a humidity tray or a clear plastic cover with small holes to maintain moisture around the plant.
Airflow Good ventilation is essential – orchids dislike stale air and can develop fungal issues. A gentle fan nearby helps.
Watering Do not water for 3–5 days after repotting. Then water lightly, keeping the potting medium slightly moist but never soggy.
Using a Humidity Dome (Plastic Bottle Cover)
The source article suggests using a clear plastic bottle with small holes as a humidity cover. This creates a mini‑greenhouse effect, which is especially helpful for rootless orchids or those with very few roots.
How to make it:
· Cut the bottom off a clear plastic bottle.
· Poke several small holes in the sides for airflow.
· Place the bottle over the orchid (do not let it touch the leaves).
· Remove the cover for 1 hour daily to prevent mold.
What to Expect – A Realistic Timeline
Orchid recovery is not overnight. Here is a realistic timeline based on the source article and experienced growers:
Timeframe What to Look For
1–2 weeks No visible change – the plant is adjusting. Do not disturb.
3–4 weeks New root tips may appear (small green or silver bumps).
6–8 weeks New leaves may begin to emerge.
3–6 months Roots establish; the plant looks stable.
6–12 months With good care, the orchid may bloom again.
Pro tip: Do not fertilize a recovering orchid until it has several new roots at least 2–3 inches long. Fertilizer can burn tender new growth.
Troubleshooting – Common Problems During Recovery
Problem Likely Cause Solution
No new roots after 2 months Insufficient humidity or temperature too low Increase humidity; move to warmer spot (70–75°F).
Mold on potting medium Too much moisture, poor airflow Remove affected bark; improve ventilation; reduce watering.
Leaves turning yellow Overwatering or root rot Check roots; let medium dry out; repot if necessary.
Leaf drop Severe stress or infection Ensure stable conditions; cut off dead tissue; treat with cinnamon.
New roots but no leaves Normal – roots come first. Be patient. Continue consistent care.
Frequently Asked Questions (FAQs)
Q: Can I use garlic water on other orchids (like Phalaenopsis, Dendrobium, Cattleya)?
Yes – the same principles apply. However, always test a small area first, and never leave the garlic water on the plant for more than 20 minutes.
Q: How often should I use garlic water?
Once at the beginning of the recovery process, and then only if you see signs of fungal infection. Do not use it weekly – overuse can stress the plant.
Q: Can I use garlic powder instead of fresh garlic?
No – fresh garlic contains active compounds (allicin) that degrade quickly in powder form. Fresh is essential.
Q: My orchid has no roots at all – can it still be saved?
Yes – but it will take longer. Focus on humidity (use a dome) and warmth. You can also place the orchid’s base over a glass of water (not touching) to encourage root growth.
Q: Should I cut off all the leaves if they are yellow?
Only cut leaves that are completely yellow or brown. Partially green leaves can still photosynthesize and help the plant recover.
Q: Can I use hydrogen peroxide instead of garlic water?
Diluted hydrogen peroxide (3% mixed with 2 parts water) can be used to disinfect roots, but it can also kill beneficial tissue. Garlic water is gentler for ongoing support.
Q: How do I know if my orchid is too far gone?
If the entire stem (rhizome) is black, soft, and foul‑smelling, the plant is likely dead. If there is any firm, green tissue, there is hope.
Printable Orchid Recovery Checklist
Copy and paste this into a document or note:
☐ Trim yellow/brown leaves
☐ Remove orchid from pot, rinse roots
☐ Cut off black/mushy roots
☐ Cut away blackened stem sections
☐ Dry roots with paper towel
☐ Seal large cuts (wax or cinnamon)
☐ Let plant rest 24 hours
☐ Make garlic water (3 cloves + 1 liter water, steep 24 hours, strain)
☐ Soak roots in garlic water for 20 minutes
☐ Air dry roots for 10–15 minutes
☐ Repot in fresh orchid bark or moss
☐ Do not water for 3–5 days
☐ Place in bright, indirect light
☐ Maintain 68–75°F, 50–70% humidity
☐ Use humidity dome if needed
☐ Be patient – new roots take 4–8 weeks
Final Thoughts – Stop Chasing Flowers, Start Building Roots
If your orchid is weak, rootless, or refusing to bloom, the answer is rarely one miracle ingredient. The real rescue plan is much more practical: clean the plant up, trim the damage, protect the roots, refresh the substrate, and then support recovery with gentle care.
Garlic water and ginger water can be helpful natural treatments, but they work best as part of a complete recovery routine – not as a standalone magic fix.
The biggest takeaway is simple: stop trying to force flowers from a stressed orchid. Help the roots first. Once the plant feels safe again, new leaves, stronger roots, and future blooms become much more realistic.
Orchids can be dramatic, but they are also tougher than they look. With the right reset, a “dying” orchid can still surprise you.
Now it’s your turn! Have you tried reviving an orchid with garlic water or other natural remedies? What worked for you? Drop a comment below – I’d love to hear your story.
And if you found this guide helpful, share it with a friend who is about to throw away their orchid. Pin it for later, and subscribe to our newsletter for more honest, evidence‑based plant care.
Stay patient, stay consistent, and watch your orchid come back to life. 🌸✨