Roses are some of the most loved flowering plants in the world. They bring color, fragrance, charm, and a classic garden feeling to patios, balconies, windowsills, porches, and backyard borders. A healthy rose plant can turn a plain corner into a romantic display, and even one small cutting can become the beginning of a beautiful flowering collection.
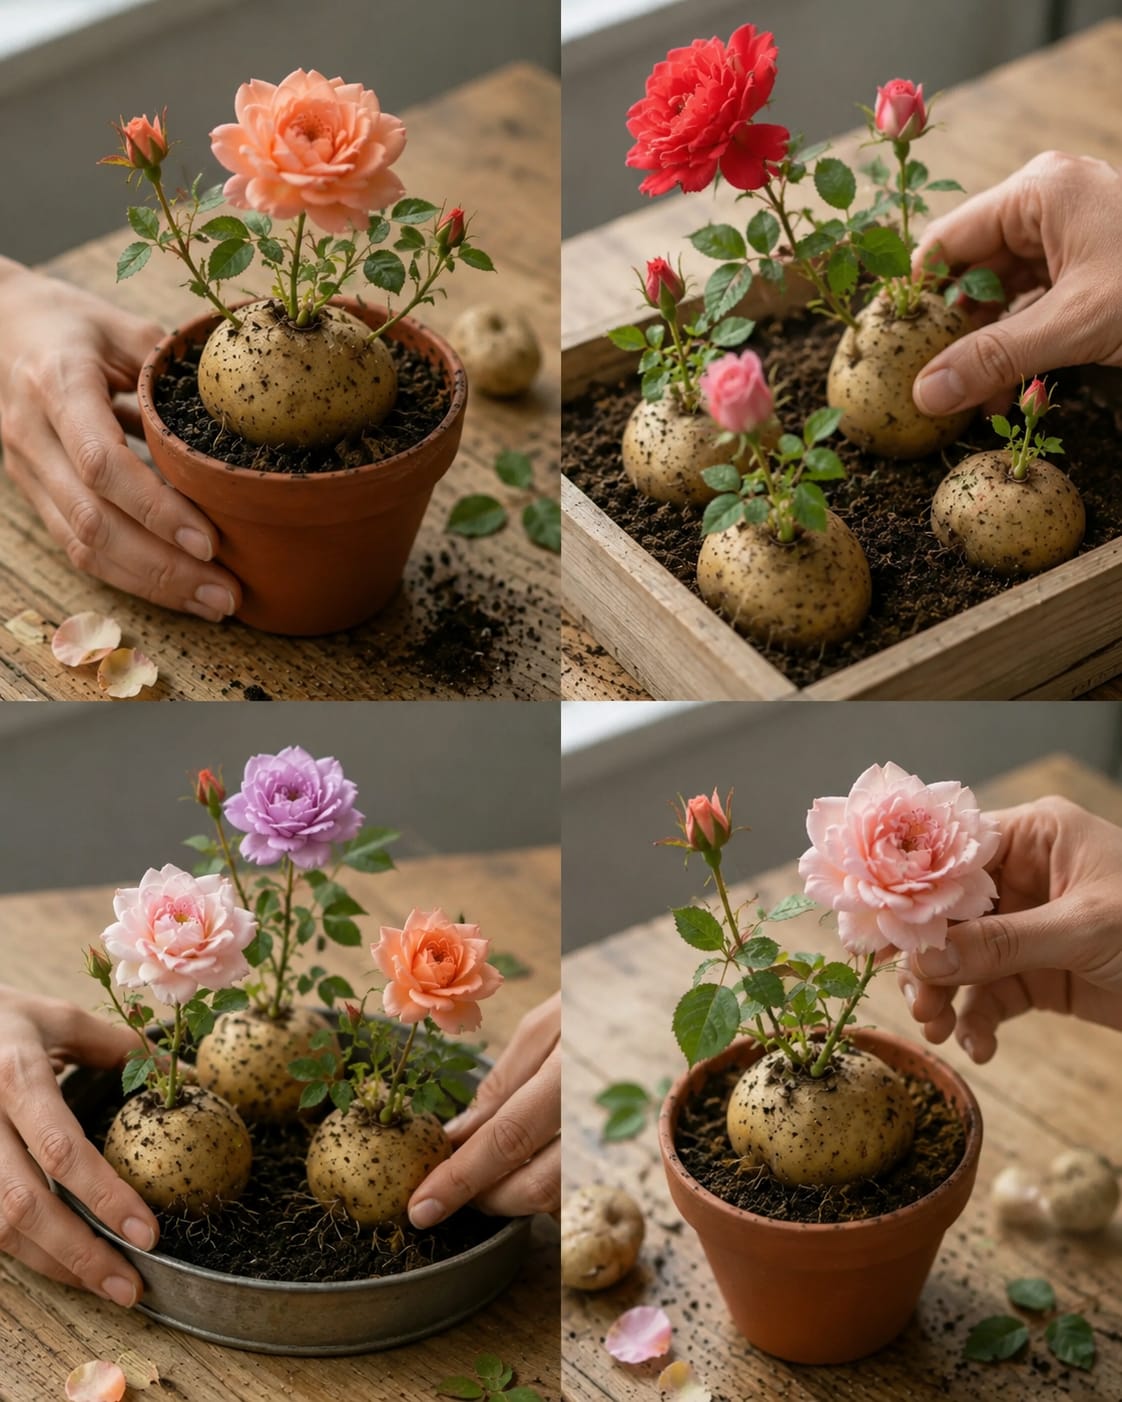
One simple plant-growing trick that many gardeners enjoy is growing rose cuttings with the help of a potato. The idea is easy: a fresh rose cutting is inserted into a potato, then planted in soil so the potato helps keep the cutting moist while roots begin to form. The potato acts like a temporary moisture holder around the lower stem. It can also create a soft protected base while the cutting adjusts.
This method is popular because it feels simple, affordable, and creative. You do not need expensive equipment. You only need a healthy rose cutting, a clean potato, a pot, loose soil, water, and patience. But the method must be done correctly. If the potato is too wet, buried too deeply, or left in soggy soil, it can rot. If the rose cutting is weak or diseased, it may fail. If the pot has no drainage, the cutting can decay before roots grow.
This guide explains the potato rose method in a safe and practical way. You will learn how to choose the right rose cutting, how to prepare the potato, how to plant it, how to water it, how to prevent rot, how long rooting takes, how to care for the young rose, and how to style rose plants beautifully indoors and outdoors.
What Is the Potato Rose Growing Trick?
The potato rose growing trick is a propagation method that uses a potato as a moisture-support base for a rose cutting. A hole is made in the potato, the lower end of a rose cutting is inserted, and the potato is planted in soil. Over time, if conditions are right, the rose cutting may form roots.
The potato does not magically create a rose plant. The real rooting happens from the rose stem. The potato simply helps keep the lower part of the stem from drying too quickly. It may also provide a steady moist environment while the cutting begins to develop callus tissue and roots.
The most important parts of success are a fresh cutting, clean tools, well-draining soil, bright indirect light, and careful watering.
Why Use a Potato for Rose Cuttings?
Rose cuttings can dry out before they root. The potato helps by holding moisture close to the stem. This is useful because cuttings do not have roots at first. They cannot drink water like a mature plant. They depend on stored moisture and humidity until new roots grow.
A potato can also help support the cutting upright in the soil. It gives the stem a firm base so it does not wobble too much. Stable cuttings root better because movement can disturb the forming roots.
Still, potatoes can rot. That is why drainage and moisture control are very important.
Best Roses to Grow From Cuttings
Not every rose roots easily. Some types are more cooperative than others. Many shrub roses, climbing roses, miniature roses, and old garden roses can root from cuttings. Some hybrid tea roses may be harder, but they can still be tried.
Choose a healthy rose plant with strong stems. Avoid stems that are diseased, blackened, moldy, or weak. A cutting taken from a healthy plant has a much better chance of rooting.
Important Note About Patented Roses
Some modern rose varieties are patented, meaning they should not be propagated for sale or distribution without permission. For home hobby growing, it is best to use roses from older plants, non-patented varieties, or roses you are allowed to propagate.
What You Need
- Fresh rose cutting, about 6 to 8 inches long
- One small clean potato
- Clean sharp scissors or pruners
- Small pot with drainage holes
- Loose well-draining potting mix
- Optional rooting hormone
- Pencil or clean stick
- Watering can or spray bottle
- Clear plastic cover, optional
- Bright indirect light
Choosing the Right Rose Cutting
The best rose cutting is semi-hardwood. This means the stem is not too soft and not too woody. It should be firm, green to light brown, and about pencil thickness. A cutting with a few leaf nodes is ideal because roots often form near nodes.
Take the cutting from a healthy stem that has recently flowered or is actively growing. Remove any flowers or buds because they use energy. The cutting needs to focus on roots, not blooms.
How to Prepare the Rose Cutting
- Cut a healthy stem about 6 to 8 inches long.
- Make the lower cut just below a leaf node.
- Remove the lower leaves.
- Leave one or two small leaves at the top.
- Remove flowers and buds.
- Scrape a tiny bit of outer skin from the lower inch of stem.
- Dip the bottom in rooting hormone if available.
Do not leave too many leaves on the cutting. Leaves lose moisture. A few leaves are enough to support the cutting while reducing stress.
How to Prepare the Potato
Choose a firm, fresh potato. Do not use a rotten, soft, moldy, or sprouting potato. Wash it well and dry it. Use a pencil, chopstick, or clean tool to make a narrow hole in the potato. The hole should be deep enough to hold the rose cutting, but not so wide that the stem becomes loose.
Do not force the rose stem into a potato without making a hole first. Forcing it can damage the cutting and crush the stem tissue.
The 6-Step Potato Rose Method
Step 1: Prepare the Pot
Choose a pot with drainage holes. Add loose potting mix. A good mix should drain well but still hold some moisture. You can use regular potting soil mixed with perlite or coarse sand.
Step 2: Make the Potato Hole
Use a clean pencil or stick to make a hole in the potato. The hole should fit the rose cutting snugly.
Step 3: Insert the Rose Cutting
Place the lower end of the rose cutting into the potato. Make sure the stem is stable. The cutting should stand upright without wobbling too much.
Step 4: Plant the Potato
Place the potato into the pot and cover it with soil. The potato should be buried, but the rose stem and top leaves should stay above the soil. Press the soil gently around the potato to hold everything steady.
Step 5: Water Lightly
Water the soil lightly until it is evenly moist. Do not flood the pot. Too much water can cause the potato to rot.
Step 6: Place in Bright Indirect Light
Put the pot in bright indirect light. Avoid harsh direct sun at first because the cutting can dry out quickly. Keep the soil lightly moist, not soggy.
Best Soil for Potato Rose Cuttings
The soil must drain well. If the soil stays wet, the potato can rot and the rose cutting can fail. A good propagation mix is light, airy, and clean.
Simple Soil Mix
- 2 parts potting soil
- 1 part perlite
- 1 part coarse sand or coco coir
Do not use heavy garden clay in a pot. It holds too much water and can suffocate the cutting.
Best Pot for the Method
Use a pot with drainage holes. Terracotta is excellent because it lets moisture evaporate faster. Plastic pots can work, but you must water more carefully because plastic holds moisture longer.
A small to medium pot is enough for one potato cutting. Do not use a huge container because too much soil stays wet around the potato.
Watering the Potato Rose Cutting
Watering is the most important part. The soil should stay lightly moist, but never wet and heavy. Check the top inch of soil. If it feels dry, water lightly. If it feels damp, wait.
Too much water can rot the potato. Too little water can dry the cutting. Aim for balance.
Humidity Helps Rose Cuttings
Rose cuttings root better when humidity is steady. You can place a clear plastic bag or cut plastic bottle over the cutting to create a mini greenhouse. Make sure the cover does not press against the leaves.
Open the cover daily for airflow. If condensation becomes too heavy or mold appears, remove the cover for longer periods.
How Long Does It Take to Root?
Rose cuttings may take 4 to 8 weeks to root. Some may take longer. Do not pull the cutting out to check too early because this can damage new roots.
A gentle sign of success is new leaf growth. However, new leaves do not always mean strong roots yet. Wait until the cutting shows steady growth before transplanting.
How to Know the Cutting Has Rooted
- New leaves begin to grow.
- The stem stays firm and green.
- The cutting resists gently when lightly tugged.
- No sour smell comes from the soil.
- The plant begins growing slowly but steadily.
Be patient. Rose cuttings do not become mature plants overnight.
What If the Potato Starts to Rot?
If the soil smells sour, the potato may be rotting. This usually happens because the soil is too wet, the pot has poor drainage, or the potato was damaged.
If rot appears, remove the cutting carefully. Check if the rose stem has started rooting. If it has healthy roots, repot it into fresh soil without the potato. If it has no roots and the stem is soft or black, the cutting may not survive.
Common Mistakes to Avoid
- Using a rotten or soft potato
- Using a weak rose cutting
- Leaving flowers on the cutting
- Using heavy wet soil
- Using a pot without drainage
- Watering too much
- Putting the cutting in harsh direct sun
- Pulling the cutting out too early
- Letting mold grow under a plastic cover
- Planting too deeply
Can You Grow Roses Indoors With This Method?
You can start rose cuttings indoors, but roses need strong light to grow well long term. A bright windowsill can help during rooting. After the cutting grows roots and becomes stronger, it usually does better outdoors or on a bright balcony.
Miniature roses can grow indoors for some time if they receive enough light, but most roses prefer outdoor conditions with sun and airflow.
When to Transplant the Young Rose
Wait until the cutting has strong new growth and a healthy root system. This may take a few months. When the plant is ready, move it into a slightly larger pot with rich well-draining soil.
Do not move it too soon. Young rose roots are delicate. A slow transition is safer.
How to Care for the Young Rose Plant
- Give bright light.
- Keep soil evenly moist but not soggy.
- Protect from harsh heat at first.
- Feed lightly only after strong growth appears.
- Remove weak or yellow leaves.
- Watch for pests.
- Do not let the pot sit in water.
Best Light for Roses
Roses need strong light to bloom well. Most roses prefer at least 6 hours of sun outdoors. For young cuttings, start with bright indirect light, then gradually introduce more sun as the plant becomes stronger.
Do not move a tender cutting from indoor shade directly into hot afternoon sun. It can wilt or burn. Harden it off slowly.
How to Harden Off a Young Rose
- Place the young plant outdoors in shade for 1 to 2 hours.
- Bring it back indoors or to a protected spot.
- Increase outdoor time gradually over a week.
- Introduce morning sun first.
- Avoid harsh afternoon sun until the plant is stronger.
- Keep soil lightly moist during transition.
Feeding Young Roses
Do not fertilize a fresh cutting before it roots. Once the rose has strong new growth, use a mild balanced fertilizer at half strength. Too much fertilizer can burn young roots.
Organic compost can also be used lightly when the plant is established. Do not pile fertilizer against the stem.
Pruning for Bushier Growth
Once the young rose is growing well, light pruning can help it become bushier. Pinch or trim weak tips to encourage side shoots. Use clean sharp pruners.
Do not prune heavily while the plant is still young. Let it build roots first.
Common Rose Cutting Problems
Stem Turns Black
This usually means rot. The cutting may have been too wet or unhealthy from the start.
Leaves Wilt
The cutting may be losing moisture faster than it can replace it. Increase humidity and keep out of direct sun.
Potato Smells Bad
The potato is rotting. Reduce watering or remove the cutting if needed.
No Growth After Weeks
The cutting may still be forming roots. Be patient, but check for rot if the stem looks weak.
Mold Appears
Improve airflow and reduce moisture. Remove the plastic cover for longer periods.
Continue to Page 2
Continue to page 2 for more details about this article and the key points many readers miss on the first page.