🪴 How Gardeners Set Up the Bottle Method – Step by Step
Many orchid growers follow these simple steps. You can make one in about 10 minutes.
Materials Needed
· Clear plastic bottle (1 or 2‑liter soda bottle, water bottle, or similar)
· Sharp scissors or craft knife
· Soldering iron or small drill (for making holes – optional, but cleaner)
· Orchid growing medium (bark chips, sphagnum moss, or coconut husk)
· A small orchid (or orchid cutting/keiki)
· Optional: wire or string for hangin
Step‑by‑Step Instructions
Step 1: Prepare the Bottle
· Clean the bottle thoroughly and remove any labels.
· Cut the bottle to your desired height. You can use the bottom half (like a pot) or cut it horizontally and use the bottom as a base with a “dome” top (for extra humidity).
· For a simple pot: Cut the bottle 4–6 inches from the bottom. Discard the top.
· For a humidity dome: Cut the bottle in half. Use the bottom for the pot and the top as a removable cover (poke holes in the top for airflow).
Step 2: Create Drainage and Airflow Holes
· Use a soldering iron, heated nail, or small drill to make several holes in the bottom and lower sides of the bottle pot. These allow water to drain and air to circulate.
· If using a top dome, poke 4–6 small holes in it for ventilation.
Step 3: Add Growing Medium
· Place a layer of loose orchid bark, sphagnum moss, or coconut husk in the bottom of the bottle pot. The medium should be airy – not packed tightly.
Step 4: Position the Orchid
· Gently place the orchid inside so the roots are spread naturally over the medium.
· Add more medium around the roots, leaving the crown (where leaves meet roots) just above the surface.
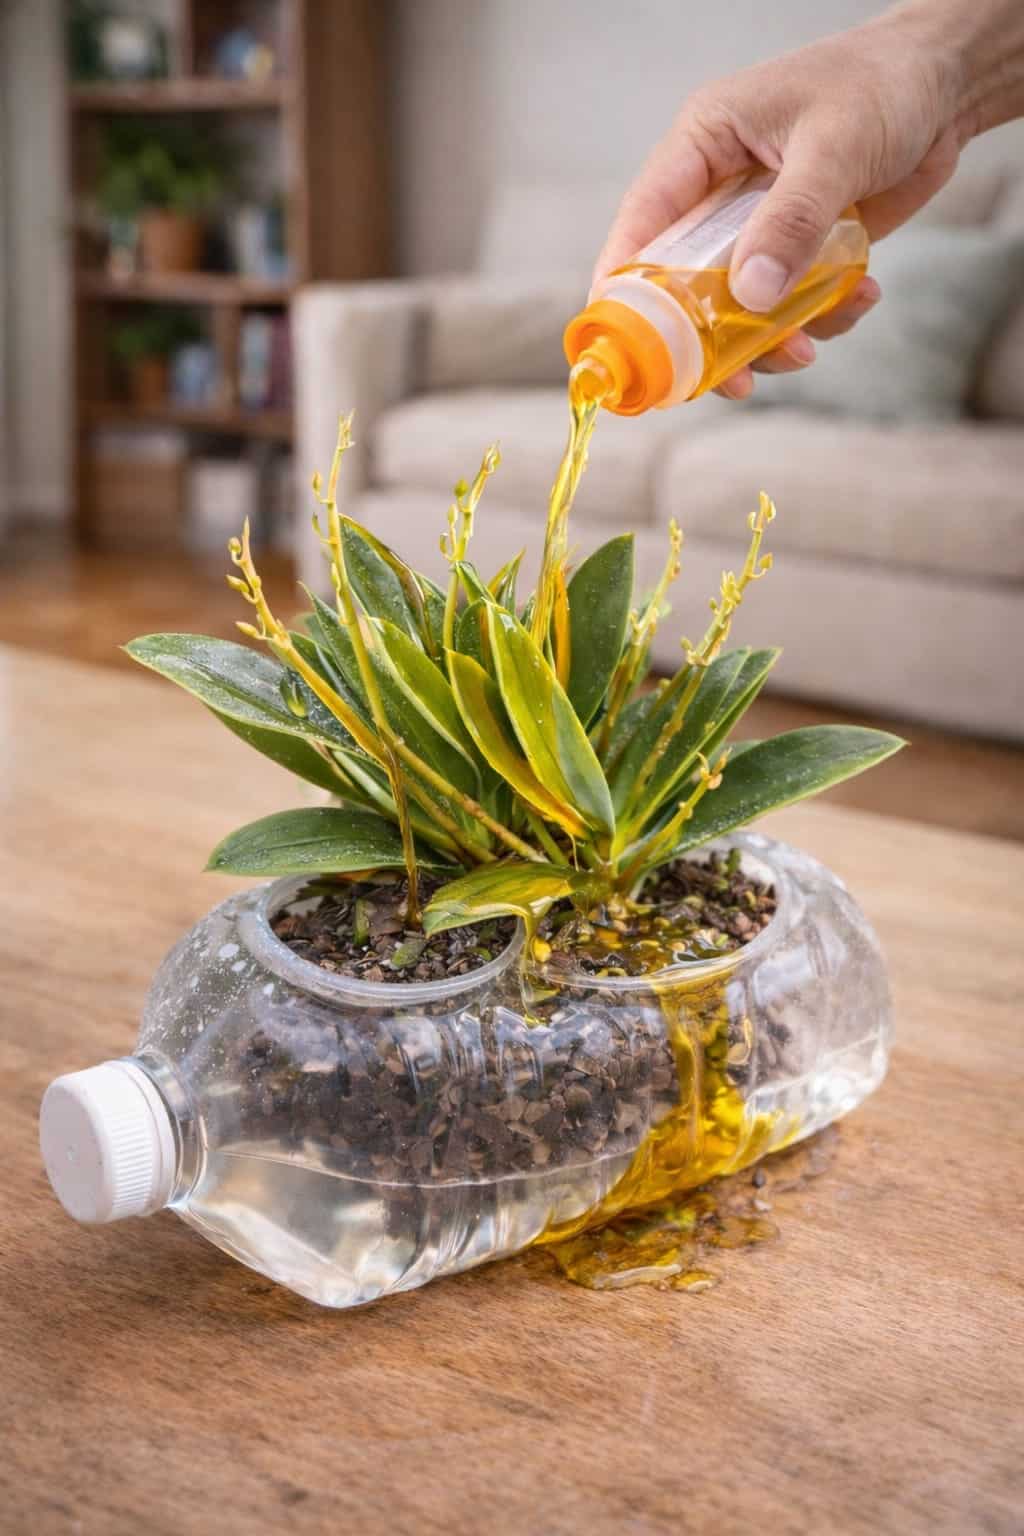
Step 5: Water Lightly
· Water the orchid lightly, allowing excess to drain out the bottom holes. The medium should be damp, not soaking wet.
Step 6: Optional – Use the Top as a Humidity Dome
· If you saved the top half of the bottle, place it over the orchid (like a mini greenhouse). Remove it for 1 hour daily to prevent mold.
Step 7: Place in Bright, Indirect Light
· Put the bottle setup in a warm spot with bright, indirect light (east or north‑east window). Avoid direct sun, which can overheat the bottle.
⚠️ Common Orchid Root Problems (That This Method Helps Solve)
Even experienced gardeners sometimes struggle with orchid root health. The bottle method addresses many of these issues.
Problem How the Bottle Setup Helps
Overwatering that suffocates roots Drainage holes prevent waterlogging.
Dense potting mixes that block airflow Bark or moss stays loose and airy.
Containers without drainage holes Bottle allows easy hole creation.
Low humidity environments Enclosed space traps moisture.
Infrequent root inspection Clear plastic lets you see roots without disturbing.
Orchid roots require a careful balance between moisture and oxygen. The bottle setup provides both.
🌱 Ideal Conditions for Orchid Root Growth (After Setup)
To encourage healthy roots and future blooms, orchids need specific environmental conditions. The bottle helps, but you still need to provide the right environment.
Best Conditions for Orchid Root Growth
Factor Ideal Condition Why It Matters
Light Bright, indirect (east/north‑east window) Supports photosynthesis in roots and leaves
Temperature 65–80°F (18–27°C) Warmth speeds root growth
Growing medium Loose bark or sphagnum moss Allows airflow
Water Keep medium lightly moist – not soggy Prevents rot
Humidity 50–70% (bottle dome helps) Encourages root development
Airflow Remove dome daily; ensure ventilation holes Prevents mold
Healthy roots often lead to stronger flower spikes and longer bloom periods.
When to Transition from the Bottle to a Regular Pot
Once your orchid has grown several new roots (at least 2–3 inches long), you can transition it to a standard orchid pot with drainage holes. This usually takes 2–4 months.
How to transition:
- Gently remove the orchid from the bottle.
- Trim any dead or rotten roots.
- Repot in fresh orchid bark in a clear pot with drainage holes.
- Resume normal orchid care (water when bark is almost dry, bright indirect light).
Frequently Asked Questions (FAQs)
Q: Why do orchid roots grow outside the pot?
A: They naturally search for air and humidity. Aerial roots are normal – do not cut them. The bottle method encourages roots to grow inside the humid environment
Q: How often should orchids be watered in the bottle setup?
A: Water when the growing medium feels almost dry. In a bottle, this may be every 5–7 days, depending on humidity. Always check before watering
Q: Can orchids grow in regular soil?
A: No – they need loose bark‑based mixes. Soil suffocates orchid roots.
Q: Why do orchid roots turn gray?
A: Dry velamen (the spongy root covering) turns gray or silvery. It becomes green when wet – this is normal and healthy.
Q: Should orchids be fertilized often?
A: Light feeding during active growth (spring/summer) is usually enough. Use a diluted orchid fertilizer every 2–4 weeks. Do not fertilize rootless orchids.
Q: Do orchids need humidity?
A: Yes – moderate humidity (50–70%) helps root health. The bottle dome provides this.
Q: Why are orchid leaves wrinkled?
A: Often due to weak or damaged roots that cannot absorb enough water. The bottle method helps rebuild roots.
Q: Can orchids grow in clear pots?
A: Yes – clear containers help monitor root health. The bottle setup is an excellent DIY clear pot.
Q: When should orchids be repotted?
A: Every 1–2 years depending on root growth, or when the bark breaks down. Use the bottle method as a temporary recovery setup.
Q: Are orchids beginner‑friendly?
A: Some varieties (like Phalaenopsis) are beginner‑friendly with proper care. The bottle method simplifies root recovery.
Printable Bottle Setup Checklist
☐ Clean a clear plastic bottle (1 or 2‑liter)
☐ Cut to desired height (4–6 inches for pot)
☐ Make drainage holes in bottom and sides
☐ (Optional) Save top half for humidity dome – poke ventilation holes
☐ Add loose orchid bark or sphagnum moss
☐ Place orchid gently, spread roots
☐ Add more medium around roots, keep crown above surface
☐ Water lightly – allow excess to drain
☐ Place in bright, indirect light (no direct sun)
☐ Remove dome daily for 1 hour to prevent mold
☐ Monitor root growth – new roots appear in 4–8 weeks
☐ Transition to regular pot when roots are 2–3 inches long
Final Thoughts – A Simple, Effective DIY Trick
The plastic bottle orchid trick is not magic – but it is a clever, inexpensive way to create a controlled, humid environment that encourages faster root growth. By providing consistent humidity, good drainage, and airflow, this method helps orchids recover from root loss and develop strong, healthy roots.
Whether you’re trying to save a struggling orchid or simply want to boost root growth on a healthy plant, this DIY setup is worth trying. It’s eco‑friendly, easy to make, and surprisingly effective.
Now it’s your turn! Have you tried the plastic bottle method for orchids? What results did you see? Drop a comment below – I’d love to hear your experience
And if you found this guide helpful, share it with a friend who loves orchids. Pin it for later, and subscribe to our newsletter for more practical plant care tips.
Stay creative, stay humid, and watch your orchid roots grow. 🌸✨