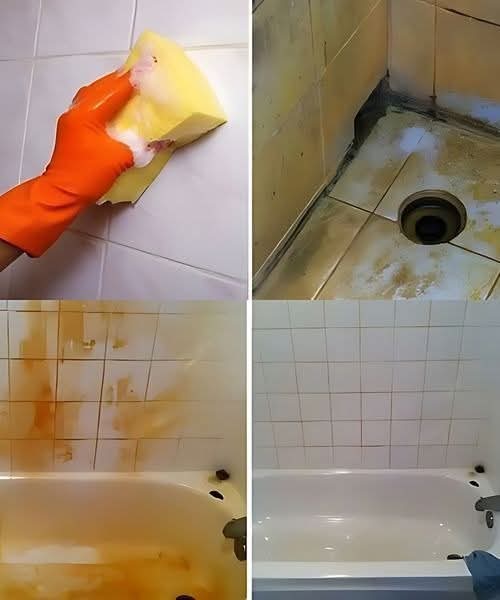
No matter how often you scrub, bathroom tiles seem to lose their shine over time. Water spots dull their surface, soap scum builds up in corners, and that cloudy film creeps across the once-sparkling ceramic. You might have tried countless commercial cleaners, each promising instant results, only to end up with harsh fumes and dry hands.
The good news? You don’t need to wage war with chemicals.
A handful of common household ingredients—apple cider vinegar, baking soda, lemon juice, toothpaste, and dish soap—can bring back that brand-new sparkle safely and effectively. This natural combination cuts through grime, neutralizes bacteria, and restores shine without damaging your tiles or grout.
This guide walks you through the complete method, explains why it works, and shares expert tips to keep your bathroom looking freshly renovated every day.
Why Bathroom Tiles Get Dull Over Time
Bathroom tiles live in one of the harshest environments in your home. Constant moisture, temperature changes, and soap residues combine to form tough stains that ordinary cleaning often can’t tackle.
Here are the main culprits:
Soap Scum: When soap mixes with hard-water minerals like calcium and magnesium, it leaves behind a sticky residue that coats tiles and glass.
Hard-Water Stains: Minerals in the water evaporate and form chalky white spots that cling to surfaces.
Mold and Mildew: The damp, humid environment is perfect for fungus growth, especially in grout lines and corners.
Rust and Discoloration: Metal fixtures, shaving razors, and even iron in water can create orange or brown stains over time.
Body Oils and Residue: Products like shampoo and conditioner leave behind an invisible layer of oil that attracts dust and dulls shine.
Understanding the source of the problem is key to finding a lasting solution—and this homemade formula targets them all.
The Power of Natural Ingredients
Each ingredient in this cleaning solution serves a specific purpose. Together, they create a mild chemical reaction that breaks down dirt and buildup while deodorizing and disinfecting.
Let’s break down what each does:
1. Apple Cider Vinegar
A gentle acid, vinegar dissolves mineral deposits, soap scum, and mildew stains. It’s powerful enough to cut through grime yet safe for most tile surfaces. The slight acidity also kills bacteria and eliminates odors naturally.
2. Baking Soda
Known for its mild abrasiveness, baking soda acts like a fine scrub that lifts stains without scratching. It also neutralizes odors and balances the acidity of vinegar, creating an effective foaming cleanser.
3. Dishwashing Detergent
Dish soap breaks down grease and oils. It helps the solution cling to vertical surfaces while loosening body oils and soap residue that build up on bathroom tiles.
4. Toothpaste
Toothpaste contains gentle polishing agents like silica, which clean stains while adding a touch of brightness. Its creamy texture also helps the mixture adhere to tiles, extending its contact time for deeper cleaning.
5. Lemon Juice
Fresh lemon juice adds a natural bleaching effect, cutting through discoloration and leaving a refreshing scent. The citric acid reacts with baking soda for extra cleaning power.
Together, these ingredients form a paste that not only cleans but also restores shine and prevents future buildup.
What You’ll Need
To prepare your homemade cleaner, gather the following:
Ingredients
2 tablespoons apple cider vinegar
2 tablespoons baking soda
1 tablespoon dishwashing detergent
2 tablespoons toothpaste
Juice of half a lemon
Optional: a few drops of essential oil (tea tree or eucalyptus for freshness)
Tools
A bowl for mixing
A sponge or scrub brush
Rubber gloves (recommended for sensitive skin)
Spray bottle (optional, for easy application)
Microfiber cloth or towel for drying
Step-by-Step Cleaning Instructions
Step 1: Prepare the Cleaning Paste
In your bowl, combine the baking soda and vinegar first. The mixture will fizz—this reaction helps loosen stubborn dirt. Once it settles, add the dish soap, toothpaste, and lemon juice. Stir until you get a thick, smooth paste.
If you prefer a thinner, sprayable consistency, add a few tablespoons of warm water and transfer it into a spray bottle.
Step 2: Apply Generously
Using a sponge or brush, apply the paste to the tiles, grout, and corners where soap scum and hard-water stains are most visible. Spread it evenly in circular motions to cover all areas.
For heavily stained tiles, apply a thicker layer and let it sit longer.
Step 3: Let the Magic Happen
Allow the paste to sit for 10–15 minutes. During this time, the acids and abrasives will break down soap residue and mineral buildup. You’ll likely notice some fizzing—that’s the ingredients working together to lift grime.
This step is key: patience allows chemistry to do the heavy lifting so you don’t have to scrub as hard later.
Step 4: Scrub the Tiles
After the wait, grab your sponge and start scrubbing in gentle circular motions. Focus on the grout lines and corners where buildup tends to hide. For tough spots, use an old toothbrush for precision cleaning.
You’ll notice the grime lifting off easily, leaving behind smooth, bright tiles.
Step 5: Rinse Thoroughly
Rinse the area with warm water, making sure to remove all traces of the paste. Wipe with a clean microfiber cloth or towel. The water should glide over the tiles without beading up—sign that all residue has been removed.
Step 6: Dry and Polish
Finally, dry the surface completely to prevent water marks. Buff the tiles with a dry towel or soft cloth to reveal their natural shine. The result? A sparkling, clean bathroom that smells fresh and looks brand new.
Why This Homemade Cleaner Outperforms Store-Bought Products
No Harsh Chemicals: Many commercial cleaners rely on ammonia, chlorine, or bleach, which can irritate your skin and lungs. This natural mix is gentle yet effective.
Safe for the Environment: Every ingredient is biodegradable and non-toxic, making it a greener choice.
Budget-Friendly: You likely already have everything in your kitchen. The entire mixture costs less than a dollar to make.
Multi-Purpose: It works not just on tiles but also on tubs, sinks, faucets, and even shower glass.
Customizable: You can adjust the ratios or add natural oils for fragrance and antibacterial properties.
Common Bathroom Cleaning Challenges (and How to Fix Them)
1. Mold and Mildew on Grout
If mold has taken hold in the grout lines, add a few drops of tea tree oil or hydrogen peroxide to the paste. Both are natural antifungal agents that eliminate spores and prevent regrowth.
2. Rust Stains
Rust often appears near drains or where metal fixtures meet the tiles. Apply a thick layer of the paste with extra lemon juice directly on the rust spot. Let it sit for 20 minutes, then scrub gently.
3. Yellowing or Discoloration
To whiten yellowed tiles, use baking soda + vinegar alone as a pre-treatment before applying the full paste. It’ll lift old stains faster.
4. Hard-Water Film on Glass or Chrome
For shower doors or fixtures, dip a cloth in straight vinegar and rub the surface. Finish with a soft cloth dipped in lemon juice for shine.
Deep-Cleaning Schedule
Maintaining bathroom tiles doesn’t have to be an endless chore. Following a consistent schedule keeps stains from ever building up again.
| Task | Frequency | Method |
|---|---|---|
| Light wipe-down | Every 2–3 days | Spray vinegar + water solution and wipe dry |
| Full cleaning | Once a week | Apply homemade paste as described |
| Grout maintenance | Once a month | Use toothbrush with paste for deep clean |
| Anti-mold treatment | Every 6 weeks | Add tea tree oil spray after cleaning |
This routine keeps tiles sparkling and mold-free year-round.
Safety Tips
Always test a small hidden area first to make sure the mixture doesn’t affect the tile’s finish.
Avoid using on natural stone surfaces like marble or granite—the acid in vinegar and lemon can dull them.
Wear gloves if you have sensitive skin.
Ensure the bathroom is well ventilated while cleaning.
Alternative Natural Cleaning Recipes
If you like experimenting with DIY cleaners, here are two bonus recipes:
1. Baking Soda & Hydrogen Peroxide Tile Cleaner
Ingredients:
½ cup baking soda
¼ cup hydrogen peroxide
1 teaspoon dish soap
Instructions:
Mix into a paste and apply to grout and tiles. Let it sit for 10 minutes, then scrub and rinse. This combo whitens grout and disinfects at the same time.
2. Citrus Vinegar Spray
Ingredients:
1 cup vinegar
Peels from 2 lemons or oranges
1 cup water
Steep citrus peels in vinegar for a week. Strain and dilute with water. Use as a daily spray to prevent buildup and keep the bathroom smelling fresh.
Understanding the Science Behind the Clean
This isn’t just folk wisdom—it’s chemistry in action.
Vinegar + Baking Soda Reaction:
When mixed, they release carbon dioxide gas, which helps lift dirt particles from surfaces. The fizzing motion loosens grime and mineral deposits.
Acids vs. Minerals:
Lemon and vinegar contain weak acids that dissolve alkaline mineral deposits like calcium and lime.
Abrasives & Surfactants:
Baking soda and toothpaste provide micro-abrasion, while dish soap acts as a surfactant—breaking down oils so they rinse away easily.
Each ingredient has a specific function, and when combined, they form a balanced cleaner strong enough for stubborn stains but gentle on your hands and tiles.
How to Keep Tiles Shiny Between Cleans
Wipe After Every Shower: Keep a small squeegee or towel nearby to quickly remove water from tiles and glass.
Use a Vent Fan: Moisture is the enemy. Proper ventilation prevents mildew and hard-water buildup.
Seal the Grout: Apply a grout sealer twice a year to block water and soap from penetrating the lines.
Avoid Bar Soap: Switch to liquid body wash—bar soap leaves more scum behind.
Keep a Vinegar Spray Bottle: Mist tiles weekly to break up light residue before it becomes visible.
These small habits save hours of scrubbing later.
Environmental & Health Benefits
Unlike industrial cleaners filled with chlorine and artificial fragrances, this natural mix:
Produces no toxic fumes
Is safe for septic systems
Leaves no chemical residue that could irritate skin
Reduces plastic waste (no disposable cleaner bottles)
You’ll breathe easier knowing your bathroom is clean and safe for kids, pets, and the planet.
Troubleshooting: What If It Doesn’t Work Immediately?
Stains Still Visible: Apply a second layer and let it sit longer. Deep stains sometimes require two treatments.
Residue After Rinsing: You may have used too much paste—rinse again with vinegar-water to remove the film.
Persistent Odor: Add a few drops of essential oil or an extra squeeze of lemon to the mix.
Mold Returning Quickly: Ensure better airflow or use a dehumidifier in the bathroom.
Consistency is key. After two or three rounds of cleaning, you’ll notice lasting results.
Comparing Natural vs. Chemical Cleaners
| Feature | Natural Cleaner | Chemical Cleaner |
|---|---|---|
| Effectiveness | Excellent for light–moderate buildup | Stronger on severe rust or mold |
| Safety | Non-toxic and skin-safe | Can irritate eyes, lungs, and skin |
| Cost | Under $1 per batch | $5–$10 per bottle |
| Environmental Impact | 100% biodegradable | Often non-biodegradable chemicals |
| Smell | Fresh, natural citrus | Artificial or harsh odor |
| Maintenance Use | Ideal for weekly cleaning | Better for rare deep cleans |
For everyday cleaning, the natural approach wins easily—gentle, affordable, and sustainable.
FAQs
Can I use this on shower glass doors?
Yes. Just make a thinner version by adding more vinegar and lemon juice. Spray it on the glass, wait 5–10 minutes, then wipe clean.
Is this safe for colored grout?
Yes, but always test first. Lemon juice can lighten some colored grouts if left too long.
Can I substitute white vinegar for apple cider vinegar?
Absolutely. White vinegar works equally well and has less scent.
Will it work on floor tiles?
Yes. Use a mop or soft brush to apply the paste, then rinse thoroughly.
How often should I use it?
Once a week for maintenance; twice a month for deep cleaning in high-traffic bathrooms.
Final Thoughts: A Cleaner Bathroom, the Natural Way
Cleaning the bathroom doesn’t have to be a battle against grime and chemical fumes. With just a few pantry staples and 20 minutes of your time, you can transform dull, stained tiles into a spotless, glossy surface that looks professionally cleaned.
This natural mixture of apple cider vinegar, baking soda, dish soap, toothpaste, and lemon juice harnesses simple chemistry to tackle the toughest stains gently and effectively. It’s safe for you, your home, and the environment—and it works.
Once you see how effortlessly your bathroom shines after this treatment, you’ll never reach for store-bought cleaners again.
A sparkling bathroom, a fresh scent, and peace of mind—all from ingredients you already have in your kitchen.
More Recipes You Might Like
-

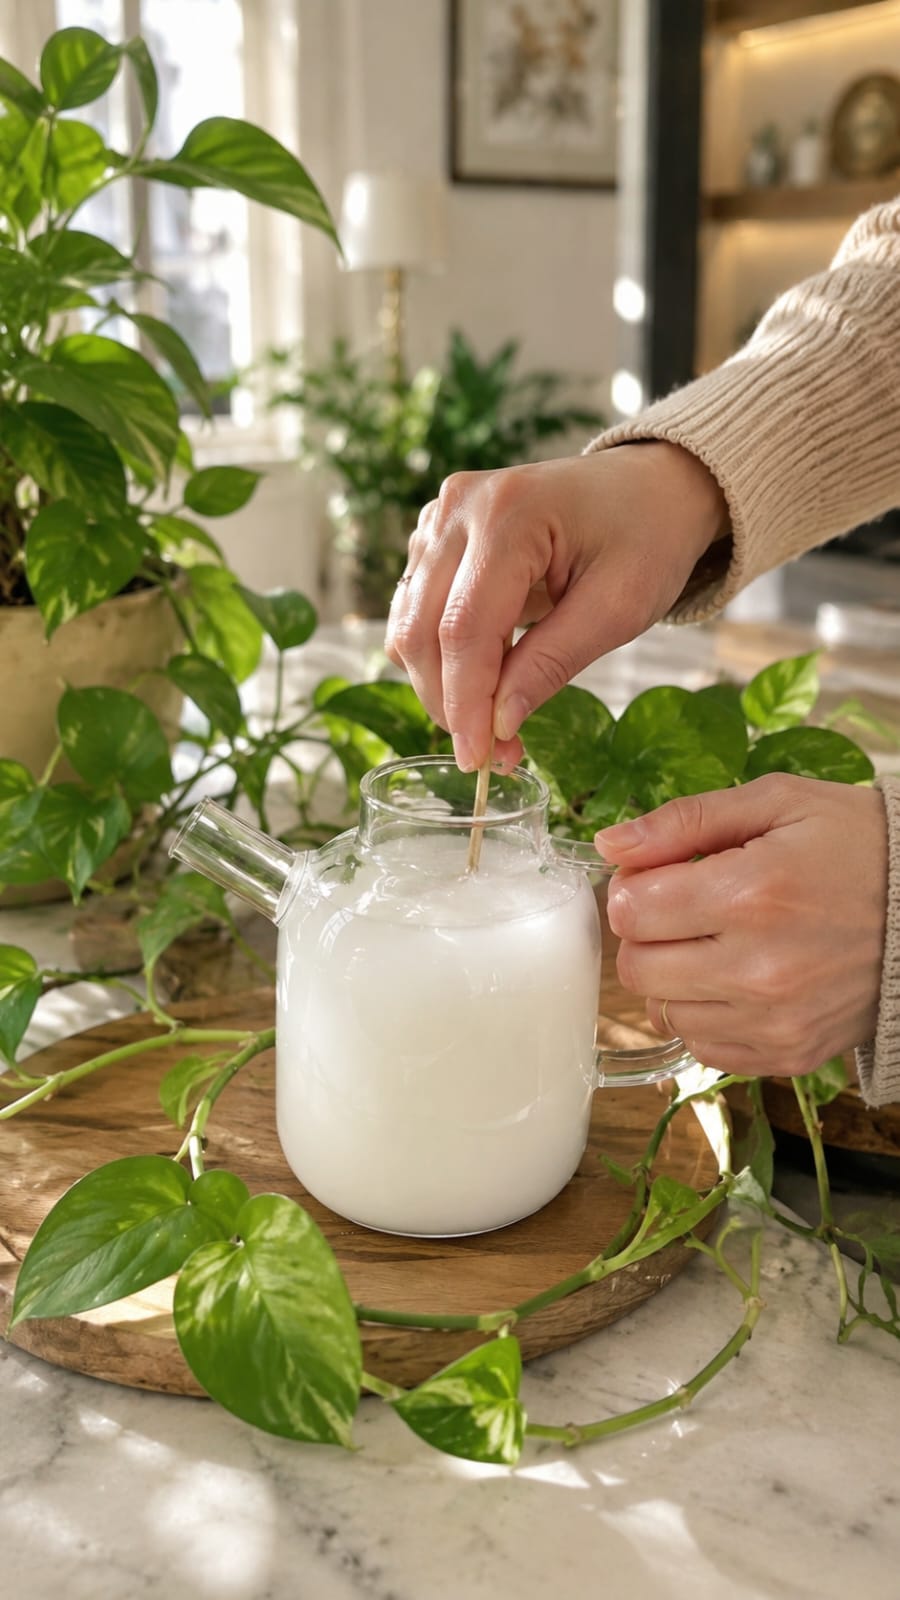
Why Homeowners Are Using a White Liquid Snake Plant Soil Refresh Trick, Better Drainage Mix, Indoor Plant Fertilizer, and Ceramic Pot Styling to Support Cleaner Growth and a More Refined Indoor Look
A healthy snake plant can make an indoor room feel cleaner, calmer, and more polished with very little effort. Its tall upright leaves add structure, its green banded pattern brings natural contrast, and its low-maintenance reputation makes it one of the most practical houseplants for apartments, bedrooms, home offices, entryways, and modern living rooms. When…
-
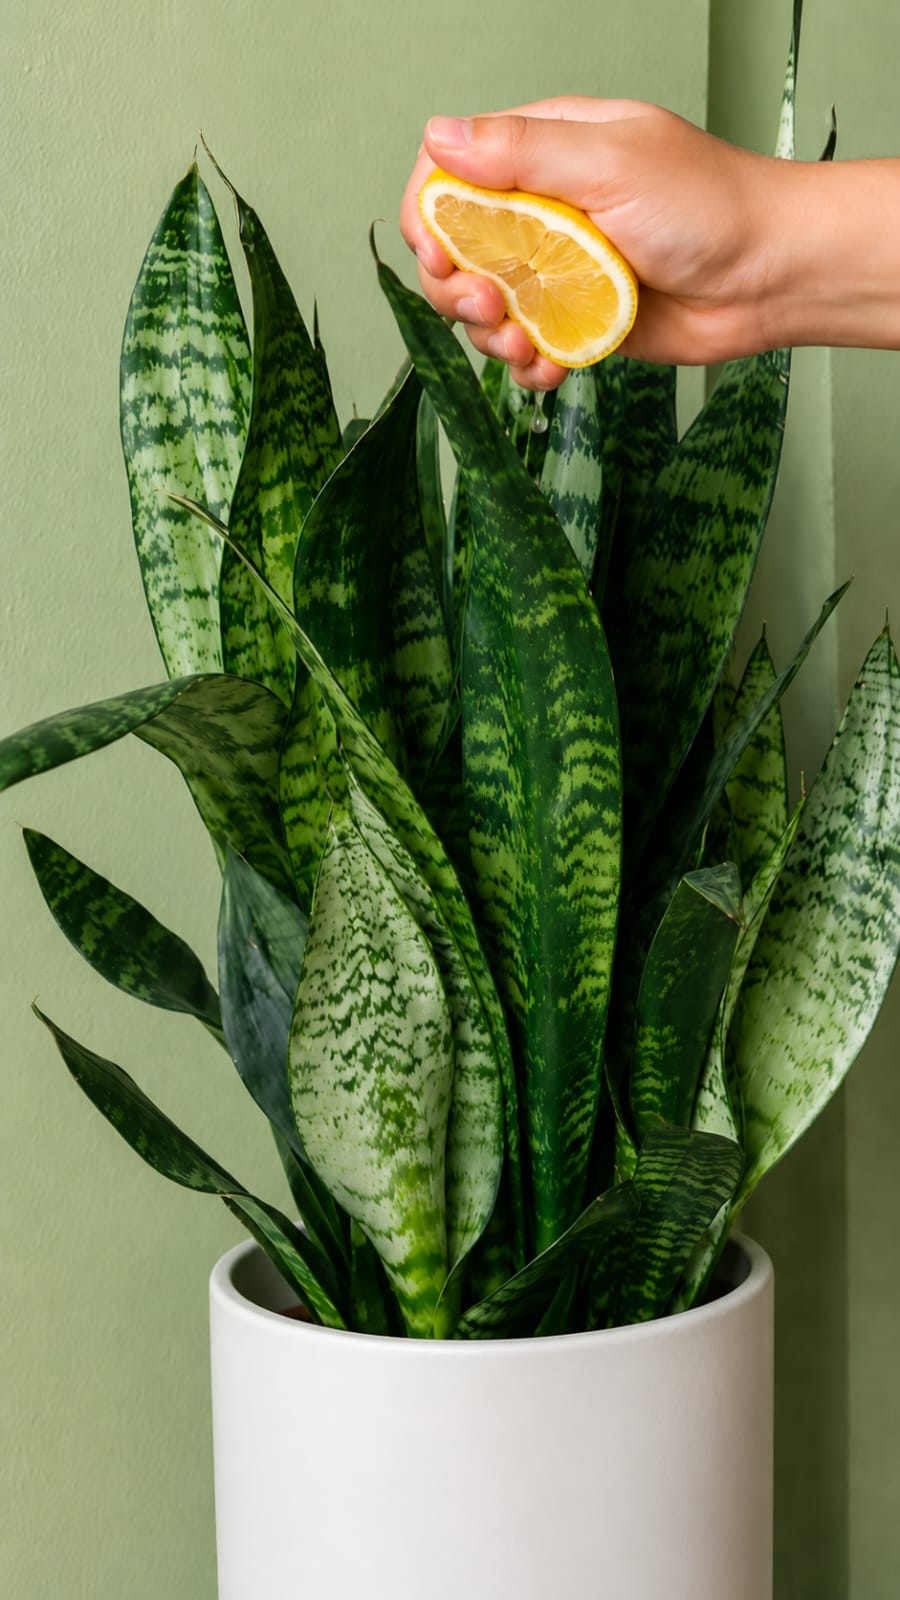
Why Homeowners Are Using a Light Lemon-Based Snake Plant Tonic, Better Drainage Mix, Indoor Plant Fertilizer, and Ceramic Pot Styling to Support Cleaner Leaves and a More Refined Indoor Look
A healthy snake plant can make an indoor room feel cleaner, calmer, and more expensive without demanding constant attention. Its upright leaves bring structure, its patterned green color adds natural contrast, and its simple shape works beautifully in bedrooms, apartments, home offices, entryways, and modern living rooms. When a snake plant looks full, firm, and…
-
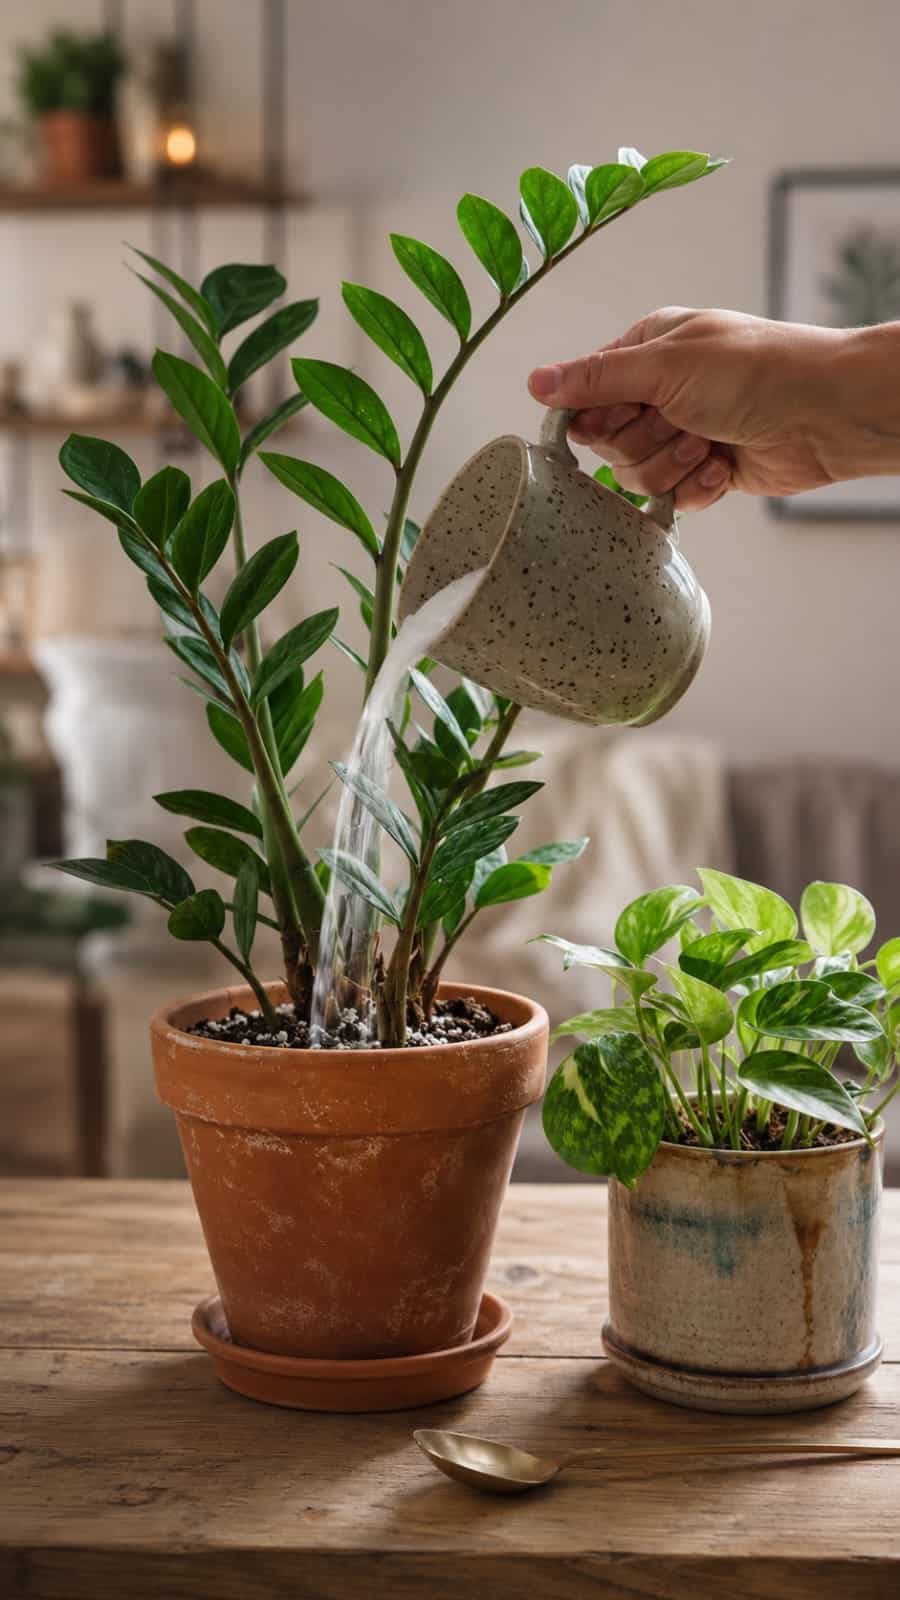
The One Simple Ingredient Secret for Stronger ZZ Plants and Faster Indoor Growth
ZZ plants have become one of the most popular indoor plants in modern homes because they combine beauty, durability, and low maintenance care in one stunning tropical houseplant. But recently, a viral indoor gardening trend has captured attention online after plant lovers began using one simple natural ingredient to encourage lush, sturdy growth in ZZ…