Meta Description: Is your orchid all leaves and no roots? Don’t throw it away. Learn the sphagnum moss technique, the “sweat box” method, and professional rooting hormone tricks used by nurseries to save your plant.
There is a moment of panic every orchid owner knows. You go to repot your Phalaenopsis, and the potting mix crumbles away to reveal a horror show: the roots are brown, mushy, or completely gone. Maybe they rotted from overwatering, or perhaps they dried out and died. Whatever the cause, you are now holding a plant with a crown, a few leaves, and zero anchor points.
In the average home, that plant is doomed. But in a nursery? That’s just another Tuesday. Professional growers don’t give up on a plant just because the roots have failed. They have a arsenal of techniques to force a rootless orchid to grow back, and you can use them too.
Here is the exact method nurseries use to take a dying, rootless orchid and make it reborn in a matter of weeks.
Step 1: The Triage (Stop the Rot)
Before you can encourage new growth, you must stop the decay. If you place a rotting plant into a revival setup, you are just creating a bacteria farm.
The Surgical Procedure:
- Unpot and Clean: Remove all old potting medium. Rinse the root zone under lukewarm water so you can see what you are dealing with.
- The Snip Test: Healthy roots are firm and green or white. Rotten roots are brown, black, and hollow or stringy. Take a sterile pair of scissors or pruning shears and cut away everything that is rotten. If a root is soft, it must go. If you are unsure, squeeze it gently—if it collapses, cut it.
- Seal the Wounds: This is the step home growers often miss. After cutting, the “wounds” on the plant are open doors for infection. Nurseries dust the cut ends with cinnamon powder (a natural antifungal) or a commercial sulfur-based fungicide .
- Dry Period: Let the plant sit out of its pot for at least 12-24 hours. This allows the cut ends to callous over completely before they see moisture again.
Step 2: The Hormone Kickstart
In nature, roots grow in response to moisture and humidity. But in a nursery, we cheat. We use rooting hormones to force cell division at the base of the plant.
The Nursery Trick:
Growers use auxin-based hormones, usually IBA (Indole-3-butyric acid) or NAA (1-Naphthaleneacetic acid) . You can buy this as a powder or gel at any garden center (often labeled as “Rooting Hormone”).
· The Application: Dip the base of the orchid (where the roots used to be) into the powder or gel before placing it in the revival medium .
· Why it works: This hormone signals to the plant cells that it is time to produce roots, bypassing the plant’s natural hesitation.
Step 3: The “ICU” Setup (Sphagnum Moss Method)
Once the plant is cleaned and treated, it needs an environment that is humid enough to support growth but airy enough to prevent rot. Nurseries typically use one of two methods for this, but the most common is the Sphagnum Moss Technique.
Materials:
· Long-fibered sphagnum moss (not the finely ground stuff)
· A clear plastic pot (or a clear cup)
· A spray bottle
The Process:
- Hydrate the Moss: Soak the sphagnum moss in water for about 15-20 minutes. Then, squeeze it out vigorously. You want the moss damp, not soaking wet. If you can squeeze water out in a stream, it is too wet.
- Create a Nest: Loosely pack the damp moss into the clear pot. Do not pack it tightly—orchids need air flow.
- Set the Orchid: Place the orchid on top of the moss. Do not bury the crown (the center where the leaves meet). You want the very base of the plant resting on the moss, allowing the air roots to form downward.
- The Humidity Dome: This is the secret weapon. Place the entire pot inside a clear plastic bag or a recycled 2-liter soda bottle with the top cut off. This creates a greenhouse effect with near-100% humidity .
Step 4: The “Sweat Box” Method (For Severe Cases)
If the orchid has no leaves and is just a stem (a “stick”), or if the sphagnum method is too slow, nurseries use a Sweat Box. This is essentially a terrarium setup.
How to Build a Sweat Box:
- Take a clear plastic storage tote.
- Place a layer of damp perlite or clay pebbles at the bottom.
- Place the orchid on top of the pebbles. The roots (or base) should not be sitting in water, but hovering just above it.
- Close the lid.
The humidity inside this box becomes intense. Light hits the perlite, creating a steamy environment. In many cases, nurseries report that this high humidity alone is enough to trigger root growth, even without moss . You must open the lid once a day for fresh air exchange to prevent fungal growth.
Step 5: The “Sphag-and-Bag” (For the Adventurous)
This is a variation of the sweat box but for a single plant. It looks drastic, but it works incredibly well for rootless orchids.
The Method:
- Wrap the base of the orchid in a small handful of damp (not wet) sphagnum moss.
- Place the entire plant—leaves and all—inside a clear plastic bag.
- Blow a little air into the bag to puff it up (creates air space) and seal it shut.
- Hang it in a bright location, but out of direct sun.
Inside the bag, the plant transpires, creating its own perfect humidity cycle. Nurseries have found this forces roots to emerge quickly to seek more moisture. Once you see new roots about 1-2 inches long, you can remove it from the bag and pot it normally .
Light and Temperature: The Silent Partners
You can have the perfect moss and the best hormones, but if the light and temperature are wrong, the orchid will sit there and do nothing for months.
· Light: A rootless orchid cannot handle direct sun (it has no roots to drink, so it will desiccate). But it needs bright, indirect light. A north or east-facing windowsill is ideal. Nurseries often use LED grow lights placed 12-18 inches away to provide consistent, low-heat energy .
· Temperature: Phalaenopsis orchids root best in warmth. Aim for temperatures between 75°F and 80°F (24°C – 27°C) during the day . If it is too cold, the metabolic processes slow to a crawl.
Watering a Rootless Plant (Yes, You Still Water)
How do you water a plant that has no roots to drink? You don’t water the plant; you maintain the humidity around it.
· For the Moss Method: Check the moss every 5-7 days. If it feels dry to the touch, mist it lightly. You want it to cycle between damp and nearly dry to encourage root growth.
· For the Sweat Box: You rarely need to add water because the system is closed. Just watch for condensation on the walls—that is a good sign.
· Foliar Feeding: Since the plant has no roots to absorb nutrients, you must feed the leaves. Nurseries use a foliar fertilizer spray diluted to half-strength once a week. Mist the underside of the leaves (where the stomata are) for best absorption .
The Timeline: What to Expect
Patience is key. You are asking a plant to perform a biological miracle.
· Week 1-2: The plant may look the same, or one lower leaf might yellow and drop. This is normal—the plant is sacrificing old leaves to fuel new growth.
· Week 3-4: You may see tiny green bumps or nubs appearing at the base. These are root initials. This is the moment you’ve been waiting for.
· Week 6-8: The roots should be long enough (2-3 inches) to consider potting. Do not pot them too soon! Wait until they have branched or are long enough to anchor into a potting mix.
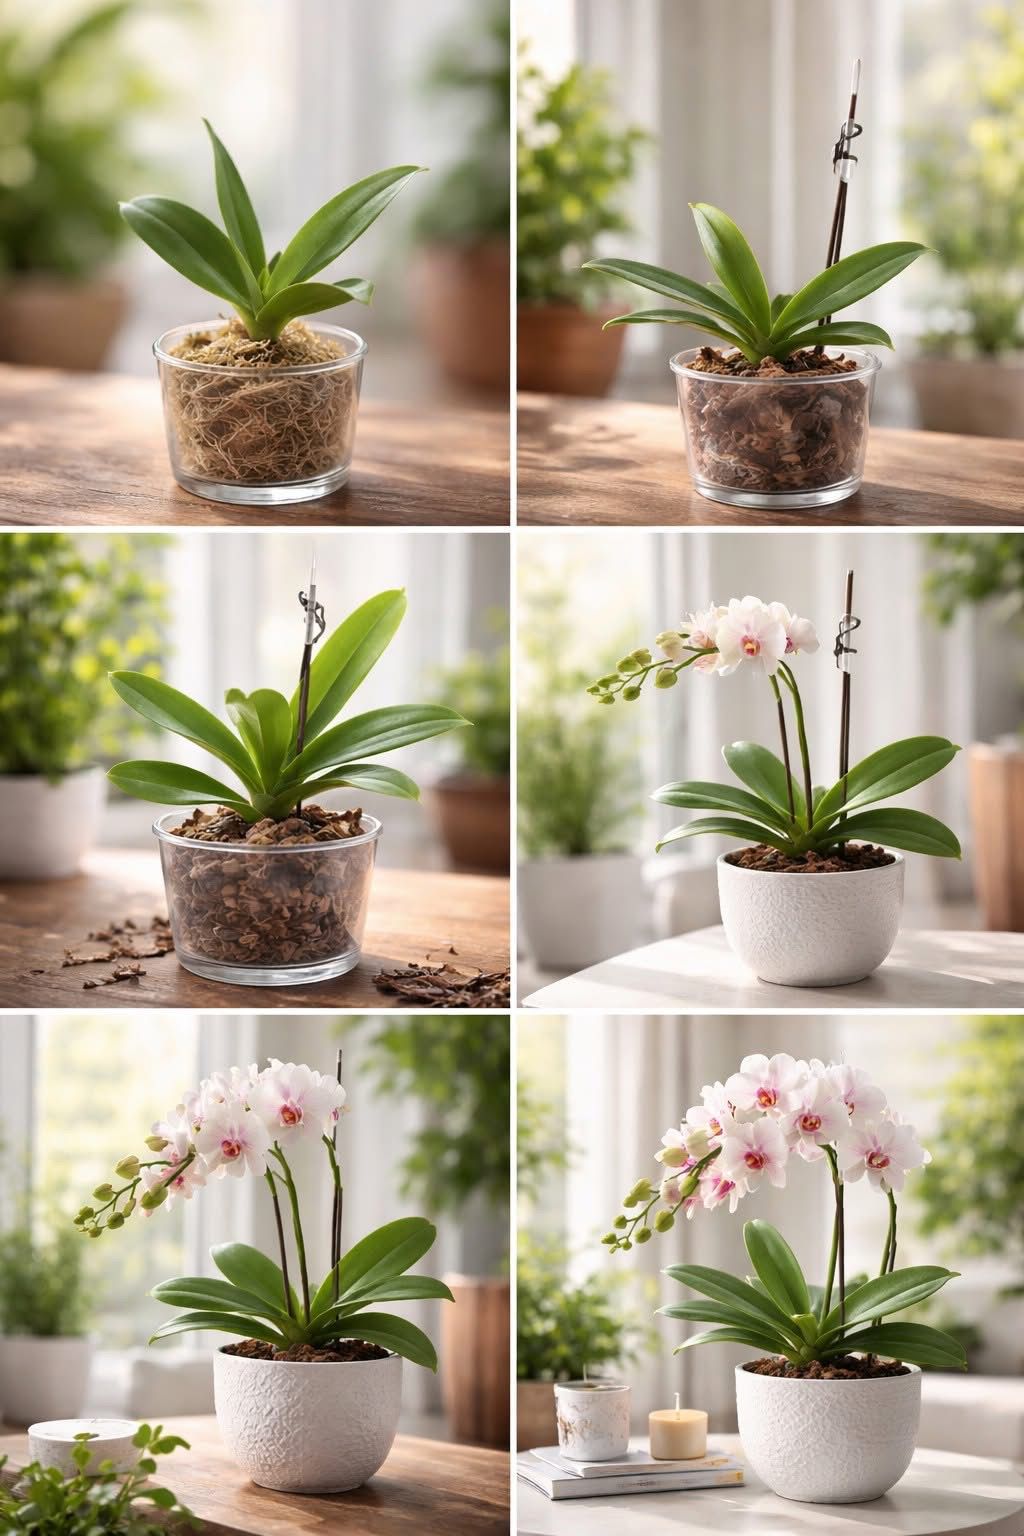
The Final Potting: Transitioning to Normal Life
Once your orchid has 3-5 roots that are at least 2-3 inches long, it is ready to leave the “ICU.”
Choose a small pot. A pot that is too big will hold too much moisture and cause the new, tender roots to rot.
Use a coarse, airy orchid bark mix.
Pot it up carefully, tucking the new roots into the bark. Do not water for 3-5 days after potting to allow any root injuries to heal.
Resume normal orchid care: water when the medium is dry, provide bright light, and enjoy your second-chance plant.
Common Mistakes That Kill Revival Efforts
· Moss too wet: This is the #1 killer. Sphagnum moss should be squeezed until it is just damp. If it is soggy, the new roots will rot faster than the old ones did.
· Checking too often: It is tempting to poke and prod to see if roots are growing. Every time you disturb the plant, you break the delicate new root tips. Check once a week at most.
· Using fertilizer too soon: Do not use full-strength fertilizer in the water. The plant has no way to process it, and salts will burn the tissue. Stick to foliar sprays only until the roots are established.
Conclusion
A rootless orchid looks like a death sentence, but in the hands of a nursery, it is just a propagation project. By creating a sterile, humid environment and using rooting hormones to trick the plant into survival mode, you can force new roots to emerge in a matter of weeks.
Clean the rot, apply the hormone, nestle it in damp moss, and seal it in a humidity dome. Give it warmth and light, and let nature do the rest. Your orchid will be reborn.
Frequently Asked Questions (FAQ)
Q: Can I save an orchid with no roots and wrinkled leaves?
A: Yes. Wrinkled, pleated leaves are a sign of severe dehydration, but it is not the end. The sweat box method is ideal for this, as the high humidity will help plump up the leaves while you wait for roots to grow .
Q: Is cinnamon really as good as a rooting hormone?
A: Cinnamon is an excellent antifungal, which is crucial for preventing rot on fresh cuts. However, it is not a rooting hormone. It disinfects the wound, giving the plant a healthy start, but it doesn’t chemically stimulate root growth like IBA hormone does .
Q: How long can an orchid live without roots?
A: It depends on the energy stored in the leaves. A healthy orchid with thick, firm leaves can survive for several months without roots by using its stored resources, especially if given foliar feeds . A weak plant may only last a few weeks.
Q: Should I use hydrogen peroxide on rootless orchids?
A: Diluted hydrogen peroxide (3% solution mixed 1:1 with water) can be used to disinfect the root area if there is stubborn rot, but it should be rinsed off. Do not soak the plant in it regularly, as it can kill new growth tips .
Q: My orchid grew one root—can I pot it now?
A: Wait for more roots. A single root is fragile and likely to break during potting. Wait until the plant has at least 3-4 roots that are a few inches long to give it a stable foundation .
More Ideas You Might Like
-

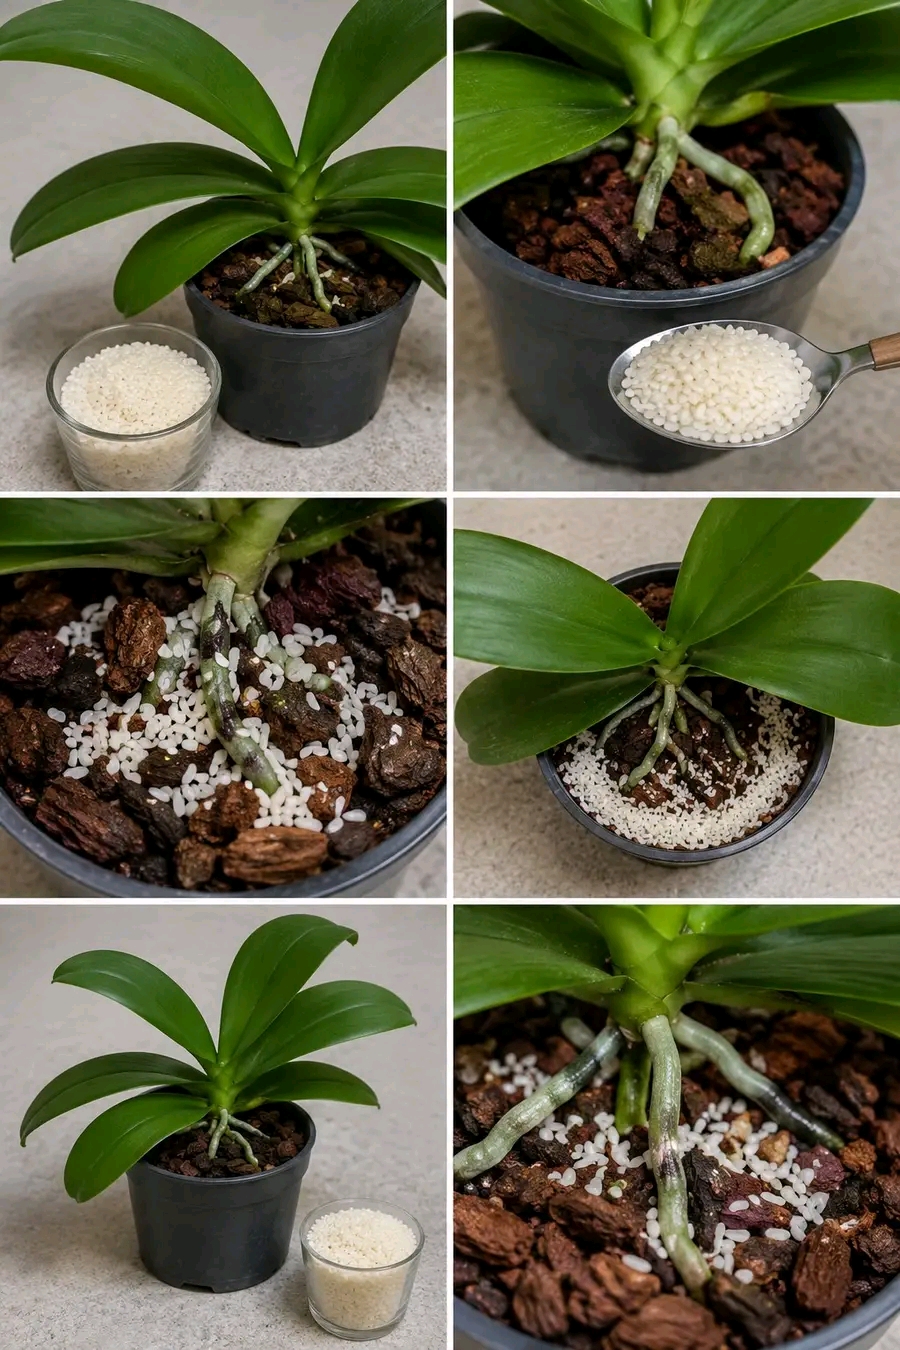
Why Some Homeowners Are Adding Small White Rice Grains Around Orchid Roots to Support Cleaner Care, Stronger Roots, and a More Elegant Indoor Display
Orchids are among the most elegant indoor plants for homeowners who want glossy green leaves, graceful flower spikes, sculptural roots, and a refined decorative look that feels premium even in a simple pot. A healthy orchid can instantly upgrade a windowsill, living room table, bedroom shelf, home office corner, balcony display, apartment plant area, commercial…
-

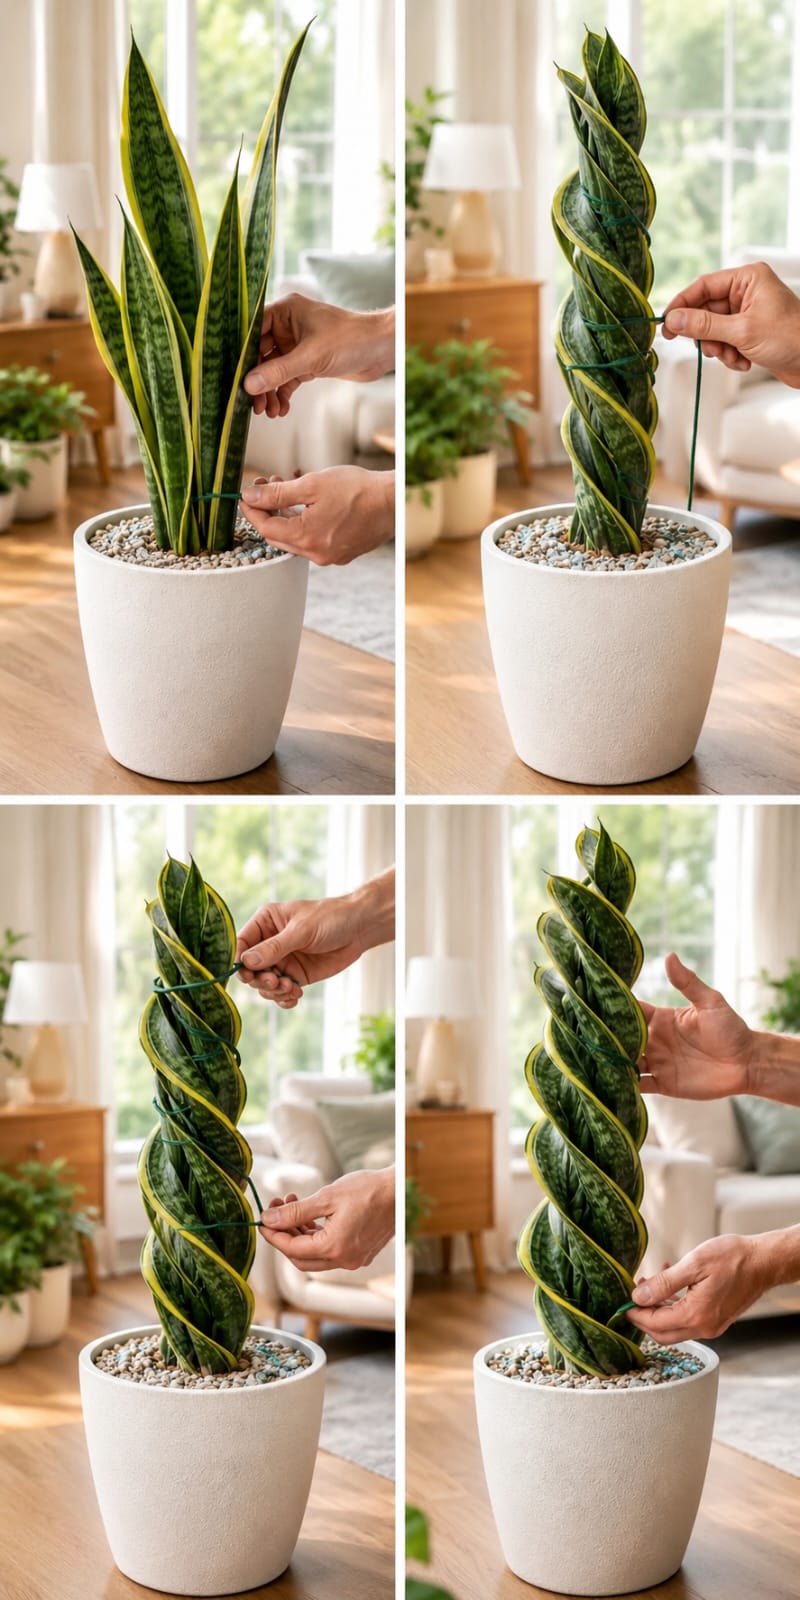
How to Train a Snake Plant Into a Spiral Shape for a Cleaner, Taller, and More Elegant Indoor Display
Snake plant is one of the most stylish indoor plants for homeowners who want bold upright leaves, strong architectural shape, low-maintenance care, and a clean decorative look that fits beautifully inside living rooms, bedrooms, home offices, apartments, bright corners, entryways, modern plant shelves, commercial interiors, luxury home staging, and premium indoor plant displays. Its tall…
-
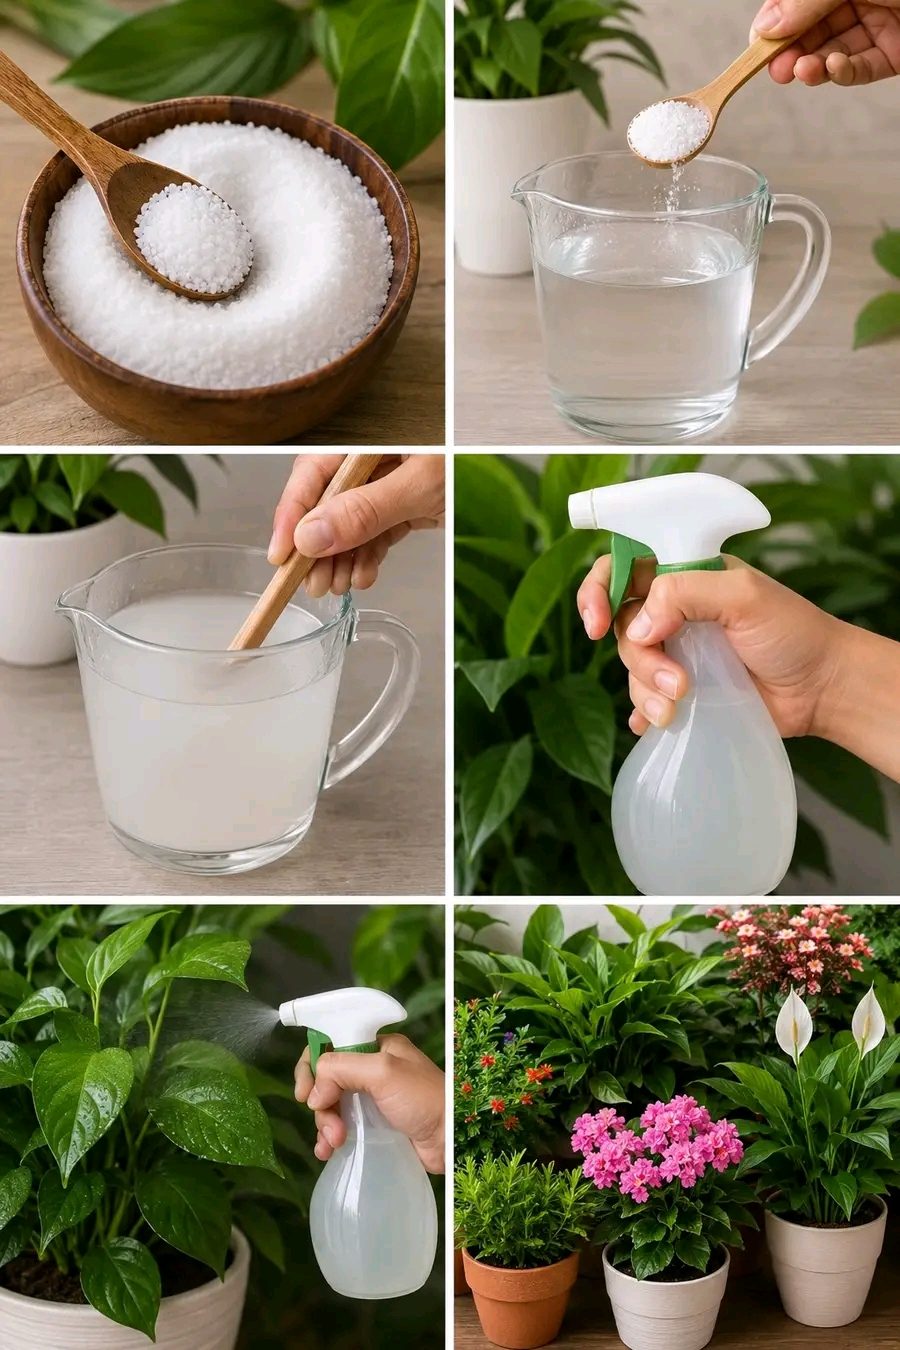
Why Some Gardeners Are Mixing White Crystals With Water to Make a Gentle Plant Spray for Cleaner Leaves, Stronger Growth, and a More Vibrant Indoor Display
Many indoor plant lovers are always looking for simple ways to keep their plants looking fresh, glossy, full, and healthy without spending money on complicated products. A light spray made from white crystals dissolved in water is one of those popular plant-care ideas that often gets attention because it looks easy, inexpensive, and suitable for…