Orchids have a way of testing your patience. For weeks or even months, they may sit quietly with no flowers, no obvious growth, and only a few green roots or small shoots to prove they are still alive. Then suddenly, with the right care, a tiny flower spike appears. That little green stem can feel like a victory.
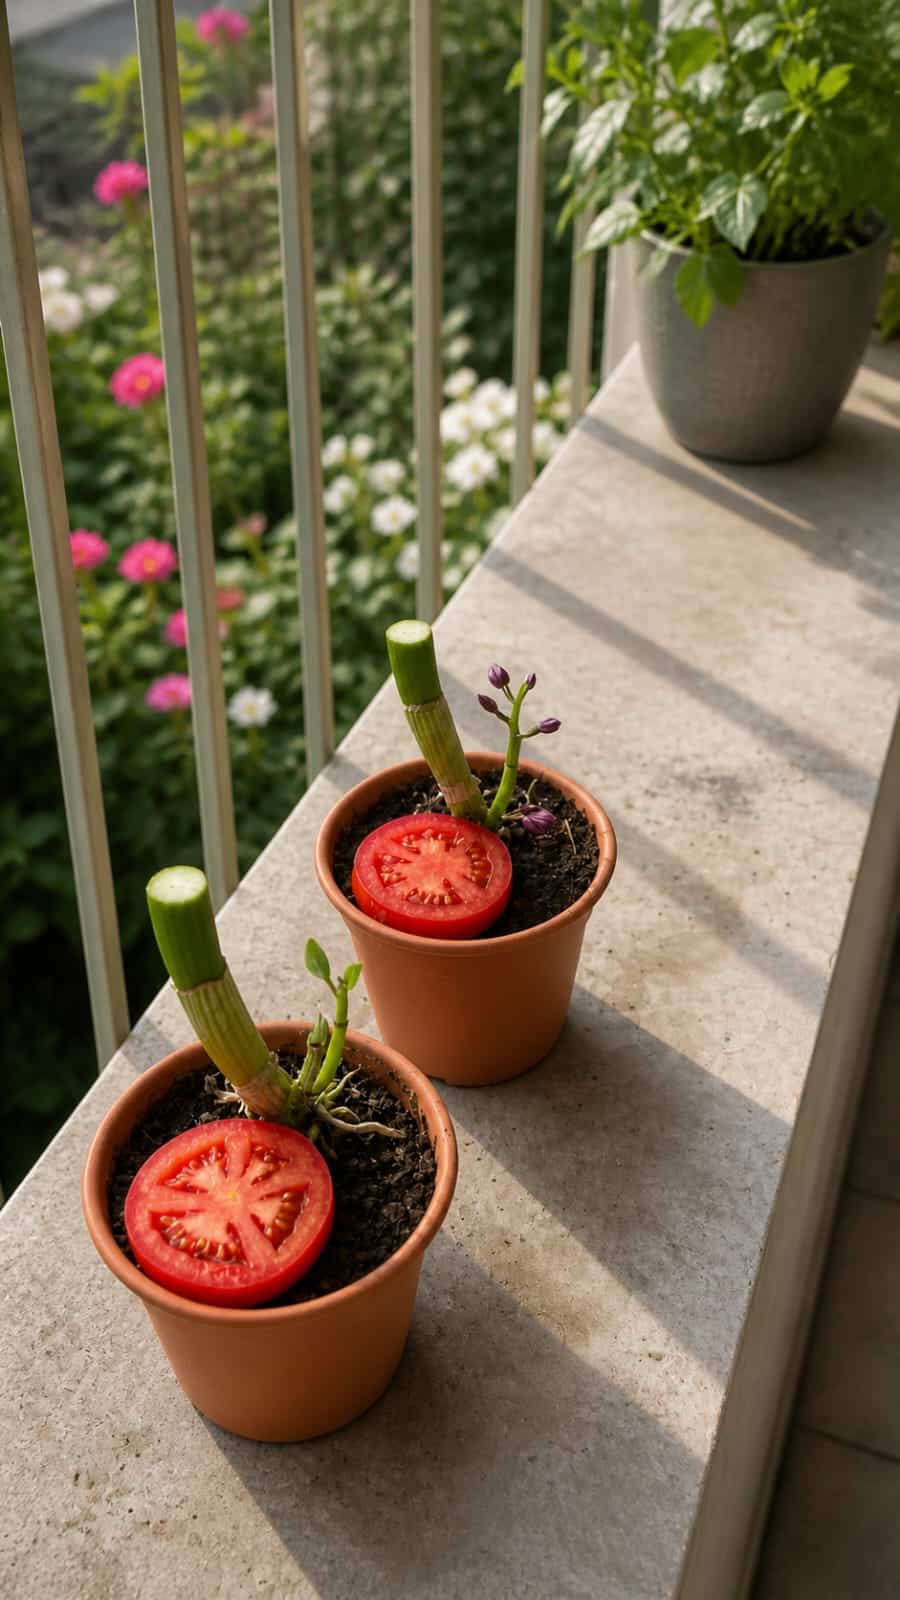
The image shows two small orchids in terracotta-style pots on a sunny balcony ledge. The old flower stems have been cut back, and fresh green shoots are growing near the base. One pot even has tiny purple buds beginning to form. On top of each pot, there is a fresh slice of tomato placed directly on the soil surface. It looks like a simple kitchen trick: a tomato slice used as a natural boost for tired orchids.
For this image, the safest plant-care version is the tomato slice soil-feeding trick, but with one important correction: you should not leave a wet tomato slice sitting on orchid soil for days. Tomato can mold, attract gnats, sour the potting mix, and create too much moisture around orchid roots. The better method is to use tomato as a short-contact natural tonic, then remove it before it rots.
Used carefully, tomato can be turned into a mild homemade plant booster. It contains moisture, organic acids, and small amounts of minerals that can support soil life when used in tiny amounts. But orchids are sensitive plants. Their roots need air more than heavy food. The trick must be gentle, clean, and temporary.
What Plant Is in the Image?
The plants in the image look like small orchids, possibly phalaenopsis orchids that have been cut back after blooming. The tall cut stems suggest old flower spikes were trimmed, and the new growth near the base suggests the plant is trying to recover or push fresh growth.
Orchids are not like regular houseplants. Many common orchids naturally grow attached to trees, with their roots exposed to air, rain, and loose organic material. That means they do not want dense soil. They prefer chunky bark, airy potting mix, and careful watering.
This detail is important because a tomato slice sitting on dense soil might be okay for some garden plants for a short time, but orchids can suffer quickly if their root zone becomes wet, sour, or airless.
What Is the Tomato Slice Trick?
The tomato slice trick is a homemade plant-care idea where a thin slice of fresh tomato is placed on top of the potting mix for a short time. The idea is that the tomato releases a little moisture and organic matter into the top layer of the medium.
For orchids, this should be treated as a very light tonic, not a fertilizer and not a permanent mulch. Tomato should never be buried deeply into an orchid pot and should never be left long enough to rot.
The safest version is simple: place a thin tomato slice on the surface for a few hours, then remove it, wipe away any residue, and let the pot breathe.
Why Tomato Can Be Used Carefully
Tomatoes contain water, natural acids, and small amounts of nutrients. In outdoor soil, tomato scraps eventually break down and feed microbes. In a small orchid pot, however, the environment is much more delicate.
A tiny amount of tomato contact may lightly moisten the surface and create the feeling of a natural boost. But too much tomato can quickly become a problem. It can ferment, smell sour, attract fruit flies, invite fungus gnats, and encourage mold.
That is why this trick must be short and controlled.
The Safe Tomato Slice Method
Use this method only on a healthy or recovering orchid with good airflow and a pot that drains well. Do not use it on an orchid with rotten roots, moldy bark, or a bad smell coming from the pot.
You will need:
- One fresh ripe tomato
- A clean knife
- A paper towel
- A small spoon or chopstick
- Clean water for regular orchid care
Steps:
- Cut one very thin slice of tomato.
- Remove extra seeds and watery pulp if the slice is too juicy.
- Place the slice on top of the orchid medium, away from the crown of the plant.
- Leave it for only 2 to 4 hours.
- Remove the tomato slice completely.
- Wipe away any wet pulp left on the surface.
- Allow the pot to dry and breathe normally.
This gives you the visual and the idea of the trick without turning the orchid pot into a rotting compost cup.
Never Place Tomato Against the Orchid Crown
The crown is the central growing point where the orchid leaves or shoots emerge. Moisture trapped there can cause crown rot, which is one of the fastest ways to lose an orchid.
If you use a tomato slice, keep it on the outer surface of the potting medium. Do not press it against the plant base. Do not cover new shoots. Do not push tomato pulp into the crown or between leaves.
Orchids need airflow around their base. Keep the center clean and dry.
How Long Should the Tomato Stay?
Only a few hours. This is the most important part of the trick. A tomato slice should not stay overnight, and it should not stay for several days.
If left too long, it can mold. It can attract gnats. It can make the pot smell bad. It can also keep the bark or soil too wet.
Think of it as a short-contact treatment, not a mulch.
How Often Should You Use This Trick?
Use it only once a month at most, and only during active growth. If the orchid is producing new roots, new leaves, or a flower spike, you can try the trick carefully.
Do not repeat it every week. Do not use it on every watering day. Orchids do better with stable care than constant kitchen experiments.
One careful tomato treatment is enough to create the effect without overwhelming the plant.
Better Alternative: Tomato Water Tonic
If you want an even safer version, make a very weak tomato water instead of placing the slice directly on the pot.
Tomato water recipe:
- One small teaspoon of fresh tomato juice
- One cup of clean water
Mix well, then use only one or two tablespoons around the outer edge of the potting medium. Do not pour it into the crown. Do not soak the pot with tomato water.
This method reduces the risk of mold because you are not leaving fruit pulp on the surface.
Do Not Use Salted or Cooked Tomato
Only fresh plain tomato should be used. Do not use tomato sauce, ketchup, canned tomato, cooked tomato, tomato paste, or tomato mixed with salt, oil, garlic, vinegar, or spices.
Salt can damage roots. Oil can block airflow. Spices and sauces can attract pests and disturb the potting medium.
The trick only works as a plant-safe idea when the tomato is fresh, raw, and plain.
Why the Orchid in the Image Looks Like It Needs a Boost
The orchids in the image appear to have old cut spikes and new small growths. This is the stage when many orchid owners become impatient. The plant is no longer in full bloom, but it is not dead. It is rebuilding energy.
A tomato slice in this scene suggests a natural boost to encourage new shoots and buds. But the real bloom support still comes from light, watering, root health, and proper orchid fertilizer.
The tomato trick is only a decorative and gentle extra step.
The Real Secret to Growing Orchids
The real secret is not tomato. It is the root system. Orchid roots must be firm, plump, and able to breathe. If the roots are healthy, the plant can produce leaves, spikes, and flowers. If the roots are rotten, no kitchen trick will save it until the root problem is fixed.
Healthy orchid roots are usually green when wet and silvery when dry. Rotten roots are brown, black, mushy, hollow, or smelly.
Before using tomato or any tonic, check the roots if your orchid looks weak.
Best Potting Mix for Orchids
Most common orchids do best in a chunky orchid bark mix. A good mix may include:
- Orchid bark
- Perlite
- Charcoal
- A little sphagnum moss if your home is very dry
Do not use dense garden soil for most orchids. Dense soil can suffocate roots and hold too much water. The image appears to show a darker soil-like surface, but for real orchid care, airy bark is usually safer.
If your orchid is planted in heavy soil and struggling, repotting into orchid bark is more important than adding tomato.
Best Light for Orchids
The image shows the plants on a balcony ledge with bright natural light. Orchids love bright light, but most common indoor orchids do not like harsh direct midday sun.
Give them bright indirect light, gentle morning sun, or filtered balcony light. If the leaves turn yellow, bleached, or scorched, the light may be too strong. If the leaves are very dark green and the plant never blooms, the light may be too weak.
Good light is one of the biggest bloom triggers.
How to Water Orchids Correctly
Water orchids when the potting medium is nearly dry. The exact schedule depends on temperature, pot size, airflow, and the type of medium.
When watering, soak the potting mix thoroughly, then let all excess water drain away. Never let the pot sit in standing water. Avoid leaving water in the crown or between leaves.
Tomato slice tricks should never replace proper watering. They are only occasional extras.
Why Balcony Orchids Need Extra Attention
Balconies can be wonderful for orchids because they offer light and airflow. But they can also create stress. Sun can be too strong. Wind can dry roots quickly. Heat can warm the pots. Rain can overwater them.
If you grow orchids on a balcony, check them often. Make sure they are protected from harsh midday sun, strong wind, and cold nights.
A tomato slice cannot protect an orchid from bad placement. Location comes first.
Can Tomato Help Orchids Bloom?
Tomato will not magically force an orchid to bloom. Blooming depends on plant maturity, light, root health, temperature changes, and proper care. Some orchids also need a small nighttime temperature drop to encourage spikes.
The tomato trick may act as a mild natural tonic, but it is not the main bloom trigger.
If your orchid is not blooming, improve light first. Then check roots. Then adjust feeding.
Should You Fertilize Orchids?
Yes, orchids benefit from light feeding during active growth. Use a proper orchid fertilizer at a diluted strength. Many growers follow a “weakly, weekly” approach, meaning a very weak fertilizer solution used regularly during growth, with occasional plain-water flushing.
Homemade tricks like tomato are not complete fertilizers. They cannot provide balanced nutrition.
Use tomato only as a fun natural boost, not as the main feeding plan.
Continue to Page 2
Continue to page 2 for more details about this article and the key points many readers miss on the first page.