It looks almost too simple to work. A few onion bottoms. A shallow tray of soil. A little water. And before long, fresh green growth begins to appear.
This is one of those satisfying home gardening tricks that feels both practical and a little magical. Instead of tossing onion ends into the trash, you can use them to start new onion growth right at home. It is inexpensive, beginner‑friendly, and a great way to make use of kitchen scraps. No fancy setup. No expensive supplies. Just a smart way to regrow something useful from what most people throw away.
In this guide, you will learn exactly why onion bottoms can regrow, how to prepare and plant them, the best conditions for success, common mistakes to avoid, and how to turn those little scraps into a rewarding gardening project.
Why Onion Bottoms Can Grow Again
The base of an onion still contains the part of the plant where new roots and shoots can form. Onions are biennials — they grow from a bulb (or bottom) and, given the right conditions, will continue to produce new growth. The root plate (the flat, slightly hairy area at the very bottom) holds the potential for new root development. Above that, the basal plate contains meristematic tissue — plant cells that can differentiate into new leaves, stems, or roots.
That is why the onion base is the key. When placed root‑side down into moist soil, it can begin developing:
· New roots below – Fine white roots that anchor the plant and absorb water and nutrients.
· Green shoots above – Fresh, upright leaves that emerge from the center of the bottom.
· Sometimes more than one growing point – Multiple shoots can form, giving you a cluster of new onion plants.
This is not magic. It is simply the onion continuing its natural growth cycle. Even a discarded onion bottom still has living cells ready to sprout when given moisture, warmth, and light.
Why This Trick Is So Popular
People love this method because it is:
· Cheap – You use scraps you would otherwise throw away.
· Easy – No special skills or equipment needed.
· Satisfying to watch – New growth appears within days to a week.
· Beginner‑friendly – Perfect for first‑time gardeners or kids.
· A great use for kitchen scraps – Reduces waste and gives you free plants.
It also works well for families, small‑space gardeners, and anyone who enjoys simple food‑growing ideas without needing a full garden right away. Even if you only have a tray, a patio, or a sunny corner, this can be a fun project to try.
What You Need (Very Little)
This method does not require much. You probably already have everything at home.
Basic Supplies:
· Onion bottoms – From any onion variety: yellow, white, red, or sweet onions.
· Shallow tray, container, or seed tray – A plastic takeout container, a small pot, or a seed starting tray works fine.
· Potting soil – Light, well‑draining potting mix. Do not use garden soil (it can be too heavy and may contain pests).
· Water – For keeping the soil lightly moist.
· Sunlight or bright light – A sunny windowsill, a patio, or a grow light.
If the onion bottoms are still fresh and not moldy or rotten, they are the best candidates. You can use bottoms from onions you just chopped for dinner, or you can save them in the refrigerator for a day or two.
How to Prepare the Onion Bottoms
If you are using scraps from cooking, leave a little extra at the root end instead of cutting it too thin. A good onion bottom should be:
· Firm – Not soft or squishy.
· Not mushy – No signs of rot.
· Not slimy – Fresh and dry to the touch.
· With the root plate still attached – The flat, slightly hairy area at the bottom.
When you chop an onion for cooking, cut about ½ to 1 inch above the root end. That gives you a nice, thick bottom with plenty of living tissue. If the piece is too thin or damaged, it is less likely to regrow well. You can also use small, sprouting onions from your pantry that have already begun to grow on their own — those are even easier.
How to Plant Them (Step‑by‑Step)
Follow these simple steps for the best results.
Step 1 – Fill a Tray with Soil
Use a shallow tray or container with drainage holes (if possible). Fill it with moist but not soggy potting soil. The soil should feel like a wrung‑out sponge — damp but not dripping.
Step 2 – Place Onion Bottoms Root‑Side Down
Set the onion bottoms on top of the soil with the root plate facing down. Gently press them slightly into the soil so they are stable. The top of the bottom should be just above the soil line.
Step 3 – Space Them a Little Apart
Give each onion bottom enough room to breathe and grow. About 2–3 inches apart is fine. Crowding can lead to mold and poor growth.
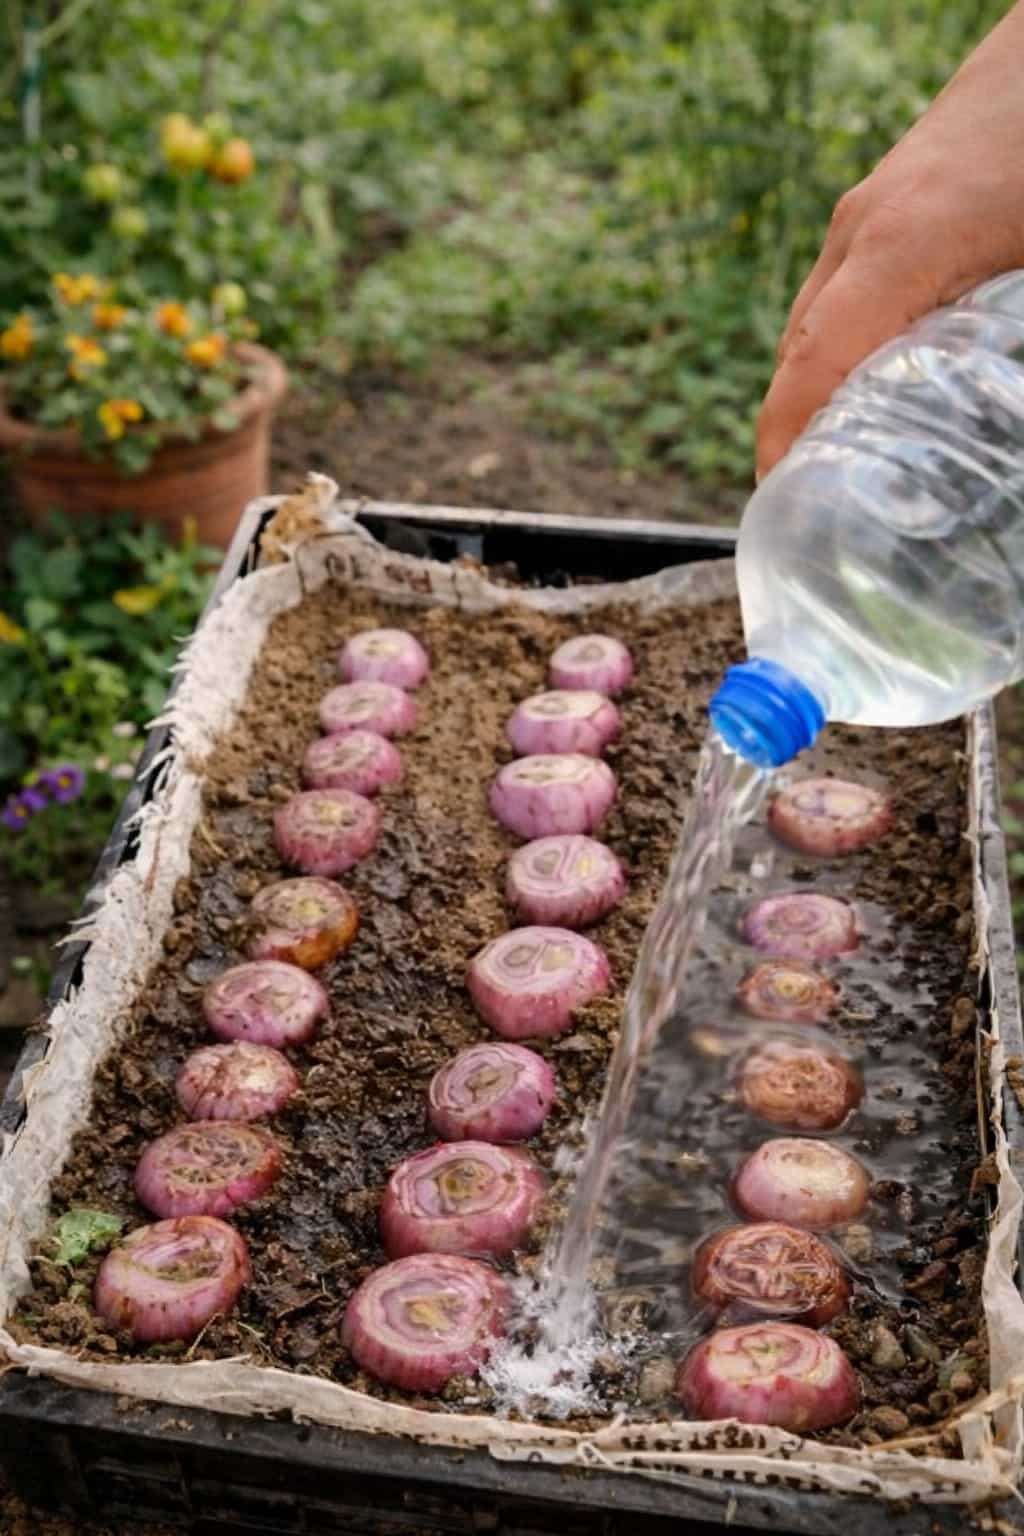
Step 4 – Water Lightly
Use a spray bottle or a gentle watering can to moisten the soil around the bottoms. Do not soak. The soil should stay lightly moist, never waterlogged.
Step 5 – Place in a Bright Spot
Put the tray in a sunny outdoor area (but not scorching midday sun) or on a bright windowsill. South‑ or west‑facing windows work well. If you have a grow light, place the tray 6–12 inches under it for 12–14 hours daily.
What Happens Next (The Satisfying Part)
After a little time, you may start seeing:
· Roots growing into the soil – Usually within 3–5 days. Fine white threads will appear from the root plate.
· Green shoots emerging from the center – Within 7–14 days, you will see bright green leaves pushing up from the middle of the onion bottom.
· Fresh upright growth – The shoots will grow taller and thicker, looking like green onions or scallions.
This is the part people love most. It is simple, but very satisfying to watch something grow from what was once kitchen waste.
Can They Become Full Onions Again?
Sometimes people expect a perfect large onion to form quickly, but that is not always how it works. Onions are biennials, meaning they flower and set seed in their second year. When you regrow from a bottom, the plant is essentially continuing its life cycle.
What You May Get First:
· Green onion‑style top growth – The shoots look like scallions or spring onions. They are edible and have a milder onion flavor.
· Regrowth from the center – The plant focuses on leaves before bulbs.
· A developing plant that can later be transplanted – If grown longer and under good conditions, the plant may continue developing further.
If you want to grow full‑sized bulbs, you will need to transplant the regrown plants into a garden bed or large pot with rich soil, give them full sun, and wait for the longer growing season (usually 3–4 months). However, even just getting fresh green shoots is already useful and rewarding — you can snip them for salads, soups, or garnishes.
Continue to Page 2
Continue to page 2 for more details about this article and the key points many readers miss on the first page.