Best Conditions for Success
To get the strongest regrowth, onion bottoms need the following.
Bright Light
The more light they get, the stronger the new shoots tend to be. Indoors, a south‑facing window is ideal. Outdoors, choose a spot with at least 6 hours of direct or bright indirect sunlight. If shoots become pale, thin, and leggy, they are not getting enough light.
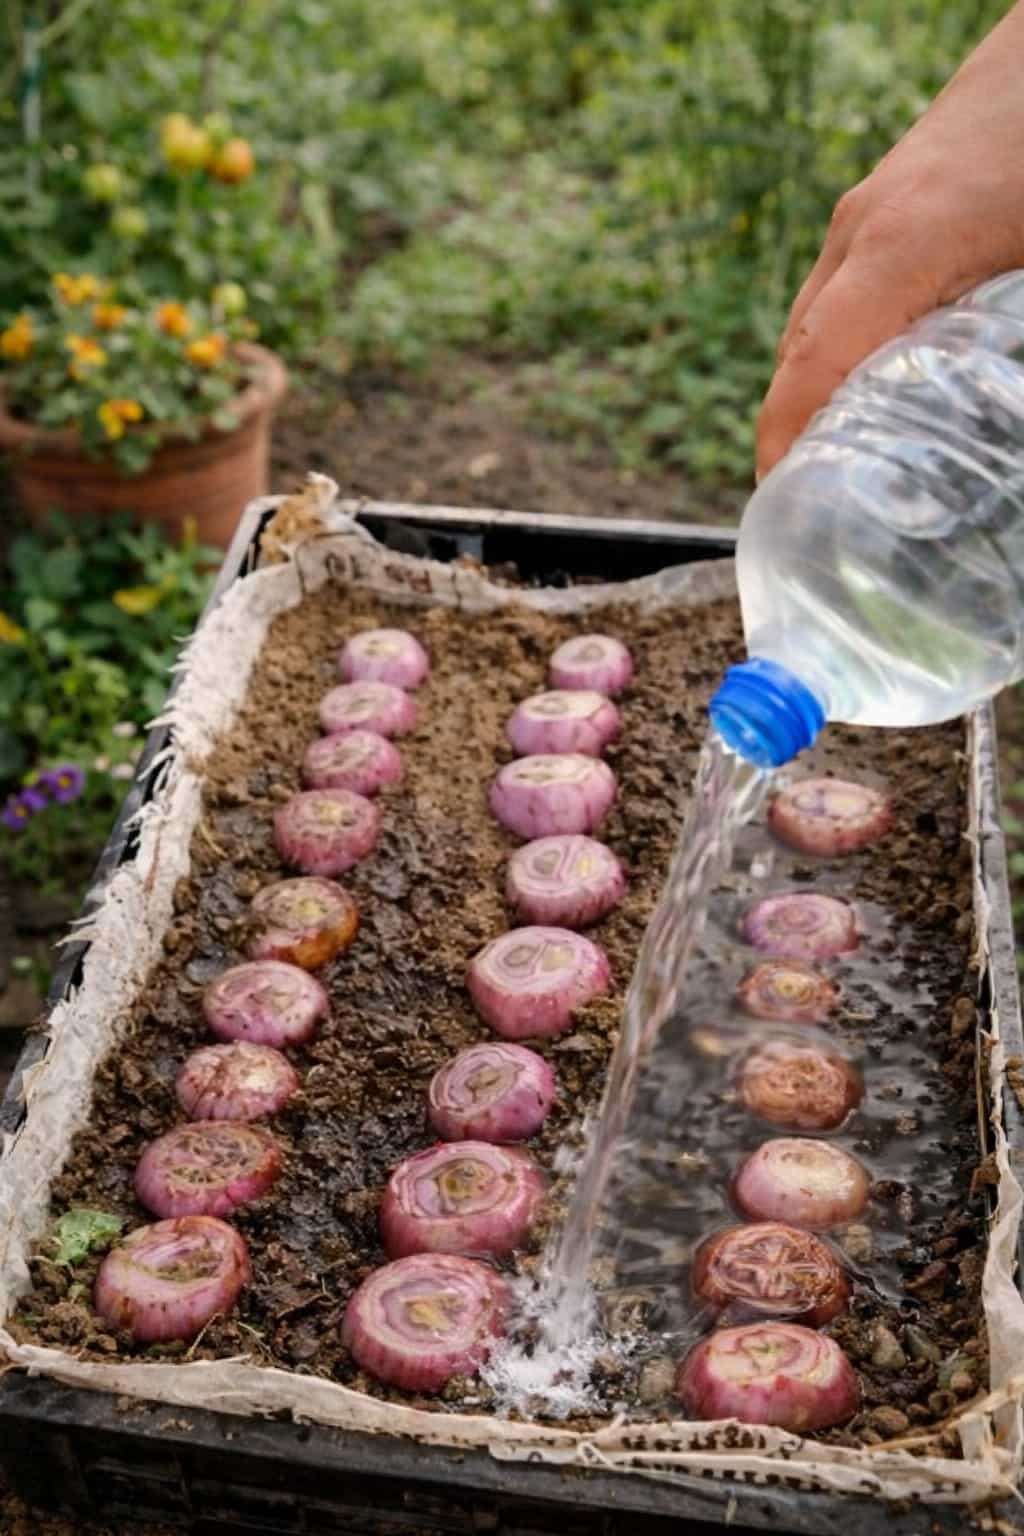
Even Moisture
Keep the soil lightly moist, but do not let it turn swampy. Water when the top of the soil feels dry to the touch. Overwatering leads to rot; underwatering stops growth.
Good Drainage
Too much wetness can cause rot. If your tray does not have drainage holes, be very careful with watering. You can also add a thin layer of gravel at the bottom to help.
Warmth
Mild warm conditions (65–75°F / 18–24°C) help speed up new growth. Avoid cold drafts or extreme heat.
Air Circulation
Stale, humid air can promote mold. If growing indoors, open a window occasionally or use a small fan on low.
Common Mistakes to Avoid
If you want better results, avoid these common errors.
Using Rotten Onion Bottoms
If the bottom is soft, smelly, or has black mold, it will not grow. Always start with fresh, firm scraps.
Planting in Soaking Wet Soil
Soggy soil leads to rot. The soil should be damp, not drenched.
Keeping Them in Deep Shade
Low light = weak, spindly growth. Move the tray closer to a window or add a grow light.
Crowding Them Too Tightly
Overcrowding increases humidity and disease risk. Space them out.
Expecting Instant Full Onions Overnight
Regrowth takes time. You will see green shoots in 1–2 weeks, but bulbs take months (if at all). Enjoy the greens first.
Forgetting to Water
The soil should not dry out completely. Check every day or two.
Using Garden Soil
Garden soil can be too heavy and may contain pests. Use potting mix.
Why This Is Such a Smart Kitchen Scrap Trick
One of the best things about this method is that it turns waste into something productive. Instead of throwing onion ends away, you can use them to:
· Regrow fresh green tops – Snip them like chives for cooking.
· Start a new plant – Transplant into a pot or garden.
· Experiment with food gardening – Great for beginners.
· Teach kids how plants grow – A fun, visual science project.
· Make your kitchen scraps more useful – Reduces landfill waste.
It is simple, but it changes the way you look at food scraps. Once you see that first green shoot push up from a discarded onion bottom, you will want to save every root end.
Can You Transplant Them Later?
Yes. Once the onion bottoms begin growing well and develop stronger roots (usually after 2–3 weeks), they can often be moved into:
· A larger pot – At least 6–8 inches deep with drainage holes.
· A raised bed – With rich, well‑draining soil.
· A garden row – Space them 4–6 inches apart.
How to Transplant:
- Gently lift the onion bottom from the tray, keeping the roots intact.
- Dig a small hole in the new container or garden bed.
- Place the onion bottom so the roots are covered and the top is just above the soil line.
- Water lightly to settle the soil.
- Place in full sun (at least 6 hours daily).
- Continue watering when the top inch of soil is dry.
Transplanting gives them more room to keep developing. With good care, you may eventually harvest small to medium bulbs after several months. However, even if you never transplant, the green shoots alone are worth the effort.
What to Do with the Green Shoots
The fresh, tender green leaves that grow from regrown onion bottoms are edible and delicious. They have a milder, sweeter flavor than mature onion bulbs.
Uses for Onion Greens:
· Chopped as a garnish – On soups, stews, baked potatoes, or tacos.
· In salads – Adds a fresh, oniony crunch.
· Stir‑fries – Cook like scallions.
· Omelets and scrambled eggs – Sprinkle on top or cook in.
· Herb butter – Mix chopped greens into softened butter.
· Bread or biscuit topping – Brush with butter and sprinkle greens.
You can snip the greens with scissors, leaving about an inch of growth so the plant continues to produce. They will regrow several times.
Frequently Asked Questions (Growing Onions from Bottoms)
Can I use any type of onion?
Yes. Yellow, white, red, and sweet onions all work. You can also use shallots, leeks, and spring onions with similar methods.
Do I need to let the onion bottom dry out before planting?
No. Freshly cut bottoms can go straight into moist soil. Some people let them dry for a day to callus over, but it is not necessary.
How long does it take to see growth?
Roots may appear in 3–5 days. Green shoots usually emerge in 7–14 days, depending on temperature and light.
Can I regrow onions in water instead of soil?
Yes. You can place the onion bottom root‑side down in a small glass of water (only the very bottom touching water). Change the water every 2 days. This works, but the shoots may be weaker, and the bottom can rot more easily. Soil is generally more reliable for long‑term growth.
Why are my onion bottoms rotting instead of sprouting?
Too much water or poor drainage. The soil should be lightly moist, not wet. Also, ensure the bottom was fresh and not already rotting.
Will I get a full‑sized onion from a regrown bottom?
Sometimes, but not always. The green shoots are the most reliable harvest. To get bulbs, you need to transplant into rich soil, provide full sun, and wait several months. Also, some onion varieties are bred for bulb production; grocery store onions may not bulb as well as seed‑grown ones.
Can I keep regrowing from the same bottom indefinitely?
No. After several harvests of green shoots, the bottom will eventually exhaust its energy and stop producing. You can then compost it.
Is this method worth it for large‑scale gardening?
For home use and fun, yes. For commercial production, no. This is a low‑yield, high‑enjoyment project — perfect for kitchen gardeners, not for farmers.
A Simple Onion Regrowth Calendar
Here is a timeline of what to expect.
· Day 1 – Prepare and plant bottoms.
· Day 3–5 – White roots appear.
· Day 7–10 – Small green shoots emerge.
· Day 14–21 – Shoots are 3–5 inches tall. You can begin snipping greens.
· Day 30+ – Continue harvesting greens. Transplant for larger growth if desired.
You can start new batches every few weeks for a continuous supply of fresh onion greens.
How to Make This a Regular Kitchen Practice
Once you see how easy and satisfying this is, you will want to keep a tray of onion bottoms growing on your windowsill all the time. Here is how:
· Save bottoms from every onion you use. Store them in a sealed bag in the refrigerator for up to a week.
· Start a new tray every 2–3 weeks for continuous harvest.
· Use a shallow, reusable container – Plastic takeout trays work great.
· Label your containers if you grow different onion varieties.
Involve your kids or family members. It is a wonderful way to teach where food comes from and reduce waste.
The Bigger Picture: Reducing Food Waste at Home
Onion bottoms are just one example of how kitchen scraps can be given a second life. Carrot tops, celery bases, lettuce cores, and potato peels can also be regrown in similar ways. By learning these simple tricks, you not only save money and grow free food, but you also reduce the amount of organic waste going to landfills.
Every onion bottom that sprouts green shoots is a small victory for sustainability. It is a reminder that gardening does not have to be expensive or complicated. Sometimes, the most rewarding plants come from the things you almost threw away.
Final Thoughts
Growing onions from onion bottoms is one of the easiest and most satisfying garden tricks you can try at home. With just a tray, a little soil, and regular moisture, those leftover root ends can turn into fresh new growth surprisingly fast. It is affordable, beginner‑friendly, and a great reminder that sometimes the best garden starts come from things you almost threw away.
Whether you are a seasoned gardener looking for a fun project, a beginner wanting to try something simple, or a parent teaching kids about plants, this method delivers. You will watch roots appear, shoots rise, and before long, you will be snipping fresh onion greens for your dinner.
So next time you chop an onion, do not toss the bottom. Save it. Plant it. Watch it grow. Because sometimes all it takes is a little soil, a little water, and a little patience to turn scraps into something growing again.
Have you tried regrowing onions from kitchen scraps? Share your experience in the comments below. And if you found this guide helpful, save it for later or send it to a friend who loves easy, rewarding garden projects.