Spider plants are often treated like simple beginner houseplants. People place them on shelves, water them occasionally, and expect them to survive quietly in the background. And to be fair, spider plants are tough. They can handle a little neglect, they adapt well to indoor spaces, and they usually keep growing even when conditions are not perfect.
But there is a big difference between a spider plant that simply survives and a spider plant that becomes a huge, overflowing, eye-catching showpiece.
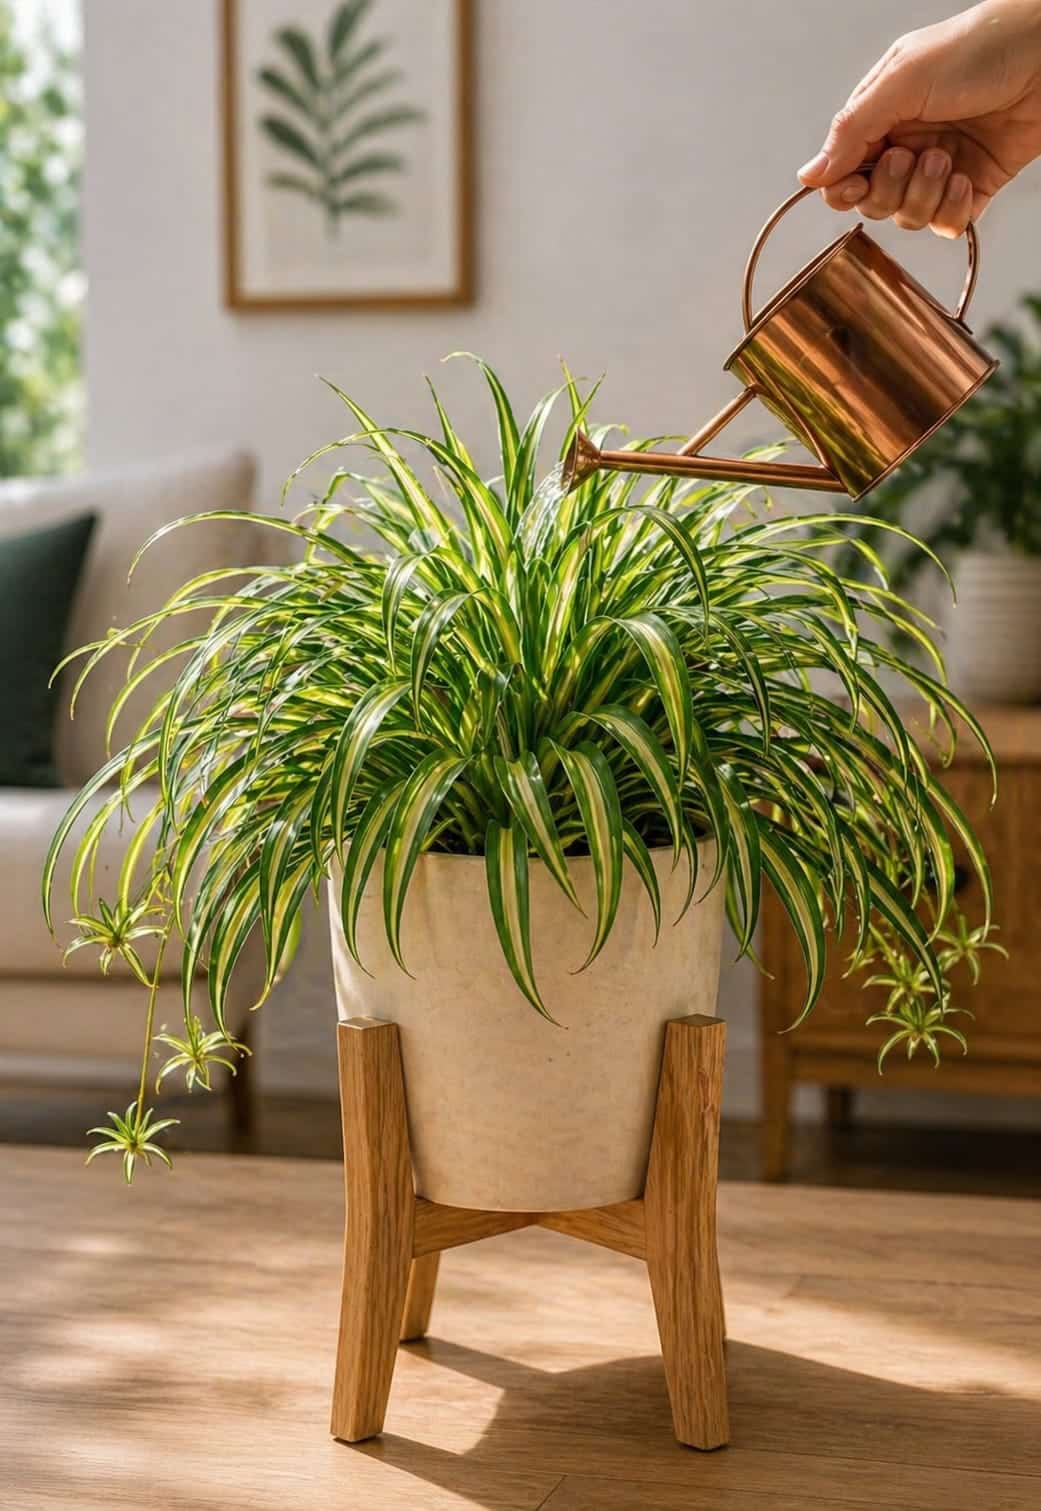
A truly beautiful spider plant does not just sit in a pot. It spills over the edges, sends out long arching leaves, produces baby plantlets, and fills a corner with fresh, bright movement. When grown well, a spider plant can look like a living fountain of green and white leaves. It can transform a balcony, brighten a living room, soften a modern apartment, and become one of the most attractive plants in your home.
The good news is that spider plants are not difficult to grow. The secret is not expensive fertilizer or complicated equipment. The real secret is knowing what small habits make the biggest difference.
Many people water their spider plant when they remember, keep it in whatever pot looks nice, and hope for the best. But people who grow giant, lush spider plants usually follow a few simple rules that most beginners overlook.
If your spider plant looks thin, pale, dry, slow-growing, or messy, these little-known secrets can help you turn it into a fuller, healthier, more impressive plant.
1. Give It Bright Indirect Light for Bigger, Fuller Growth
Spider plants are often described as low-light plants, but this can be misleading. They can survive in lower light, but they will not reach their full beauty there.
If you want a spider plant to become a giant showpiece, light is one of the most important factors. A spider plant kept in a dark corner may stay alive, but its leaves often become thinner, weaker, and less vibrant. Growth slows down, the plant produces fewer baby spiderettes, and the whole plant may look tired instead of full.
The best light for a spider plant is bright indirect light.
This means the plant should be in a bright space where it receives plenty of natural light, but not harsh direct sun for long periods. Direct afternoon sun can burn the leaves, especially the white or pale striped sections. But soft morning light, filtered balcony light, or light through a sheer curtain can work beautifully.
Good places for spider plants include:
Near an east-facing window
A few feet back from a south-facing window
On a bright balcony with filtered light
Near a glass door with indirect sun
On a plant stand in a bright room
If your spider plant is not growing much, move it closer to a light source. You may notice a big difference within a few weeks. The leaves may become stronger, the color may look cleaner, and new growth may appear from the center of the plant.
Light is what gives the plant energy. If you want a giant spider plant, you need to give it enough energy to grow.
2. Water Deeply, But Do Not Keep the Soil Wet
One of the most common mistakes with spider plants is watering too little at a time or watering too often.
Spider plants like consistent moisture, but they do not like sitting in soggy soil. Their thick roots can store water, which helps them tolerate short dry periods. However, if the soil stays wet all the time, the roots can become stressed. This can lead to brown tips, yellowing leaves, slow growth, and root problems.
The best watering method is simple:
Water deeply until water drains from the bottom of the pot.
Let the top layer of soil dry slightly before watering again.
Never let the plant sit in standing water.
This routine gives the roots a proper drink without suffocating them.
Many people give their spider plant tiny amounts of water every day or every few days. This can keep the top of the soil moist while the deeper roots remain unevenly watered. It can also encourage shallow root growth.
A deep watering method is usually better. It encourages the roots to grow through the soil and support a bigger plant.
Before watering, touch the soil. If the top inch feels dry or only slightly moist, it is usually time to water. If it still feels wet, wait a little longer.
Spider plants can forgive occasional dryness much better than constant sogginess.
3. Use a Pot With Drainage Holes
A beautiful pot can make a spider plant look more stylish, but the pot must also be functional. One of the biggest reasons indoor spider plants struggle is poor drainage.
If a pot does not have drainage holes, extra water stays trapped at the bottom. Even if the top of the soil feels dry, the lower roots may be sitting in stale water. Over time, this can cause root stress and weak growth.
For a spider plant to become large and lush, its roots need oxygen. Drainage holes allow extra water to escape and help air move through the soil.
If you love decorative pots, use this simple setup:
Keep the spider plant in a nursery pot with drainage holes.
Place that pot inside the decorative outer pot.
Remove the inner pot when watering.
Let it drain fully.
Place it back once the dripping stops.
This gives you both style and healthy roots.
A spider plant in a pot with good drainage will usually grow stronger, faster, and more evenly than one trapped in a sealed container.
4. Choose Light, Airy Soil Instead of Heavy Soil
Spider plants do not need fancy soil, but they do need soil that drains well and allows roots to breathe.
Heavy soil can hold too much water. Over time, it becomes compacted, which makes it harder for oxygen to reach the roots. When roots cannot breathe, the plant slows down. Leaves may turn yellow, tips may brown, and the plant may stop producing new shoots.
A good spider plant soil mix should be:
Light
Loose
Well-draining
Moisture-retentive but not soggy
A simple mix can include regular indoor potting soil with some added perlite. Perlite helps create air pockets and improves drainage. You can also add a little orchid bark if you want extra structure.
A useful mix for spider plants is:
70% indoor potting soil
20% perlite
10% orchid bark or coco chips
This type of mix helps the plant stay hydrated without keeping the roots too wet.
If your spider plant has been in the same soil for years, the soil may be compacted or depleted. Refreshing the soil can make the plant grow much better.
5. Feed Lightly During the Growing Season
Spider plants are not heavy feeders, but they do benefit from light feeding during active growth.
If your spider plant is getting enough light and water but still looks pale or slow, it may need nutrients. Fertilizer can support stronger leaves, faster growth, and more baby spider plants.
The key is not to overdo it.
Too much fertilizer can cause brown leaf tips or salt buildup in the soil. Spider plants are sensitive to excess minerals, so a gentle approach is better.
During spring and summer, feed your spider plant about once a month with a balanced liquid houseplant fertilizer diluted to half strength. You can reduce or stop feeding in fall and winter when growth naturally slows.
A simple feeding routine:
Spring: begin light feeding
Summer: feed monthly
Fall: reduce feeding
Winter: pause or feed rarely
The goal is steady support, not forcing the plant.
If the plant is stressed, recently repotted, or sitting in poor light, do not fertilize heavily. Fix the growing conditions first. Fertilizer works best when the plant is already healthy enough to use the nutrients.
6. Rotate the Pot for Even Growth
Spider plants naturally grow toward the light. If one side of the plant always faces the window, that side may become fuller while the other side looks weaker.
Over time, the plant can become uneven. One side may spill beautifully while the other side stays flat or sparse.
To keep your spider plant looking like a full showpiece, rotate the pot every week or two. A quarter turn is enough.
This helps all sides receive light evenly and encourages balanced growth.
A well-rotated spider plant looks more symmetrical, fuller, and more attractive from every angle. This is especially important if the plant is displayed on a stand, balcony corner, shelf, or table where it can be seen from multiple sides.
Small habit. Big difference.
7. Trim Brown Tips the Right Way
Brown tips are very common on spider plants. They can happen because of dry air, inconsistent watering, mineral buildup, too much fertilizer, or sensitivity to tap water.
Many people panic when they see brown tips, but they are not always a sign that the whole plant is unhealthy.
To keep your spider plant looking clean and beautiful, trim brown tips carefully.
Use clean scissors and cut along the natural shape of the leaf. Instead of cutting straight across, trim the tip into a soft point so it blends with the leaf shape.
Avoid removing too much green tissue. Only cut the brown, dry part.
Regular trimming keeps the plant looking fresh and prevents small damage from making the entire plant look messy.
If brown tips keep coming back, check these common causes:
Watering is inconsistent
The air is too dry
Too much fertilizer is being used
The soil has mineral buildup
The plant is getting harsh direct sun
Tap water is high in minerals
A clean-looking spider plant becomes much more decorative. Even if the plant is healthy, damaged tips can make it look neglected.
8. Use Better Water If Leaf Tips Keep Browning
Spider plants can be sensitive to chemicals and minerals in tap water. In some homes, tap water contains chlorine, fluoride, or dissolved salts that may contribute to brown tips over time.
If your spider plant looks healthy but the tips keep turning brown, water quality may be part of the problem.
You can try:
Letting tap water sit overnight before using it
Using filtered water
Using rainwater when available
Occasionally flushing the soil with clean water
Flushing means watering thoroughly so excess water runs out of the drainage holes. This helps wash away mineral buildup from the soil.
If you fertilize your plant, flushing the soil occasionally becomes even more helpful because fertilizer salts can collect over time.
Better water does not always solve every brown tip problem, but it can make a noticeable difference for sensitive spider plants.
9. Let Baby Spider Plants Grow for a Fuller Look
One of the most beautiful things about spider plants is their ability to produce baby plantlets, often called spiderettes. These tiny plants grow on long arching stems and create the classic cascading look that makes spider plants so attractive.
Many people cut them off too early. But if you want your spider plant to become a giant showpiece, letting some spiderettes remain can make the plant look fuller and more dramatic.
The long stems add movement and volume. They make the plant spill over the pot and create that lush, fountain-like appearance.
If your plant is healthy and mature, allow some baby plants to hang naturally.
However, if the mother plant is weak, thin, or stressed, removing some babies may help it conserve energy. A struggling plant may not have enough strength to support many spiderettes.
A good rule:
Healthy large plant: keep some spiderettes for beauty
Weak plant: remove some babies to help recovery
Overcrowded look: trim selectively
You can also propagate the babies by placing them in water or soil. This gives you more spider plants for free.
10. Repot Only When the Plant Truly Needs It
Spider plants have thick, strong roots that can quickly fill a pot. They can tolerate being a little root-bound, and sometimes they even produce more spiderettes when slightly snug.
But if the plant becomes too crowded, growth may slow down. Water may run through too quickly, soil may dry out too fast, and roots may push the plant upward.
Signs your spider plant may need repotting include:
Roots coming out of drainage holes
Soil drying extremely fast
The plant lifting out of the pot
Water running straight through
Growth slowing despite good care
The pot feeling packed with roots
When repotting, choose a pot only slightly larger than the current one. Do not jump to a huge pot. A pot that is too large can hold too much moisture and increase the risk of root problems.
Repotting into fresh soil can refresh the plant and encourage bigger growth. Spring is usually the best time to repot because the plant is entering active growth.
After repotting, water lightly and keep the plant in bright indirect light while it adjusts.
The Best Balcony Setup for a Giant Spider Plant
The image of a lush spider plant on a balcony captures exactly why this plant is so loved. Spider plants can look amazing outdoors in protected balcony spaces, especially when they receive filtered sunlight and good airflow.
A balcony can be an excellent place for a spider plant if conditions are right.
The ideal balcony setup includes:
Bright filtered light
Protection from harsh afternoon sun
A pot with drainage
Stable watering
Good airflow
No extreme heat or cold
A spider plant on a balcony often grows fuller because it receives stronger natural light than it would indoors. The fresh air also helps reduce stale conditions around the leaves and soil.
However, balcony plants may dry out faster. Check the soil more often, especially during warm weather or windy days.
If the sun is too strong, move the plant to a shaded corner or use sheer protection. Direct hot sun can scorch spider plant leaves quickly.
Why Spider Plants Look So Good on Plant Stands
Spider plants are perfect for plant stands because their leaves naturally arch outward and downward. Raising the pot allows the leaves and baby plantlets to fall beautifully around the container.
A stand also improves airflow around the plant and keeps the leaves from being crushed against a surface.
For the best decorative effect, choose a stand that lifts the pot high enough for the leaves to cascade. Wooden stands, metal stands, and minimalist plant holders all work well depending on your decor style.
A spider plant on a stand can become a focal point in:
A balcony corner
A living room
A bedroom
A hallway
A home office
A sunny kitchen
The combination of height, movement, and bright striped leaves makes the plant look much more impressive.
How to Make a Thin Spider Plant Look Fuller
If your spider plant looks thin, do not worry. You can improve its shape over time.
Start by checking light. Thin growth usually means the plant is not getting enough energy. Move it to a brighter spot with indirect light.
Next, check the pot and soil. If the soil is compacted or the pot has poor drainage, refresh the growing setup.
Then trim damaged leaves. Removing old, weak, or brown leaves helps the plant look cleaner and allows new growth to stand out.
If the plant has several crowns or sections, you can divide and repot them together in the same pot for a fuller look. This creates the appearance of a bigger plant faster.
You can also plant a few rooted baby spider plants back into the mother plant’s pot to fill gaps.
A fuller spider plant is often created through a combination of good light, proper watering, fresh soil, and smart shaping.
How Often Should You Water a Spider Plant?
There is no perfect schedule because watering depends on light, temperature, pot size, soil type, and season.
Instead of watering by calendar, water by soil feel.
In bright warm conditions, a spider plant may need water more often. In winter or low light, it may need less.
A simple rule:
Water when the top inch of soil feels dry.
If the leaves look dull or the plant feels lighter than usual, it may be ready for water. If the soil is still damp, wait.
Over time, you will learn your plant’s rhythm.
Why Spider Plant Leaves Curl
Curling leaves can happen for several reasons.
The most common causes include:
Underwatering
Heat stress
Too much direct sun
Root crowding
Low humidity
Soil drying too quickly
If leaves curl inward and the soil is dry, water deeply. If the plant sits in harsh sun, move it to a softer light location. If it dries out very quickly even after watering, the roots may be crowded and the plant may need repotting.
Curling is the plant’s way of showing stress. Fixing the environment usually helps new growth appear healthier.
Continue to Page 2
Continue to page 2 for more details about this article and the key points many readers miss on the first page.