Best fertilizer: Balanced 10-10-10 or 20-20-20 at half strength.
· When to feed: Spring and summer only. Stop in fall and winter.
· Avoid over‑fertilizing – it can cause salt buildup in the soil, leading to browning tips and poor growth.
Pro tip: If you see brown tips despite good watering, you may be over‑fertilizing. Flush the soil with plain water.
- Propagate for Growth
Spider plants naturally produce “babies” (offsets or spiderettes) that hang down from the parent plant on long stalks. To encourage more growth, I prune these babies occasionally, which redirects the plant’s energy back into the main leaves and roots.
· When to prune babies: When they have small root nubs (about 1–2 inches).
· How to propagate: Cut the runner, plant the baby in moist soil, or place in water until roots develop.
· For a fuller look: Repot several babies back into the same pot as the parent plant. This creates a lush, cascading effect that looks stunning in hanging baskets.
Pro tip: If you want your spider plant to focus on producing more babies, leave them attached – they add to the plant’s fullness.
- Maintain the Right Temperature and Humidity
Spider plants are happiest in temperatures between 60–75°F (15–24°C). They don’t like extreme cold or heat, so keep them away from drafts, air conditioners, and heating vents.
· Ideal humidity: Average indoor humidity is fine, but I’ve found they grow bigger and healthier when the air is slightly more humid.
· Increase humidity: Use a pebble tray, mist occasionally, or group plants together.
Pro tip: Brown leaf tips are often a sign of low humidity or fluoride in tap water. Use filtered water and increase humidity.
- Prune for Health and Shape
Regular pruning keeps your spider plant looking its best. I remove any yellowing or browning leaves at the base, as well as any damaged tips.
· What to prune: Yellow, brown, or damaged leaves. Also trim long, leggy stems.
· How to prune: Cut at the base with clean scissors.
· Benefits: Pruning not only improves the plant’s appearance but also allows it to focus its energy on new, healthy growth.
Pro tip: Don’t be afraid to prune – spider plants are resilient and will grow back quickly.
- Repot When Needed
Spider plants grow fast, and their roots can quickly become pot‑bound. When you notice roots poking out of the drainage holes or the plant’s growth slows, it’s time to repot.
· How often: Every 1–2 years.
· Pot size: Move to a slightly larger pot (1–2 inches wider). Too large a pot can cause waterlogging.
· Soil: Fresh, well‑draining potting mix (regular soil + perlite).
Pro tip: When repotting, gently loosen the root ball and remove any dead or mushy roots. Water thoroughly after repotting, then keep in a shaded spot for a few days to reduce transplant shock.
- Rotate for Even Growth
Spider plants tend to grow toward the light source, so I make it a habit to rotate the pot every week or two. This ensures the plant grows evenly and maintains its full, balanced shape.
· Why rotate: Prevents lopsided growth.
· How much: A quarter turn each time.
Pro tip: If your spider plant has become one‑sided, rotate it and give it a little more light on the sparse side – it will fill in over time.
Bonus: Common Spider Plant Problems & Solutions
Problem Likely Cause Solution
Brown leaf tips Low humidity, fluoride in tap water, or over‑fertilizing Use filtered water; increase humidity; reduce fertilizer.
Yellow leaves Overwatering Let soil dry out; improve drainage.
No babies (spiderettes) Not enough light, or plant is too young Move to brighter light; be patient – plants need maturity.
Leggy, sparse growth Low light Move to brighter indirect light.
Pale, faded variegation Too little light Increase light exposure.
Roots growing out of drainage holes Root‑bound Repot into a slightly larger container.
Printable Spider Plant Care Checklist
☐ Place in bright, indirect light (east/west window)
☐ Use a pot with drainage holes
☐ Fill with well‑draining potting soil + perlite
☐ Water when top inch of soil is dry
☐ Water thoroughly, then empty saucer
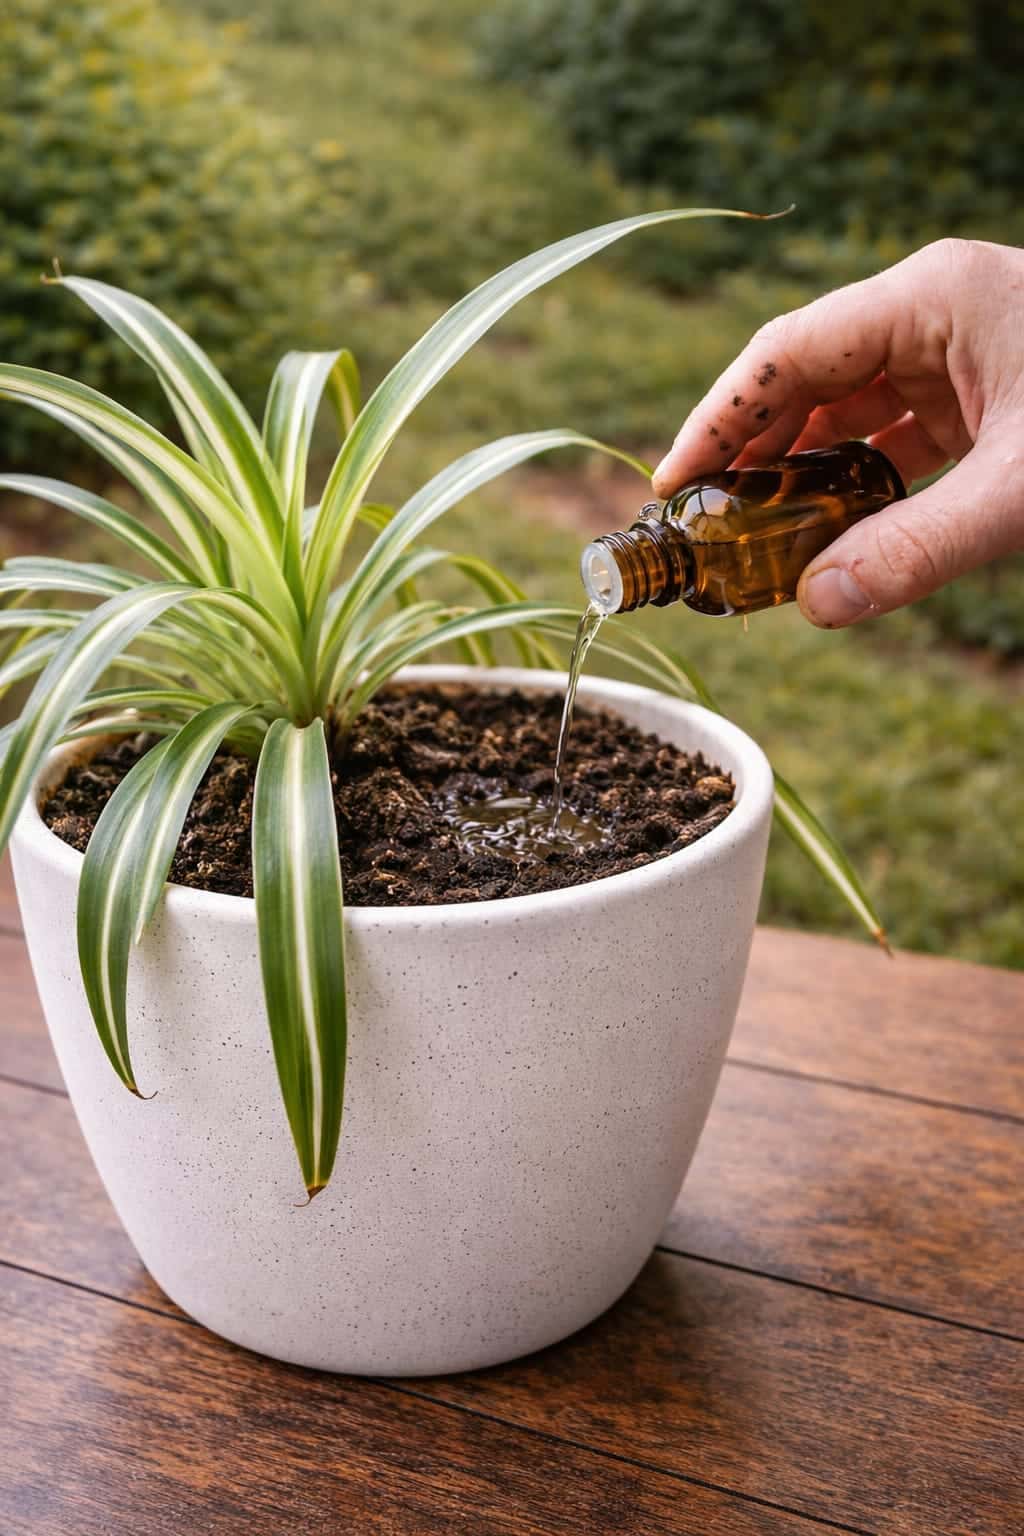
☐ Feed with diluted balanced fertilizer every 2 weeks (spring/summer)
☐ Use coffee grounds lightly once a month (optional)
☐ Maintain temperature 60–75°F (15–24°C)
☐ Increase humidity with pebble tray or misting
☐ Prune yellow/brown leaves as needed
☐ Propagate babies to fill out the pot
☐ Repot every 1–2 years when root‑bound
☐ Rotate pot weekly for even growthFinal Thoughts – Your Spider Plant Can Be a Showstopper
Growing the biggest, healthiest spider plant isn’t about luck – it’s about understanding what this resilient plant truly needs. With the right light, proper watering, occasional feeding, and a little TLC, your spider plant can become a lush, cascading masterpiece.
Remember: spider plants are forgiving, but they thrive when you give them consistency. Bright indirect light, well‑draining soil, and moderate watering are the foundations. Add in coffee grounds for a gentle boost, prune for shape, and propagate babies for fullness, and you’ll have a spider plant that’s the envy of every plant lover.
Now it’s your turn! Which of these secrets are you going to try first? Have you used coffee grounds on your spider plant? Drop a comment below – I’d love to hear your experience.
And if you found this guide helpful, share it with a friend who loves spider plants. Pin it for later, and subscribe to our newsletter for more plant care tips.
Stay bright, stay consistent, and watch your spider plant thrive. 🌿✨