Few things are more frustrating than seeing an orchid with shriveled leaves, weak roots, and a crown that looks like it is slowly giving up. Orchids can look dramatic when they struggle, and that is exactly why “simple liquid tricks” spread so fast online.
You have probably seen images where a golden liquid is poured directly onto a damaged orchid, followed by a perfect blooming plant in the next frame. It looks like magic.
But the real story is more useful than the hype:
👉 A gentle liquid treatment can support recovery, but the real rescue happens when you fix the roots, the medium, and the care routine.
In this guide, you will learn exactly why orchid roots fail, which liquids actually help (and which do more harm), and a step‑by‑step recovery plan that works. No magic. Just honest, practical advice that will save your orchid.
Why Orchid Roots Start Failing
Orchid roots usually decline because of stress, not because the plant is weak by nature. In fact, most store‑bought orchids are remarkably resilient if given the right conditions.
The most common causes of root failure are:
· Overwatering – This is the #1 killer. Orchid roots need oxygen. When they sit in soggy bark or moss, they suffocate and rot.
· Compact old bark – Over time, orchid bark breaks down into fine, mushy particles that hold too much water and block airflow.
· Poor airflow – Stagnant air around the roots encourages fungal and bacterial growth.
· Crown rot – Water trapped in the center of the leaves can rot the stem, cutting off new growth.
· Very low light – Without enough light, the orchid cannot photosynthesize enough energy to maintain healthy roots.
· Mineral buildup – Using tap water or too much fertilizer can leave salt deposits that burn root tips.
Once roots begin to rot or dry out badly, the orchid cannot absorb moisture properly. That is why the leaves wrinkle, the plant weakens, and blooming stops.
The good news? Many orchids can be saved, even if they have lost most of their roots.
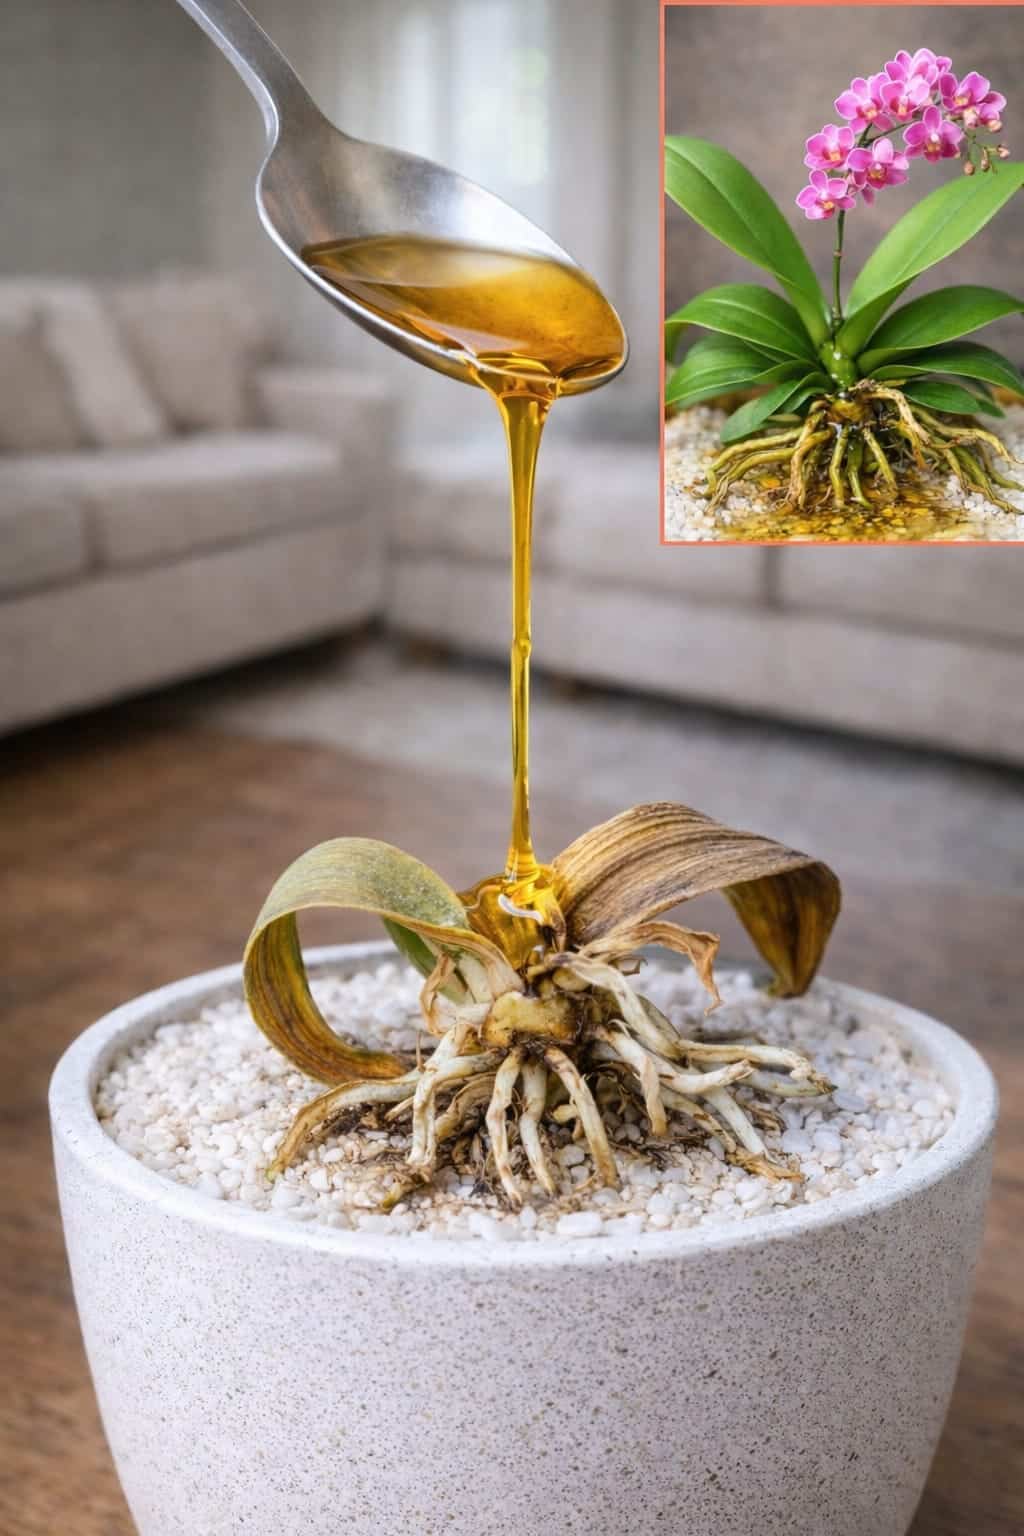
What the “Simple Liquid Trick” Usually Is
In viral orchid posts, the golden liquid is often presented as a secret cure. It could be any of several common household liquids:
· Aloe vera extract – Known for its soothing and mild antifungal properties.
· Rice water – Starchy water from rinsing rice; believed to provide trace nutrients.
· Diluted honey water – Honey has natural antibacterial properties, but it is also very sugary.
· Weak seaweed/rooting tonic – Commercial products that contain natural growth hormones.
· Garlic or onion water – Used by some gardeners for antimicrobial effects.
Some of these can help a little when used properly. Some can also cause problems if they are too strong, sticky, or repeatedly poured into the crown.
The safest way to think about these liquids is this:
👉 They are support treatments, not miracle cures.
No liquid will fix rotten roots. No liquid will replace good potting mix. And no liquid should be used as a substitute for proper orchid care.
What Actually Helps Orchid Roots Recover Faster
If you want the roots to recover, these are the steps that matter most. Follow them in order.
- Remove All Damaged Roots
Take the orchid out of the pot and gently shake off the old bark. Inspect every root carefully.
· Healthy roots are firm, plump, and silvery‑green when dry or bright green when wet.
· Bad roots are mushy, hollow, black, brown, or papery. They may also have a stringy inner thread with the outer sheath sloughed off.
Using clean, sharp scissors or pruning shears (sterilized with rubbing alcohol), trim away every rotten or dead root. Cut back to healthy tissue. Do not leave any mushy stubs.
If the orchid has no healthy roots left, do not give up. You can still save it using the “spag and bag” method (explained later).
- Let the Plant Breathe
Once the bad roots are gone, the remaining roots need air. Do not put the orchid back into old, soggy medium. Let it sit bare‑root in a cool, shaded place for a few hours or overnight. This allows cut ends to callus slightly, reducing the risk of reinfection.
- Repot into Fresh Orchid Bark
This is one of the biggest rescue steps. Fresh bark gives the remaining roots a clean, airy environment to restart.
· Choose a pot with plenty of drainage holes (clear plastic orchid pots work well because you can see the roots).
· Use a high‑quality orchid bark mix (not potting soil). Look for mixes that include bark, perlite, and charcoal.
· Do not pack the bark tightly. Gently work it around the roots, leaving air pockets.
- Keep the Crown Dry
This is extremely important. Never let thick liquid or standing water sit in the center of the leaves. Crown rot is often fatal.
When you water or apply any treatment, direct the liquid to the root zone only. If water accidentally gets into the crown, blot it dry with a paper towel or use a bulb syringe to remove it.
- Give Bright Indirect Light
A weak orchid still needs energy. Bright filtered light helps it rebuild strength without scorching it.
· An east‑facing window is ideal.
· A south or west window with a sheer curtain also works.
· Avoid direct afternoon sun, which can burn leaves.
If your home is dark, consider a full‑spectrum grow light for 10–12 hours daily.
- Water Carefully During Recovery
After repotting, wait 5–7 days before watering. This gives cut roots time to heal.
Then water only when the bark feels dry near the center of the pot. For most conditions, this means watering every 7–10 days. When you water, run room‑temperature water through the pot for a minute, then let it drain completely. Never let the pot sit in standing water.
Continue to Page 2
Continue to page 2 for more details about this article and the key points many readers miss on the first page.