A Safer “Liquid Trick” That Can Actually Support Recovery
If you want to use a simple liquid, one of the gentlest options is diluted aloe vera water.
Why aloe? Many experienced orchid growers use it as a mild support treatment for stressed roots and leaves. Aloe contains saponins, enzymes, and trace nutrients that may help soothe damaged tissue and encourage root growth.
Simple Aloe Support Mix
· 1 tablespoon of fresh aloe vera gel (from a live leaf or pure store‑bought gel without additives)
· 1 quart (4 cups) of clean, room‑temperature water
· Optional: a drop of mild liquid seaweed fertilizer
Blend or whisk until the aloe dissolves. Strain through a fine mesh sieve or cheesecloth to remove pulp (pulp can rot in the pot).
How to Use It
· As a root soak: Place the bare‑root orchid in a bowl and pour the aloe mixture over the roots. Let it soak for 10–15 minutes. Then remove, let drain, and pot up in fresh bark.
· As a watering treatment: Once the orchid is repotted, use the aloe mixture in place of plain water for one watering session. Do this only once every 3–4 weeks.
The key is dilution. You do not want a thick, sticky liquid coating the crown or sitting heavy in the pot. If the mixture feels slimy, dilute it further.
What to Avoid (Critical Mistakes)
If an orchid is already struggling, avoid these common mistakes:
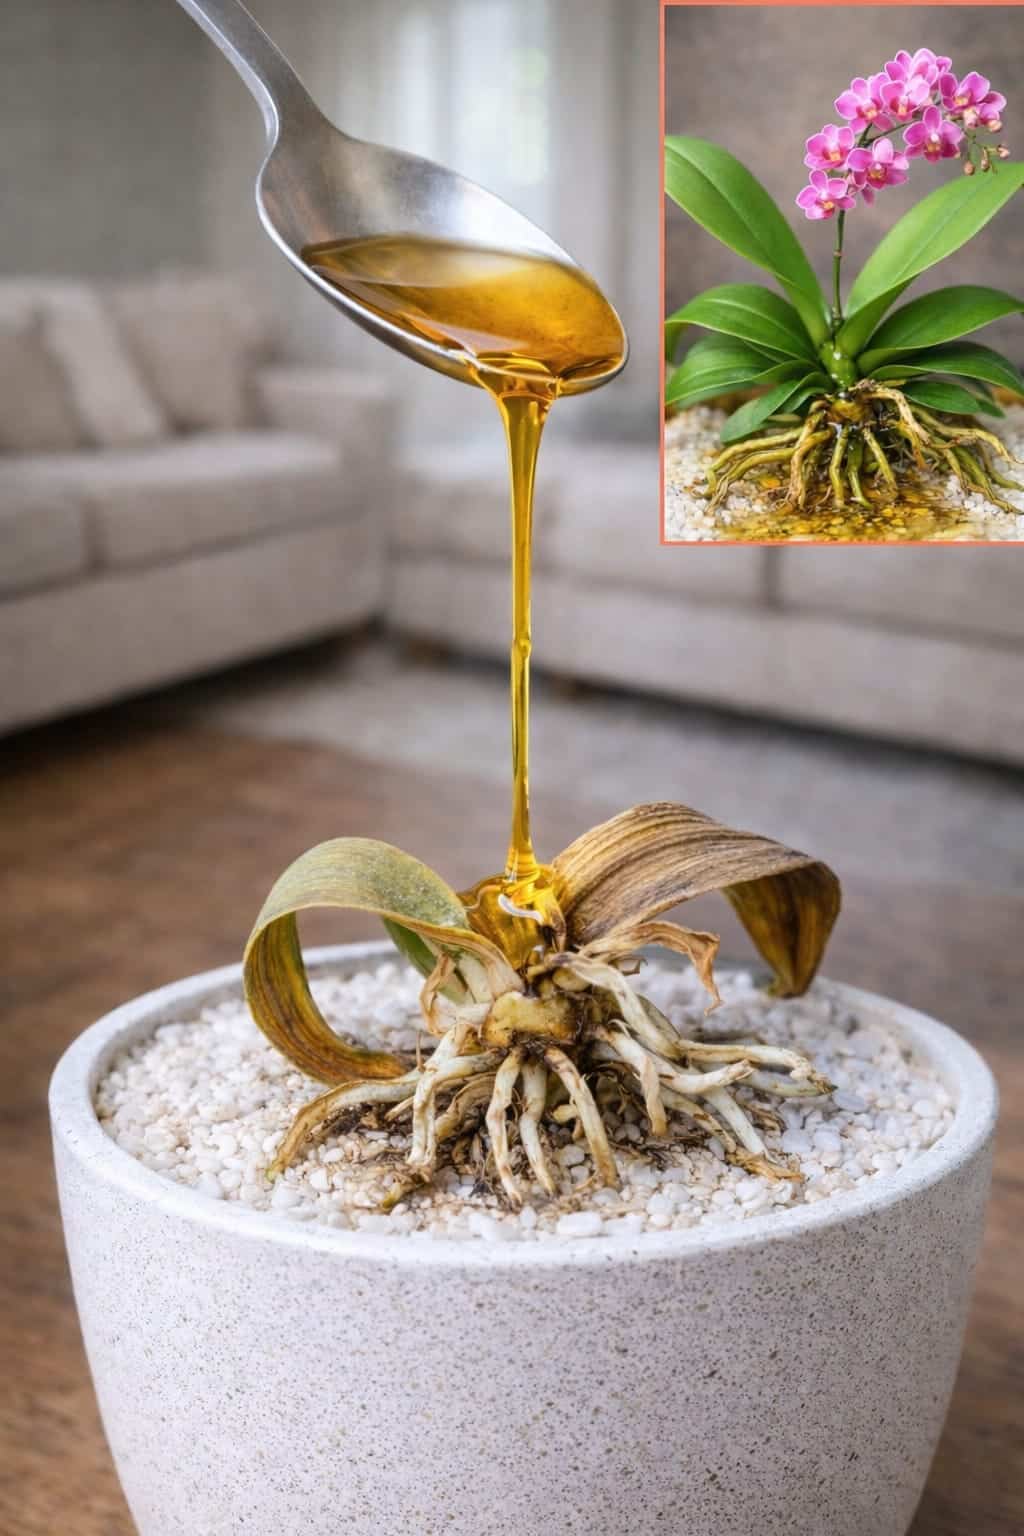
· Pouring sugary or sticky liquids directly onto the crown – This invites rot and fungus.
· Using strong undiluted kitchen mixtures – Pure honey water, straight rice water, or raw garlic juice can burn roots.
· Leaving roots wet for too long after treatment – Orchids need to dry out between waterings.
· Putting the orchid back into old, broken‑down bark – Old bark harbors rot pathogens and stays wet too long.
· Watering too frequently during recovery – Less is more. Let the medium approach dryness.
· Fertilizing immediately – Wait at least a month before using any fertilizer on a recovering orchid.
These mistakes can turn a weak orchid into a dying one very quickly.
How to Save an Orchid with No Roots (The Spag and Bag Method)
If your orchid has lost all its roots, do not throw it away. You can try the “spag and bag” method.
What You Need
· Sphagnum moss (damp, not soaking wet)
· A clear plastic bag or a small greenhouse dome
· A clean container or pot
Steps
- Soak the sphagnum moss in water, then squeeze out excess until it is just damp (like a wrung‑out sponge).
- Place a layer of moss in the bottom of a clean pot or container.
- Set the orchid on top of the moss. Do not bury the stem.
- Loosely surround the base of the orchid with more damp moss, keeping the crown dry.
- Place the entire pot inside a clear plastic bag or cover with a dome to trap humidity.
- Put the setup in bright indirect light (no direct sun).
- Open the bag every few days for fresh air. Check the moss – it should stay damp, not wet.
In 2–4 weeks, you should see tiny new root tips emerging. Once roots are 1–2 inches long, you can pot the orchid normally in bark.
Signs the Orchid Is Recovering
Real orchid recovery does not look like instant flowers. It usually starts with small, encouraging signs:
· Firmer leaves – The shriveled, limp leaves begin to plump up.
· Greener root tips – Active roots show bright green growing tips.
· Less wrinkling – The deep accordion‑like wrinkles on leaves start to smooth out.
· New root growth – You see tiny silver or green root nubs emerging from the base.
· A more stable crown – The center of the plant feels firm, not squishy.
Only after those signs appear – often after several weeks or months – does the possibility of new leaves, spikes, and blooms return.
That is why patience matters. Do not expect a dying orchid to flower in a month. Give it time to rebuild.
The Biggest Myth People Believe
A lot of people think the liquid itself brings the orchid back. They see a viral video where someone pours a mysterious golden liquid onto a sad orchid, and then the next clip shows a perfect blooming plant.
In reality, what saves the orchid is:
· Removing rot
· Improving airflow
· Repotting properly
· Careful watering
· Good light
· Stable conditions
The liquid may help a little – by providing trace nutrients, mild antifungal effects, or rooting hormones – but it is never the main reason the plant survives.
If you skip the repotting, keep using old bark, and continue overwatering, no liquid in the world will save your orchid.
Homemade Orchid Root Tonics: Which Work and Which Don’t
Here is a quick reference table for common DIY orchid liquids.
Liquid Potential Benefit Risk Verdict
Diluted aloe vera Mild antifungal, soothing Low if properly diluted ✅ Safe to try
Rice water (fermented) Trace nutrients Can sour, attract gnats ⚠️ Use sparingly
Honey water (very diluted) Antibacterial Sugar feeds mold, sticky ❌ Not recommended
Cinnamon water Antifungal Can dry roots excessively ⚠️ Only for cut wounds
Seaweed extract (diluted) Natural growth hormones Low risk, commercial products better ✅ Good option
Garlic water Antimicrobial Strong smell, can burn ❌ Avoid on orchids
Green tea (cooled, weak) Tannins, mild nutrients Low acidity, okay occasionally ✅ Safe but not necessary
For most home growers, the safest approach is to skip homemade liquids entirely and focus on good culture. If you want to use a root stimulant, buy a commercial orchid rooting hormone or seaweed extract – they are inexpensive and designed for orchids.
Frequently Asked Questions (Orchid Root Recovery)
How long does it take for orchid roots to recover?
It depends on the damage. Minor root loss can improve in 4–6 weeks. Severe root loss (no roots) may take 3–6 months to see significant new growth.
Can I use cinnamon on orchid roots?
Cinnamon is a natural antifungal. You can dust it on cut root ends to prevent infection. Do not put large amounts on healthy roots – it can dry them out.
Should I use hydrogen peroxide on orchid roots?
Diluted 3% hydrogen peroxide (1 part peroxide to 3 parts water) can help clean rotten areas. Use it once when trimming roots, then rinse. Do not use repeatedly – it kills good tissue too.
Why are my orchid leaves still wrinkled after repotting?
It takes time for new roots to absorb water. Wrinkled leaves may not fully recover, but new leaves will grow healthy. Focus on root growth, not old leaves.
Can I save an orchid with crown rot?
Maybe. If the rot is limited to the lower leaves, remove them and keep the crown dry. If the center stem is black and mushy, the orchid will likely die. You can try removing the rotten crown and hoping for a basal keiki (baby plant).
What is the best potting mix for recovering orchids?
A coarse bark mix with added perlite and charcoal. Avoid fine mixes or sphagnum moss unless you are doing the spag and bag method. Moss holds too much moisture for long‑term recovery.
How often should I water an orchid with few roots?
Very sparingly. Roots that are short cannot take up much water. Water only when the bark is almost completely dry – typically every 10–14 days. Overwatering will rot the few roots you have.
When should I start fertilizing again?
Wait at least 4 weeks after repotting, and only when you see active root growth. Use a balanced orchid fertilizer at quarter strength.
A 30‑Day Orchid Root Recovery Schedule
Use this timeline as a guide.
Day 1 – Emergency Rescue
· Unpot the orchid.
· Trim all dead, mushy, or papery roots.
· Dust cut ends with cinnamon (optional).
· Let the orchid sit bare‑root overnight.
Day 2 – Repot
· Pot into fresh, dry orchid bark.
· Do not water.
· Place in bright indirect light.
Day 5–7 – First Watering
· Water thoroughly with plain room‑temperature water.
· Let drain completely.
· Do not water again until the bark feels dry.
Day 14 – Check Roots
· Gently lift the orchid to see if any new root tips have appeared.
· If the bark is still damp, wait to water.
Day 21 – Optional Aloe Treatment
· If you see new root growth, apply diluted aloe water (as described above) in place of plain water.
Day 30 – Assessment
· Look for firm leaves, new root tips, and improved color.
· If no improvement, check for hidden rot or adjust light/watering.
Continue this routine for 2–3 months. Most orchids will show clear recovery by then.
Final Thoughts
Yes, a simple liquid trick can support orchid root recovery – if it is gentle, diluted, and used correctly. Aloe vera water, weak seaweed solution, or plain clean water can all play a small supportive role.
But the real secret is much less dramatic:
👉 Clean roots.
👉 Fresh bark.
👉 Bright indirect light.
👉 Careful watering.
👉 Patience.
That is what brings an orchid back.
And when new roots finally appear – those plump, bright‑tipped roots reaching out into fresh bark – that is when the real transformation begins. Not because of magic, but because the plant finally has the chance to heal.
So do not chase viral tricks. Do not pour mystery liquids into your orchid’s crown. Instead, learn to read your plant. Give it the basics it needs. And trust that with time, even an orchid that looks finished can surprise you.
Now go check your orchid’s roots. If they need help, you know exactly what to do.
Have you successfully revived an orchid with root rot? Share your experience in the comments below. And if you found this guide helpful, save it for later or send it to a fellow orchid lover who needs some rescue hope.