Geraniums are usually cheerful, generous plants. When they are healthy, they produce round clusters of bright flowers, firm green leaves, and a full shape that looks beautiful on patios, balconies, greenhouse benches, windowsills, and front steps. A blooming geranium can make even a simple pot look abundant and welcoming.
But when a geranium weakens, the change can be dramatic. The flower heads dry and collapse. The leaves turn yellow, brown, or crispy around the edges. Stems become tired and stretched. Buds stop opening. The plant may look as if it has given all its energy and has nothing left. Many homeowners see a geranium like this and assume it is finished.
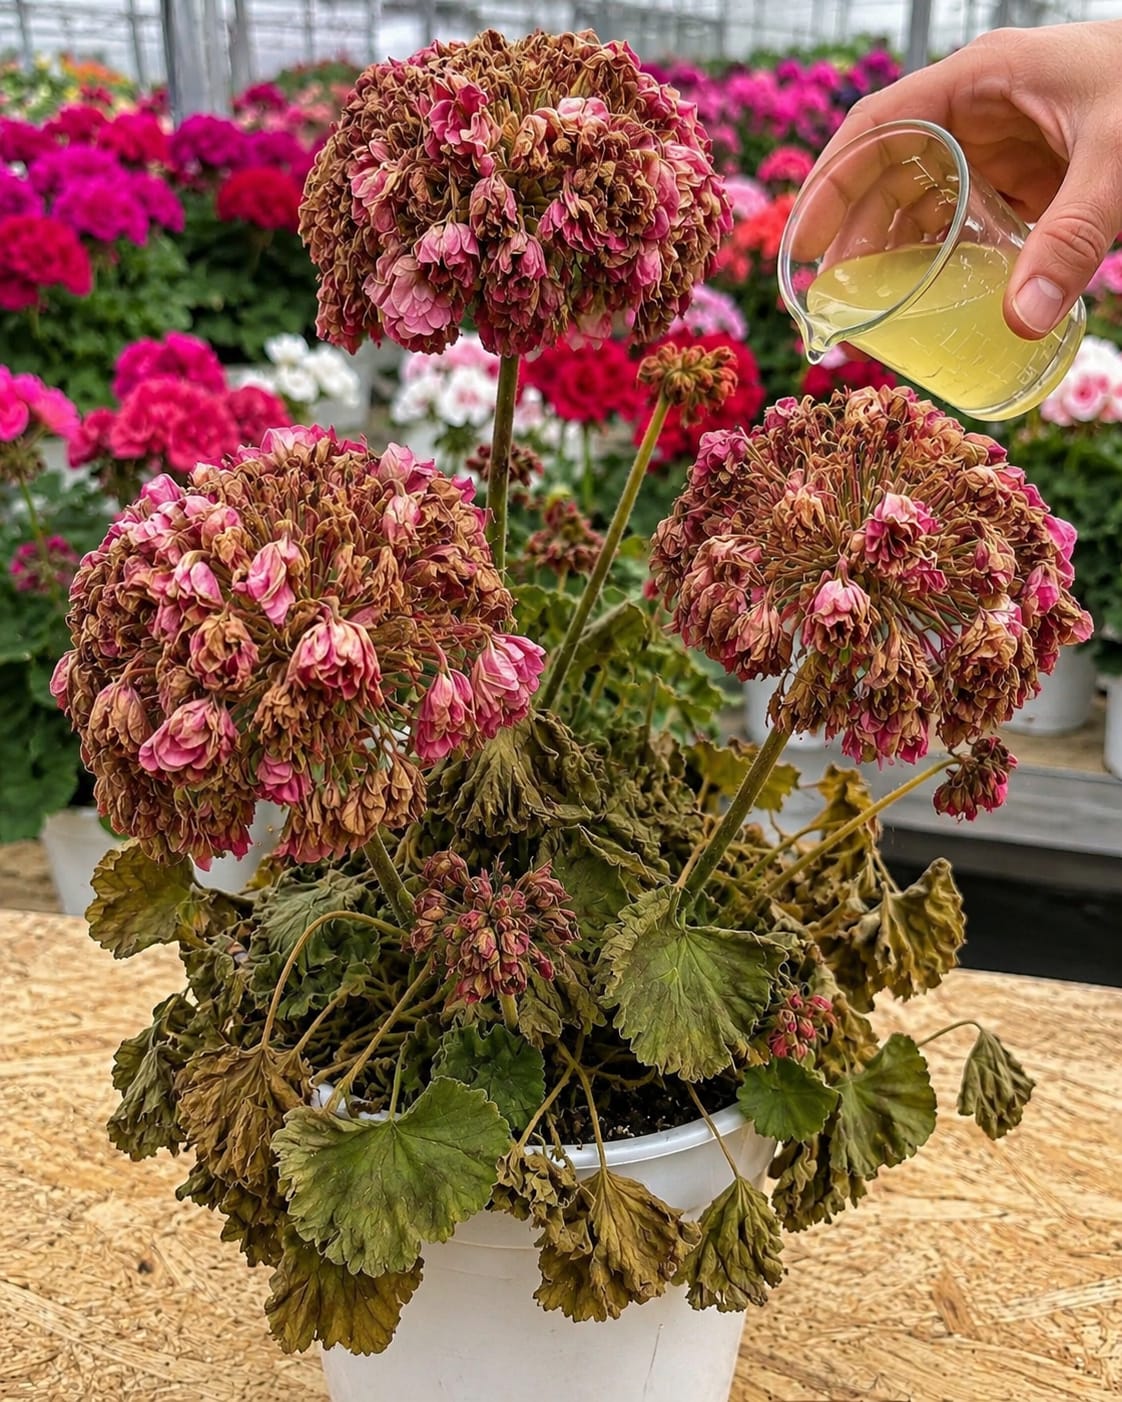
In the image, a hand is pouring a pale yellow liquid over a tired geranium. The flower clusters are faded and brown, and many leaves are wilted. This kind of image suggests a homemade recovery tonic, often made from simple kitchen ingredients such as diluted rice water, banana peel water, weak compost tea, or another mild plant-support liquid. For a weak geranium, the safest interpretation is a gentle diluted kitchen tonic, used only after the plant has been cleaned, trimmed, and checked for root problems.
The important word is gentle. A weak geranium does not need a strong, sour, fermented, sugary, or concentrated liquid. It needs proper care first: pruning, fresh air, correct watering, good light, and healthy roots. A mild tonic can support recovery, but it cannot replace the basics. If the plant is sitting in soggy soil, root rot, extreme heat, or a cramped nursery pot, no homemade liquid will rescue it by itself.
This guide explains how smart homeowners can use a pale kitchen tonic safely on weak geraniums, how to prepare it, when to apply it, what to do before pouring anything into the pot, and how to help tired geraniums return to fresh leaves and fuller blooms.
What Is the Pale Liquid Being Poured on the Geranium?
The pale yellow liquid in the image could represent several homemade plant tonics. Many gardeners use diluted rice water, banana peel water, compost tea, or a very weak organic fertilizer tea to support tired flowering plants. For geraniums, the safest version is a diluted banana-rice recovery tonic or a mild strained kitchen water that provides a gentle nutrient boost without overwhelming the roots.
Geraniums are flowering plants, so they need steady but moderate nutrition. They do not like heavy, wet, rich soil that stays soggy. They also do not like being blasted with strong fertilizer when already stressed. A pale tonic should be weak enough that it supports the plant without burning roots or causing sour soil.
The best homemade version for weak geraniums is simple:
- Unsalted rice water, diluted well
- Optional banana peel water, strained and diluted
- No sugar
- No salt
- No milk
- No oil
- No vinegar
- No strong fermentation
The goal is not to create a powerful fertilizer. The goal is to provide a mild recovery drink after the plant has been cleaned up and the soil has been checked.
Why Geraniums Start Looking Weak
Before using any tonic, it is important to understand why geraniums decline. Weak geraniums are usually not “hungry” only. They are often stressed by watering problems, old flowers, poor airflow, heat, root congestion, or pests.
1. Old Flower Heads Are Draining Energy
Geranium flower clusters do not stay beautiful forever. Once they fade, dry, and turn brown, the plant may continue sending energy into old blooms and seed formation. Removing spent flowers helps redirect energy into fresh growth and new buds.
2. Overwatering
Geraniums dislike constantly wet soil. If the pot stays soggy, roots can suffocate and rot. Leaves may yellow, stems may soften, and the plant may collapse even though it has been watered often.
3. Underwatering
Geraniums also wilt badly when they dry too far. In hot weather or greenhouse conditions, a small pot can dry quickly. Leaves become limp, flowers crisp, and stems droop.
4. Heat Stress
Geraniums enjoy sun, but extreme heat can make them pause blooming or wilt. In a greenhouse or hot balcony corner, temperatures can rise quickly.
5. Poor Airflow
Dense flower heads and fuzzy leaves can trap moisture. If air is stagnant, geraniums may develop fungal problems, leaf spots, or mildew.
6. Old or Exhausted Soil
If a geranium has been in the same pot for a long time, the soil may be depleted, compacted, or salty from fertilizer buildup. The plant may need refreshing, not just more liquid.
7. Root Crowding
A root-bound geranium may dry out quickly and struggle to produce strong new growth. Roots need space and oxygen.
8. Pests
Aphids, whiteflies, spider mites, and other pests can weaken geraniums. A tonic will not solve a pest infestation unless pests are handled separately.
The First Step Is Not the Tonic — It Is Cleanup
Many people make the mistake of pouring homemade fertilizer onto a weak plant without first cleaning it up. But a geranium like the one in the image needs grooming before feeding.
Start by removing:
- Dead flower heads
- Brown petals
- Yellow leaves
- Crispy leaves
- Soft rotting stems
- Debris sitting on the soil
- Any fallen petals inside the pot
This immediately improves airflow and reduces decay around the plant. It also helps you see the real condition of the stems and soil.
How to Deadhead a Weak Geranium
Deadheading is one of the most powerful recovery steps for geraniums. It means removing spent flower clusters so the plant stops wasting energy on dying blooms.
Step-by-Step Deadheading
- Find the faded flower cluster.
- Follow the flower stem down to where it joins the main stem.
- Pinch or cut the whole flower stem off at the base.
- Do not remove only the dry petals.
- Remove all brown flower heads from the plant.
- Discard the dead material away from the pot.
After deadheading, the geranium may look smaller, but it will be cleaner and better prepared for new growth.
Check the Soil Before Pouring Any Tonic
Before using the pale kitchen tonic, touch the soil. This matters because adding liquid to already wet soil can make root problems worse.
Use your finger to check the top 1 to 2 inches of soil.
- If the soil is wet, do not add tonic yet.
- If the soil is slightly moist, wait another day or two.
- If the soil is dry on top but the pot feels heavy, wait.
- If the soil is dry and the pot feels light, it may be ready.
Geraniums prefer watering deeply and then drying slightly before the next watering. They do not want small daily splashes.
Safe Pale Kitchen Tonic for Weak Geraniums
This recipe is gentle and suitable for occasional use. It is designed to avoid strong fermentation, odor, and root burn.
Ingredients
- 1 cup plain unsalted rice water
- 1 small piece of banana peel, optional
- 3 cups plain water
- Clean jar
- Fine strainer
How to Make It
- Rinse plain uncooked rice in water.
- Save 1 cup of the cloudy rinse water.
- If using banana peel, add one small chopped piece to the rice water.
- Let it sit for 2 to 4 hours only.
- Strain completely.
- Dilute with 3 cups of plain water.
- Use the same day.
This creates a weak, pale liquid that can be used as an occasional watering tonic. Do not let it ferment for days. Do not add sugar. Do not add salt. Do not use cooked rice water that contains seasoning, oil, or butter.
How to Apply the Tonic Correctly
Step 1: Prune and Clean First
Remove old blooms and dead leaves before applying anything. A clean plant recovers better.
Step 2: Make Sure the Soil Is Ready
Only apply the tonic when the top of the soil has dried and the plant is ready for watering.
Step 3: Pour Around the Soil, Not Over the Flowers
Pour the liquid directly onto the soil around the base of the plant. Avoid pouring over the flower heads and leaves. Wet flowers rot faster, especially when they are already fading.
Step 4: Use a Small Amount
For a small to medium pot, use about 1/2 cup to 1 cup of diluted tonic. For a large pot, use a little more. Do not flood the plant.
Step 5: Let Excess Drain Away
The pot must have drainage holes. If liquid collects in a saucer, empty it after 10 to 15 minutes.
Step 6: Wait Before Repeating
Use the tonic no more than once every 3 to 4 weeks. Use plain water between tonic applications.
Why You Should Not Pour It Over the Flower Heads
The image shows the liquid being poured near the flower heads, but the safer method is to pour it onto the soil. Geranium flower clusters hold moisture, and wet faded flowers can rot quickly. Brown flower heads already contain dead tissue, so adding liquid to them may encourage mold.
If you want stronger blooms, feed the roots gently and remove old flowers. Do not soak the dying flower heads.
How Often Should You Use This Tonic?
Use it occasionally, not constantly. Weak plants need stability more than repeated experiments.
A safe schedule:
- Once after cleanup and when soil is ready for watering
- Wait 3 to 4 weeks
- Use again only if the plant is improving
- Stop if soil smells sour or pests appear
If the geranium begins producing new leaves and buds, return to a regular balanced flowering plant fertilizer or continue with very mild occasional feeding.
When Not to Use the Tonic
Do not use this homemade tonic in every situation. Sometimes the plant needs a different kind of help.
Avoid it if:
- The soil is wet or soggy
- The plant smells rotten
- The stems are mushy
- The pot has no drainage
- The plant has a serious pest infestation
- The leaves are sunburned from extreme direct heat
- The plant is newly transplanted and shocked
- The tonic has fermented or smells bad
- The mixture contains sugar, salt, oil, or dairy
When the soil is already wet, the best medicine is often drying time and airflow, not more liquid.
How to Revive a Weak Geranium Step by Step
Step 1: Move It to a Comfortable Bright Spot
Place the geranium in bright light, but protect it from harsh afternoon heat while it recovers. If it is in a greenhouse, make sure it is not baking under intense sun.
Step 2: Remove Dead Blooms
Cut or pinch off every faded flower cluster. This can make the plant look bare at first, but it helps recovery.
Step 3: Remove Dead Leaves
Remove brown, crispy, yellow, or diseased leaves. Do not leave them on the soil.
Step 4: Inspect Stems
Healthy stems should be firm. Soft black or mushy stems should be cut back to healthy tissue.
Step 5: Check Soil Moisture
Water only when the top soil has dried. If the soil is soggy, wait.
Step 6: Apply the Diluted Tonic
When the plant is ready for watering, apply the pale diluted tonic around the soil.
Step 7: Improve Airflow
Give the plant space. Do not crowd it tightly among other plants while it is recovering.
Step 8: Watch for New Growth
Look for fresh green leaves, new buds, and firmer stems over the next few weeks.
Continue to Page 2
Continue to page 2 for more details about this article and the key points many readers miss on the first page.