Anthuriums are some of the most elegant indoor plants you can grow. Their glossy heart-shaped leaves, sculptural stems, and bright red, pink, white, or green spathes make them look luxurious in any home. Even when they are not blooming, anthuriums bring a clean tropical feeling to shelves, windowsills, kitchen counters, and plant corners.
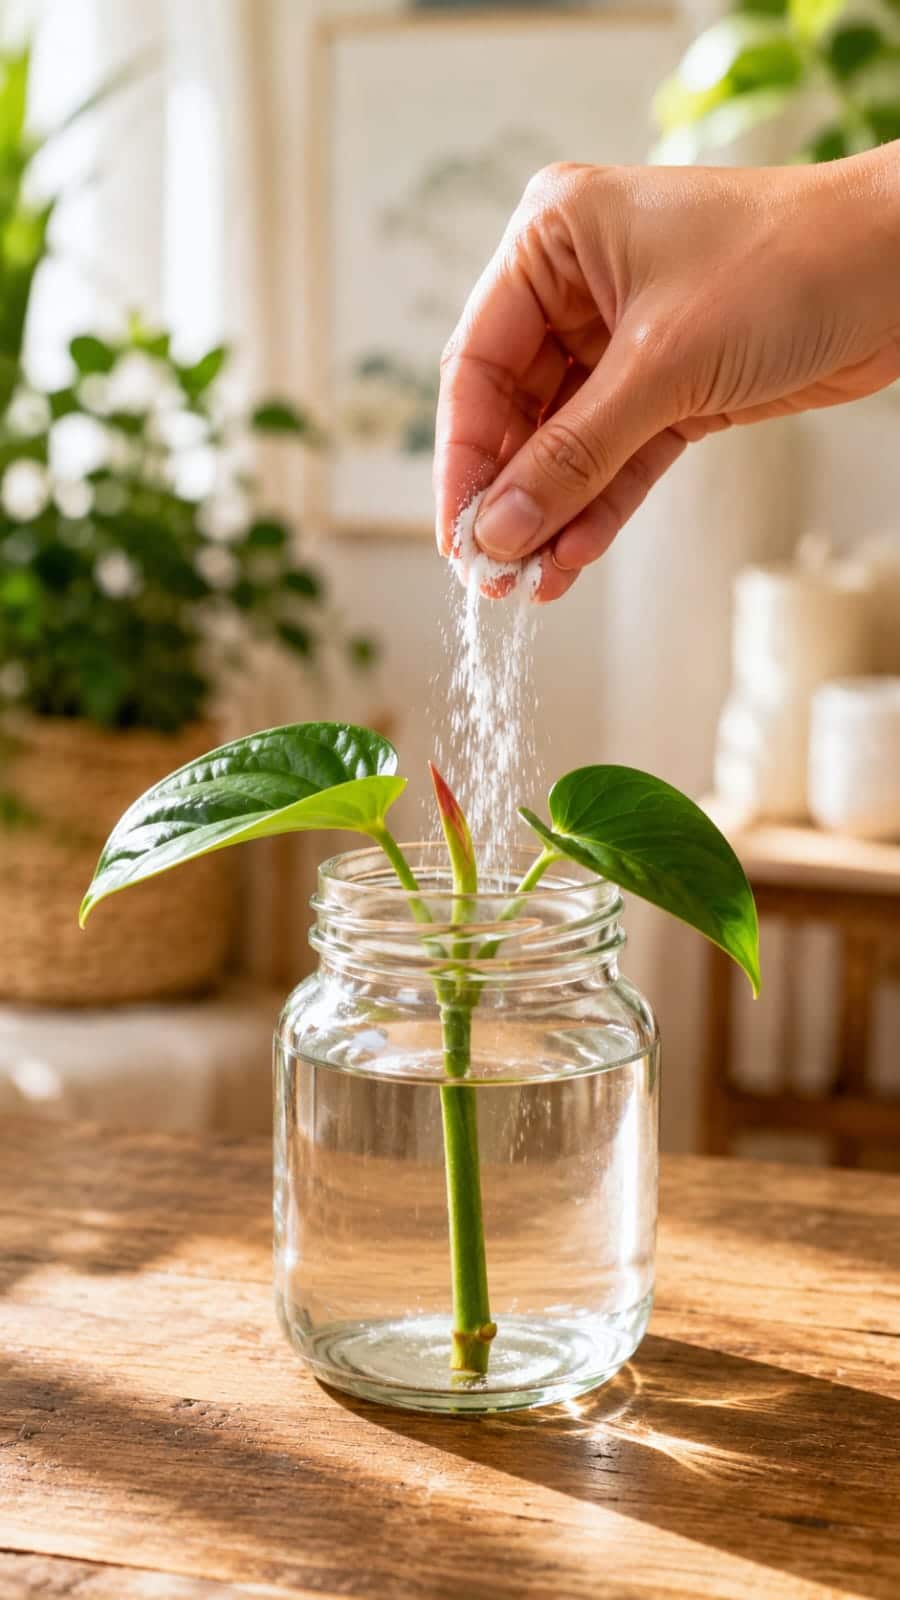
The image shows a young anthurium cutting placed in a clear glass jar of water while a white powder is being sprinkled above it. The scene is beautiful: clean water, fresh green leaves, a bright indoor background, and a simple propagation setup that could easily become part of home decor. This style of growing is popular because it lets you see the roots as they develop, and the clear jar makes the plant look fresh, modern, and decorative.
But with anthuriums, beauty is not enough. The roots matter most.
A water jar can look clean and stylish, but if the cutting has no healthy node, if the water becomes dirty, if the stem begins to rot, or if the jar sits in poor light, the cutting may fail. On the other hand, if you choose the right cutting, keep the water fresh, give bright indirect light, and protect the root zone, a simple jar method can help an anthurium cutting grow strong roots before it is moved into soil or a semi-hydro setup.
The white powder in the image may suggest a rooting aid, cinnamon, crushed eggshell powder, rice powder, or another homemade ingredient. However, powders should be used carefully in water propagation. Some can cloud the water, feed bacteria, or settle around the stem and encourage rot. For anthurium water propagation, clean water and healthy roots are more important than adding mystery powders.
This guide explains how the anthurium water jar method works, how to choose the right cutting, how to keep roots clean and healthy, what the white powder idea may mean, when to avoid it, and how to turn a simple jar into a successful propagation station that looks beautiful and actually supports the plant.
Why the Water Jar Method Is So Popular
The water jar method is popular because it is simple, visual, and attractive. You do not need a complicated setup. A clean glass jar, fresh water, and a healthy cutting are enough to begin. The clear container lets you watch the roots grow day by day, which makes the process exciting and satisfying.
For people who love indoor decor, water propagation is especially appealing. A green cutting in a clear jar looks fresh and minimal. It can brighten a desk, windowsill, bathroom shelf, or kitchen counter without needing a large pot of soil. It is also easier to monitor because you can see exactly what is happening below the waterline.
However, the same clear beauty can be misleading. A jar may look decorative from the outside while bacteria are building up inside. Water may look clean for a few days but still become low in oxygen. Roots may begin white and healthy, then turn brown if the water is neglected. The water jar method works best when it is treated as a living root environment, not just a decoration.
Understanding Anthurium Growth
Anthuriums are tropical plants that often grow in loose, airy organic material in nature. Many have roots that appreciate moisture, but they also need oxygen. This is why anthuriums usually dislike dense, soggy soil.
Anthurium propagation depends on nodes. A leaf alone will not become a full new plant unless it includes a piece of stem with a node. The node is the growth point that can produce roots and future shoots. Without a node, the leaf may stay fresh for a while in water, but it will not develop into a complete plant. This is the first major rule: the cutting must have a node.
What Makes a Good Anthurium Cutting?
- Comes from a healthy mother plant (no pests, no rot)
- Includes at least one node (ideally 1–2 healthy leaves)
- Stem is firm, not soft or black
- Aerial roots are a bonus – they adapt faster
- Leaf is fresh green, not yellowing or limp
Use clean scissors or pruning shears to take the cutting. A clean cut reduces the chance of infection.
Why Roots Matter More Than Leaves
Fresh green leaves are beautiful, but roots are the real foundation of success. A cutting can look healthy for several days or even weeks using stored energy. But if it does not form roots, it cannot support itself long term.
Healthy roots absorb water, oxygen, and nutrients. In water propagation, new roots often appear as small white or pale bumps near the node. Over time, these extend into thin roots. Unhealthy roots are brown, mushy, slimy, or foul‑smelling – a warning sign of rot.
Focus on root quality, not just the visual look of the leaves.
How to Set Up the Anthurium Water Jar Method
Step 1: Wash a clean glass jar with hot water and mild soap, rinse very well.
Step 2: Fill with clean room‑temperature water (filtered, rainwater, or dechlorinated tap water).
Step 3: Place the anthurium cutting so the node is submerged but leaves stay above water.
Step 4: If unstable, use a narrow jar opening or small clean stones to hold it upright.
Step 5: Put the jar in bright indirect light – near an east or north window, or a few feet from a south/west window with a sheer curtain.
Step 6: Change water every 3–7 days (sooner if cloudy or slimy).
Continue to Page 2
Continue to page 2 for more details about this article and the key points many readers miss on the first page.