Do you have old, dirty pots sitting in your garage or on your patio? Maybe they are stained with dirt, mineral deposits, or even a little mold. Before you toss them, consider this: with just a few minutes of cleaning and a nearly indestructible snake plant, you can transform that neglected pot into a stunning piece of modern home decor.
This simple, beginner‑friendly method combines two powerful ideas: natural cleaning with baking soda and planting one of the easiest houseplants on earth. The result is a fresh, stylish, and healthy addition to any room — from your living room to your home office.
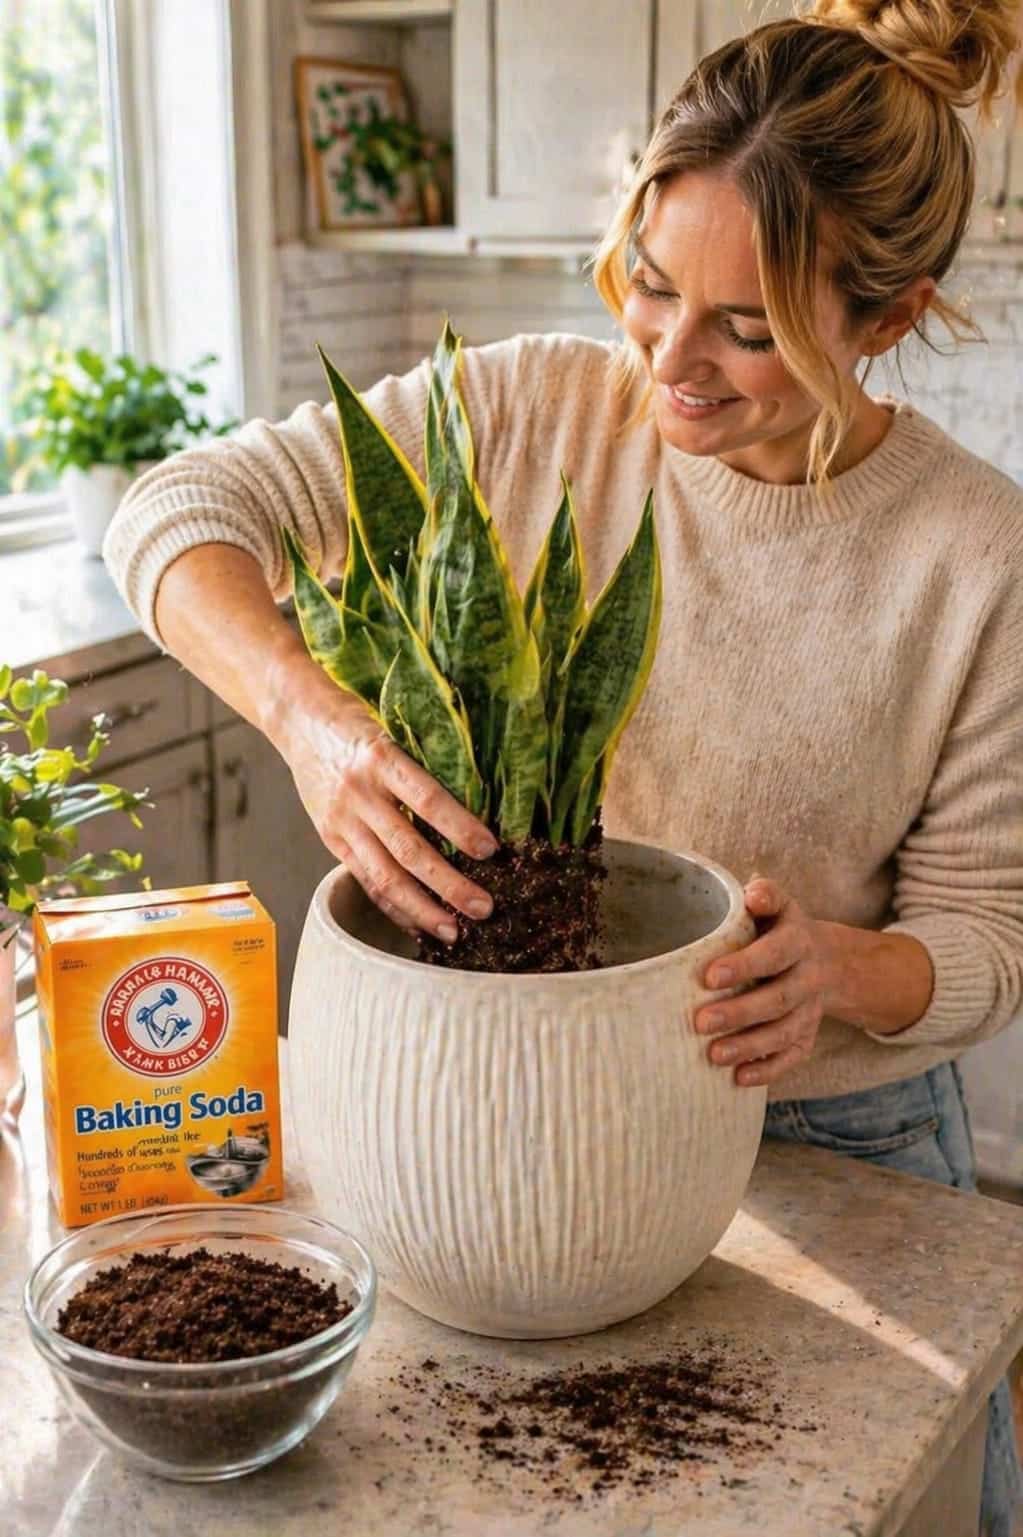
In this guide, you will learn exactly how to clean any pot using baking soda, how to prepare and plant a snake plant (Sansevieria), and the essential care tips to keep it thriving for years. Whether you are a first‑time plant parent or a seasoned gardener, this DIY project is fast, affordable, and incredibly rewarding.
Why This Works So Well: Cleaning + Planting in One Process
Combining cleaning and planting into a single project gives you multiple benefits at once:
· A fresh, hygienic pot – Baking soda removes dirt, bacteria, odors, and chemical residues.
· Better plant health – A clean pot means fewer pathogens and a healthier root environment.
· Aesthetic, Instagram‑worthy results – A bright, clean planter makes your snake plant look like a designer piece.
· Low‑cost DIY transformation – Baking soda costs pennies, and snake plants are widely available and inexpensive.
And the best part? Snake plants (Dracaena trifasciata, formerly Sansevieria) are one of the easiest plants to grow. They tolerate low light, missed waterings, and dry air. They also purify indoor air, removing toxins like formaldehyde and benzene. This makes them the perfect choice for beginners and busy homeowners.
Step 1: Clean the Pot with Baking Soda
Before planting anything, you need a clean base. A dirty pot can harbor mold, bacteria, and old fertilizer salts that can harm your new plant. Baking soda is a natural, non‑toxic cleaner that is tough on grime but gentle on surfaces.
What You Need:
· Baking soda (sodium bicarbonate)
· Warm water
· Sponge or soft scrub brush
· Old toothbrush (for crevices)
· Gloves (optional)
· Towel for drying
Step‑by‑Step Instructions:
- Remove Loose Dirt
If the pot has old soil or debris, shake it out or rinse it with water. For terracotta pots, let them dry slightly before scrubbing.
- Sprinkle Baking Soda
Sprinkle a generous amount of baking soda inside and outside the pot. Focus on stained areas, water rings, or any spots that look dirty.
- Add Water to Make a Paste
Add a small amount of warm water to the baking soda. Use your fingers or a spoon to mix until it forms a thick, spreadable paste. You want it to stick to the surface, not run off.
- Scrub the Pot
Use a sponge or soft brush to scrub the entire pot. The baking soda acts as a mild abrasive, lifting dirt and stains without scratching the surface. For hard‑to‑reach corners or drainage holes, use an old toothbrush.
- Let It Sit (For Tough Stains)
If your pot has stubborn mineral deposits or old water rings, let the baking soda paste sit for 10–15 minutes before scrubbing. This gives it time to break down the residue.
- Rinse Thoroughly
Rinse the pot under warm running water until all baking soda residue is gone. Make sure no white powder remains — it can affect soil pH if left behind.
- Dry Completely
Dry the pot with a clean towel, or let it air dry upside down. Important: The pot must be completely dry before you add soil. Any trapped moisture can lead to root rot.
💡 Pro Tips for Different Pot Materials:
· Terracotta: Baking soda is safe for unglazed clay. It will not harm the porous surface. Rinse well.
· Ceramic/Glazed: Use a soft sponge to avoid scratching the glaze. Baking soda paste works beautifully.
· Plastic: Baking soda is gentle and effective. Avoid abrasive pads that can leave scratches.
· Concrete/Cement: Use a stiff brush. Baking soda helps remove efflorescence (white mineral deposits).
Step 2: Prepare the Snake Plant
Snake plants (Sansevieria) are perfect for beginners because they are nearly impossible to kill. They come in many varieties — from tall, upright ‘Laurentii’ with yellow edges to compact ‘Hahnii’ (bird’s nest snake plant). Choose one that fits your space.
Why Choose a Snake Plant?
· Low maintenance – Water every 2–4 weeks; they thrive on neglect.
· Tolerate low light – They survive in dim corners but grow faster in bright indirect light.
· Need little water – Overwatering is the only common mistake.
· Clean indoor air – NASA studies show they remove toxins like formaldehyde.
· Modern, architectural look – Their upright, sword‑shaped leaves add structure to any room.
How to Prepare Your Snake Plant:
- Remove the Plant from Its Original Container
Gently turn the pot sideways and slide the plant out. If it is stuck, squeeze the sides of a plastic pot or tap the rim of a terracotta pot on a hard surface. Do not pull the leaves — you may damage them.
- Gently Loosen the Roots
Shake off excess old soil. Use your fingers to gently tease apart any tightly circling roots. This encourages new root growth in fresh soil.
- Remove Excess Old Soil
Discard the old potting mix. Snake plants are not heavy feeders, but old soil can be compacted and depleted. Start with fresh, well‑draining soil.
- Inspect for Pests or Damage
Look for mealybugs (white cottony spots), spider mites (fine webbing), or brown, mushy roots. If you see rot, trim the affected roots with clean scissors. Dust cut ends with a little cinnamon (natural antifungal).
- Let the Plant Air Dry (Optional)
If you trimmed roots, let the plant sit on a paper towel for a few hours to callus before repotting.
Continue to Page 2
Continue to page 2 for more details about this article and the key points many readers miss on the first page.