Step 3: Begin Shaping the Leaves
Now comes the delicate part – guiding the leaves along the support. Remember: slow and steady wins the race
.
How to Shape
- Start with the longest, most flexible leaves. These are easiest to bend without snapping.
- Gently curve each leaf around your chosen shape. Follow the natural curve of the plant – don’t force it. If you feel resistance or see a crease forming, stop.
- Secure the leaves with soft plant ties. Use Velcro strips, foam‑coated wire, or strips of soft cloth. Avoid anything too tight or abrasive – it can cut into the leaves as they grow.
- Attach ties at multiple points on each leaf to support the curve evenly.
- Work gradually. Don’t try to achieve the perfect spiral in one go. Snake plant leaves respond better to gentle redirection over time than to sudden bending.
What If a Leaf Snaps?
Don’t panic. One snapped leaf won’t ruin your project. Remove the damaged leaf at the base, and focus on training the remaining healthy leaves. New growth will eventually fill in.
Step 4: Encourage Balanced Growth
Once your plant is set up in its new shape, you need to provide the right conditions for it to thrive and hold the form.
Light
· Place in bright, indirect sunlight – an east or west window is ideal.
· Rotate the pot weekly – this prevents leaves from leaning toward the light, which can distort the spiral.
Humidity
· Snake plants tolerate average humidity, but slightly higher humidity keeps leaves more flexible.
· Light misting in the mornings can help, especially during dry winter months.
Patience
Snake plants are notoriously slow growers, especially indoors. You may not see noticeable change for weeks, or even months – but the progress is happening. Over time, the leaves will set into their new shape, and the spiral will become more defined
Step 5: Don’t Neglect Everyday Plant Care
While you’re shaping your snake plant into a showpiece, don’t forget to stick to the basics. Healthy plants shape better and are less likely to droop, snap, or lose color.
Watering
· Water only when the top few inches of soil are dry. In most indoor settings, that means every 2–4 weeks.
· Water deeply, then empty the saucer. Never let the pot sit in standing water.
Soil and Pot
· Use a fast‑draining succulent or cactus mix (add perlite for extra aeration).
· Always choose a pot with drainage holes.
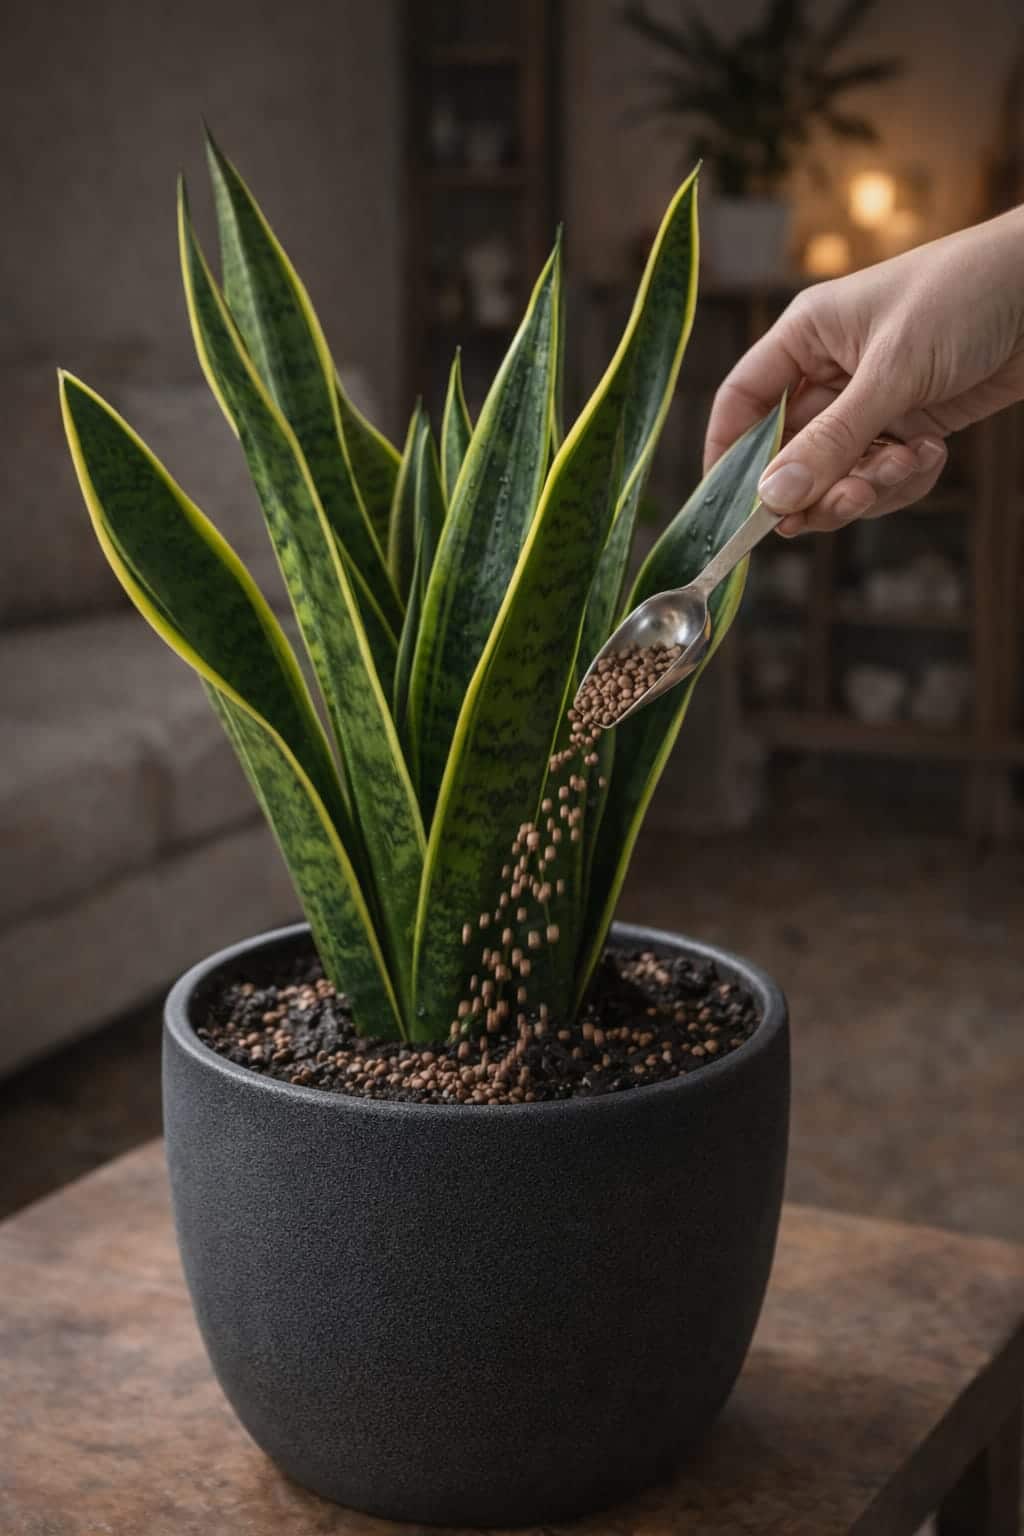
Fertilizing
· During the active growing season (spring and summer), feed once a month with a balanced liquid fertilizer diluted to half strength.
· This nutritional boost helps support strong, flexible leaf development – essential for shaping.
Avoid Overwatering
Overwatering weakens the plant’s structure and increases the chance of rot, especially in tightly bound pots. When in doubt, wait another week.
Step 6: Removing the Support (When the Time Is Right)
Eventually, your plant will begin to hold its shape without needing support. This is when you can start gradually removing the ties and spiral frame – but do it in stages.
How to Remove Supports
- Start with the topmost ties – loosen one tie and observe how the leaf holds its form.
- If it remains steady – remove a few more ties over the next week.
- If the leaf shifts – reapply the tie and wait another 2–4 weeks before trying again.
Don’t Rush This Step
If the plant isn’t ready, the leaves may shift or collapse back to their natural posture. It’s better to wait a few extra weeks than to undo all the shaping you’ve invested months into.
A Pleasant Surprise
Once your plant becomes established in its spiral form, any new pups (offsets) it produces often follow the same shape. You might end up with an entire family of curling, spiraling snake plants, all grown from your original creation.
Pro Tips for a Stunning Spiral
Tip Why It Helps
Start with a healthy plant A stressed plant won’t train well.
Work slowly Sudden bending causes cracks.
Use soft ties Prevents leaf damage.
Rotate the pot weekly Ensures even light exposure.
Be patient Shaping takes months, not days.
Don’t overwater Weak roots = weak leaves.
Troubleshooting – Common Problems & Solutions
Problem Likely Cause Solution
Leaves cracking Bent too sharply or too fast Stop training; let rest for 2 weeks; restart slowly.
Spiral not holding Removed ties too soon Reapply ties for another 2–4 weeks.
Leaves turning yellow Overwatering or root rot Check soil; reduce watering; repot if needed.
No new growth Insufficient light or cool temps Move to brighter spot; keep above 65°F.
Plant leaning unevenly Not rotated during training Rotate pot weekly.
Frequently Asked Questions (FAQs)
Q: How long does it take to shape a snake plant into a spiral?
A: A noticeable spiral can take 3–6 months. A tight, permanent shape may take a year or more. Patience is key.
Q: Can I shape an existing large snake plant?
A: It’s difficult. Mature leaves are stiff and prone to snapping. You can try training only new pups while leaving older leaves upright.
Q: Will the spiral damage my snake plant?
A: If done gently and gradually, no. Aggressive bending or tight ties can cause permanent damage. Always prioritize plant health over shape.
Q: Can I buy a pre‑trained spiral snake plant?
A: Yes – many nurseries sell pre‑shaped spirals, often labeled as “twisted snake plant.” They save you months of training but cost more
Q: How do I care for a spiral snake plant after shaping?
A: Care is the same as any snake plant: bright indirect light, water when soil is dry, well‑draining soil. The shape may relax over time; you can re‑apply ties for a few weeks to reinforce it
Printable Spiral Training Checklist
☐ Choose a young, healthy snake plant (flexible leaves)
☐ Prepare a spiral or circular support (wire, trellis, or tomato cage)
☐ Insert support into pot near the plant’s center
☐ Gently wrap longest leaves around the support
☐ Secure leaves with soft plant ties (loose, not tight)
☐ Place in bright, indirect light
☐ Rotate pot weekly
☐ Water only when soil is dry (every 2–4 weeks)
☐ Mist lightly in dry conditions (optional)
☐ Fertilize monthly in spring/summer (diluted)
☐ Check ties every week – loosen if needed
☐ Be patient – shape takes 3–6 months
☐ Remove ties gradually once shape holds
Final Thoughts – Your Living Sculpture Awaits
Training your snake plant into a spiral or circular shape is not a quick project – it’s a slow and rewarding journey. With each gentle twist, you’re not just shaping a plant; you’re creating art. The process requires patience, consistency, and a little creativity, but the result is a stunning, one‑of‑a‑kind centerpiece that will amaze everyone who sees it.
Start with a young, healthy plant. Give it a sturdy support, guide the leaves gently, and provide the care it needs to thrive. Over time, you’ll see the leaves naturally follow the spiral path, and one day, you’ll be able to remove the support entirely, revealing a perfect spiral that you created.
And here’s the best part: once your plant becomes established in its spiral form, any new pups it produces often follow the same shape. You might end up with an entire family of curling, spiraling snake plants – all grown from your original creation.
Now it’s your turn! Have you tried shaping a snake plant into a spiral? What challenges did you face? Drop a comment below – I’d love to hear your story.
And if you found this guide helpful, share it with a friend who loves creative plant projects. Pin it for later, and subscribe to our newsletter for more plant DIYs.
Stay patient, stay gentle, and watch your snake plant become art. 🌿✨