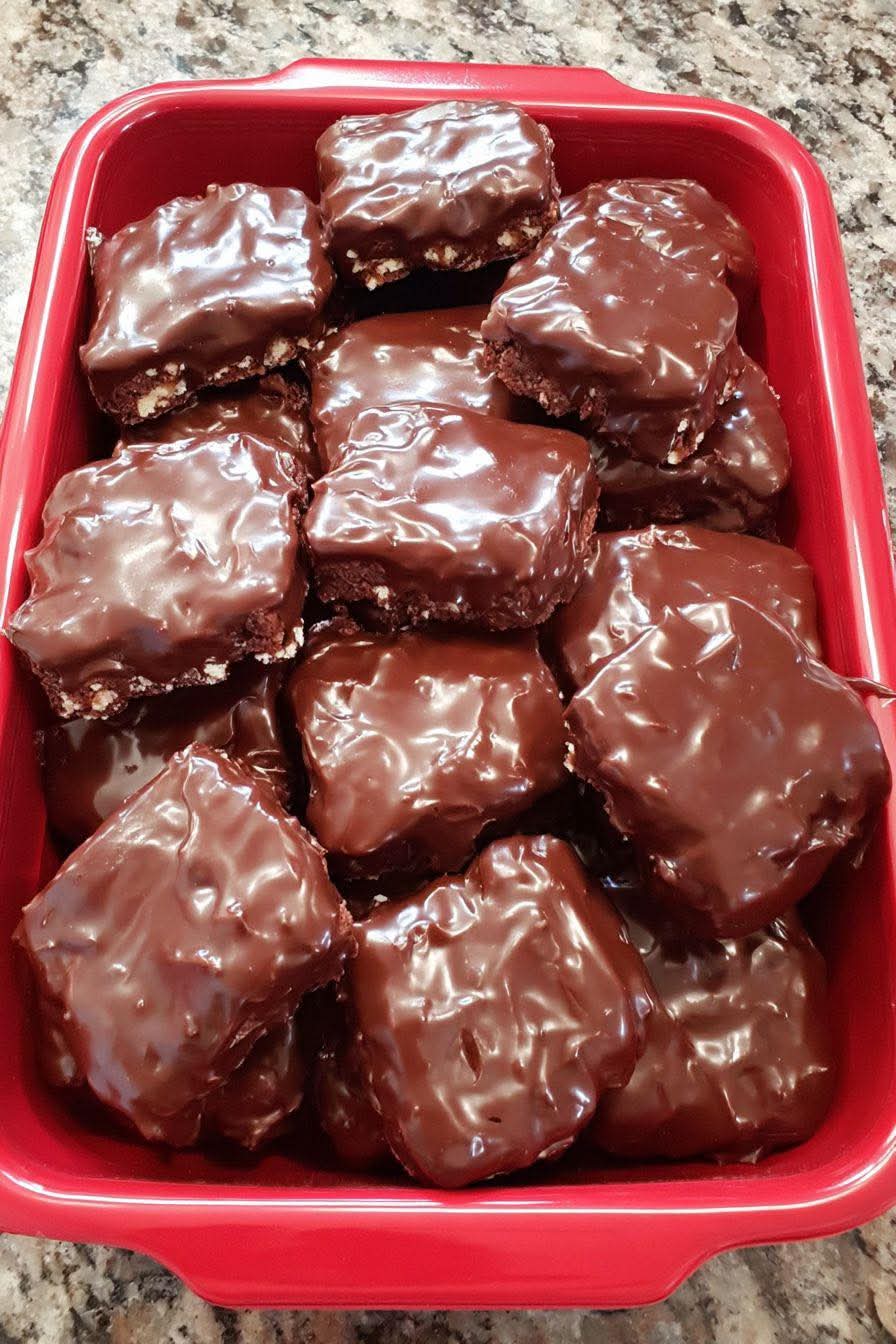
There are few treats that can bring the joy of the holidays quite like Chocolate Peanut Butter Bars. These bars combine a creamy peanut butter filling with a layer of smooth, rich chocolate coating that will leave everyone wanting more. If you’re looking for a recipe to impress your family and friends, this is it.
Why Chocolate Peanut Butter Bars Are a Holiday Favorite
Chocolate and peanut butter are a classic pairing, and when combined in these bars, the result is pure bliss. Here’s why these bars are a favorite at any gathering, especially during the holiday season:
Irresistible Flavor: The sweet and salty balance of the peanut butter combined with rich chocolate creates a flavor that’s impossible to resist.
Easy to Make: This no-bake recipe is simple and doesn’t require any special baking skills. Just mix, layer, and chill.
Perfect for Sharing: The bars are easy to slice into portions, making them great for holiday parties, potlucks, or as a homemade gift.
Holiday Miracle: As one cook put it, “I made these for the first time and my mother-in-law actually asked me for the recipe. That’s a Christmas miracle!” These bars have the power to create sweet memories.
Ingredients You’ll Need
To create these irresistible chocolate peanut butter bars, you’ll need the following ingredients:
For the Peanut Butter Layer:
1 1/2 cups peanut butter (creamy or crunchy based on preference)
1 cup unsalted butter (softened)
2 cups powdered sugar
2 cups graham cracker crumbs
For the Chocolate Coating:
2 cups semisweet chocolate chips
1 tablespoon unsalted butter
Step-by-Step Instructions to Make Chocolate Peanut Butter Bars
Step 1: Prepare the Peanut Butter Layer
Start by combining the peanut butter and softened butter in a large mixing bowl. Use a hand mixer or stand mixer to beat them together until smooth and creamy. Then, add the powdered sugar and graham cracker crumbs, mixing well until the mixture is thick and crumbly. It should resemble a dough-like consistency.
Step 2: Press the Mixture into the Pan
Grease an 8×8 or 9×9-inch baking pan with a little butter or line it with parchment paper. Once the peanut butter mixture is well-combined, transfer it to the pan. Using a spatula or the back of a spoon, press the mixture evenly into the pan to form the base layer.
Step 3: Prepare the Chocolate Coating
In a separate microwave-safe bowl, melt the chocolate chips and butter together. You can do this in the microwave in 20-second intervals, stirring each time, or on the stovetop using a double boiler. Stir the melted chocolate until it’s smooth and glossy.
Step 4: Spread the Chocolate Over the Peanut Butter Layer
Once the chocolate is melted, pour it over the peanut butter layer in the pan. Using a spatula, gently spread the chocolate evenly across the surface to cover the peanut butter layer completely. Smooth out the top for a nice, even finish.
Step 5: Chill and Set
Place the pan in the refrigerator and allow the bars to chill for at least 2 hours, or until the chocolate has hardened. The longer you let it chill, the firmer the bars will be. Once set, remove the pan from the refrigerator and cut into squares or rectangles.
Tips for Perfect Chocolate Peanut Butter Bars
Use Room Temperature Butter: Make sure your butter is softened to room temperature. Cold butter will not mix as well with the peanut butter and could create a lumpy texture.
Don’t Overheat the Chocolate: When melting the chocolate, be careful not to overheat it. Stir it often and only heat it just enough until fully melted to avoid burning it.
Chill Thoroughly: Be sure to allow the bars to chill for at least 2 hours. Chilling helps the layers set and makes it easier to cut into neat squares.
Ways to Customize Your Chocolate Peanut Butter Bars
While this recipe is already perfect as is, there are several ways to customize it to fit your tastes:
Add Chopped Nuts: For extra crunch, add chopped peanuts or any other nuts of your choice to the peanut butter layer.
Use Different Chocolate: If you prefer dark chocolate, feel free to swap out the semisweet chocolate chips for dark chocolate chips.
Make It a Swirl: If you’re feeling fancy, you can drizzle extra melted chocolate over the top and swirl it for a decorative touch.
How to Serve Chocolate Peanut Butter Bars
These bars are great for just about any occasion. Here are a few ways to serve them:
Holiday Parties: Perfect for Christmas or Thanksgiving parties as a sweet snack that everyone will enjoy.
Family Gatherings: Make a batch for your next family get-together, and watch how fast they disappear.
Gift Giving: These bars are easy to package up in a festive tin or cellophane bag, making them a great homemade gift for friends and neighbors.
Potlucks and Bake Sales: Easy to transport and share, they’re always a hit at potlucks and bake sales.
Storing Leftover Chocolate Peanut Butter Bars
If you have any leftover bars (which is rare!), you can store them in an airtight container. They’ll last for up to one week in the refrigerator. For longer storage, you can freeze them!
Freezing the Bars
To freeze the bars, cut them into squares and place them in a single layer on a baking sheet. Freeze them for 2 hours, then transfer them to a freezer-safe container. They’ll last for up to 3 months in the freezer. When ready to serve, simply thaw them at room temperature for 15-20 minutes.
Why This Recipe Is So Special
Not only are these chocolate peanut butter bars incredibly delicious, but they have a special way of bringing people together. As one cook mentioned, “I made these for the first time and my mother-in-law actually asked me for the recipe. That’s a Christmas miracle.” The flavor combination and simplicity of the recipe make it an instant classic, and it’s bound to become a staple in your holiday baking tradition.
Frequently Asked Questions About Chocolate Peanut Butter Bars
Can I use a different type of nut butter?
Yes! If you’re allergic to peanuts or just prefer a different flavor, you can substitute peanut butter with almond butter, cashew butter, or even sunflower seed butter.
Can I make these bars without graham cracker crumbs?
If you don’t have graham cracker crumbs on hand, you can substitute them with crushed digestive biscuits, vanilla wafers, or even crushed pretzels for a salty twist.
How do I cut these bars without making a mess?
To cut these bars neatly, use a sharp knife and wipe it clean between each cut. Chilling the bars thoroughly before cutting will also help them hold their shape.
The Perfect Holiday Dessert: Chocolate Peanut Butter Bars
These Chocolate Peanut Butter Bars are the perfect holiday treat—rich, decadent, and loved by everyone. Whether you’re serving them at a Christmas party, giving them as a gift, or simply indulging in a little sweetness, they’re sure to bring smiles all around. As one cook put it, “Making these for the first time was a Christmas miracle, and now I’ll make them every year!”
Conclusion
There’s nothing quite like the simple joy of a homemade dessert, and these Chocolate Peanut Butter Bars are the epitome of indulgence. With their perfect balance of chocolate and peanut butter, they make an ideal treat for any occasion. Whip up a batch today, and get ready for the holiday magic to unfold with each bite!
More Recipes You Might Like
-

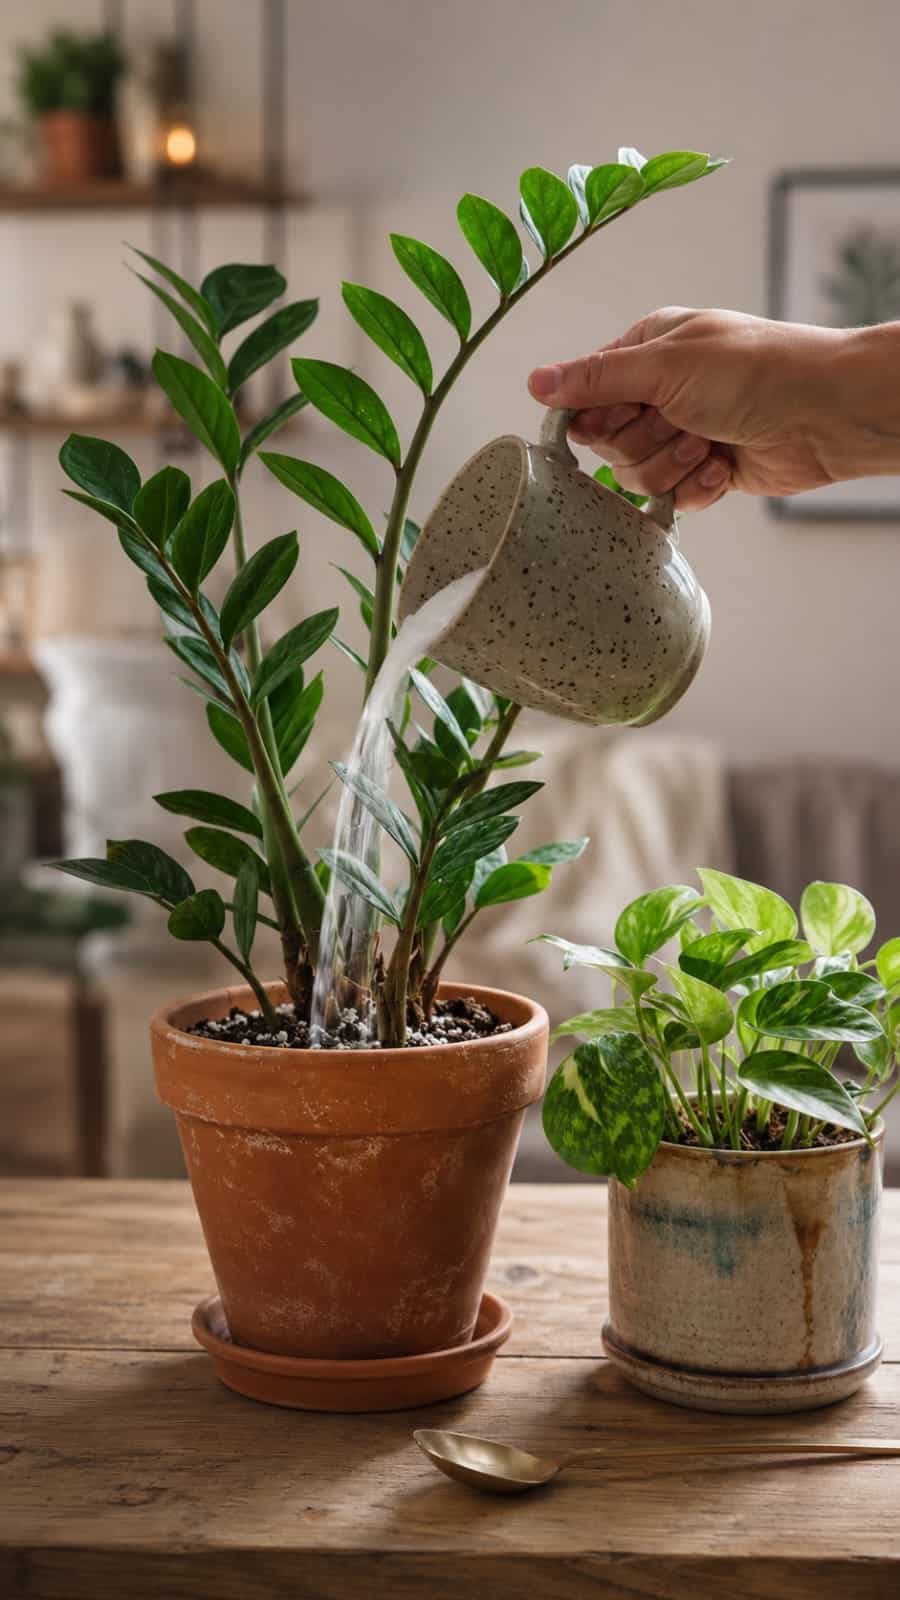
The One Simple Ingredient Secret for Stronger ZZ Plants and Faster Indoor Growth
ZZ plants have become one of the most popular indoor plants in modern homes because they combine beauty, durability, and low maintenance care in one stunning tropical houseplant. But recently, a viral indoor gardening trend has captured attention online after plant lovers began using one simple natural ingredient to encourage lush, sturdy growth in ZZ…
-
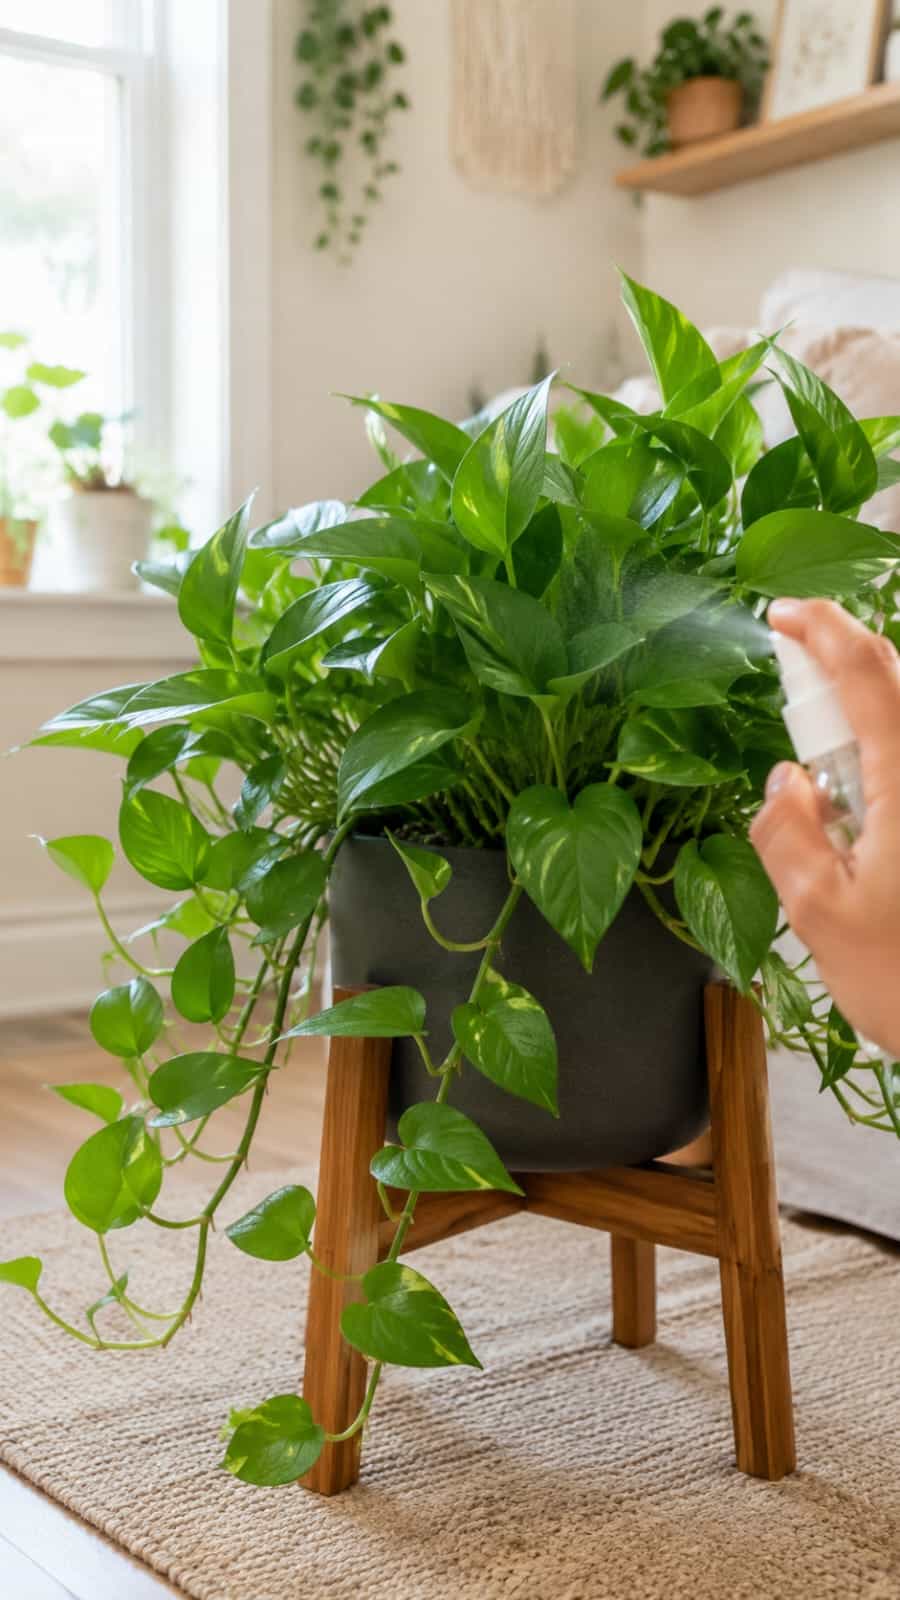
The Simple Humidity Trick That Makes Pothos Plants Look Fuller, Greener, and Faster Growing
Pothos plants are among the most loved indoor plants in the world because they are easy to grow, beautifully trailing, and incredibly forgiving for beginners. But recently, indoor gardeners have started using a simple humidity trick that many believe helps pothos plants develop larger leaves, healthier vines, and a more vibrant tropical appearance indoors. In…
-
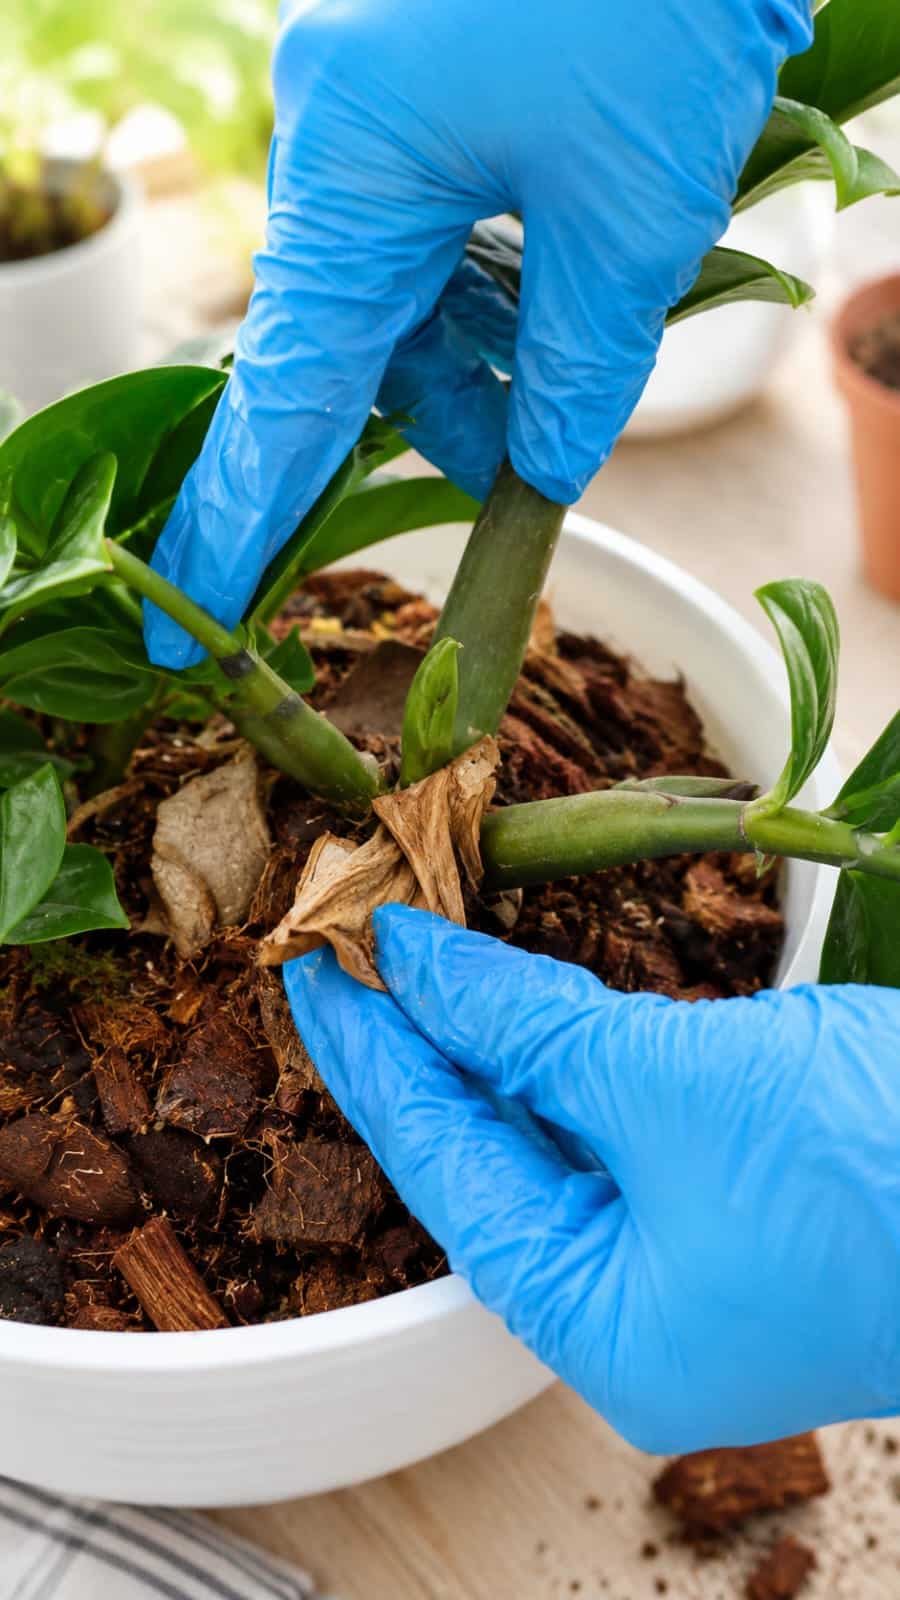
The Hidden ZZ Plant Root Trick Smart Gardeners Use for Faster Growth and Stronger New Shoots
ZZ plants have become one of the most popular indoor plants in modern homes because they look elegant, survive neglect, tolerate low light, and produce thick glossy leaves that instantly make any room feel alive. But recently, a new viral plant care method has exploded across social media after gardeners discovered a hidden trick around…