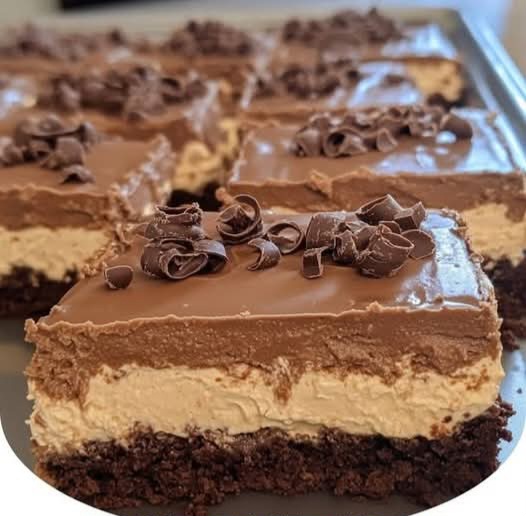
If you’re a fan of chocolate and peanut butter, you’re in for a treat! These Chocolate Peanut Butter Dream Bars are the ultimate indulgence. With a crunchy cookie crust, a creamy peanut butter filling, and a smooth chocolate layer on top, these bars are a perfect balance of textures and flavors. Whether you’re looking for a sweet treat to bring to a gathering or just a dessert to enjoy at home, these bars are sure to satisfy your cravings.
Why You’ll Love These Bars:
Irresistible Flavor: The combination of rich chocolate, creamy peanut butter, and a crunchy cookie crust creates a mouthwatering flavor profile that everyone will love.
No-Bake Dessert: This dessert is super easy to make since it requires no baking. Just assemble the layers, refrigerate, and you’re good to go.
Quick and Simple: With just a few ingredients and minimal prep time, you can have these bars ready in under an hour, making them perfect for last-minute gatherings or when you’re craving something sweet.
Perfect for Any Occasion: Whether it’s a family dinner, a holiday celebration, or a picnic with friends, these bars are always a hit.
Ingredients for Chocolate Peanut Butter Dream Bars:
1 package (16 oz) chocolate sandwich cookies, crushed – This forms the crunchy, chocolatey base of the bars. You can use Oreos or any similar chocolate cookie.
1/2 cup unsalted butter, melted – To bind the cookie crumbs together and create a firm crust.
1 cup creamy peanut butter – This is the base of the peanut butter filling. Creamy peanut butter works best for a smooth, spreadable filling.
1 cup powdered sugar – To sweeten the peanut butter filling and give it a creamy texture.
1 cup heavy cream – To help create the smooth, luscious texture of the peanut butter layer.
1 cup chocolate chips – For the top chocolate layer that gives the dessert its signature glossy finish.
1 tablespoon vegetable oil – To help the chocolate layer stay smooth and shiny.
How to Make Chocolate Peanut Butter Dream Bars:
Step 1: Make the Cookie Crust
Begin by crushing the chocolate sandwich cookies into fine crumbs. You can do this by placing the cookies in a ziplock bag and using a rolling pin to crush them, or use a food processor for an even texture.
In a medium bowl, combine the cookie crumbs with the melted butter. Stir until the mixture is well combined and the crumbs are coated with butter.
Press the cookie mixture into the bottom of a 9×13-inch baking dish, forming an even, compact layer. Use the back of a spoon to press it down firmly.
Refrigerate the crust for 10-15 minutes to allow it to firm up before adding the next layer.
Step 2: Make the Peanut Butter Filling
In a large bowl, combine the creamy peanut butter, powdered sugar, and heavy cream. Stir until smooth and well combined. The consistency should be creamy and spreadable.
Once the cookie crust has set, spread the peanut butter mixture evenly over the crust, smoothing it out with a spatula. Be gentle, as the crust is delicate.
Step 3: Make the Chocolate Layer
In a small microwave-safe bowl, combine the chocolate chips and vegetable oil. Microwave in 30-second intervals, stirring after each interval, until the chocolate is melted and smooth.
Pour the melted chocolate over the peanut butter layer, spreading it evenly with a spatula. The chocolate will create a rich, glossy topping that finishes off the bars beautifully.
Step 4: Refrigerate and Set
Place the entire dish in the refrigerator for about 2-3 hours to allow the layers to firm up completely.
Once set, cut into squares or bars and serve chilled.
Tips for the Best Chocolate Peanut Butter Dream Bars:
Use Room Temperature Peanut Butter: If your peanut butter is cold, it can be harder to mix with the powdered sugar. Make sure it’s at room temperature for smooth results.
Crust Variations: You can use chocolate graham crackers or even shortbread cookies instead of chocolate sandwich cookies for a different twist on the crust.
Add Toppings: For an extra touch of flavor and texture, top the bars with chopped peanuts, chocolate shavings, or a drizzle of caramel sauce.
Use a Baking Dish Liner: For easy removal, you can line your baking dish with parchment paper before pressing the crust down. This will help you easily lift the bars out of the dish and cut them neatly.
Let the Layers Firm Up: Be patient and let the bars set in the refrigerator for the best texture. If you try to cut them too soon, the layers might not hold together properly.
Why This Recipe Works:
Balanced Texture: The combination of the crunchy cookie crust, creamy peanut butter filling, and smooth chocolate topping creates the perfect balance of textures in every bite.
No-Bake Convenience: This dessert requires minimal effort and no oven time, making it a great option for hot days when you don’t want to turn on the oven.
Rich and Decadent: The layers of peanut butter, chocolate, and cookie crumbs work together to create a rich, indulgent dessert that’s sure to satisfy your sweet cravings.
Serving Suggestions:
With Ice Cream: These bars are fantastic when paired with a scoop of vanilla ice cream or chocolate ice cream for the ultimate indulgence.
Topped with Whipped Cream: Add a dollop of whipped cream on top of each serving for extra creaminess and a beautiful presentation.
For Parties or Gatherings: These bars are perfect for parties, potlucks, or holiday celebrations. They are easy to make in advance and are sure to impress guests with their rich, decadent flavor.
Storage Tips:
Refrigerate: Store leftover bars in the refrigerator, covered with plastic wrap or in an airtight container. They will stay fresh for up to 1 week.
Freezing: If you have leftovers, you can freeze the bars for up to 2 months. Just make sure to wrap them tightly in plastic wrap and store them in a freezer-safe container. Thaw them in the refrigerator before serving.
Conclusion:
These Chocolate Peanut Butter Dream Bars are the perfect dessert for anyone who loves the combination of rich chocolate and creamy peanut butter. They’re easy to make, incredibly indulgent, and sure to become a favorite in your dessert rotation. With just a few simple ingredients, you can create a show-stopping treat that will have everyone asking for the recipe.
So, whether you’re preparing for a family gathering, a potluck, or simply need something sweet, give this recipe a try—you won’t be disappointed!
Enjoy your decadent Chocolate Peanut Butter Dream Bars, and happy baking! 🍫🥜
More Recipes You Might Like
-

Garlic Water for Snake Plant: A Safe Natural Rescue Routine for Yellow Leaves, Weak Roots, and Slow Growth
Snake plants are known for being strong, upright, and easy to care for. Their sword-shaped leaves, bold green patterns, and architectural shape make them one of the most popular indoor plants in the world. They can tolerate missed watering, average indoor air, and lower light better than many houseplants. That is why many people think…
-

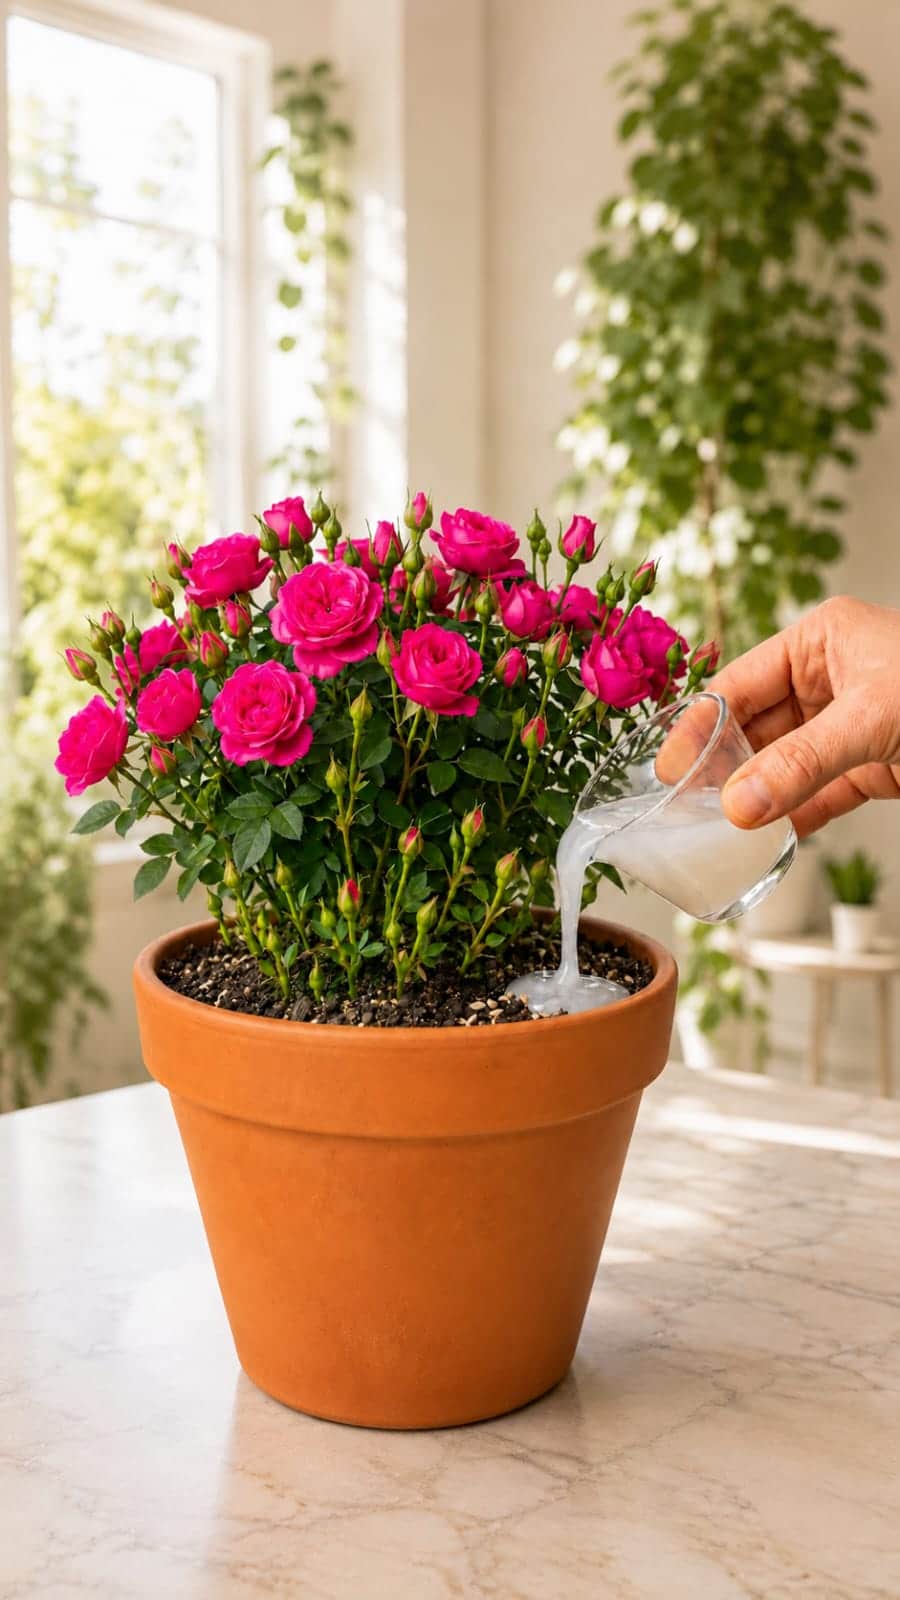
How to Use Rice Water for Mini Roses: A Gentle Natural Trick for More Buds, Stronger Roots, and Brighter Blooms
Mini roses are some of the most charming flowering plants you can grow in a pot. Their compact shape, rich green leaves, and clusters of colorful blooms make them look like a tiny rose garden in one container. When they are healthy, they can produce bud after bud, filling a windowsill, balcony, patio, or bright…
-

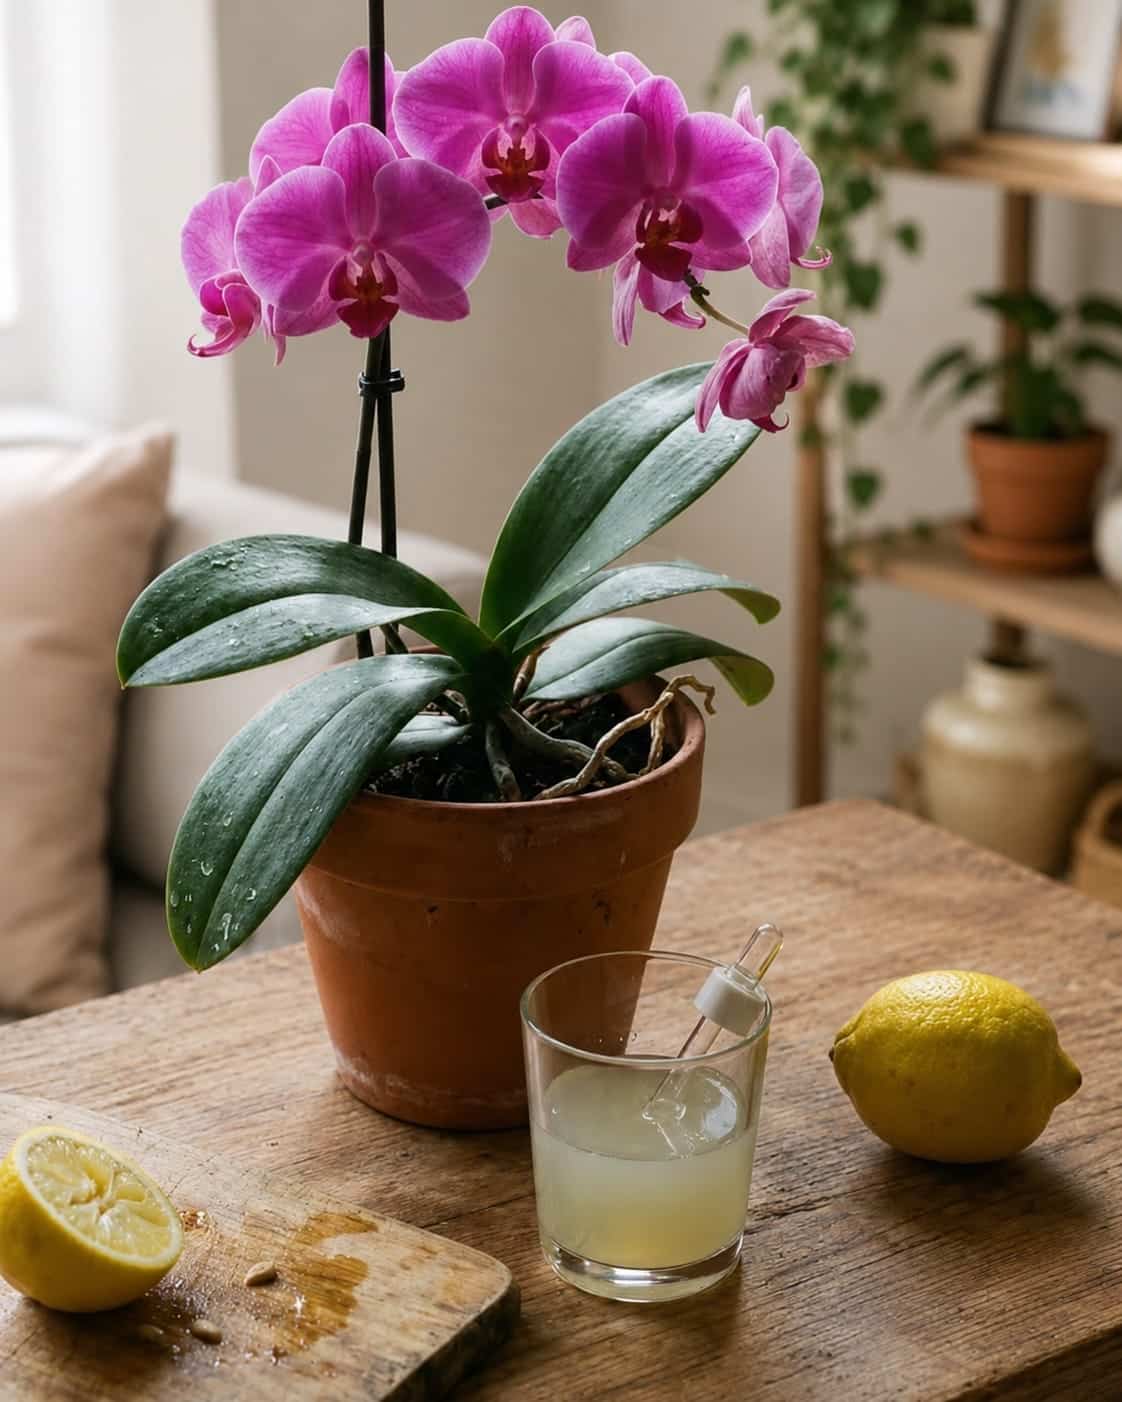
Orchid Blooming Hack: How to Use Lemon Water Safely for Healthier Leaves, Cleaner Roots, and Longer-Lasting Flowers
Orchids are among the most admired indoor plants in the world. Their elegant arching flower spikes, glossy leaves, sculptural roots, and long-lasting blooms make them feel delicate, luxurious, and almost magical. A blooming orchid can transform a windowsill, kitchen counter, or plant shelf into something beautiful and calming. But orchids can also be confusing. One…