Orchids are among the most elegant indoor plants you can grow. Their long arching flower stems, glossy leaves, sculptural roots, and delicate blooms make them look luxurious even in a simple pot. A healthy orchid can transform a windowsill, coffee table, bedroom corner, office shelf, or dining room sideboard into a calm and polished indoor garden display.
But orchids can also feel confusing. One month they look perfect, full of blooms and thick green leaves. Then suddenly the flowers fall, the leaves soften, the aerial roots turn dull, or the plant refuses to bloom again. This is why many plant lovers look for simple natural tricks that may help support root growth, stronger leaves, and future flowering.
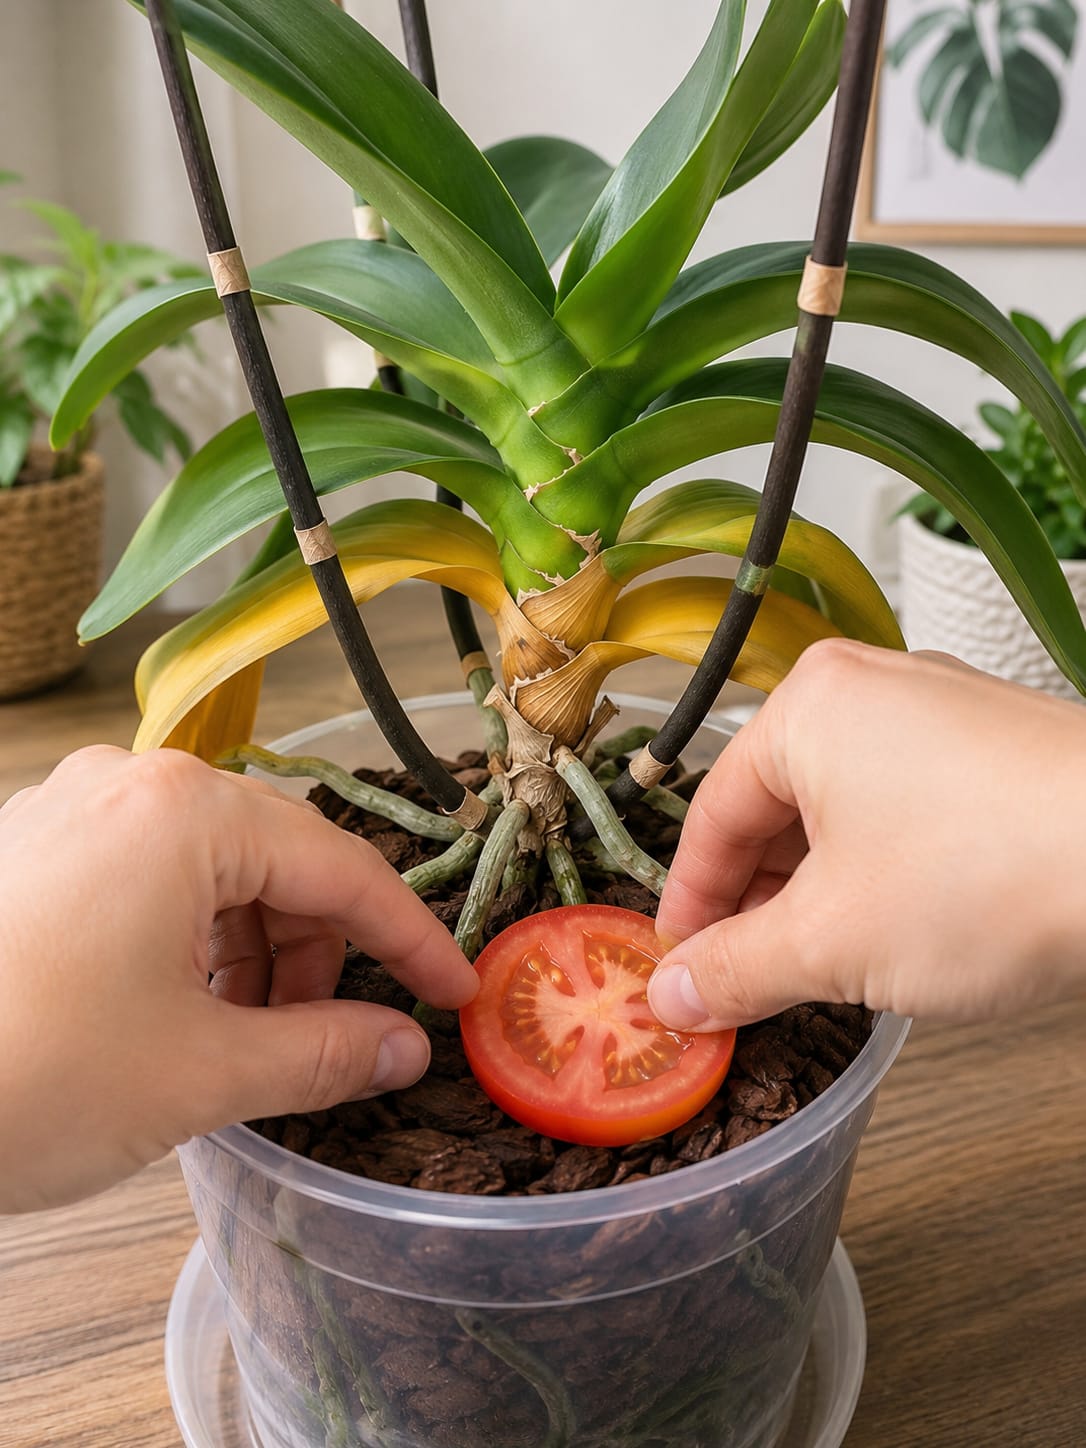
One unusual trick that gets attention is placing a slice of tomato near the orchid’s growing area. The idea is simple: a tomato slice is used close to the root zone, not rubbed onto the leaves and not poured directly over the crown. The goal is to create a gentle organic boost around the base of the plant, where roots, bark, air, and moisture all work together.
Tomato is rich in moisture and contains natural nutrients, organic acids, and plant compounds. Because of that, some gardeners use it as a homemade plant-care ingredient. However, orchids are sensitive plants, especially when grown in bark or transparent pots. Any food-based trick must be used carefully. The goal is not to bury the orchid in wet fruit or create rot. The goal is to understand how a small organic method may support the growing environment without harming the plant.
This article explains the tomato slice orchid trick in a practical way: what it may do, how to use it safely, what to avoid, and how to combine it with proper orchid care. It also includes styling ideas so the orchid remains not only healthy, but also beautiful as part of indoor decor.
What Type of Orchid This Trick Is Usually Used For
This method is most often associated with Phalaenopsis orchids, also called moth orchids. These are the most common orchids sold for indoor homes. They have wide green leaves, thick silvery roots, and long flower spikes that can carry many white, pink, purple, yellow, or patterned blooms.
Phalaenopsis orchids are popular because they are easier to grow indoors than many other orchid types. They do not need soil. They usually grow in bark, moss, or a chunky orchid mix that allows air to move around the roots.
You can recognize a Phalaenopsis orchid by:
- Thick oval green leaves
- Silvery or green aerial roots
- Long flower stems supported by stakes
- Rounded butterfly-like flowers
- A central crown where new leaves grow
- A potting mix made from bark, moss, or chunky material
This matters because orchid roots do not behave like normal houseplant roots. They need air as much as moisture. If the root zone becomes too wet, compacted, or full of decomposing food, the orchid can quickly decline.
The Tomato Slice Orchid Trick
The tomato slice trick is based on placing a small piece of tomato near the root area for a short period. It is usually presented as a natural way to encourage root activity and support new growth.
The basic idea is:
- Use a fresh tomato slice.
- Place it near the orchid’s root zone, not inside the crown.
- Keep it away from direct contact with the central stem if possible.
- Allow it to sit only briefly.
- Remove it before it breaks down too much.
- Keep the orchid pot clean and airy afterward.
The trick should be treated as a temporary organic boost, not as a permanent fertilizer layer. A tomato slice left too long can attract fungus gnats, mold, sour smells, and root problems.
Why Tomato Might Help Plants
Tomato contains water, small amounts of minerals, natural sugars, organic acids, and plant compounds. In garden soil, decomposing vegetable matter can eventually become part of the nutrient cycle. This is why compost works. Organic materials break down and feed beneficial microbes, which can gradually release nutrients.
For orchids, the situation is more delicate. Orchids do not grow in dense garden soil. They grow in airy material, and their roots are exposed to more oxygen. So tomato should not be treated like heavy compost inside an orchid pot.
Used carefully, tomato may contribute:
- A small organic nutrient source
- Moisture around the root zone
- Gentle microbial activity
- A temporary natural boost
- Support for a tired plant when combined with good care
But tomato does not magically force an orchid to bloom. Flowers come from the full care routine: light, roots, temperature, watering, humidity, and time.
Why Placement Matters So Much
With orchids, placement is everything. The tomato should never be pushed into the crown of the orchid. The crown is the center where the leaves meet. If moisture or organic material sits there, crown rot can develop.
The safer placement is near the outer root area or on top of the bark for a short time. The tomato should not be packed tightly around the base of the plant.
Good placement helps because:
- The crown stays dry
- The roots still get air
- The bark does not become overloaded
- The tomato can be removed easily
- The risk of rot is reduced
Orchids like moisture, but they do not like suffocation. Anything that blocks airflow around the roots can become a problem.
How to Use the Tomato Trick Safely
If you want to test this method, use a very small amount. Orchids are not heavy-feeding plants, and food scraps can become risky inside a decorative pot.
A safer method would be:
- Choose a healthy orchid with firm leaves and living roots.
- Use a small fresh tomato slice, not a rotten or old piece.
- Place the slice on top of the bark near the edge of the pot.
- Keep it away from the crown and leaf joints.
- Leave it for a short time only.
- Remove the tomato before it becomes mushy or moldy.
- Check the bark and roots afterward.
- Do not repeat too often.
This approach keeps the method gentle. The trick should feel like a small experiment, not a full feeding program.
What You Should Avoid
The biggest mistake is leaving tomato inside the orchid pot for too long. Tomato is moist and soft. As it breaks down, it can create odor, mold, and too much wetness around the roots.
Avoid these mistakes:
- Do not bury tomato deep in the pot
- Do not place tomato in the orchid crown
- Do not use rotten tomato
- Do not cover roots completely with tomato pulp
- Do not leave it for many days
- Do not use it on a rotting orchid
- Do not combine it with heavy watering
- Do not use it as the only orchid fertilizer
- Do not repeat the trick every week
If the pot begins to smell sour, remove the tomato immediately and rinse or refresh the potting mix if needed.
Can Tomato Make an Orchid Bloom?
Tomato alone cannot guarantee flowers. Blooming depends on the overall condition of the orchid. A healthy orchid blooms when it has enough energy stored in its leaves and roots. It also needs proper light and sometimes a slight temperature difference between day and night to trigger new flower spikes.
Tomato may be presented as a bloom-support trick, but the real bloom formula is bigger:
- Bright indirect light
- Healthy roots
- Correct watering
- Good airflow
- Stable humidity
- Gentle feeding
- Warm days and slightly cooler nights
- Patience after the old flowers fall
If an orchid has weak roots, yellow leaves, or rot, it needs recovery first. A stressed orchid will not bloom well just because tomato is added.
Why Orchid Roots Are the Real Secret
Orchid roots are different from regular plant roots. They are thick and covered with a spongy layer called velamen. This layer absorbs moisture quickly and helps protect the root. Healthy orchid roots can look silvery when dry and green when wet.
Strong orchid roots help the plant:
- Absorb water
- Store moisture
- Anchor the plant
- Support new leaves
- Produce flower spikes
- Recover after blooming
If the roots are damaged, the leaves often show stress. The plant may stop blooming, droop, or grow slowly. This is why any orchid trick should focus on supporting the root zone without making it too wet or dirty.
Signs of Healthy Orchid Roots
Before trying any organic boost, look at the roots. Healthy roots are the best sign that the plant can handle extra care.
Healthy roots usually look:
- Firm
- Silvery when dry
- Green when wet
- Thick and rounded
- Not slimy
- Not hollow
- Not black or mushy
If the roots are mostly brown, flat, mushy, or hollow, do not start with tomato. Start by fixing the root system.
What to Do If the Orchid Has Rotten Roots
If your orchid has root rot, a tomato slice will not solve the problem. Root rot needs direct care. The plant should be removed from the pot, the dead roots trimmed away, and the orchid repotted into fresh orchid mix.
Root rot signs include:
- Mushy brown roots
- Bad smell from the pot
- Leaves becoming limp
- Black spots near the base
- Wet bark that never dries
- Root pieces falling apart when touched
For a rotting orchid, the best steps are:
- Remove the orchid from the pot.
- Trim dead or mushy roots with clean scissors.
- Keep firm living roots.
- Refresh the potting medium.
- Repot in an airy orchid mix.
- Water carefully after repotting.
- Keep the plant in bright indirect light.
Only after the orchid is stable should you consider any gentle organic trick.
Best Potting Medium for Orchids
Most Phalaenopsis orchids grow best in a chunky, airy potting medium. Regular potting soil is usually too dense. It holds too much water and can suffocate orchid roots.
Good orchid potting materials include:
- Orchid bark
- Sphagnum moss in controlled amounts
- Coconut husk chips
- Perlite
- Charcoal
- Clay pebbles
A bark-based mix is often easier for beginners because it drains well and allows airflow. Moss holds more moisture, so it must be used carefully, especially in humid homes.
Why Bark Pieces Make the Orchid Look Better
Bark is practical, but it also gives orchids a natural decorative look. A clean bark layer around the base makes the plant look like a finished indoor arrangement. It hides messy roots while still allowing air movement.
Bark top dressing can help with:
- A cleaner pot surface
- Better natural styling
- Moisture balance
- Root support
- A forest-inspired look
- Reducing the appearance of exposed potting mix
For decor, bark pairs beautifully with clear orchid pots, white ceramic cachepots, wooden plant stands, and warm windowsills.
Watering Orchids the Right Way
Watering is more important than any trick. Most indoor orchids struggle because they are watered too often or allowed to sit in water. The roots need a wet-dry rhythm.
A good watering routine is:
- Water when the roots turn silvery
- Water thoroughly and let excess drain
- Do not leave water in the bottom of the decorative pot
- Avoid water sitting in the crown
- Water less in cool or low-light conditions
- Water more often if bark dries very quickly
If the roots are green, they usually still contain moisture. If they are silver and the pot feels light, the orchid may be ready for water.
Best Light for Orchid Blooms
Orchids need bright indirect light to bloom well. Too little light is one of the main reasons an orchid grows leaves but never flowers again. Too much harsh sun can burn the leaves.
Good light locations include:
- East-facing windows
- Bright rooms with filtered sunlight
- A north-facing window in a very bright home
- A few feet from a south or west window
- A windowsill with sheer curtains
Healthy orchid leaves should be medium green. Very dark green leaves can mean low light. Yellowish scorched patches can mean too much direct sun.
How Temperature Helps Orchids Bloom
Phalaenopsis orchids often bloom better when they experience slightly cooler nights for a period of time. This does not mean cold drafts. It means a gentle difference between daytime and nighttime temperature.
To encourage blooming:
- Keep the orchid warm during the day
- Allow slightly cooler nights
- Avoid freezing temperatures
- Keep it away from heaters and air conditioners
- Avoid sudden temperature shocks
This natural temperature rhythm can help signal the orchid to produce a flower spike.
Should You Fertilize Orchids?
Yes, but gently. Orchids do not need strong fertilizer. A weak, balanced orchid fertilizer during active growth can support leaves, roots, and future blooms.
A simple feeding routine:
- Use orchid fertilizer at reduced strength
- Feed during active growth
- Do not fertilize dry roots heavily
- Flush the pot with clean water occasionally
- Reduce feeding in winter or during rest periods
Homemade tricks like tomato should not completely replace a proper orchid fertilizer if the plant needs regular nutrition.
Continue to Page 2
Continue to page 2 for more details about this article and the key points many readers miss on the first page.