Orchids are among the most elegant indoor plants you can grow. Their graceful stems, smooth green leaves, and delicate flowers bring a calm, refined beauty to windowsills, shelves, coffee tables, plant stands, and bright indoor corners. A healthy orchid can make a simple room feel softer and more luxurious. Even a small orchid in a terracotta pot or ceramic planter can become the centerpiece of a space.
Because orchids look so delicate, many plant lovers search for simple tricks to help them bloom more often, grow stronger roots, and stay glossy. One unusual idea that sometimes appears in plant-care conversations is using cola or a dark sugary drink around orchids. It may look like a quick homemade plant boost, but this trick needs careful explanation. Cola is not a balanced orchid fertilizer. It contains sugar and acids that can create problems in the potting medium if used directly or often.
The safest way to think about the cola orchid trick is this: it is not a regular feeding method, and it should not replace proper orchid care. Orchids need airy roots, bright indirect light, careful watering, humidity, and a suitable orchid mix. If a dark liquid is used at all, it must be extremely diluted, used rarely, and followed by careful observation. In most cases, a proper orchid fertilizer or a gentle natural routine is much safer than pouring sugary soda into the pot.
This guide explains what the cola trick is supposed to do, why it can be risky, safer alternatives, and how to build a real orchid care routine that supports healthy roots and beautiful blooms.
What Is the Cola Orchid Trick?
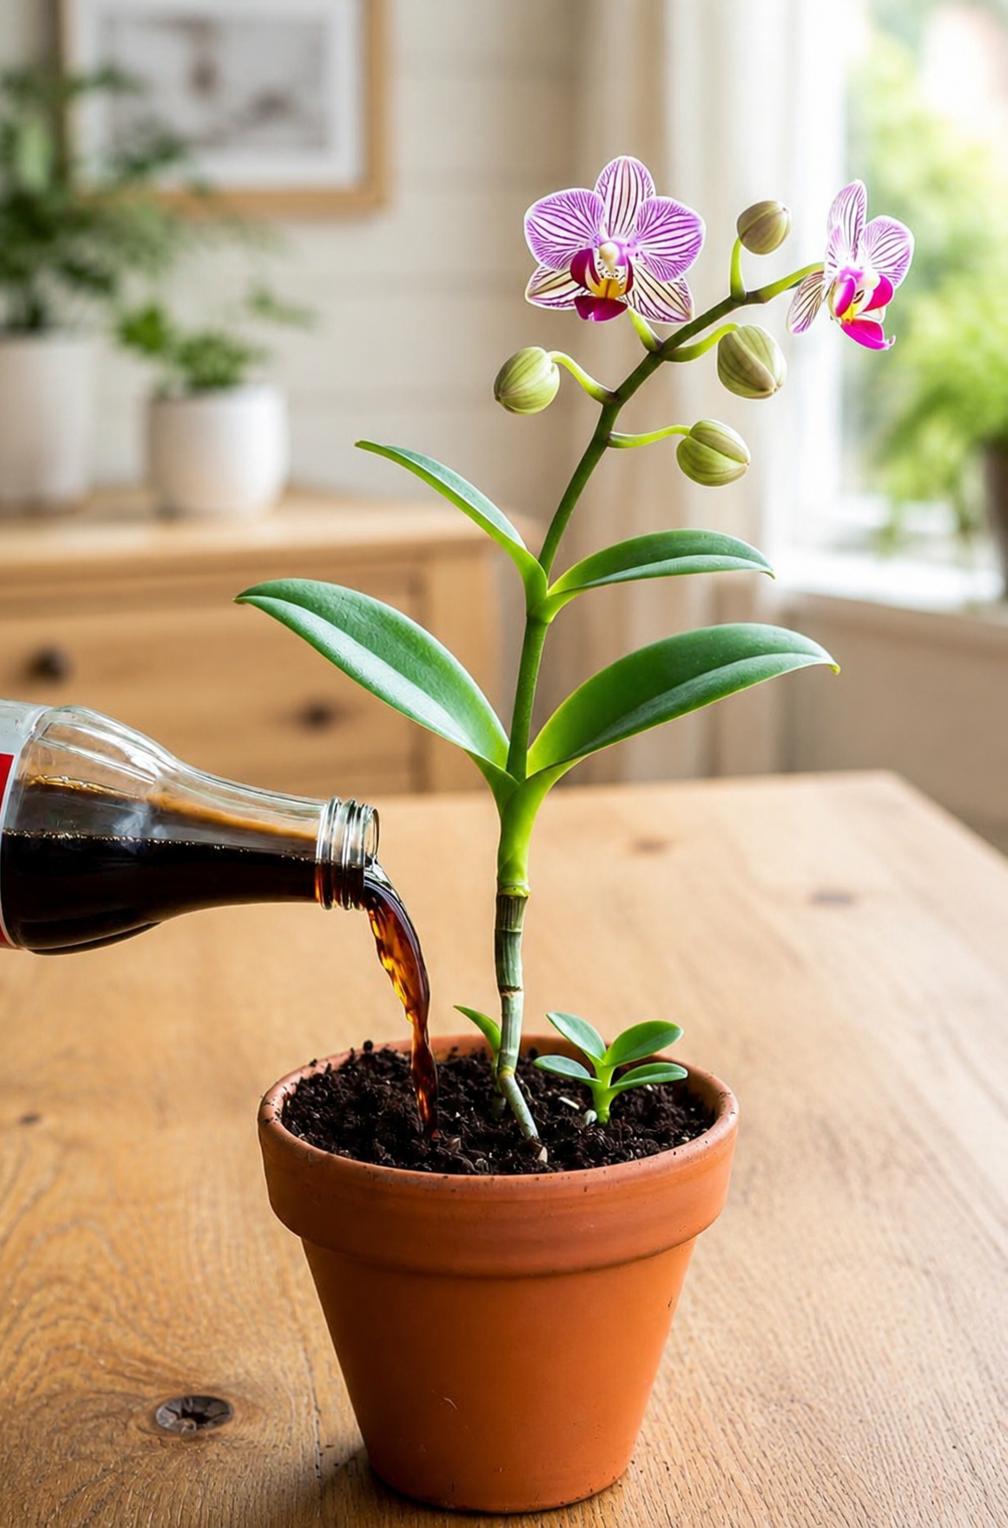
The cola orchid trick usually means pouring a small amount of cola or a dark fizzy drink onto the orchid’s growing medium. Some people believe the sugar may feed microbes in the soil or that the acidity may change the root environment. Others use it because they think it acts like a quick energy drink for plants.
However, orchids do not absorb sugar the way people do. Plants create their own sugars through photosynthesis when they receive enough light. Pouring sugar into the pot does not directly “feed” the orchid in a useful way. Instead, it can feed bacteria, fungi, ants, fungus gnats, and mold in the potting medium.
That is why this method must be treated with caution. A healthy orchid does not need cola to grow or bloom.
Why Cola Can Be Risky for Orchids
Cola is made for drinking, not for plant roots. It often contains sugar or sweeteners, acids, flavorings, color, and carbonation. These ingredients can disturb the clean, airy environment that orchid roots need.
Possible problems include:
- Sticky residue in the potting medium
- Mold growth
- Fungus gnats
- Ant attraction
- Root irritation
- Sour smell from the pot
- Medium breaking down faster
- Weak or rotting roots if the pot stays wet
Orchid roots need oxygen. They do not like sitting in sticky, sour, or compacted material. A sugary drink can make the potting mix less fresh and less breathable, especially if the orchid is planted in bark, moss, or a dense indoor mix.
Can Cola Make Orchids Bloom?
Cola does not reliably make orchids bloom. Orchid blooming depends on plant maturity, light, root health, watering, temperature changes, and proper feeding. A sugary drink cannot replace those conditions.
For many common orchids, especially Phalaenopsis orchids, blooms are encouraged by bright indirect light, healthy roots, and a slight temperature drop at night for several weeks. If an orchid is not blooming, the issue is usually not a lack of cola. It is often low light, weak roots, old potting medium, or an unclear seasonal routine.
If you want more blooms, focus on the basics first. That is where real results come from.
The Safer Version of the Trick
If someone still wants to test this idea, the safest version is extreme dilution and rare use. Direct cola should not be poured heavily into an orchid pot.
A safer experimental method would be:
- Use only 1 teaspoon of flat cola.
- Mix it into at least 2 cups of clean water.
- Use only a tiny amount on a healthy orchid.
- Apply only when the plant is already due for watering.
- Flush the pot later with plain water.
- Stop immediately if mold, gnats, smell, or root stress appears.
Even with dilution, this is not necessary. A proper orchid fertilizer is still a better choice.
Why Flat Cola Is Safer Than Fizzy Cola
If any cola is used, it should be flat, not fizzy. Carbonated liquid is not useful for orchid roots, and bubbling liquid can disturb the potting medium. Letting the cola sit open until the fizz is gone makes it less harsh.
Still, flat cola remains sugary and acidic. It should not become a normal orchid routine.
Orchids do better with clean water and balanced plant food.
Better Alternatives to Cola
Instead of cola, use safer orchid-friendly options. These support growth without filling the pot with sticky sugar.
- Diluted orchid fertilizer
- Clean rainwater or filtered water
- Weak rice water used rarely
- Fresh orchid bark mix
- Proper humidity
- Bright indirect light
- Root inspection and repotting when needed
The best “trick” for orchids is not a strange liquid. It is fresh air around the roots and consistent care.
The Real Secret: Healthy Orchid Roots
Orchid roots are the foundation of the whole plant. Healthy roots are firm, plump, and usually green or silvery depending on moisture level. When watered, many orchid roots turn green. When dry, they often look silver or pale gray.
Unhealthy roots are mushy, hollow, black, brown, or sour-smelling. If the roots are damaged, the orchid may lose leaves, stop blooming, or grow weakly.
Before trying any homemade liquid trick, check the roots. If the roots are not healthy, fix the root environment first.
Best Potting Medium for Orchids
Most common orchids do not grow well in regular dense potting soil. Phalaenopsis orchids usually prefer a chunky orchid mix that allows air to reach the roots.
A good orchid mix may include:
- Orchid bark
- Perlite
- Charcoal
- Coco chips
- A small amount of sphagnum moss
The mix should drain quickly. Water should move through the pot and not stay trapped around the roots for too long.
Why Regular Soil Can Harm Orchids
Regular potting soil is often too dense for orchids. It holds water around the roots and blocks airflow. This can cause root rot.
Orchids are often epiphytes, meaning they naturally grow attached to trees or in airy organic material rather than deep compact soil. Their roots are designed to breathe.
If an orchid is planted in heavy soil, no liquid trick will solve the main problem. The plant needs a better medium.
Watering Orchids Correctly
Water orchids when the roots and potting medium are approaching dryness. Do not water only by calendar. Check the roots, the pot weight, and the medium.
For many indoor orchids, watering once every 7 to 10 days may work, but this changes with temperature, humidity, pot size, and light. In cooler rooms, watering may be less frequent. In warm bright rooms, it may be more frequent.
Water thoroughly, then let the pot drain completely. Never let the orchid sit in standing water.
How to Tell If an Orchid Needs Water
Look at the roots if the pot is clear. Silvery roots often mean the orchid is ready for water. Green roots usually mean it still has moisture.
You can also feel the potting medium. If bark is still damp deep inside, wait. If it feels dry and the pot is light, water.
Orchids prefer a wet-dry rhythm rather than constant wetness.
Why Drainage Holes Matter
Drainage is essential for orchids. A pot without drainage can trap water and suffocate the roots. This is especially dangerous if using any unusual liquid.
Use a pot with drainage holes. Clear plastic orchid pots are useful because you can see the roots. Decorative pots can be used as outer covers, but the inner pot should drain freely.
After watering, empty any water sitting in the decorative container.
Light for Orchid Blooms
Light is one of the biggest reasons orchids fail to bloom. Many orchids need bright indirect light. They should not sit in a dark corner, but they also should not bake in harsh direct sun.
A bright window with filtered light is ideal. East-facing windows often work well. South or west windows may need a sheer curtain.
If the leaves are very dark green and the plant never blooms, it may need more light. If leaves turn yellow or scorched, the light may be too strong.
Temperature and Blooming
Many orchids need a gentle temperature difference between day and night to trigger blooming. A slight drop at night can encourage flower spikes in some varieties.
This does not mean exposing the plant to cold. Orchids dislike freezing temperatures and harsh drafts. A mild nighttime cooling period is enough.
Keep orchids away from heaters, air conditioners, and cold windows.
Humidity for Orchids
Orchids appreciate moderate humidity. Dry indoor air can cause wrinkled leaves, dry buds, or slow growth. This is especially common in winter when heating systems dry the air.
You can improve humidity by grouping plants together, using a humidifier, or placing the orchid near other tropical plants. A pebble tray can help slightly, but the pot should not sit directly in water.
Humidity should come with airflow. Damp stagnant air can encourage fungal problems.
Feeding Orchids the Right Way
Orchids benefit from proper fertilizer during active growth. Use a balanced orchid fertilizer diluted according to the label, often at half strength.
A common routine is “weakly, weekly,” but many home growers prefer feeding lightly every 2 to 4 weeks. The best schedule depends on your plant, light, and watering routine.
Flush the pot with plain water occasionally to prevent fertilizer salt buildup.
Why Fertilizer Is Better Than Cola
Orchid fertilizer is designed to provide nutrients plants can use, such as nitrogen, phosphorus, potassium, and trace minerals. Cola is not designed for plants. It does not provide a balanced nutrient profile and can create sticky buildup.
If the goal is stronger growth and blooms, fertilizer is more reliable. Use it weakly and consistently during the growing season.
A healthy orchid routine should be clean, gentle, and root-friendly.
What to Do If Cola Was Already Used
If cola was poured into an orchid pot, do not panic. First, check how much was used. If it was a small diluted amount, the plant may be fine.
To reduce risk, flush the pot with clean room-temperature water during the next watering. Let plenty of water drain through the medium. Then allow the pot to drain completely.
Watch for mold, smell, gnats, sticky bark, or root softening. If problems appear, repot into fresh orchid mix.
Signs the Orchid Is Stressed
Watch for warning signs after any unusual treatment:
- Leaves becoming limp
- Yellowing leaves
- Soft roots
- Bad smell from the pot
- Mold on bark
- Gnats around the pot
- Bud drop
- Sticky residue
If these signs appear, stop all homemade liquids and return to basic care.
Repotting an Orchid After Soil Problems
If the potting medium smells sour or becomes sticky, repotting may be the best solution. Remove the orchid gently from the pot and shake away old medium. Rinse the roots lightly if needed.
Trim dead or mushy roots with clean scissors. Place the orchid into fresh bark mix and keep it stable. Do not overwater immediately after repotting.
Fresh medium gives the roots a clean start.
How to Keep Orchid Leaves Healthy
Orchid leaves should be firm, smooth, and green. Wipe them gently with a damp cloth to remove dust. Clean leaves absorb light better and look more attractive.
Avoid oily leaf shine products. They can leave residue and make the leaves look unnatural.
If leaves are wrinkled, check roots. Wrinkled leaves often mean the plant is not taking up enough water, either from underwatering or root damage.
Supporting Orchid Flower Spikes
When an orchid produces a flower spike, support it gently with a stake and soft clips. This keeps the flowers upright and helps create an elegant display.
Do not force the spike into a sharp angle. Flower spikes can break if bent too quickly.
Place the plant where the flowers can open without being bumped.
Continue to Page 2
Continue to page 2 for more details about this article and the key points many readers miss on the first page.