
Have you ever scrolled through social media, seen a baking video that seems too good to be true, and immediately been hit with a wave of skepticism? A cake that creates its own creamy custard layer while baking, all in a single pan, in about 15 minutes of active time? It sounds like a culinary fairy tale. But what if I told you this famous, viral cake is not only real but might just be the easiest dessert you’ll ever make?
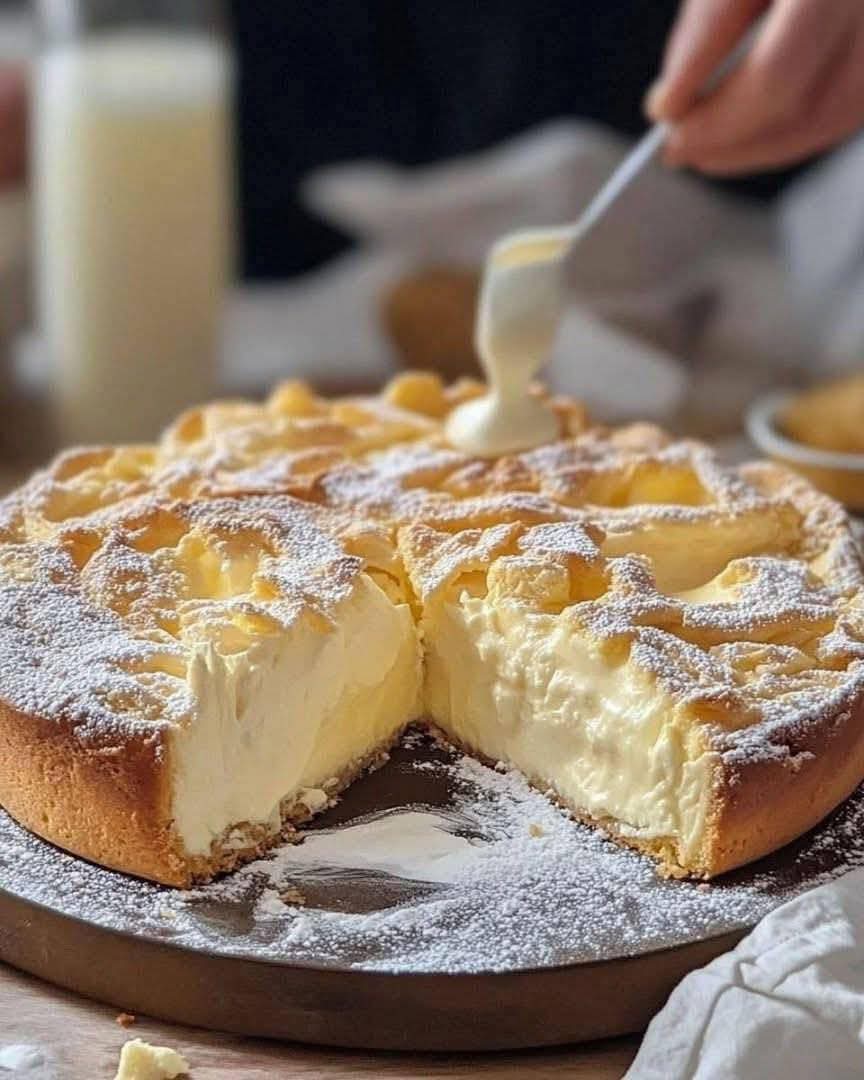
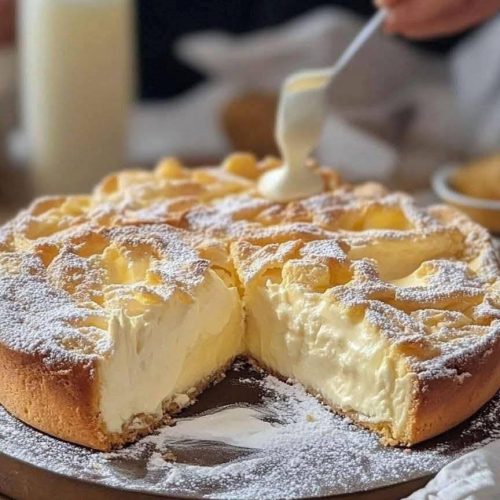
Welcome to the cake that’s breaking the internet: the 15-Minute Miracle Cake. This isn’t just a quick bake; it’s a phenomenon. With one simple batter poured over a thin, sweet liquid, the magic of the oven does the rest. The result? A tender, fluffy almond cake on top of a silky, vanilla-infused custard base. Two incredible textures, one impossibly easy process, and a result that will genuinely make you question everything you thought you knew about baking.
I was a firm doubter. The physics of it seemed off. But after one trial, which took less time than deciding what to watch on TV, I became a believer. The cake bakes up light and golden, while the heavier liquid sinks and transforms into a delicate, pudding-like layer beneath. It’s a stunning, delicious paradox. Perfect for last-minute guests, a quick family dessert, or when you need a baking win without the fuss, this recipe is about to become your secret weapon. Let’s dive into the magic.
The Viral Sensation: Why This 15-Minute Cake is Famous
This cake recipe has captivated millions because it defies conventional baking wisdom. It promises—and delivers—maximum reward for minimal effort. In an era where time is precious, a dessert that comes together with a whisk and a bowl, uses common pantry staples, and performs a kitchen “magic trick” is irresistible. It’s the ultimate easy baking hack for beginners and a fascinating experiment for seasoned bakers. The “wow” factor when you slice into it and reveal the two distinct layers is pure social media gold.
The Science Behind the Magic: How One Batter Creates Two Layers
The “miracle” isn’t magic; it’s simple food science. The recipe is strategically designed with two components of different densities. The thin, milk-based liquid poured into the pan first is heavy with sugar and egg. The thicker, flour-based cake batter spooned on top is lighter. In the heat of the oven, the starch in the batter sets quickly on top, forming a seal. Meanwhile, the denser liquid below slowly heats up. The starches (flour and cornstarch) in both layers gelatinize, and the eggs set, but at different rates and textures, creating the stunning dual-layer effect automatically. No layering required!
Your Minimalist Pantry Ingredient List
The beauty of this cake is its simplicity. You likely have everything on hand right now.
For the Custard Base Layer:
· 1 Egg: The backbone for the custard’s rich structure.
· 50g Sugar + 10g Vanilla Sugar: Sweetness and that classic vanilla aroma. No vanilla sugar? Use 60g regular sugar + 1 tsp vanilla extract.
· 15g Cornstarch: The crucial thickener that gives the bottom layer its pudding-like consistency.
· 250ml Milk: The liquid base for the custard. Whole milk works best for creaminess.
For the Cake Top Layer:
· 2 Eggs: For lift and structure in the cake.
· 100g Sugar: Sweetens the fluffy cake.
· Pinch of Salt: Balances the sweetness and enhances flavor.
· 100ml Milk & 50ml Vegetable Oil: The fat and liquid for an incredibly moist crumb. Oil keeps it tender.
· 170g All-Purpose Flour: The foundation of the cake layer.
· 1 tsp Baking Powder: The leavening agent that gives the cake its rise.
· 50g Chopped Almonds: Adds essential crunch, flavor, and texture. A non-negotiable for the authentic experience!
The Essential Equipment: No Mixer Needed!
You won’t need any special gear. This is a throwback to hand-mixing at its best.
· Two Mixing Bowls: One for the custard base, one for the cake batter.
· A Whisk: Your primary tool for creating smooth batters.
· An 8×8 Inch (20x20cm) Baking Pan: A square pan is ideal for even baking and good portioning. A similar-sized round cake pan also works.
· Spatula: For scraping every last bit of batter.
Step 1: Mastering the Custard Base (The Secret Sauce)
This is the foundation of the magic. In your first bowl, combine 1 egg, 50g sugar, and 10g vanilla sugar. Whisk vigorously until the mixture is pale and slightly frothy. This incorporates air and helps dissolve the sugar. Add the 15g of cornstarch and whisk until completely smooth and lump-free. Gradually pour in the 250ml of milk while continuously whisking. You should have a thin, smooth, liquid mixture. Pour this entire mixture into your ungreased baking pan. Yes, ungreased! This helps the cake layer adhere as it bakes.
Step 2: Whisking Up the Fluffy Cake Layer
Now, for the top. In your second bowl, whisk the 2 eggs with the 100g of sugar and a pinch of salt. Whisk for a good 1-2 minutes until the mixture is well combined, slightly thickened, and pale. Stream in the 100ml of milk and 50ml of oil while whisking. Sift in the 170g of flour and 1 tsp of baking powder directly into the wet ingredients. Gently fold and whisk until you have a smooth, lump-free, thick but pourable batter.
The Crucial Assembly: How to Create the Layering Effect
Here’s where the illusion happens. Take spoonfuls of the thick cake batter and dollop them evenly across the surface of the thin custard liquid already in your pan. Do not pour it in one spot! Using the back of a spoon or a spatula, very gently spread the batter to cover the entire surface of the liquid. Do not mix them together. You are creating a sealed top layer. Finally, sprinkle the 50g of chopped almonds evenly over the top.
Baking to Perfection: Time and Temperature Tips
Preheat your oven to 350°F (180°C). Bake the cake for 35-40 minutes. The cake is done when the top is a deep, golden brown, the almonds are toasted, and a toothpick inserted into the cake part (not all the way down to the custard) comes out clean. The center should be set but may have a slight jiggle from the custard beneath—this is normal.
The All-Important Cooling & Setting Phase
This step is critical for perfect layers! Remove the cake from the oven and let it cool completely in the pan on a wire rack. As it cools, the custard layer will finish setting and firm up. If you try to cut it while warm, the layers may run together. Patience rewards you with a clean, dramatic slice.
Serving Suggestions: How to Plate This Masterpiece
Once completely cool, you can slice it directly in the pan. For the full effect, run a knife around the edges and carefully lift out portions with a spatula or server. Each square should reveal a perfect cross-section: golden cake on top, creamy custard below, with toasted almonds adding crunch. Serve it as is, or with a dusting of powdered sugar, a dollop of whipped cream, or fresh berries.
Pro Baker Tips for Guaranteed Success
· Weigh Your Ingredients: For a recipe this precise, a kitchen scale ensures the correct density balance between layers.
· Don’t Over-mix the Cake Batter: Mix until just combined after adding flour to avoid toughness.
· Spread Gently: When covering the custard liquid, be delicate to avoid submerging the batter.
· Test Doneness Correctly: Test the cake layer, not the custard layer. The custard will set as it cools.
· Cool Completely: I can’t stress this enough. Let the science finish its work.
Flavor Twists & Creative Variations
Once you master the basic magic, the world is your oyster!
· Lemon Bliss: Add the zest of one lemon to the cake batter and use lemon juice in place of some milk in the custard.
· Chocolate Craving: Replace 30g of flour in the cake layer with cocoa powder.
· Coconut Dream: Use coconut milk for the custard liquid and sprinkle shredded coconut with the almonds.
· Berry Burst: Scatter a handful of fresh or frozen raspberries or blueberries over the custard base before adding the cake batter.
FAQs: Answering Your “Miracle Cake” Questions
Q: Why didn’t my cake form two distinct layers?
A:This usually happens if the cake batter was too thin (over-measured liquid) or if it was mixed into the custard base during spreading. Ensure your batter is thick and spread it very gently.
Q: Can I make this gluten-free?
A:Yes! Use a 1:1 gluten-free all-purpose flour blend. The cornstarch in the base is already GF.
Q: My custard is still runny after cooling. What happened?
A:The cake likely needed more baking time, or your oven runs cool. Ensure the top is deeply golden brown. If it happens, it’s still delicious as a saucy bottom layer!
Q: Can I use a different nut?
A:Absolutely! Chopped pecans, walnuts, or hazelnuts would be fantastic.
Make-Ahead & Storage Instructions
This cake stores beautifully. Keep it covered in the refrigerator for up to 3 days. The flavors meld, and the texture remains superb. It’s not ideal for freezing, as the custard layer can become watery upon thawing.
The Final Verdict: Is This 15-Minute Cake Worth the Hype?
In a word: absolutely. This famous cake delivers on its viral promise. It’s a stunning, delicious, and intellectually satisfying baking project that requires minimal skill and effort. It proves that spectacular desserts don’t need to be complicated. Whether you’re looking to cure a sweet tooth, impress unexpected guests, or simply experience a little kitchen wizardry, this recipe is a guaranteed win.
So, the next time you have 15 minutes and a craving for something truly special, skip the complicated recipes and trust the miracle. You might just drive your friends and family crazy with how good it is.
Did the magic work in your kitchen? Share a photo of your beautiful layered slice and tell us about your experience in the comments! Don’t forget to pin this viral wonder to amaze your friends later.
Recipe Card
The 15-Minute Viral Miracle Cake
Ingredients
For the Custard Base:
- · 1 large egg
- · 50 grams granulated sugar
- · 10 grams vanilla sugar or 1 tsp vanilla extract + 60g total sugar
- · 15 grams cornstarch
- · 250 ml whole milk
For the Cake Layer:
- · 2 large eggs
- · 100 grams granulated sugar
- · Pinch of salt
- · 100 ml whole milk
- · 50 ml vegetable oil
- · 170 grams all-purpose flour
- · 1 teaspoon baking powder
- · 50 grams chopped almonds
Instructions
- Prep: Preheat oven to 350°F (180°C). Have an 8×8 inch (20x20cm) baking pan ready (do not grease).
- Make Custard Base: In a medium bowl, whisk 1 egg with 50g sugar and vanilla sugar until pale. Whisk in cornstarch until smooth. Gradually whisk in 250ml milk until fully combined. Pour this thin mixture into the bottom of your baking pan.
- Make Cake Batter: In a separate bowl, whisk 2 eggs with 100g sugar and salt. Whisk in 100ml milk and oil. Sift in flour and baking powder. Whisk until a smooth, thick batter forms.
- Assemble Magic: Spoon dollops of the thick cake batter evenly over the entire surface of the custard liquid in the pan. Using a spatula, gently and carefully spread it into an even layer to seal the surface. Do not mix. Sprinkle chopped almonds evenly over the top.
- Bake: Bake for 35-40 minutes, until the top is a deep golden brown, the almonds are toasted, and a toothpick inserted into the cake layer comes out clean.
- Cool & Set: Let the cake cool completely in the pan on a wire rack. This is essential for the custard layer to set.
- Serve: Once cool, slice, reveal the layers, and enjoy!
More Recipes You Might Like
-
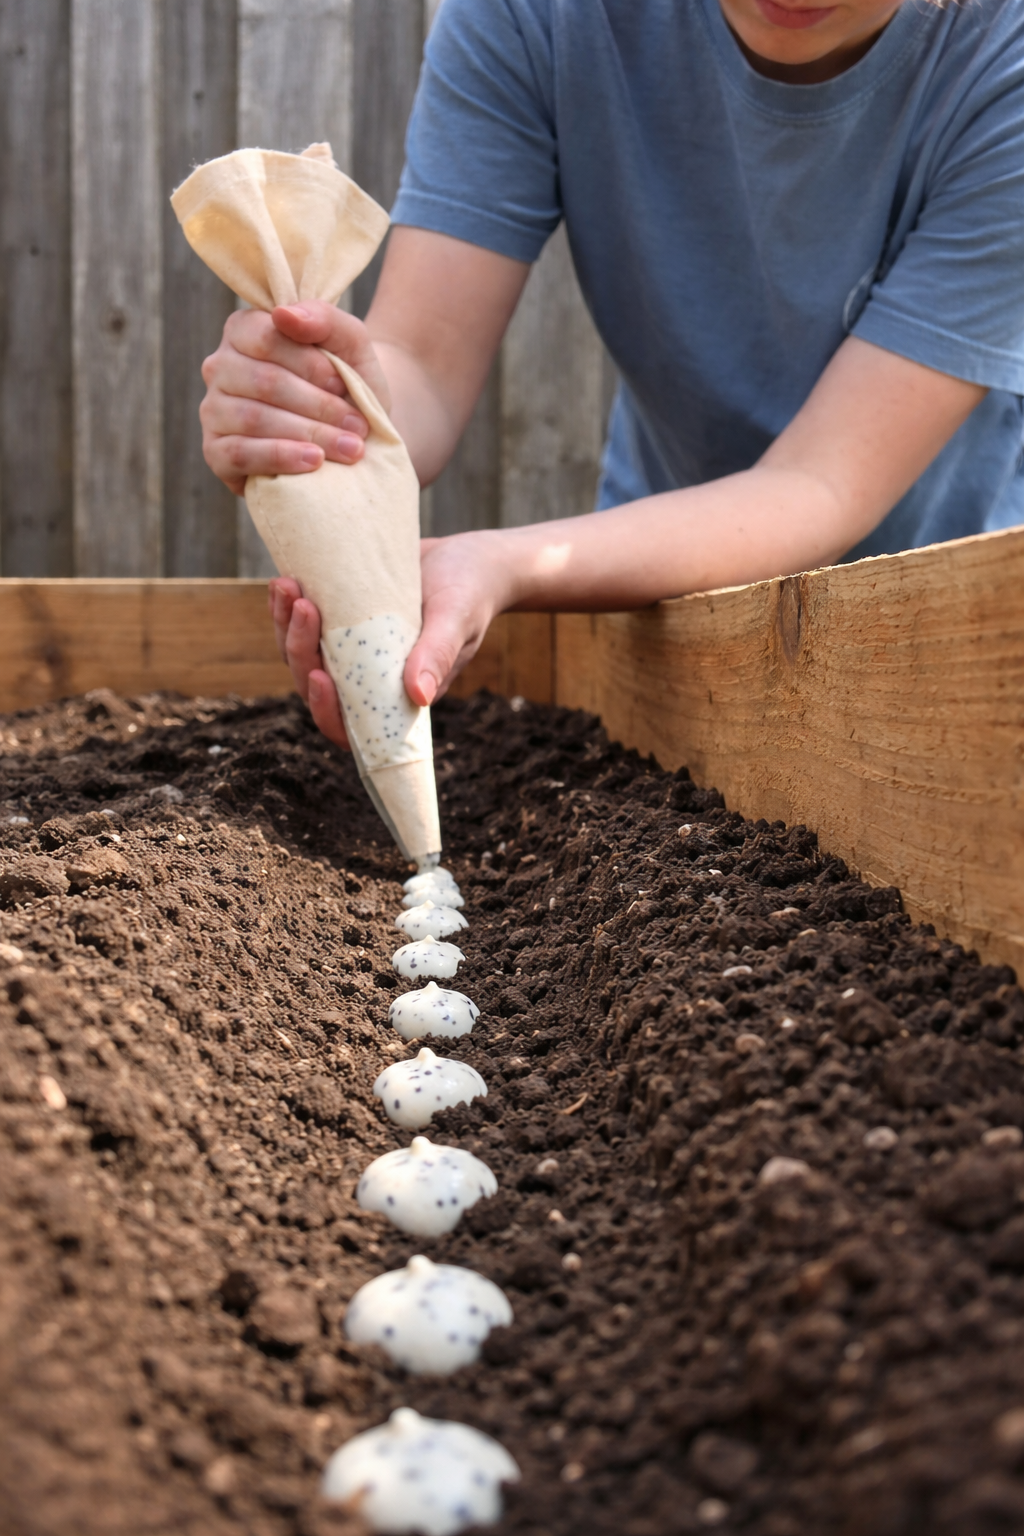
The Easy Garden Hack That Guarantees Straight, Healthy Carrots
Say goodbye to crooked, stunted carrots! Discover the simple seed paste hack that ensures perfect spacing and straight roots. This easy planting technique will transform your carrot harvest. Let me tell you about the gardening trick that turned my carrot patch from a tangle of twisted roots into a picture-perfect harvest. I love growing carrots.…
-
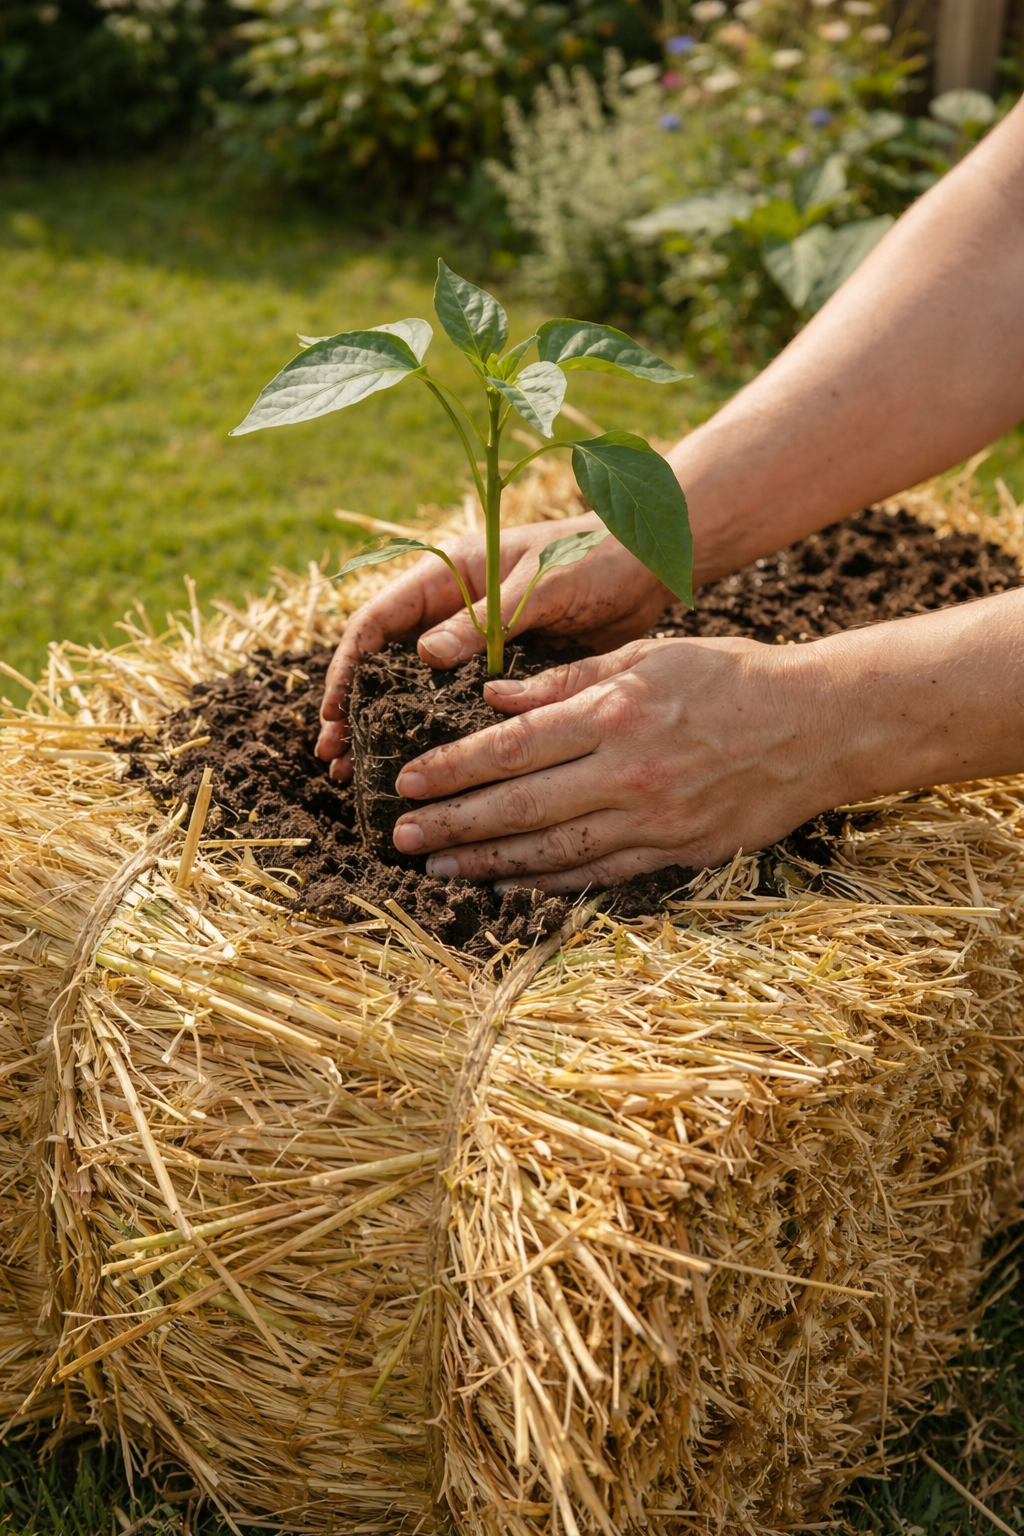
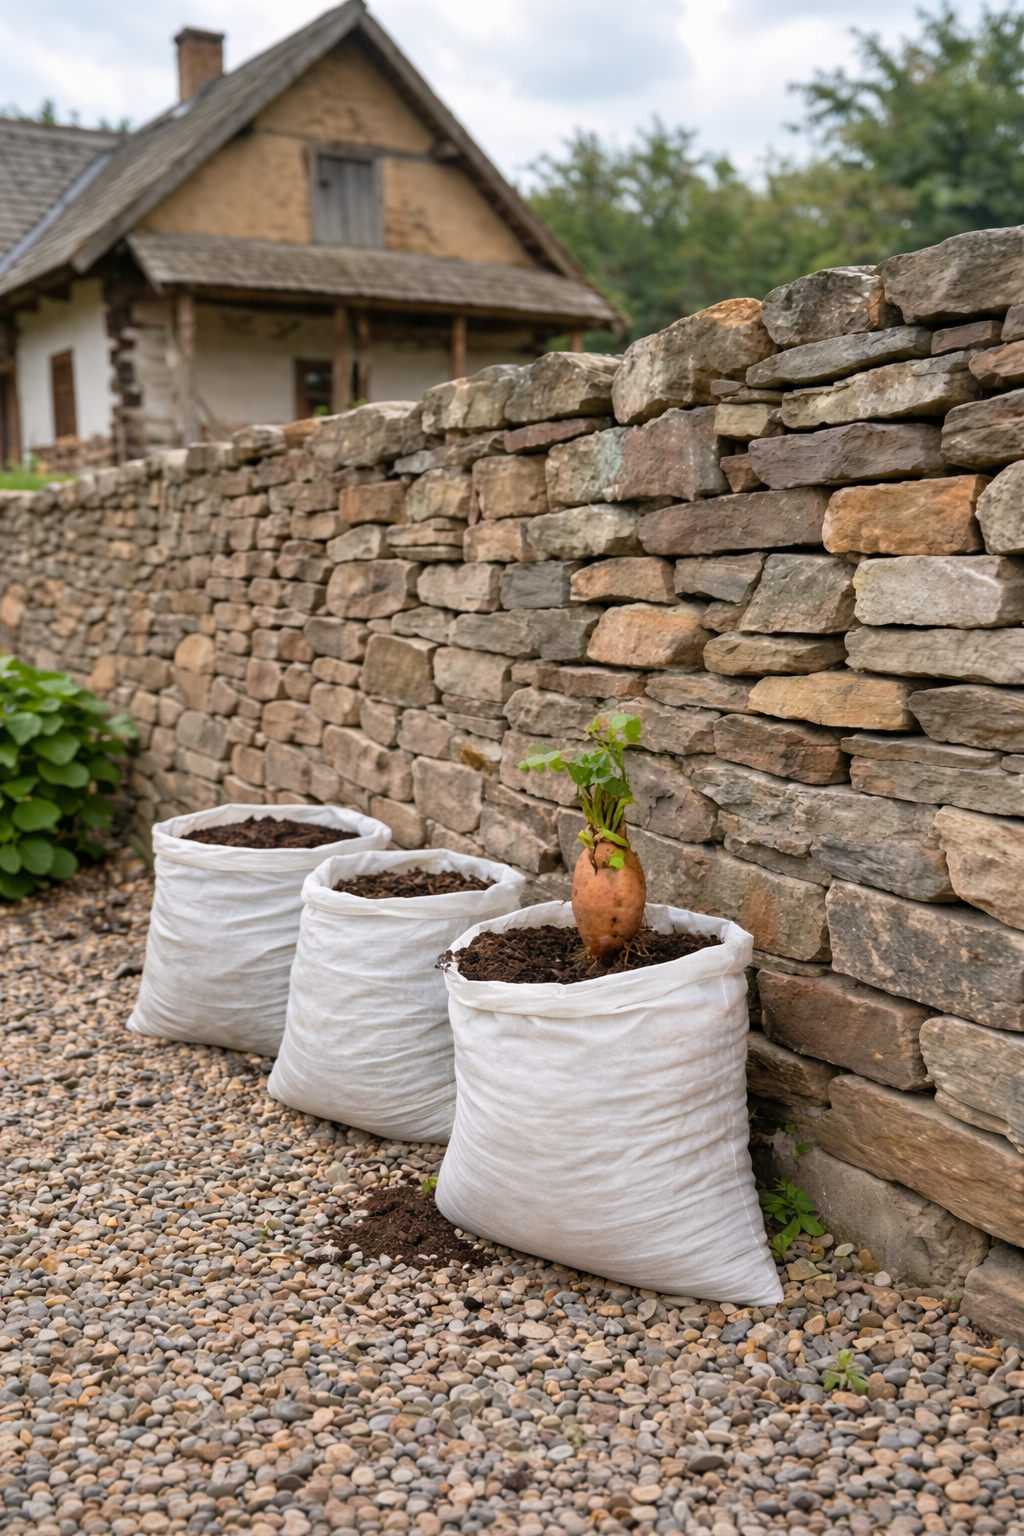
Grow 3X More Sweet Potatoes at Home with This Simple Soil Bag Trick
Want to grow 3 times more sweet potatoes in a small space? This clever soil bag trick is a game-changer. Learn how to plant sweet potatoes in bags for a massive harvest—perfect for small gardens and patios. Let me tell you about the gardening trick that turned my tiny patio into a sweet potato factory.…
-
Grow 3X More Sweet Potatoes at Home with This Simple Soil Bag Trick
Want to grow 3 times more sweet potatoes in a small space? This clever soil bag trick is a game-changer. Learn how to plant sweet potatoes in bags for a massive harvest—perfect for small gardens and patios. Let me tell you about the gardening trick that turned my tiny patio into a sweet potato factory.…