
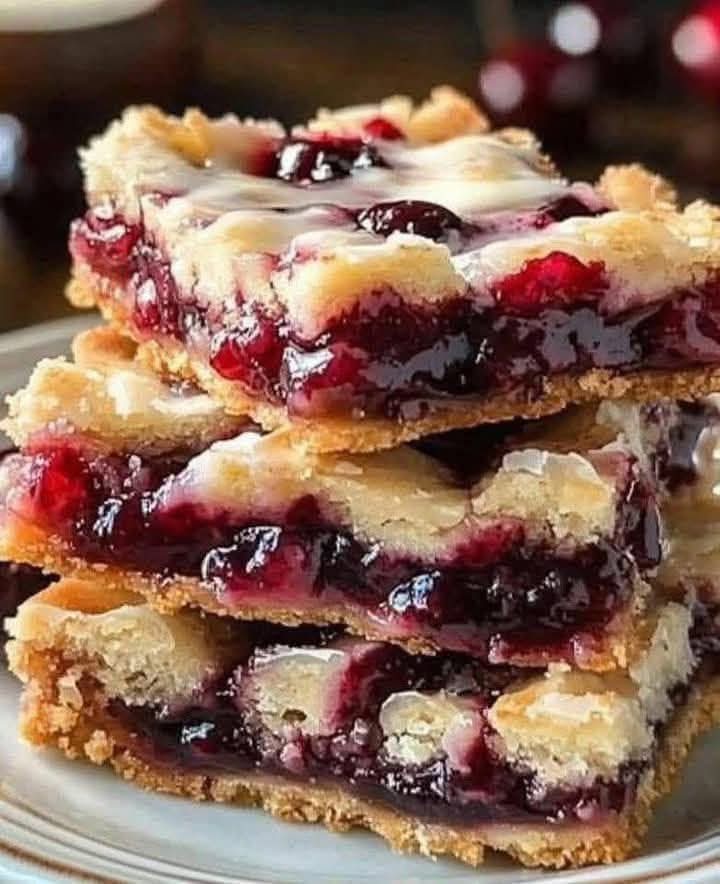
Imagine the nostalgic, soul-warming flavor of a homemade cherry pie—the sweet-tart burst of fruit, the flaky, buttery crust—but transformed into a dessert you can slice into neat, portable squares and feed a hungry crowd with zero fuss. That’s the magic of Cherry Pie Bars. This dessert is a masterpiece of simplicity and clever engineering, delivering all the classic pie flavor in a fraction of the time and with far less technical stress.
Whether you’re tasked with bringing a dessert to a summer potluck, need a stunning treat for a bake sale, or simply want to capture the essence of cherry season in a pan, this recipe is your ultimate solution. With a press-in shortbread crust, a lush layer of cherry filling (using either fresh, frozen, or canned fruit), and a crumbly, oat-streusel topping that bakes into golden perfection, these bars are a textural dream. They’re the dessert that will have everyone asking, “Can I get the recipe?” before they’ve even finished their first square. Let’s bake a pan of pure, uncomplicated joy.
Why You’ll Make These Cherry Pie Bars on Repeat
· All the Flavor, None of the Fuss: No rolling out pie dough or wrestling with a lattice top. A simple press-in crust and crumble topping make this incredibly approachable.
· Feeds a Crowd Beautifully: One 9×13 pan yields 20+ generous bars, making it the perfect party or potluck dessert.
· Make-Ahead Marvel: They taste even better the next day and hold up beautifully at room temperature, making them ideal for planning ahead.
· Seasonally Flexible: Use fresh sour cherries in summer, frozen cherries year-round, or even high-quality cherry pie filling for a super shortcut.
The Flavor Science: Balancing Sweet & Tart
The hallmark of a great cherry dessert is the balance between the fruit’s natural acidity and sugar. Unlike an apple, which is reliably sweet, cherries need a careful hand with sweeteners and thickeners. A touch of almond extract is the secret weapon here—it doesn’t make the bars taste like almond, but rather heightens the cherry flavor to an almost nostalgic, bakery-quality depth. The cornstarch or tapioca in the filling ensures it sets up perfectly, creating a sliceable layer that’s lush but never runny.
Essential Equipment for Perfect Bars
Having the right pan and a few basic tools ensures clean slices and even baking. Here’s your setup:
· 9×13-inch Baking Pan: This is the standard size. A light-colored metal pan is best for even baking and a golden (not burnt) crust. For absolute non-stick confidence and easy removal, line it with parchment paper, leaving an overhang on the two long sides to create a “sling.”
· Stand Mixer or Hand Mixer: While you can mix by hand, a stand mixer with a paddle attachment makes quick work of the shortbread crust and crumble topping, ensuring the butter is perfectly cut in. A hand mixer also works well.
· Medium Saucepan: If making your own filling from fresh or frozen cherries, you’ll need a saucepan to cook the fruit with sugar and thickener.
· Mixing Bowls: A large bowl for the crust/topping and a medium bowl for preparing the filling.
· Fork or Pastry Cutter: To blend the final crumble topping to a perfect, pea-sized consistency.
· Measuring Cups & Spoons: Precision matters for the balance of the crust, filling, and topping.
· Cooling Rack: A wire cooling rack is mandatory. The bars must cool completely in the pan to set the filling before you attempt to slice them.
· Sharp Knife: For cutting clean, beautiful squares. Wiping the blade clean between cuts makes for pristine presentation.
Ingredient Deep Dive & Smart Substitutions
For the Shortbread Crust & Crumble Topping:
· All-Purpose Flour: The base for both layers. For a slightly nuttier flavor, you can substitute 1 cup with whole wheat flour.
· Old-Fashioned Rolled Oats: These are key for the topping’s texture. Do not use instant or quick oats, as they will become mushy.
· Butter: Use cold, unsalted butter, cubed. Its solid state is crucial for creating a flaky crust and a crumbly topping.
· Brown & Granulated Sugar: Brown sugar in the topping adds moisture and caramel notes; white sugar in the crust provides sweetness without color.
For the Cherry Filling:
· Cherries: Fresh pitted sour cherries are the gold standard. Frozen pitted cherries (thawed and drained) are an excellent year-round option. For a shortcut, 2 cans of quality cherry pie filling work in a pinch.
· Cornstarch or Tapioca Flour: The thickening agent. Tapioca creates a slightly clearer, glossier filling.
· Lemon Juice & Almond Extract: Lemon brightens the flavor, and almond extract (just ¼-½ tsp!) magically intensifies the cherry taste.
· A Pinch of Salt: Balances the sweetness in all layers.
Step-by-Step Instructions for Foolproof Bars
Part 1: Prep & Preheat
Preheat & Prepare Pan: Preheat oven to 350°F (175°C). Line your 9×13 pan with parchment paper, leaving an overhang on the long sides. Lightly grease any exposed pan.
Part 2: Make the Crust & Topping
Combine Dry Ingredients: In the bowl of your stand mixer, whisk together flour, oats, granulated sugar, and salt.
Cut in Butter: Add the cold, cubed butter. Using the paddle attachment on low speed, mix until the mixture is crumbly and the butter is about the size of peas. This will take 2-3 minutes.
Reserve Topping: Measure out 1 heaping cup of the crumb mixture into a separate bowl. This is your crumble topping. Set aside.
Press the Crust: Pour the remaining mixture into your prepared pan. Press down firmly and evenly into a compact layer using your fingers or the bottom of a measuring cup.
Par-Bake: Bake the crust for 12-15 minutes, until just set and very lightly golden at the edges. Remove from oven. Leave oven on.
Part 3: Prepare & Add the Filling
Make the Filling (If not using canned): While crust bakes, combine pitted cherries, sugar, cornstarch, lemon juice, and salt in a saucepan. Cook over medium heat, stirring constantly, until mixture thickens and becomes glossy and clear, about 5-7 minutes. Remove from heat, stir in almond extract, and let cool slightly.
Assemble Layers: If using canned pie filling, simply stir in the almond extract. Spread the cherry filling evenly over the hot par-baked crust.
Part 4: Add Topping & Bake
Create the Crumble: To the reserved crumb mixture, drizzle in 1-2 tablespoons of melted butter. Use a fork to mix until clumps form.
Top & Bake: Sprinkle the crumble topping evenly over the cherry layer. Bake for 30-35 minutes, until the topping is golden brown and the filling is bubbly at the edges.
Part 5: The Crucial Cool & Slice
Cool Completely: Place the pan on a wire cooling rack. Let the bars cool to room temperature in the pan (this takes 2-3 hours and is essential for setting).
Chill & Slice: For the cleanest cuts, refrigerate the pan for at least 1 hour after cooling. Use the parchment sling to lift the entire block of bars onto a cutting board. Use a sharp knife to cut into squares.
Serving, Storing, and Gifting Your Bars
· Serve: Perfect at room temperature or slightly chilled. A dollop of whipped cream or a scoop of vanilla ice cream takes it over the top.
· Store: Keep in an airtight container in the refrigerator for up to 5 days. They also freeze beautifully for up to 3 months.
· Gift: Stack bars in a decorative box or tin lined with parchment. They are a stunning and thoughtful homemade gift.
FAQs: Your Cherry Pie Bar Questions Answered
Q: Can I use other fruits?
A:Absolutely! Blueberries, raspberries, peaches, or a mixed berry blend all work wonderfully. Adjust sugar and cornstarch based on the fruit’s juiciness.
Q: My filling is too runny. What happened?
A:The bars likely weren’t cooled completely before slicing. The filling continues to set as it cools. Also, ensure you used the correct amount of thickener and cooked it fully if making from scratch.
Q: Can I make these gluten-free?
A:Yes. Use a 1:1 gluten-free all-purpose flour blend and certified gluten-free oats.
Q: Why add almond extract? I don’t like almond flavor.
A:The almond extract is used in such a small quantity that it doesn’t impart an almond taste. Instead, it acts as a flavor enhancer for the cherry, making it taste more pronounced and “cherry-like.” You can omit it if truly averse.
The Final Slice: A New Classic for Your Recipe Box
Cherry Pie Bars are more than a convenient alternative to pie; they are a celebration of flavor and practicality. They prove that you don’t need intricate techniques to create a dessert that feels both comforting and special. They are the treat you’ll turn to season after season, occasion after occasion, always to rave reviews.
So, grab your pan and your favorite cherries. It’s time to create a dessert that delivers the heart of a pie with the ease of a bar. Don’t forget to PIN the image below to your ‘Dessert Bars’ and ‘Potluck Favorites’ boards to keep this winner in your rotation.
Now, preheat that oven. A pan of sweet, tangy, crumbly bliss awaits.
More Recipes You Might Like
-
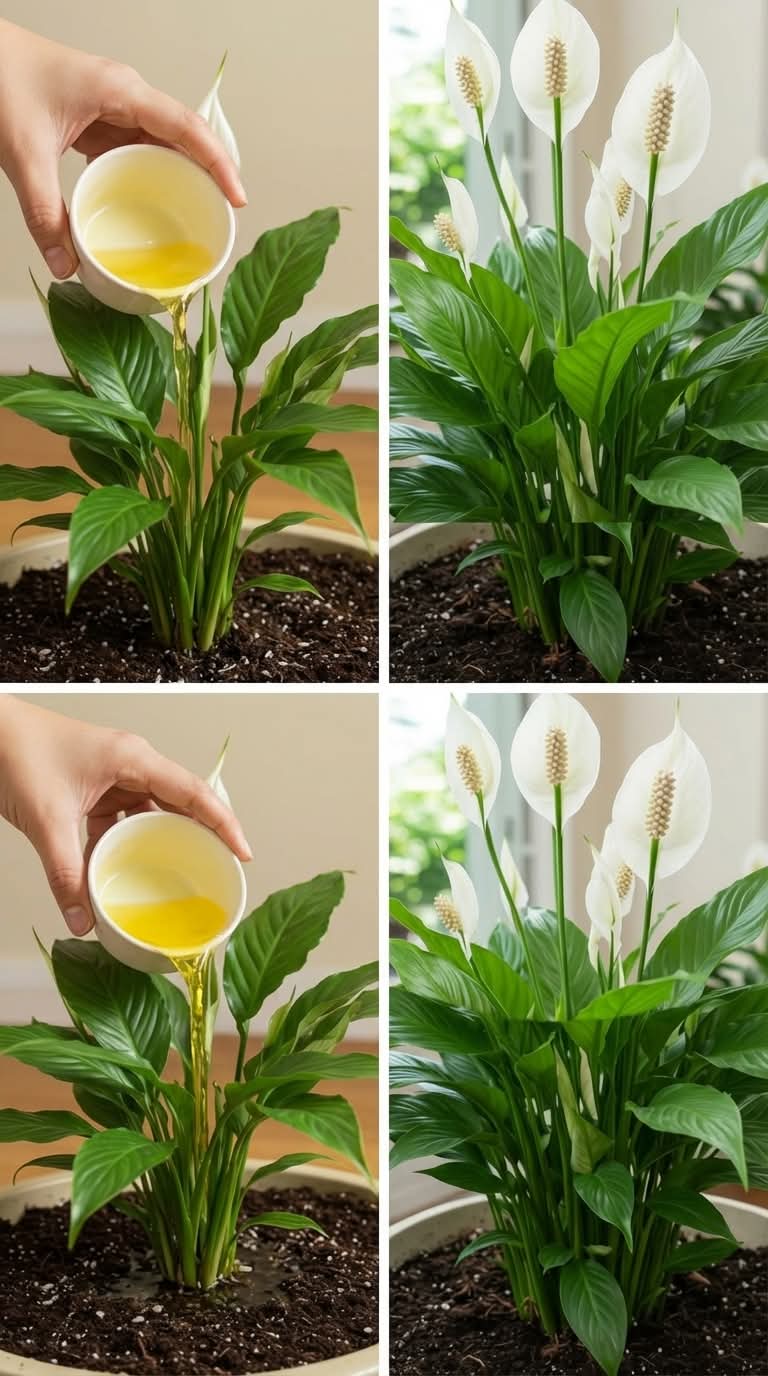
Just One Cup of This Kitchen Liquid… And Your Peace Lily Explodes With Flowers!
If you’ve ever struggled to get your peace lily to bloom, you’re not alone. Many plant lovers find that their lush green plant looks healthy—but those beautiful white flowers just don’t appear as often as expected. The good news? There’s a simple, natural plant fertilizer you can make right from your kitchen that may help…
-
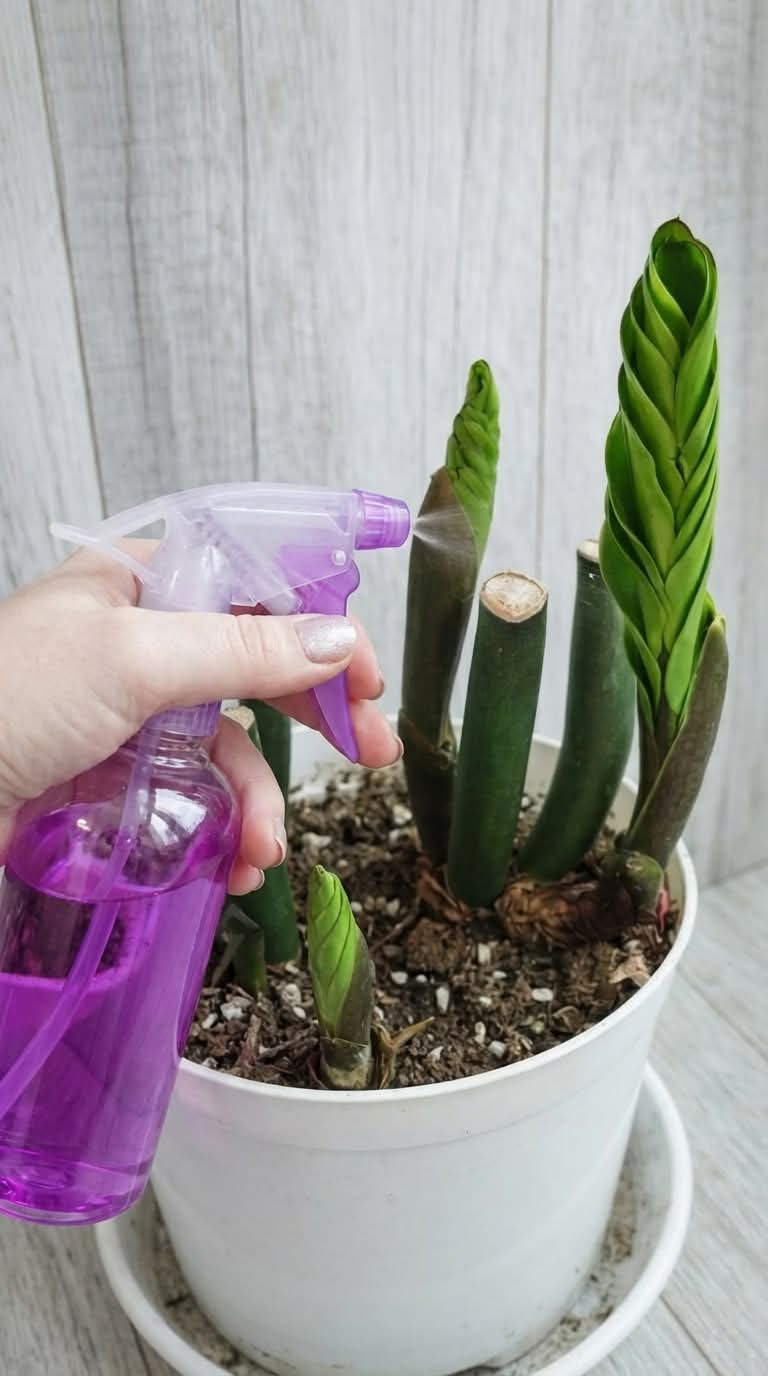
Just a Few Sprays of This Simple Mix… And Your ZZ Plant Wakes Up!
Is your ZZ plant looking stuck or slow to grow? This simple homemade leaf spray cleans dust, adds shine, and supports healthier growth. Easy recipe with neem oil for pest protection. Let me share the simple spray that brought my once‑dormant ZZ plant back to life. ZZ plants (Zamioculcas zamiifolia) are famous for being nearly…
-
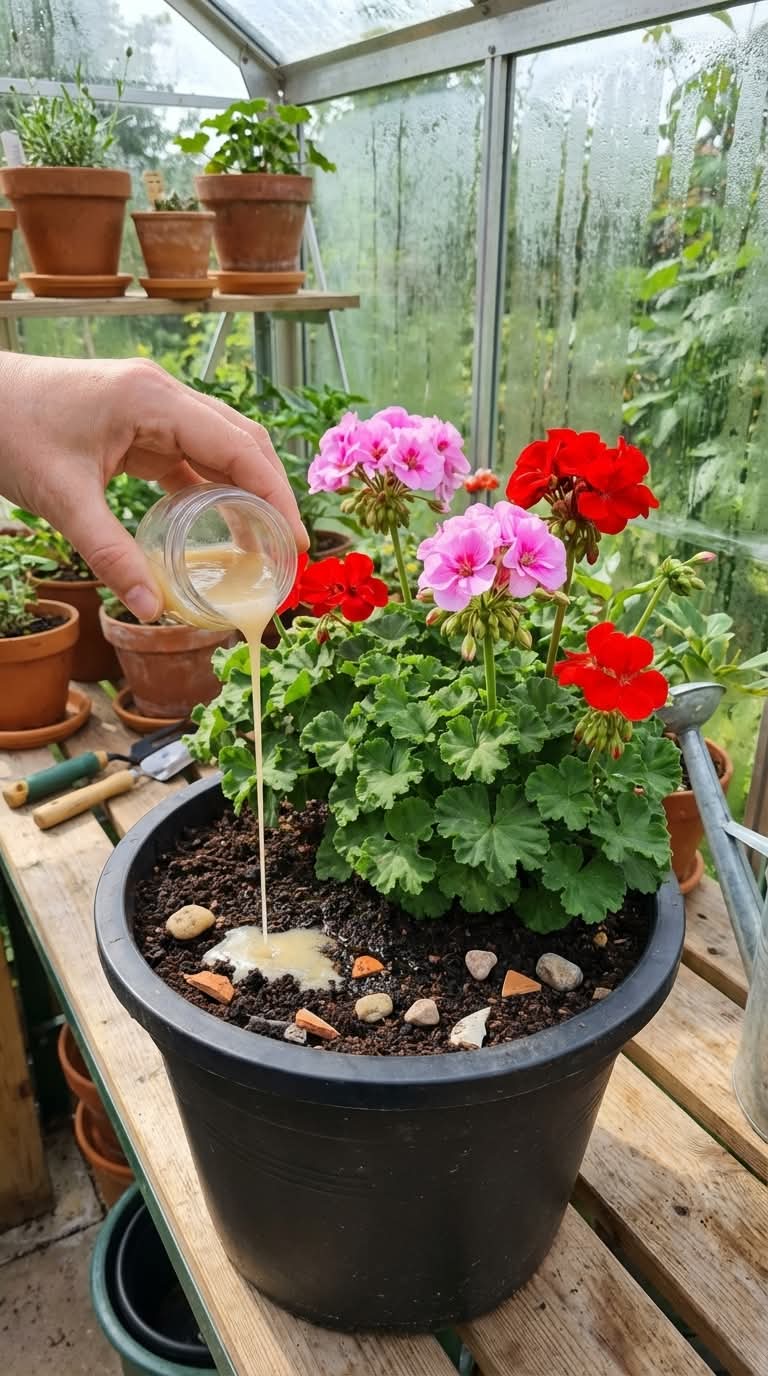
The Simple Trick That Makes Your Geraniums Bloom Bigger and Brighter – A Complete Guide
Want bigger, brighter geranium blooms? Discover the simple homemade sugar and lemon trick that boosts flowering, plus expert care tips for nonstop color all season long. Let me share the little secret that turned my average geraniums into show-stopping beauties. I’ve always loved geraniums. Their bright clusters of red, pink, white, and salmon flowers are…