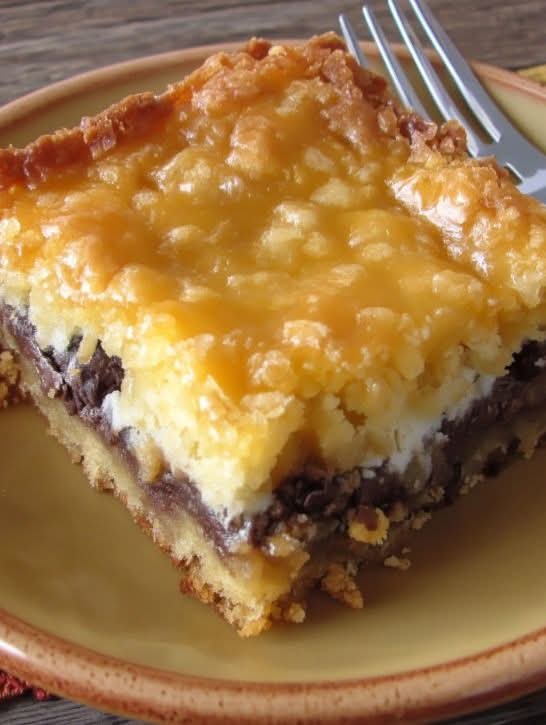
When it comes to creating the ultimate dessert, sometimes the best combination is born from two classics. Imagine a dessert that combines the soft, chewy goodness of a cookie with the rich, decadent texture of a brownie. Now, imagine that in one delicious, layered bar. Enter the Cookie Brownie Bars — a mouthwatering treat that has captured the hearts of dessert lovers everywhere.
As my husband so perfectly put it, “These taste like a cookie and a brownie had a baby.” And that’s exactly what I was going for! These bars give you the best of both worlds — the perfect balance of chewy, chocolatey goodness, and the rich, buttery layers you crave.
In this blog, we’ll break down the recipe, explore why these bars are so irresistible, and share tips for making them your new go-to dessert. Whether you’re baking for a family gathering, a special occasion, or just for yourself (no judgment!), these Cookie Brownie Bars are sure to be a hit.
Why You’ll Love These Cookie Brownie Bars
The Best of Both Worlds
Combining two beloved desserts, cookie dough and brownie batter, into one amazing treat is a no-brainer. Each bite gives you the chewy, indulgent texture of a cookie with the dense, fudgy goodness of a brownie.
Easy to Make
This recipe is simple and straightforward, making it perfect for both beginner and seasoned bakers. No complicated steps — just mix, layer, and bake!
Perfect for Any Occasion
Whether you’re making them for a family dinner, a party, or just as a sweet treat for yourself, these bars fit the bill. They’re portable, easy to slice into individual portions, and guaranteed to please everyone.
Customizable
Add your favorite mix-ins like chocolate chips, nuts, or caramel swirls. You can even make it your own by experimenting with different flavors or toppings.
Crowd-Pleaser
The rich, decadent layers are impossible to resist. These bars have a wow factor that’ll leave everyone asking for the recipe (or just a second piece!).
Ingredients You’ll Need
For these delicious Cookie Brownie Bars, you’ll need the following ingredients:
For the Cookie Layer:
1 cup (2 sticks) unsalted butter, softened
1 cup brown sugar, packed
1/2 cup granulated sugar
2 large eggs
2 teaspoons vanilla extract
2 1/2 cups all-purpose flour
1 teaspoon baking soda
1/2 teaspoon salt
1 cup chocolate chips (semisweet or milk chocolate, depending on preference)
For the Brownie Layer:
1/2 cup (1 stick) unsalted butter, melted
1 cup granulated sugar
2 large eggs
1 teaspoon vanilla extract
1/2 cup all-purpose flour
1/4 cup unsweetened cocoa powder
1/4 teaspoon salt
1/2 cup chocolate chips (optional for extra fudginess)
Step-by-Step Instructions
Step 1: Preheat the Oven and Prepare the Pan
Start by preheating your oven to 350°F (175°C). Grease a 9×13-inch baking dish with butter or line it with parchment paper for easy removal of the bars once they’re baked.
Step 2: Prepare the Cookie Dough Layer
In a large mixing bowl, cream together the softened butter, brown sugar, and granulated sugar until the mixture is light and fluffy. This should take about 3-4 minutes using an electric mixer or by hand with a whisk.
Once the butter and sugar are well-combined, add the eggs and vanilla extract. Mix until fully incorporated.
In a separate bowl, whisk together the flour, baking soda, and salt. Gradually add the dry ingredients into the wet ingredients, mixing until just combined. Stir in the chocolate chips. Set the cookie dough aside.
Step 3: Prepare the Brownie Batter Layer
In a separate bowl, whisk together the melted butter, granulated sugar, eggs, and vanilla extract until smooth and fully combined.
Next, add the flour, cocoa powder, and salt to the mixture. Stir until the batter is smooth and fully combined. If you like your brownies extra fudgy, you can fold in an additional 1/2 cup of chocolate chips.
Step 4: Layer the Cookie Dough and Brownie Batter
Spread the cookie dough layer evenly in the bottom of the prepared baking dish. You may need to use your hands or a spatula to press the dough down into an even layer.
Once the cookie layer is ready, carefully spread the brownie batter over the top of the cookie dough. Use a spatula to smooth the brownie layer into an even coat.
Step 5: Bake the Cookie Brownie Bars
Place the baking dish in the preheated oven and bake for 30-35 minutes, or until a toothpick inserted into the center of the bars comes out mostly clean (a few moist crumbs are fine, but it should not be runny).
Keep in mind that oven temperatures may vary, so check the bars around the 30-minute mark. If the top starts to get too brown before the middle is done, you can cover it with aluminum foil and continue baking until the center is set.
Step 6: Let the Bars Cool and Slice
Once baked, remove the bars from the oven and allow them to cool completely in the baking dish before cutting into squares. This ensures that the layers set properly and the bars are easier to slice.
Why These Cookie Brownie Bars Are So Irresistible
The beauty of these bars lies in their combination of textures. The cookie layer is soft and chewy, almost like a thick cookie dough, while the brownie layer is dense, fudgy, and rich with deep chocolate flavor. The slight crunch of the chocolate chips adds a delightful contrast to the soft, buttery layers.
But what really makes these bars stand out is the balance. You get the richness of a brownie, the chewiness of a cookie, and just the right amount of sweetness from both layers. It’s the ultimate mashup that satisfies every sweet tooth craving.
Tips for the Perfect Cookie Brownie Bars
Use Room Temperature Butter: For the best texture in both the cookie and brownie layers, make sure your butter is at room temperature. This helps create a smoother batter and results in perfectly tender bars.
Don’t Overmix the Dough: When mixing the cookie dough, mix only until the ingredients are incorporated. Overmixing can lead to dense cookies.
Let the Bars Cool: Allow the bars to cool completely before slicing. This gives the layers time to set and makes them easier to cut into neat squares.
Customize the Recipe: Feel free to add nuts, caramel, or even a swirl of peanut butter to make this recipe your own. You can also use white chocolate chips, milk chocolate chips, or a mix of your favorite chocolate for added flavor.
Watch the Oven Carefully: Ovens vary, so start checking the bars around the 30-minute mark. If they’re done but starting to brown too much, cover them with foil for the remainder of the baking time.
Serving Suggestions
Serve Warm: These bars are absolutely heavenly when served warm, with a scoop of vanilla ice cream on top.
Perfect for Parties: They’re the perfect addition to your next gathering — easy to make, easy to serve, and sure to be a crowd-pleaser.
With a Cold Drink: Pair these bars with a glass of milk, hot chocolate, or coffee for an extra indulgent treat.
Variations to Try
Peanut Butter Swirl: Swirl a tablespoon or two of peanut butter into the brownie layer before baking for a rich, nutty twist.
Mint Chocolate: Add a teaspoon of mint extract to the brownie batter and top with mint chocolate chips for a refreshing flavor.
Caramel Brownie Bars: Drizzle caramel sauce between the layers before baking for a gooey, indulgent touch.
Vegan Version: Swap out the butter for dairy-free alternatives and use flax eggs in place of regular eggs for a vegan-friendly option.
Storage Tips
Room Temperature: Store these bars in an airtight container at room temperature for up to 5 days.
Refrigerator: If you prefer them chilled, store in the fridge for up to 1 week.
Freezing: These bars freeze beautifully. Wrap individual bars in plastic wrap and place them in a freezer bag for up to 2 months. When ready to enjoy, simply thaw at room temperature.
Conclusion
These Cookie Brownie Bars are the perfect marriage of two beloved desserts. Whether you’re craving something rich and indulgent or you’re looking for a show-stopping dessert for your next gathering, these bars will satisfy every sweet tooth. With a chewy, chocolatey cookie base and a rich, fudgy brownie top, it’s a dessert you’ll be making time and time again.
Bake a batch today and experience the magic for yourself. It’s the ultimate treat that everyone will love — and as my husband said, “It’s like a cookie and a brownie had a baby.” And honestly, that’s exactly what I was going for!
More Recipes You Might Like
-

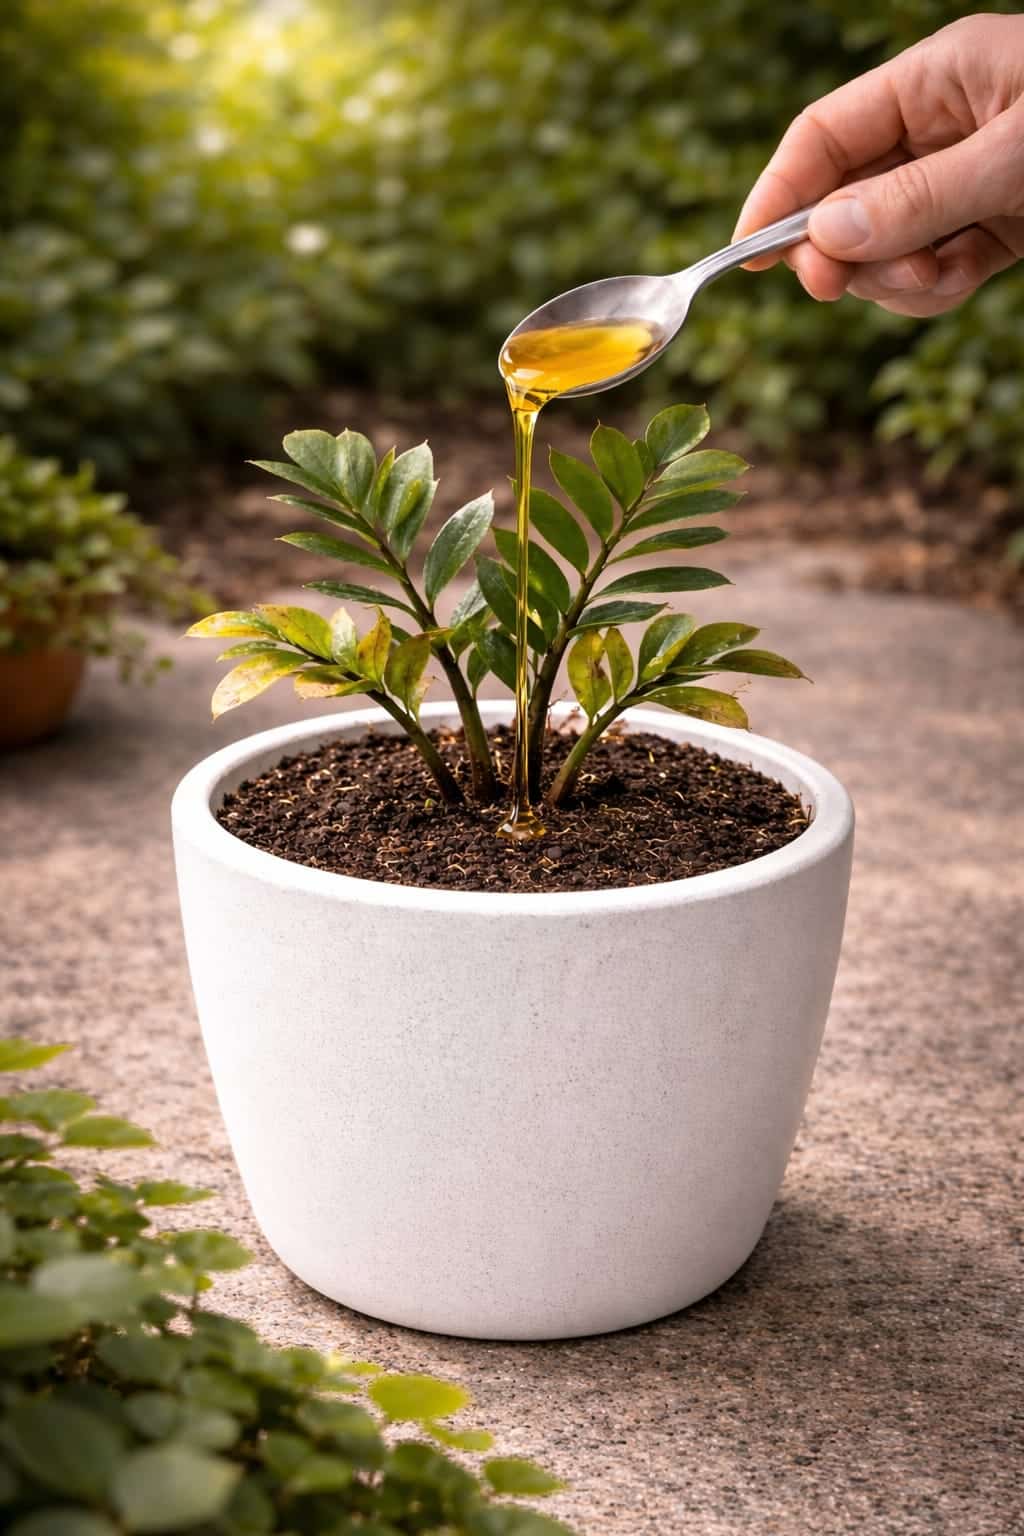
How to Restore a Weak ZZ Plant Using a Simple Golden Liquid Method – A Complete Recovery Guide
Is your ZZ plant looking tired, yellowing, or barely growing? Learn how a simple golden liquid (diluted fertilizer or seaweed … Read more
-
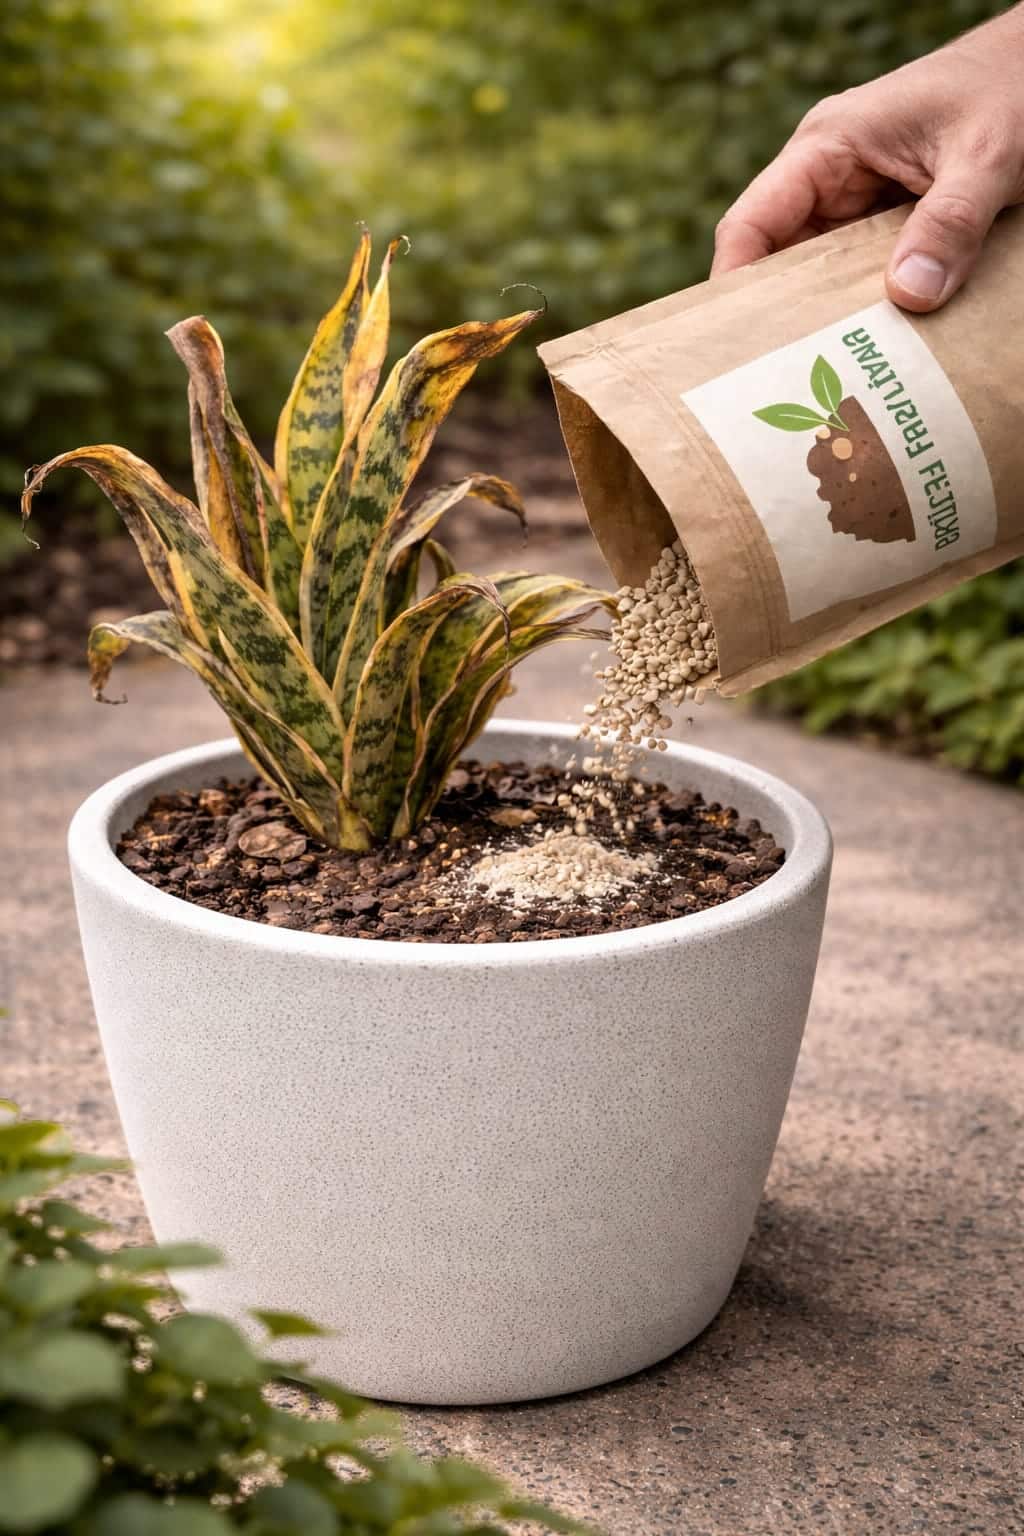
Why Smart Homeowners Are Using This White Powder on Weak Orchids Indoors – A Complete Recovery Guide
Is your orchid looking weak with yellow leaves and limp blooms? Learn why smart homeowners use a gentle white powder … Read more
-
Why Smart Homeowners Are Using This White Powder on Weak Orchids Indoors – A Complete Recovery Guide
Is your orchid looking weak with yellow leaves and limp blooms? Learn why smart homeowners use a gentle white powder … Read more