a bustling holiday party, a table laden with food, and amidst the colorful spread, one humble cheese ball is surrounded by a crowd. Crackers hover, knives dive in, and within minutes, it’s gone. That’s the magic of a truly great cheese ball. But we’re not here for just any cheese ball. We’re elevating a classic, comforting flavor into the ultimate shareable appetizer: the Creamed Chipped Beef Cheese Ball.
This recipe is more than just a mix of cream cheese and beef. It’s a nostalgic nod to the classic “S.O.S.” or creamed chipped beef on toast, transformed into a creamy, savory, utterly addictive spread that will be the star of your easy holiday appetizer spread, your game day snack table, or your next potluck dinner party. With its perfect blend of salty, creamy, and tangy flavors, it’s the best make-ahead party food you’ll add to your repertoire. Ready to make a cheese ball that disappears faster than you can say “more crackers”? Let’s get started.
Why This Creamed Chipped Beef Cheese Ball Recipe Will Be Your Secret Weapon
Before we dive into the ingredients, let’s talk about why this recipe is a non-negotiable addition to your entertaining playbook:
· Unbeatable Flavor Fusion: It masterfully combines the beloved, savory taste of creamed chipped beef with the creamy, tangy base of a classic cheese ball.
· Make-Ahead Marvel: This is the quintessential easy make-ahead appetizer. Prepare it 2-3 days in advance, letting the flavors meld beautifully in the fridge.
· Crowd-Pleasing Guarantee: It appeals to all ages and tastes. The flavors are approachable yet deeply satisfying, making it a family-friendly party snack.
· Incredibly Versatile: Serve it with crackers, vegetables, bread, or pretzels. It’s also easily adaptable for different dietary needs.
· Nostalgia on a Plate: For many, it evokes warm memories, making it a fantastic retro recipe with a modern twist for holiday gatherings.
Creamed Chipped Beef Cheese Ball Ingredients
This recipe uses simple ingredients that pack a massive punch of flavor. Here’s what you’ll need:
For the Cheese Ball:
· 2 (8 oz) packages full-fat cream cheese, softened to room temperature
· 1 (2.25 oz) package dried chipped beef (also called dried beef), finely chopped
· 1/3 cup sour cream (full-fat for best texture)
· 2 green onions, finely sliced (both green and white parts)
· 1 1/2 teaspoons Worcestershire sauce
· 1 teaspoon garlic powder
· 1/2 teaspoon onion powder
· 1/4 teaspoon freshly ground black pepper
· Optional Add-Ins: 1/2 cup finely shredded sharp cheddar cheese, a few dashes of hot sauce.
For the Coating & Serving:
· 1/2 cup finely chopped walnuts or pecans (toasting highly recommended!)
· 1/4 cup fresh parsley, finely chopped
· Additional 1-2 slices of the dried chipped beef, chopped fine, for garnish
· For Serving: Assorted crackers (buttery rounds, wheat crackers, water crackers), pretzel chips, sliced baguette, or sturdy vegetable sticks (celery, bell peppers).
Step-by-Step Instructions for the Perfect Cheese Ball
Step 1: Prep Your Ingredients
This is the key to a smooth process.Ensure your cream cheese is fully softened by leaving it on the counter for 1-2 hours. This prevents a lumpy cheese ball. Take the dried beef from its package and give it a fine chop. Don’t puree it—you want tiny, distinct pieces for texture. Slice your green onions and, if using, toast your nuts in a dry skillet over medium heat for 3-5 minutes until fragrant. Let them cool before chopping.
Step 2: Combine the Base
In a large mixing bowl,place the softened cream cheese and sour cream. Using a hand mixer (or a sturdy spatula and some elbow grease), beat them together on medium speed until completely smooth, creamy, and lump-free. This should take about 1-2 minutes.
Step 3: Incorporate the Flavors
To the creamy base,add the finely chopped dried beef (reserving a little for garnish if desired), green onions, Worcestershire sauce, garlic powder, onion powder, and black pepper. If you’re adding shredded cheddar or hot sauce, add it now. Use a spatula or wooden spoon to fold everything together until evenly distributed. At this point, taste the mixture (it’s safe to eat!) and adjust seasoning if needed. Remember, the beef is salty, so be cautious with added salt.
Step 4: Chill and Shape
Lay a large piece of plastic wrap on your counter.Transfer the entire cheese mixture onto the plastic wrap. Using the wrap to help you, shape the mixture into a ball, smoothing the surface as you go. Wrap it tightly in the plastic wrap. For the best flavor and a firm consistency that’s easy to coat, refrigerate for at least 4 hours, or ideally overnight.
Step 5: Add the Coating
On a plate or pie dish,mix your finely chopped toasted nuts and parsley. Unwrap the chilled cheese ball and place it in the middle of the coating mixture. Gently roll and pat the coating all over the surface until it’s fully covered. You can press the reserved chopped beef into the coating for extra visual appeal and flavor.
Step 6: Serve and Enjoy!
Place your beautifully coated cheese ball on a serving platter.Surround it with your chosen dippers—an array of crackers and veggies makes for a beautiful presentation. Let it sit at room temperature for 20-30 minutes before serving to allow it to soften slightly for easy spreading.
Pro Tips & Flavor Variations for Every Occasion
· The Softening Secret: In a pinch, you can soften cream cheese in the microwave. Remove it from the foil, place it on a microwave-safe plate, and heat on 20% power in 15-second increments. Do not let it melt.
· Texture is Key: For the dried beef, a fine chop is best, but you can also pulse it a few times in a food processor. Avoid turning it into a paste.
· Flavor Boosts: For a deeper, smokier flavor, use smoked dried beef if you can find it. A teaspoon of prepared horseradish adds a wonderful zing that cuts through the richness.
· Coating Creativity: Don’t like nuts? Roll your cheese ball in everything bagel seasoning, crispy fried onions, crumbled cooked bacon, or additional chopped dried beef and parsley.
· Make it a Log: For easier serving, shape the mixture into a log instead of a ball before chilling.
· Dietary Tweaks: For a lower-carb version, serve exclusively with vegetable dippers. Use a vegan cream cheese and plant-based sour cream for a dairy-free alternative (note: the flavor profile will change).
Essential Kitchen Tools for the Perfect Appetizer
Having the right equipment makes this recipe even easier and ensures a professional-looking result.
Your Cheese Ball Toolkit
Quality Chef’s Knife and Cutting Board: A sharp knife is non-negotiable for finely and safely chopping the dried beef, green onions, nuts, and parsley. A sturdy cutting board provides a stable base.
Hand Mixer or Stand Mixer: While you can mix by hand, an electric mixer is the absolute best way to achieve a luxuriously smooth, lump-free cream cheese base with minimal effort. A stand mixer with the paddle attachment is ideal for hands-free mixing.
Flexible Spatula: A good silicone spatula is perfect for scraping every last bit of mixture out of the bowl and for folding in the ingredients without overmixing.
Mixing Bowls: A set of nesting bowls is useful for prep—one for the base, one for coating mixtures.
Plastic Wrap: Essential for shaping the ball and for the crucial chilling phase. It prevents the cheese from picking up odors and allows you to form a perfect sphere.
Skillet (Optional but Recommended): A small skillet is perfect for toasting the nuts for your coating. Toasting unlocks their oils and maximizes flavor, taking your cheese ball from good to extraordinary.
Investing in these basic tools will not only help with this recipe but with countless other easy appetizer recipes in your kitchen.
Serving Suggestions & Pairing Ideas
This cheese ball is the centerpiece, but what you serve it with completes the experience.
· The Cracker Trio: Offer a variety for different textures: buttery Ritz crackers, sturdy whole wheat crackers, and elegant water crackers or pepper jelly crisps.
· The Crunchy Veggie Platter: Balance the richness with fresh, crisp vegetables like celery sticks, carrot chips, sugar snap peas, and sliced bell peppers.
· The Bread Basket: Thinly sliced and lightly toasted baguette, pita chips, or pretzel crisps are fantastic vehicles.
· The Perfect Beverage Pairing:
· Wine: A crisp, dry white wine like Sauvignon Blanc or a light-bodied Pinot Noir cuts through the fat beautifully.
· Beer: A malty Amber Ale or a classic Pilsner complements the savory, salty notes.
· Non-Alcoholic: Sparkling water with lemon, iced tea, or a tangy cranberry spritzer.
Make-Ahead, Storage, and Leftover Tips
· Make-Ahead: This is the recipe’s superpower. Prepare and coat the cheese ball up to 3 days in advance. Store it tightly wrapped in the refrigerator. Let it come to room temperature before serving.
· Storage: Store any leftovers tightly wrapped in the fridge for up to 5 days.
· Freezing: You can freeze the uncoated cheese ball (tightly wrapped) for up to 1 month. Thaw overnight in the fridge, then add your fresh coating before serving.
Conclusion: More Than Just a Cheese Ball
The Creamed Chipped Beef Cheese Ball is more than an appetizer; it’s a conversation starter, a memory maker, and the ultimate proof that the most beloved dishes are often the simplest. With its perfect balance of creamy texture and savory, umami-rich flavor, it’s guaranteed to become a requested staple at all your gatherings. It solves the “what to bring” dilemma and elevates your host status with minimal effort.
So, the next time you need a guaranteed crowd-pleasing party snack, a simple holiday appetizer, or just a deliciously different treat for your family, remember this recipe. Wrap it, chill it, roll it, and watch it disappear. Don’t be surprised when someone asks, “Can I get this recipe?”—you’ll be ready to share your new secret weapon.
Now, it’s your turn! Gather your ingredients, put on some music, and create this iconic snack. When you do, be sure to come back and let us know how it was the hit of your party in the comments below. Happy entertaining
More Recipes You Might Like
-

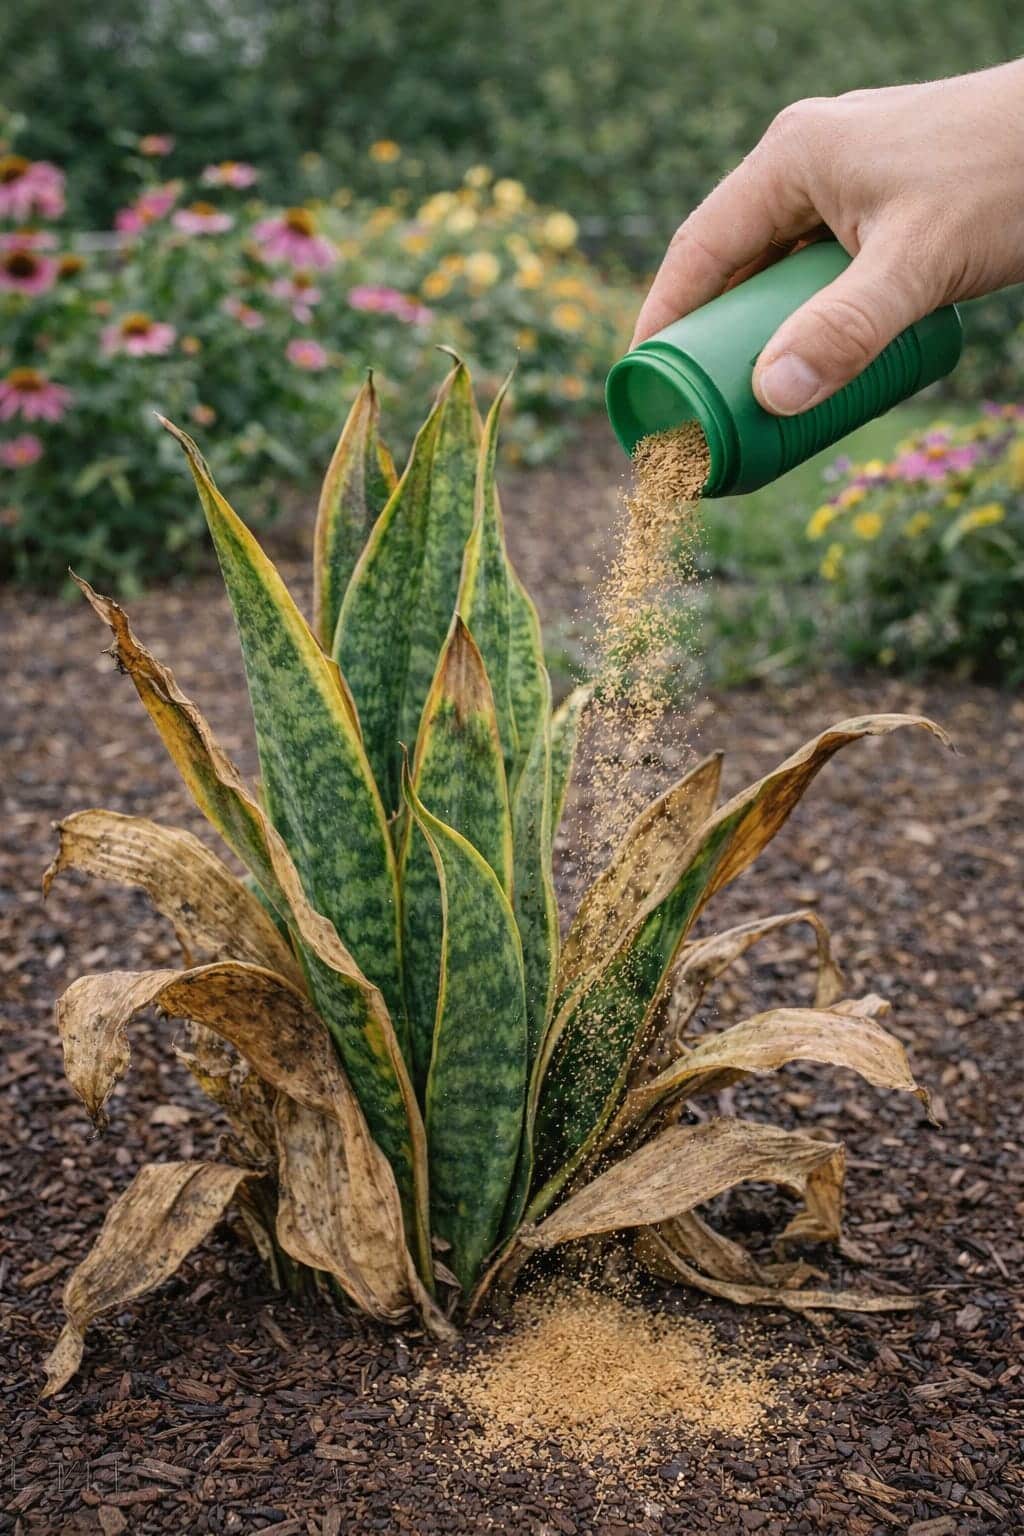
The Snake Plant Recovery Method Using a Simple Natural Powder – How to Fix Dry Leaves and Improve Outdoor Growth
Moving your snake plant outdoors? Leaves may dry out or turn brown. Learn how a simple natural powder (mineral supplement … Read more
-
The Snake Plant Growth Method Using Rice Water – How to Revive, Improve Leaf Health, and Support Natural Blooming
Can rice water help your snake plant grow faster and healthier? Learn how to use rice water correctly – as … Read more
-
Indoor Gardeners Are Sprinkling This Powder on Christmas Cactus — Here’s Why It Helps Flowers Open Faster
Are your Christmas cactus buds falling off or failing to open? Learn how a simple natural powder (mineral supplement or … Read more