Some recipes don’t just fill your kitchen with amazing smells — they fill your heart with memories. These Peanut Butter Buckeye Balls (or “Caramel Peanut Butter Balls” as Grandma called them) are exactly that kind of recipe. I still remember sneaking these little bites of heaven from the dessert tray during holiday parties, trying not to get caught. Every bite brings me back to those childhood moments — laughter, warmth, and the comforting sweetness that only Grandma could create.
A Sweet Taste of Nostalgia
When I stumbled upon this recipe again, I couldn’t believe it. It instantly transported me back to the family kitchen, where Grandma’s hands moved with effortless precision as she rolled and dipped each golden ball. These treats were a staple during Christmas, Thanksgiving, and every family celebration. And now, I’m beyond excited to share this piece of tradition with you.
As I recreated them, one thing was clear — I hadn’t forgotten how delicious they were. The creamy peanut butter, the sweet caramel-like coating, and that soft yet chewy texture all come together for one of the most irresistible homemade candies you’ll ever make.
Why You’ll Love This Recipe
Here’s what makes this classic recipe so special:
No Baking Required: These peanut butter balls are simple, quick, and require no oven time.
Perfect Texture: Soft and creamy inside with a firm, glossy coating on the outside.
Great for Gifting: They store beautifully and make perfect edible gifts for the holidays.
Crowd-Pleaser: No one — absolutely no one — can resist these bite-sized sweets.
Ingredients You’ll Need
To make Grandma’s classic peanut butter balls, you only need a few pantry staples. Here’s the full list:
For the Peanut Butter Filling:
2 cups creamy peanut butter
1/2 cup unsalted butter, softened
3 1/2 cups powdered sugar
2 teaspoons vanilla extract
1/4 teaspoon salt
For the Coating:
2 cups butterscotch chips or milk chocolate chips
1 tablespoon shortening (optional for smoother dipping)
(You can also use a mix of butterscotch and peanut butter chips for a rich caramel-like flavor, just like Grandma used to do.)
Step-by-Step Instructions
Step 1: Prepare the Peanut Butter Base
In a large mixing bowl, combine the creamy peanut butter and softened butter. Beat together until smooth and fluffy. Then, gradually add powdered sugar, vanilla extract, and salt. Continue mixing until everything comes together into a thick dough-like texture.
You should be able to roll the mixture into small balls without it sticking to your hands. If it’s too sticky, add a bit more powdered sugar. If it’s too dry, add a tablespoon of milk.
Step 2: Shape the Balls
Scoop out small portions of the peanut butter mixture using a tablespoon or small cookie scoop. Roll them between your palms to form smooth, even balls. Place each ball on a parchment-lined baking sheet.
Once all the balls are shaped, refrigerate them for about 30 minutes. This helps them firm up and makes the dipping process easier later.
Step 3: Prepare the Butterscotch Coating
While the peanut butter balls are chilling, prepare the coating. In a microwave-safe bowl, melt the butterscotch chips (or chocolate chips) with shortening in 20-second intervals, stirring between each session until smooth.
Alternatively, you can melt the chips over a double boiler for a more controlled melt. Stir until the mixture becomes silky and shiny.
Step 4: Dip the Peanut Butter Balls
Remove the peanut butter balls from the refrigerator. Using a fork or a toothpick, dip each ball into the melted coating. Let the excess drip off, then place them back onto the parchment paper.
For a more “homemade” look — just like Grandma’s — you can let a little pool of coating form at the bottom of each ball. That’s the charm of these nostalgic treats!
Step 5: Let Them Set
Once all the peanut butter balls are coated, refrigerate them again for at least 30 minutes or until the coating hardens completely. Store them in an airtight container in the refrigerator.
Tips for the Perfect Peanut Butter Balls
Use Creamy Peanut Butter – Crunchy peanut butter makes the mixture harder to roll and doesn’t give the same smooth texture.
Don’t Skip the Chill Time – Cold peanut butter balls hold their shape better when dipping.
Work in Batches – If your kitchen is warm, keep half the batch in the fridge while dipping the others.
Smooth Coating Trick – Add a teaspoon of coconut oil or shortening to the melted chips to create a thinner, glossier coating.
Flavor Variations – For a twist, mix in crushed graham crackers, rice cereal, or coconut flakes into the peanut butter filling.
Creative Flavor Variations
Want to give this classic treat a new twist? Try these fun flavor combinations:
Chocolate-Dipped Peanut Butter Balls: Swap the butterscotch chips for semi-sweet chocolate or dark chocolate chips for a richer taste.
Salted Caramel Peanut Butter Balls: Sprinkle a pinch of sea salt over the top before the coating sets.
Crunchy Peanut Balls: Add crushed pretzels or rice krispies for texture.
White Chocolate Drizzle: Once coated, drizzle melted white chocolate over the top for a bakery-style finish.
Nutella Twist: Replace half of the peanut butter with Nutella for a hazelnut-chocolate version.
How Store and Serve
These peanut butter balls can be made ahead of time — and they taste even better the next day!
At Room Temperature: Keep them in an airtight container for up to 3 days (in a cool kitchen).
Refrigerated: Store in the fridge for up to 2 weeks.
Frozen: You can freeze them for up to 3 months. Just let them thaw in the fridge overnight before serving.
Serving Ideas
Serve them on a holiday dessert tray.
Gift them in pretty tins or boxes.
Crumble a few over ice cream for a decadent topping.
Pair them with a cup of hot cocoa or coffee for an afternoon treat.
Why These Peanut Butter Balls Are So Addictive
What makes these treats stand out is their balance of texture and flavor. The inside is soft, creamy, and melts in your mouth, while the coating adds a delightful snap. Each bite gives you a perfect mix of sweet, salty, and buttery notes — a true guilty pleasure that never gets old.
They’re also incredibly nostalgic. The smell of melted butterscotch or chocolate wafting through the kitchen instantly brings back memories of holiday baking, laughter, and the warmth of family traditions.
Grandma’s Secret Touch
When Grandma made these, there was always something extra special about them. Maybe it was the way she melted the chips slowly, stirring with love and patience. Or perhaps it was how she’d let us “help” by rolling the balls — though we mostly ended up eating half of them before they were even coated!
One thing’s for sure: every batch was made with heart. That’s what makes this recipe more than just candy — it’s a family heirloom.
Frequently Asked Questions
Can I use natural peanut butter?
It’s best to use a no-stir variety for this recipe. Natural peanut butter can separate and make the filling greasy or crumbly.
Can I use dark chocolate instead of butterscotch?
Absolutely! Dark chocolate gives these treats a more elegant, less sweet flavor.
Can I make them dairy-free?
Yes — simply substitute the butter with coconut oil and use dairy-free chocolate chips.
Do I need to refrigerate them before serving?
Not necessarily, but refrigerating helps the coating stay firm and gives a nice chilled bite.
Perfect for Every Occasion
These peanut butter balls aren’t just for the holidays — they’re perfect for any celebration!
Christmas – Add festive sprinkles for a holiday touch.
Easter – Shape them into little eggs and dip in pastel-colored chocolate.
Birthday Parties – Use colorful coatings to match your theme.
Weddings – Serve them in candy buffets as elegant bite-sized sweets.
A Recipe That Connects Generations
What I love most about this recipe isn’t just how delicious it is — it’s the way it connects generations. These peanut butter balls are more than a treat; they’re a bridge between past and present. When I make them, it feels like Grandma is right there with me, guiding my hands and reminding me that the best recipes are made with love and patience.
Now, I can pass this tradition on — to my kids, my friends, and anyone who craves a little sweetness in their life.
Conclusion: Sweet Memories in Every Bite
This recipe is more than just a sweet treat — it’s a piece of family history. Each bite of these Peanut Butter Buckeye Balls takes you back to simpler times, full of love, laughter, and homemade goodness. Whether you’re making them for a holiday gathering, a special occasion, or just because you need a little comfort, they’re sure to bring joy to everyone who tastes them.
So roll up your sleeves, melt some chips, and make a batch of these classic candies. Because sometimes, the sweetest moments in life are the ones that remind us where we came from.
❤️ Here’s to Grandma’s recipe — timeless, tender, and always made with love.
More Recipes You Might Like
-

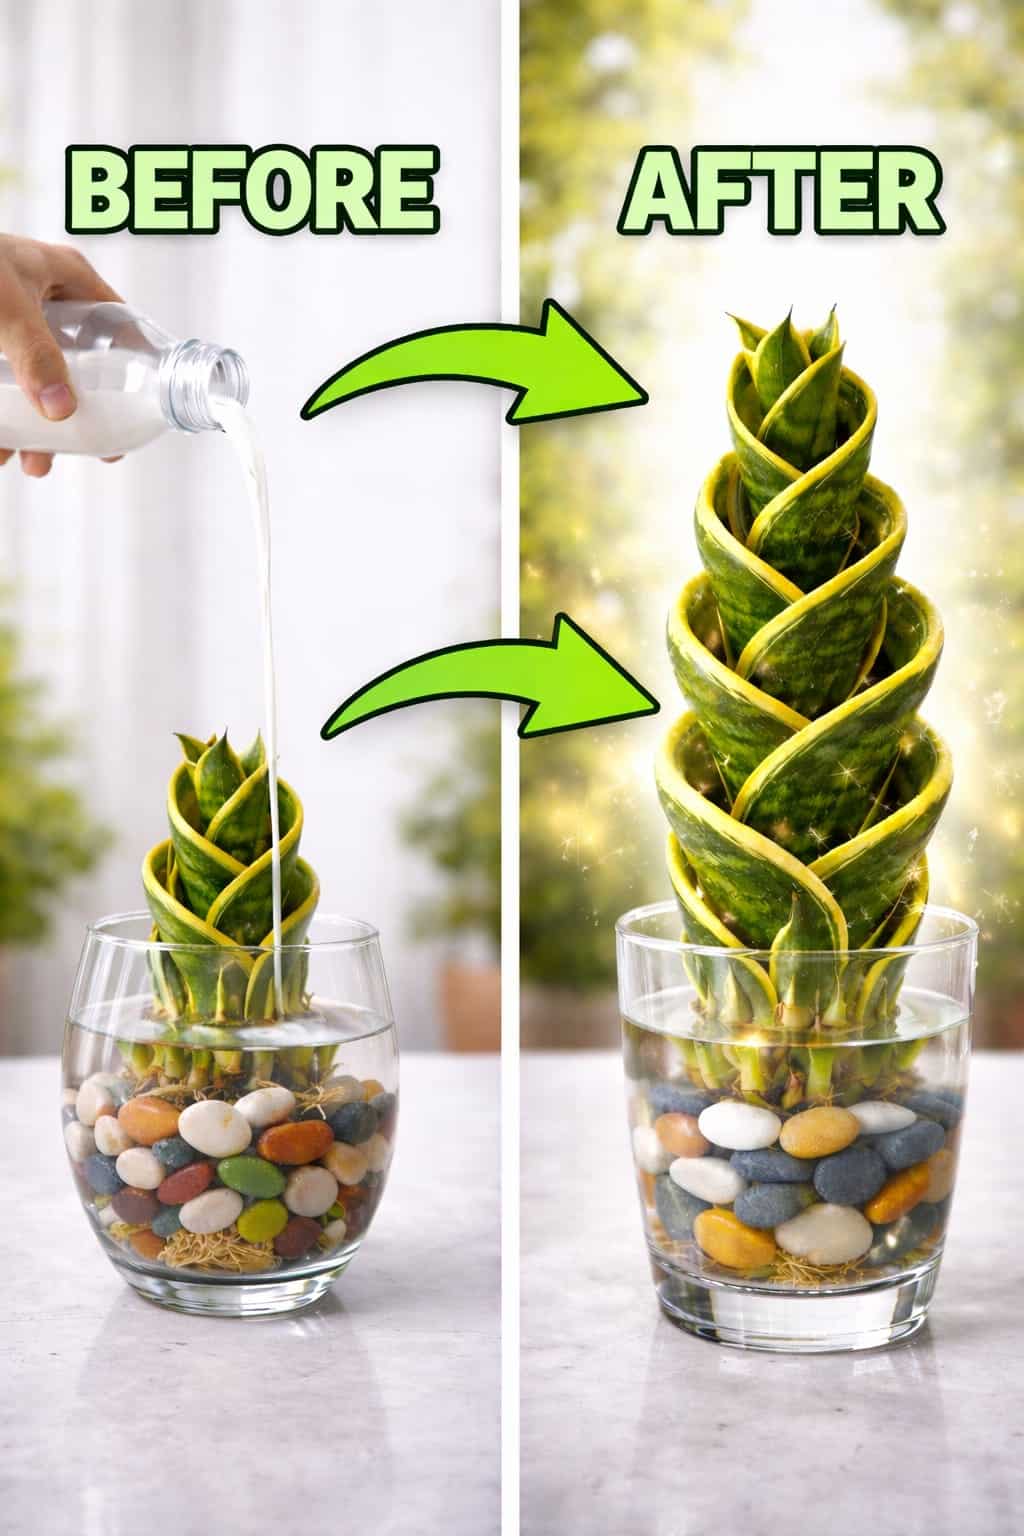
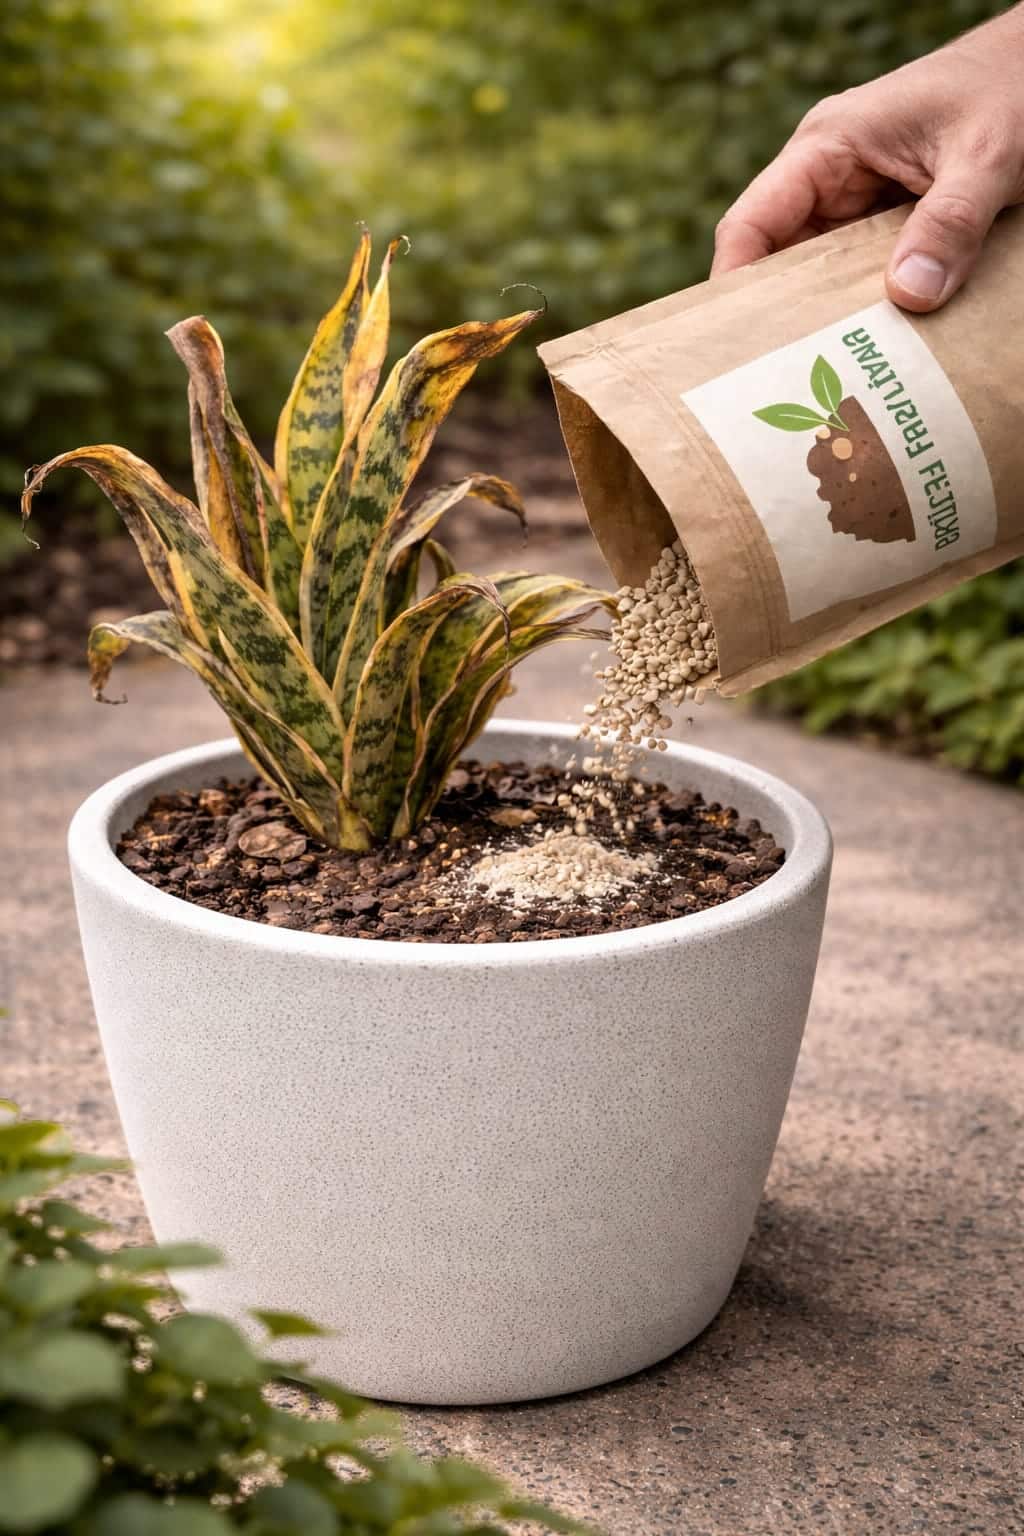
My Snake Plant Was Tiny… Then This White Liquid Made It Grow Like Crazy – The Complete Guide
Is your snake plant tiny, slow, or stuck at the same size for months? Learn how a simple white liquid … Read more
-
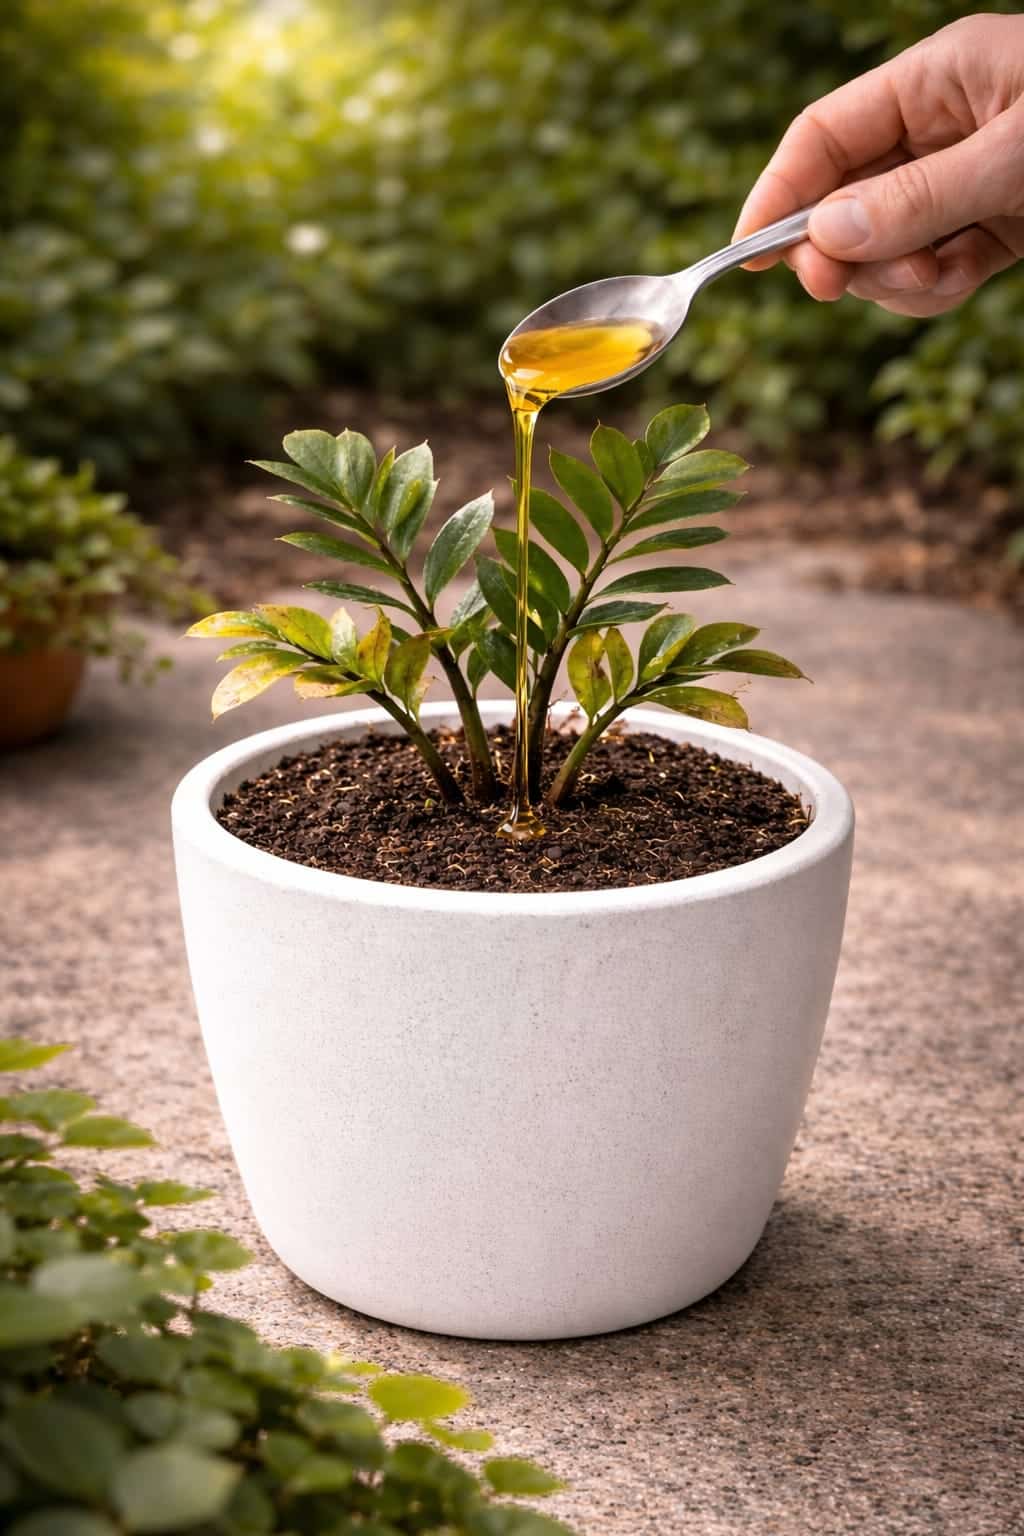
How to Restore a Weak ZZ Plant Using a Simple Golden Liquid Method – A Complete Recovery Guide
Is your ZZ plant looking tired, yellowing, or barely growing? Learn how a simple golden liquid (diluted fertilizer or seaweed … Read more
-
Why Smart Homeowners Are Using This White Powder on Weak Orchids Indoors – A Complete Recovery Guide
Is your orchid looking weak with yellow leaves and limp blooms? Learn why smart homeowners use a gentle white powder … Read more