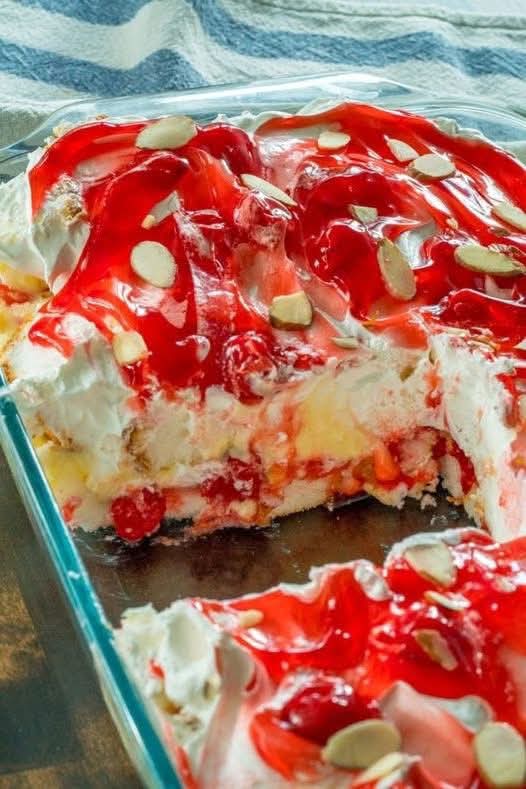
This Heavenly Heaven on Earth Cake layers cherry pie filling, pineapple, pudding & whipped cream for an easy, show-stopping no-bake dessert. The perfect potluck treat!
Imagine a dessert so light, so refreshing, and so blissfully delicious that the first bite truly feels transcendent. A dessert that requires no oven, comes together with simple ingredients, and consistently earns gasps of delight at potlucks and family gatherings. This is Heaven on Earth Cake, the legendary no-bake dessert that has been a cherished secret in recipe boxes for generations. If you’re searching for the ultimate easy summer dessert or a make-ahead potluck recipe that guarantees rave reviews, your search ends here.
In a world of complicated baking projects, this dessert is a beacon of simple, reliable joy. It’s the perfect union of fruity, creamy, and fluffy textures, featuring layers of juicy cherry pie filling, sweet crushed pineapple, rich cream cheese pudding, and billowy whipped topping. Each spoonful is a perfect harmony of flavors that is neither too heavy nor too sweet—it’s just right. It’s the best potluck dessert you can bring, a family-friendly treat that kids and adults adore, and the ultimate comfort food dessert for any season.
Whether you need a stunning 4th of July dessert, a cool easy summer treat for a BBQ, or just a spectacular weeknight dessert idea to brighten an ordinary day, this cake delivers. It’s a crowd-pleasing dessert of mythical status, and today, we’re unlocking all its secrets. Get ready to make the dessert that will have everyone asking, “How did you make this?!”
Why This Heaven on Earth Cake Recipe is Absolutely Divine
Before we gather our simple ingredients, let’s talk about what makes this recipe a cut above the rest. First, it’s impossibly easy. With no baking involved and just 20 minutes of active prep, it’s the definition of a simple no-bake dessert. You don’t need to be a pastry chef to create something stunning.
Second, it’s a masterpiece of texture. The contrast between the soft cake base (or graham cracker crust), the juicy fruit layers, the smooth, creamy pudding, and the light whipped topping is what makes every bite so captivating. It’s a make-ahead magic dessert that actually improves as it chills, allowing the flavors to meld perfectly.
Finally, its versatility is legendary. While the classic cherry pineapple delight version is iconic, this recipe serves as a perfect blueprint. Don’t like cherries? Use blueberry pie filling. Want a tropical twist? Add coconut. Need a quick dessert hack? Use a pre-made angel food cake. This is more than a recipe; it’s a foundational formula for endless delicious creations.
Gathering Your Ingredients: Simple Components for a Heavenly Result
The magic of this dessert is how everyday grocery store ingredients combine to create something extraordinary. Here’s what you’ll need for the classic, beloved version:
For the Cake Base:
· 1 (16 oz) prepared angel food cake, torn or cut into 1-inch pieces (or 1 box of angel food cake mix, baked and cooled according to package directions)
· Alternative Base Option: 2 cups graham cracker crumbs mixed with 1/2 cup melted butter for a crust.
For the Creamy Pudding Layer:
· 1 (8 oz) block cream cheese, softened to room temperature
· 1 cup powdered sugar (confectioners’ sugar)
· 1 (3.4 oz) box instant vanilla pudding mix
· 1 (3.4 oz) box instant cheesecake pudding mix (or use two vanilla)
· 2 ½ cups cold whole milk
· 1 teaspoon pure vanilla extract
For the Fruit & Topping Layers:
· 1 (20 oz) can crushed pineapple, well drained (squeeze out excess juice with your hands or a towel)
· 1 (21 oz) can cherry pie filling
· 1 (8 oz) container frozen whipped topping (like Cool Whip), thawed
· ½ cup chopped pecans or walnuts (optional, for crunch)
Ingredient Spotlight & Pro Substitutions
· Angel Food Cake: The classic, light base that soaks up the flavors without getting soggy. A store-bought angel food cake is a perfect easy dessert hack. For a from-scratch version, a box mix works wonderfully.
· Instant Pudding Mix: Using a combination of vanilla and cheesecake pudding creates an incredibly rich, complex cream layer. All vanilla is perfectly delicious if that’s what you have.
· Draining the Pineapple: This is the most crucial step for preventing a watery dessert. Drain in a fine-mesh sieve, then press firmly with paper towels or clean hands to remove every bit of excess moisture.
· Cherry Pie Filling: The star of the show. For a different twist, try blueberry pie filling or apple pie filling in the fall.
· Whipped Topping: Stabilizes the dessert for make-ahead prep. For a from-scratch option, you can use 2 cups of heavy cream whipped with ¼ cup powdered sugar until stiff peaks form.
Essential Kitchen Tools: The Equipment for Effortless Assembly
You won’t need any fancy equipment, but having the right tools makes assembly a breeze and ensures beautiful, distinct layers—the hallmark of a perfectly executed no-bake layered dessert.
The Foundation: Your Pan
A clear, 9×13 inch baking dish is non-negotiable. Glass is ideal because it allows you to see the beautiful layers, making for a stunning presentation straight from the fridge. This is the perfect potluck pan—durable, travel-ready, and everyone knows how to serve from it.
The Mixing & Prep Tools:
Electric Hand Mixer or Stand Mixer: Essential for beating the cream cheese until perfectly smooth and lump-free, and for seamlessly incorporating the pudding with the milk. This ensures a silky, flawless creamy layer.
Large Mixing Bowls: You’ll need at least two: one for the pudding/cream cheese mixture and one for gently combining the cake pieces with some of the creamy mixture.
Fine-Mesh Sieve: The best tool for thoroughly draining the crushed pineapple. Pair it with paper towels or a clean kitchen towel to press out all the juice.
Rubber Spatula: For folding ingredients gently, scraping bowls clean, and smoothly spreading layers without disrupting the ones below.
Measuring Cups and Spoons: Accuracy matters for the pudding consistency. Use liquid measuring cups for the milk and dry measuring cups for sugar.
Helpful Extras:
· Box Grater (for a fun twist): Instead of tearing, you can gently grate a store-bought angel food cake into fluffy pieces using the large holes of a box grater.
· Offset Spatula: Makes spreading the final layer of whipped topping beautifully smooth and professional-looking.
· Piping Bag & Star Tip (optional): For decorating the top with elegant swirls of whipped topping instead of simply spreading it.
Step-by-Step Instructions: Building Your Heavenly Layers
The process is all about the layers. Follow this order for a clean, beautiful, and delicious result.
Step 1: Prep Your Base & Fruit
Prepare the Cake: If using a store-bought angel food cake, tear it into bite-sized, fluffy pieces with your hands. If using a graham cracker crust, mix the crumbs with melted butter and press firmly into the bottom of the 9×13 dish. Place in the fridge to set.
Drain the Pineapple: This step cannot be rushed. Dump the can of crushed pineapple into a fine-mesh sieve over the sink or a bowl. Press down firmly with a large spoon or your clean hands. Then, transfer the pineapple to a stack of paper towels or a clean kitchen towel and squeeze to remove any remaining moisture. Set aside.
Step 2: Create the Luxurious Cream Layer
Beat Cream Cheese & Sugar: In a large bowl using your electric mixer, beat the softened cream cheese and powdered sugar on medium speed for 2-3 minutes, until completely smooth and creamy. Scrape down the sides of the bowl.
Incorporate Pudding & Milk: With the mixer on low speed, gradually pour in the cold milk and the vanilla extract. Once combined, add both boxes of instant pudding mix. Immediately turn the mixer to medium-high speed and beat for 2 full minutes. It will thicken considerably. This is your key creamy pudding filling.
Step 3: Assemble the Layers
First Layer (Cake): Place half of the torn angel food cake pieces in an even layer at the bottom of your 9×13 dish.
Second Layer (Cream): Spoon and spread half of the prepared pudding mixture over the cake layer.
Third Layer (Pineapple): Sprinkle the well-drained crushed pineapple evenly over the cream layer.
Fourth Layer (More Cake): Add the remaining angel food cake pieces.
Fifth Layer (Remaining Cream): Carefully spread the rest of the pudding mixture over the cake.
Sixth Layer (Cherries): Gently spoon the entire can of cherry pie filling over the top, spreading it into an even layer with the back of your spoon.
Final Layer (Whipped Topping): Spread the entire container of thawed whipped topping over the cherry layer. If using, sprinkle with chopped nuts.
Step 4: Chill and Serve
The Crucial Chill: Cover the dish tightly with plastic wrap. Refrigerate for at least 6 hours, but preferably overnight. This chilling time is what allows the cake pieces to soften slightly and absorb the flavors, transforming the separate layers into one cohesive, divine dessert.
Serve: Use a sharp knife or a spatula to cut into squares. Serve cold straight from the dish.
Chef’s Pro-Tips for a Flawless Dessert
· Prevent a Watery Cake: The enemy of this dessert is excess liquid. Draining the pineapple thoroughly is the #1 rule. If your cherry pie filling seems overly syrupy, you can drain off a tablespoon or two of the excess gel before spreading.
· Room Temperature Cream Cheese: Take the cream cheese out of the fridge at least an hour ahead. This prevents lumps in your creamy layer and ensures a silky-smooth texture.
· Beat the Pudding Fully: When you add the pudding mix to the milk and cream cheese, beat for the full 2 minutes. This activates the thickeners and ensures your cream layer will set perfectly.
· Make it Your Own: Add 1 cup of toasted coconut to the pineapple layer. Use a different pie filling like peach or strawberry. Fold fresh berries into the whipped topping. The possibilities are endless.
Serving Suggestions & Presentation Ideas
This dessert is a complete showstopper on its own, but you can elevate it further:
· For a Party: Serve in individual clear dessert cups, building the layers in reverse for a stunning parfait effect.
· Garnish Creatively: Just before serving, garnish with fresh mint sprigs, a sprinkle of graham cracker crumbs, or a few whole maraschino cherries for a pop of color.
· Pairing Idea: While perfect alone, a cup of strong coffee or a glass of cold milk is the ideal companion to this sweet treat.
How to Store, Make-Ahead, and Freeze
· Storage: Keep covered tightly with plastic wrap or in an airtight container in the refrigerator for up to 4 days.
· Make-Ahead: This is the ultimate make-ahead dessert. Preparing it 24 hours in advance is actually ideal, as it gives the flavors maximum time to meld.
· Freezing: You can freeze Heaven on Earth Cake for up to 1 month. Thaw overnight in the refrigerator before serving. Note: the whipped topping may lose a little of its original texture after freezing but will still taste delicious.
Final Thoughts: A Dessert Legend for a Reason
Heaven on Earth Cake isn’t just a recipe; it’s a experience. It represents the joy of sharing something effortlessly beautiful and profoundly delicious. It proves that you don’t need complex techniques or expensive ingredients to create a dessert that feels like a celebration.
So, the next time you need a guaranteed winner for a family reunion, a church supper, or just a sweet weekend treat, remember this recipe. It’s the easy, no-fuss dessert that carries a legacy of happy smiles and clean plates. Give it a try, share it with someone you love, and get ready to hear the question: “Can I get this recipe?”
Don’t forget to pin this recipe, rate it, and leave a comment below telling me about your heavenly creation! What variations did you try?
More Recipes You Might Like
-

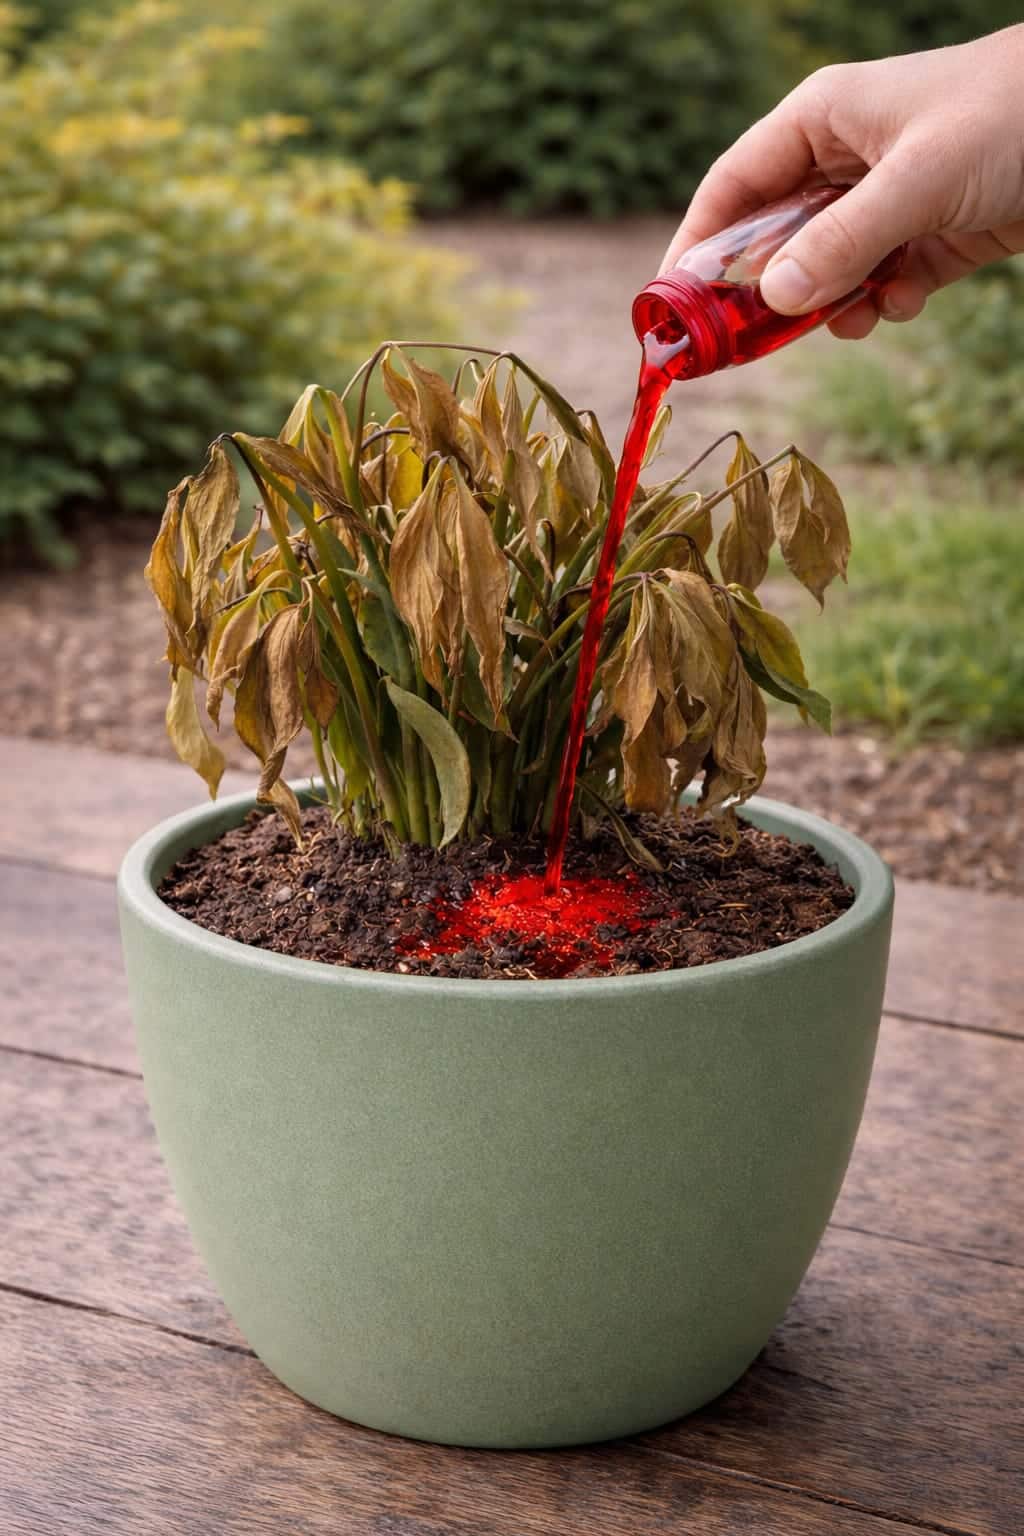
Why Smart Homeowners Are Pouring This Red Liquid on ZZ Plants – The Results Are Shocking (But Not for the Reason You Think)
Is the red liquid trend for ZZ plants a miracle growth hack or a risky mistake? Learn what the red … Read more
-
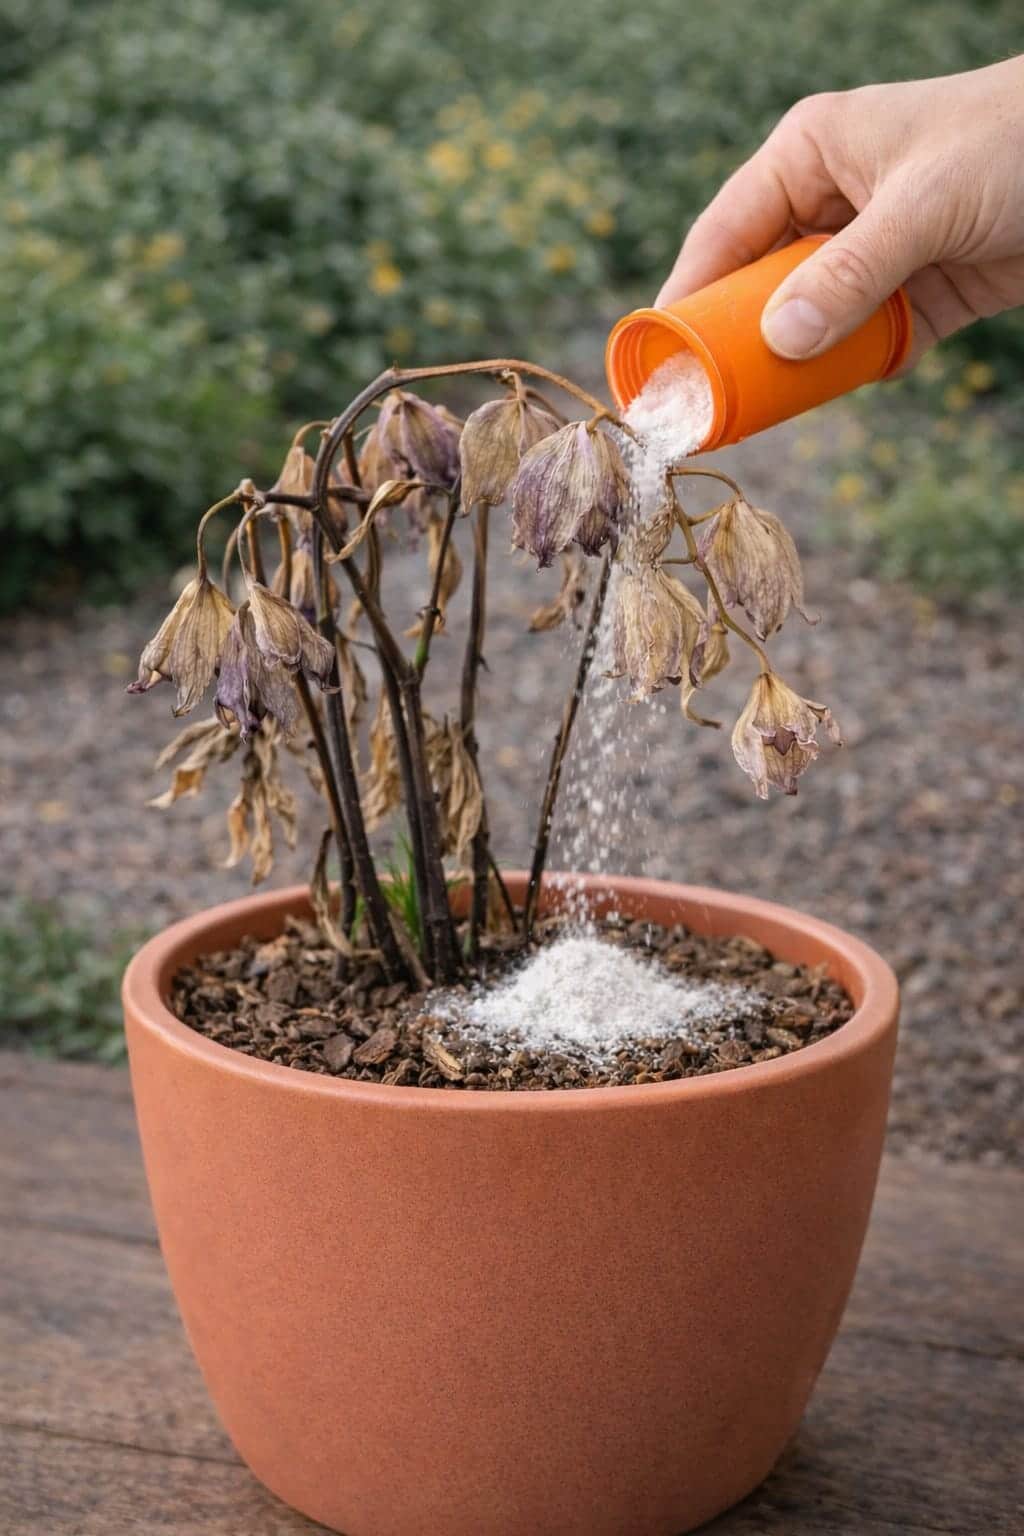
The Orchid Revival Method Luxury Homeowners Swear By – Why This White Powder Is Getting Attention
Is your orchid declining after the blooms fade? Learn why luxury homeowners use a simple white powder (mineral supplement) as … Read more
-
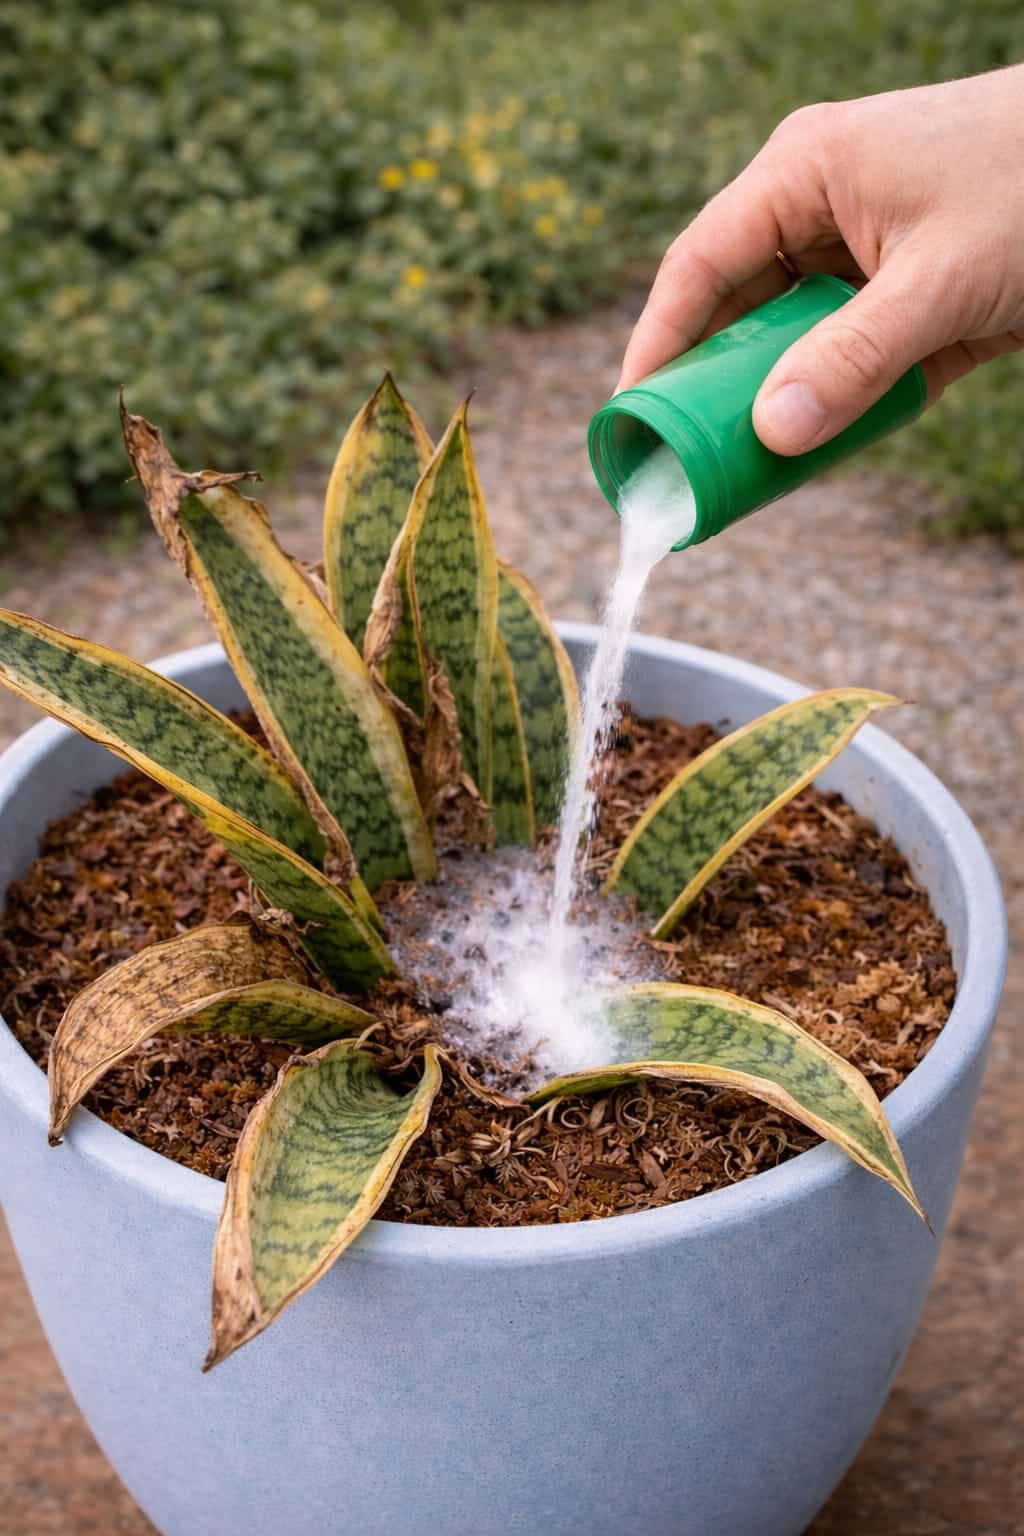
Why Smart Homeowners Are Using This White Liquid on Snake Plants – The Indoor Comeback Everyone Is Talking About
Is your snake plant losing color with yellowing edges and dry tips? Learn why a white liquid (diluted nutrient solution) … Read more