
Cleaning your oven can feel like a chore, but with the right technique, it can be surprisingly easy. The method you’re describing uses a natural cleaning solution and heat to lift grime and grease off your oven walls and racks. Here’s how to do it:
Ingredients and Materials You’ll Need:
Baking soda – A natural cleaner that’s great for scrubbing and breaking down grease.
Water – To mix with baking soda to create a paste.
White vinegar – Used to help the baking soda work effectively and for final cleaning.
A shallow oven-safe pan – To hold the cleaning solution.
A towel or paper towels – To wipe away the grime after the cleaning process.
Hot water – For rinsing off the baking soda and grime after the process.
Step-by-Step Process:
Step 1: Prepare the Cleaning Solution
Mix the Paste: Start by mixing 1/2 cup of baking soda with a few tablespoons of water in a bowl. Stir until it forms a paste-like consistency. If it’s too thick, add a bit more water. The paste should be spreadable but not too runny.
Step 2: Apply the Paste to the Oven
Apply the Paste to the Oven Walls and Racks: Use a spatula or your fingers to spread the baking soda paste over the oven’s interior, including the walls, door, and the racks. Focus on areas that are particularly grimy or greasy. The paste will help break down the buildup.
Step 3: Let it Sit
Let the Paste Sit: Once the paste is applied, leave it on the oven surfaces for at least 12 hours or overnight. This gives the baking soda time to work on loosening the grease and grime.
Step 4: Prepare the Oven for Heat
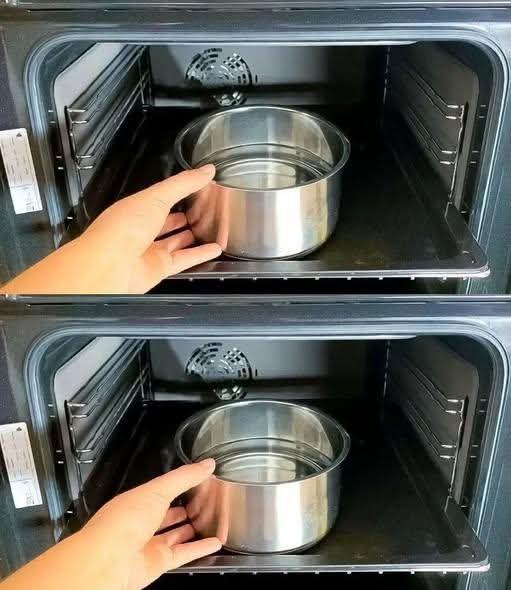
Fill a Pan with Water: Place an oven-safe pan or bowl with water on the oven rack. This will help steam and soften the grime inside the oven when the oven is heated.
Step 5: Heat the Oven
Preheat the Oven: Preheat the oven to 250°F (121°C). The steam from the water will help lift the dirt and make it easier to wipe away. Allow the oven to stay at this temperature for about 30 minutes. Keep an eye on the pan of water to ensure it doesn’t boil over.
Step 6: Wipe Down the Oven
Turn Off the Oven and Let it Cool: Once the oven has been heated for 30 minutes, turn it off and let the oven cool down slightly. After about 10 minutes, use a damp cloth or paper towels to wipe away the softened grime and the baking soda paste.
Step 7: Finish the Cleaning
Use Vinegar for Extra Shine: If needed, use a spray bottle to spritz the inside of the oven with white vinegar. The vinegar reacts with the baking soda and helps remove any leftover residue. Wipe down the oven again with a clean towel to remove any remaining cleaning solution.
Why This Method Works:
Baking soda is mildly abrasive, which helps break down grease and grime without scratching the surface of your oven.
Heat and steam from the oven make the grime soft and easier to remove, especially when combined with baking soda and vinegar.
This method is safe, natural, and doesn’t require harsh chemicals, making it perfect for homes with children or pets.
Additional Tips:
Clean the Oven Racks: For extra grime on the oven racks, you can remove them and soak them in a bathtub or large sink filled with warm water and a bit of dish soap or baking soda. After soaking for about 30 minutes, scrub them with a brush or sponge, then rinse thoroughly.
Check the Oven’s Seal: Make sure to clean the rubber seal around the oven door, as food particles and grease can build up here. Use a soft cloth with a small amount of the baking soda paste to gently scrub it.
Regular Maintenance: For maintenance between deep cleans, regularly wipe down your oven after cooking with a damp cloth. This will help prevent buildup from forming in the first place.
Conclusion:
Cleaning your oven doesn’t have to be difficult or involve harsh chemicals. Using a natural solution of baking soda, vinegar, and water, along with the power of heat and steam, makes the process simple and effective. Not only does this method help lift grime and grease, but it also leaves your oven sparkling clean without the need for any toxic cleaners.
Try this method next time your oven needs a good cleaning—it’s easy, inexpensive, and uses items you probably already have at home. Happy cleaning!
More Recipes You Might Like
-
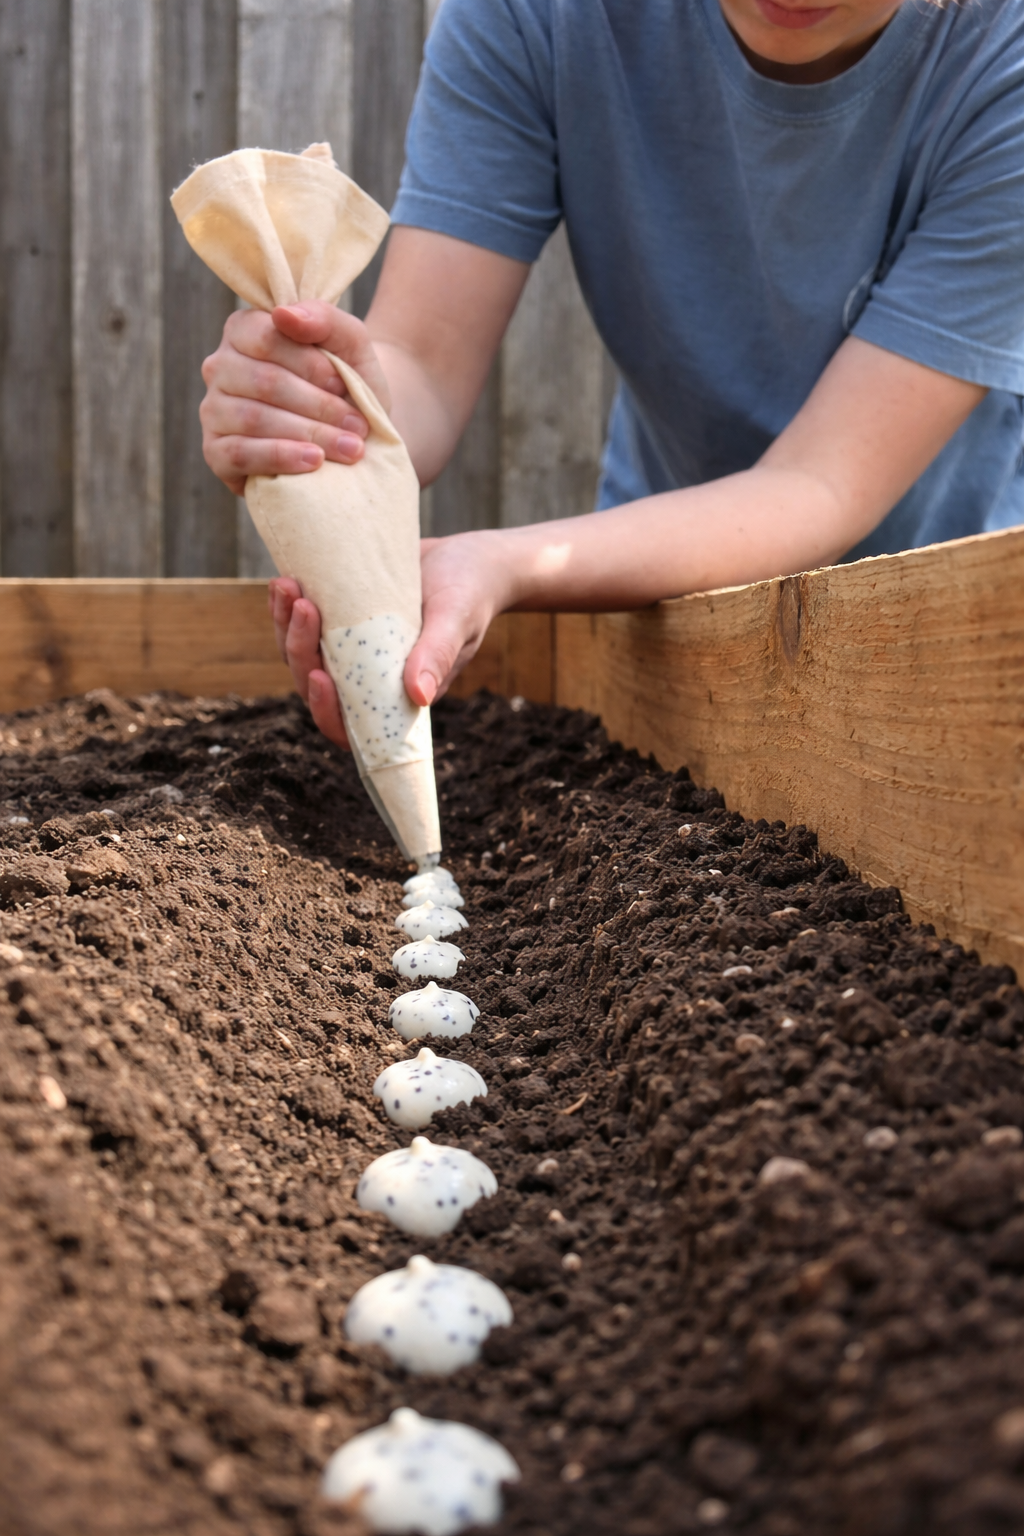
The Easy Garden Hack That Guarantees Straight, Healthy Carrots
Say goodbye to crooked, stunted carrots! Discover the simple seed paste hack that ensures perfect spacing and straight roots. This easy planting technique will transform your carrot harvest. Let me tell you about the gardening trick that turned my carrot patch from a tangle of twisted roots into a picture-perfect harvest. I love growing carrots.…
-
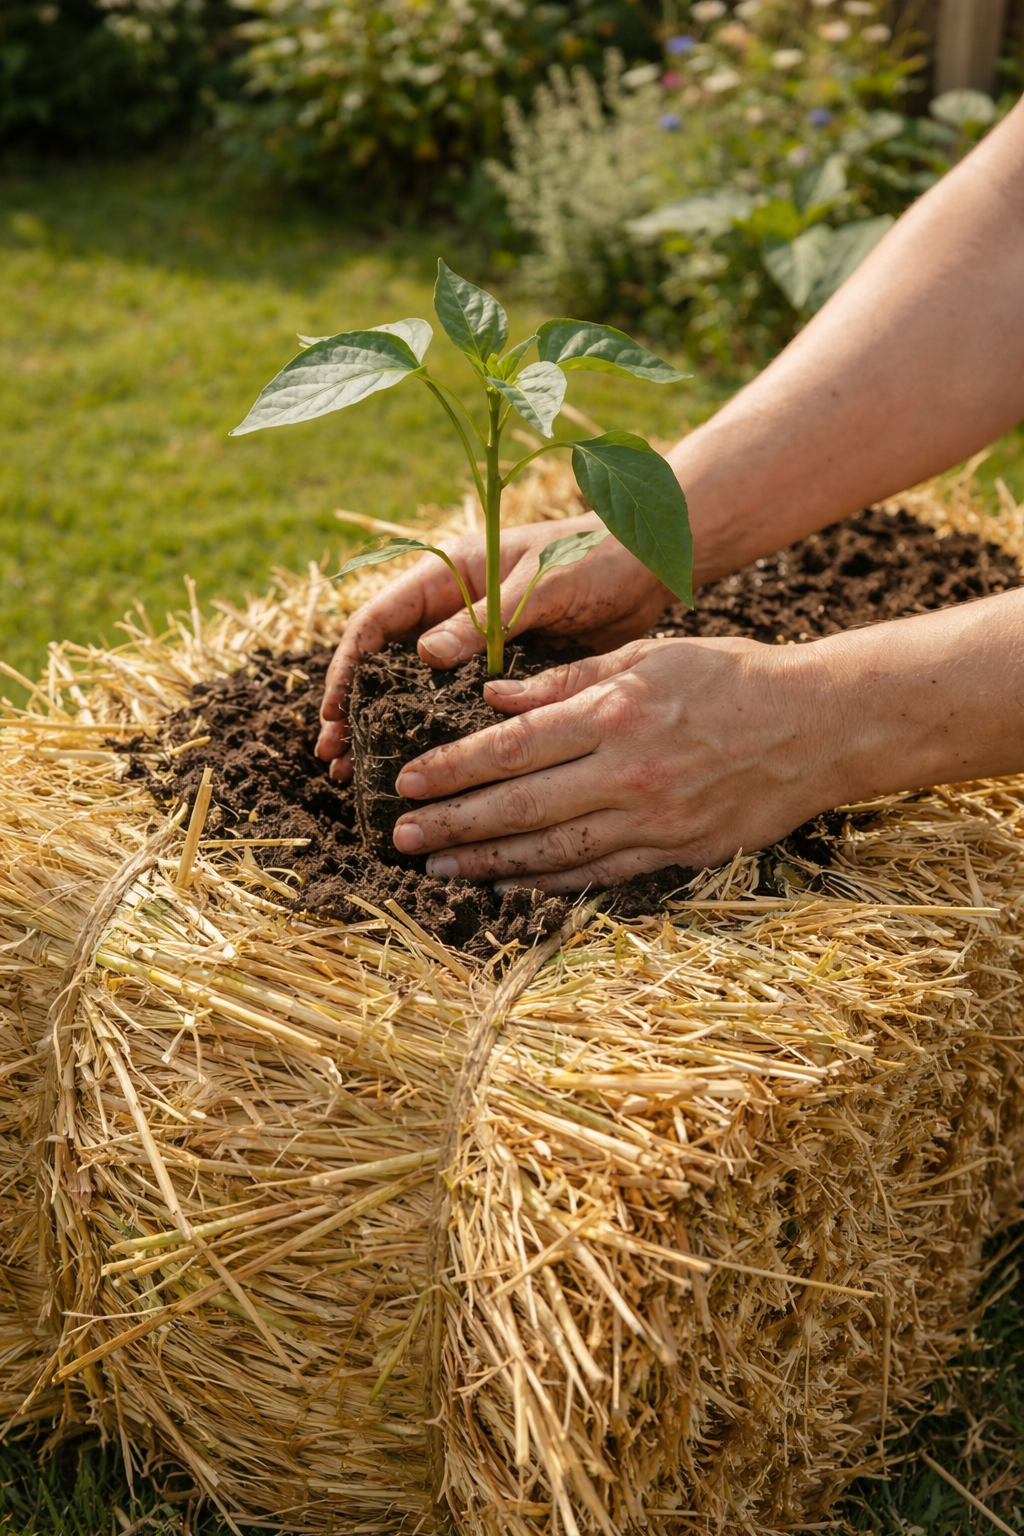
Grow 3X More Sweet Potatoes at Home with This Simple Soil Bag Trick
Want to grow 3 times more sweet potatoes in a small space? This clever soil bag trick is a game-changer. Learn how to plant sweet potatoes in bags for a massive harvest—perfect for small gardens and patios. Let me tell you about the gardening trick that turned my tiny patio into a sweet potato factory.…
-
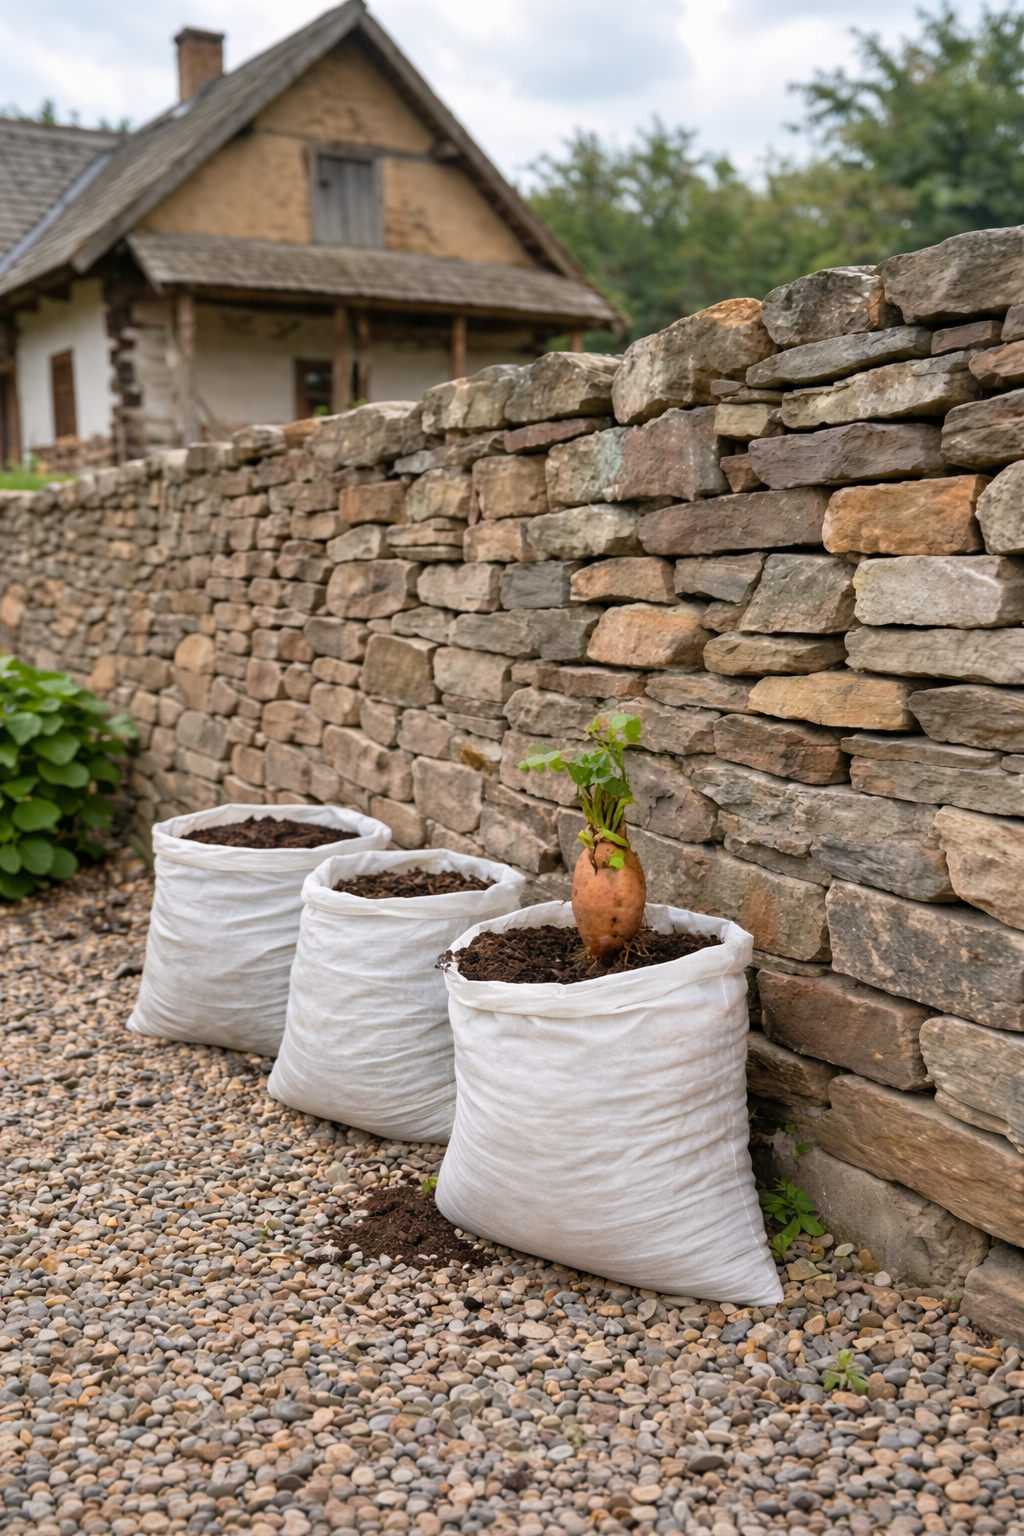
Grow 3X More Sweet Potatoes at Home with This Simple Soil Bag Trick
Want to grow 3 times more sweet potatoes in a small space? This clever soil bag trick is a game-changer. Learn how to plant sweet potatoes in bags for a massive harvest—perfect for small gardens and patios. Let me tell you about the gardening trick that turned my tiny patio into a sweet potato factory.…