
Dehydrating foods has gained immense popularity over the past few years as a way to preserve fruits, vegetables, and snacks. It’s not only an effective preservation method but also a way to create healthy, homemade treats that can be enjoyed at any time. One such delightful snack that stands out is Crispy Parmesan Tomato Chips. These chips are a savory twist on the typical fruit chip, utilizing the fresh, tangy flavor of tomatoes combined with the rich, umami flavor of Parmesan cheese.
Whether you’re new to dehydrating or a seasoned pro, this recipe for Crispy Parmesan Tomato Chips is sure to satisfy your cravings for a crunchy, flavorful snack. The process is simple, and the results are truly delicious. Plus, there’s a lot of flexibility when it comes to customizing the seasoning to suit your taste preferences. In this article, we will walk you through the entire process of making these mouthwatering chips, explore the science behind dehydrating, and share tips on how to store them to keep them fresh for as long as possible.
What You Need to Make Crispy Parmesan Tomato Chips
Before diving into the recipe, let’s take a quick look at the ingredients and tools you’ll need to create your own batch of Crispy Parmesan Tomato Chips.
Ingredients:
Fresh Tomatoes (Roma or Plum): These varieties of tomatoes work best for dehydrating because they have a lower moisture content and a firm texture.
Olive Oil: A healthy fat that adds flavor and helps the Parmesan stick to the tomatoes while also contributing to the crispiness during the dehydration process.
Grated Parmesan Cheese: Freshly grated Parmesan is the best option for this recipe, as it has a richer, more intense flavor compared to pre-grated cheese.
Seasonings: Salt, pepper, garlic powder, and dried Italian herbs (such as oregano, basil, and thyme) work well with this recipe, but feel free to experiment with other herbs and spices to suit your preferences.
Optional Add-ins: You can also add a sprinkle of red pepper flakes for some heat or a bit of lemon zest for a citrusy twist.
Tools:
Dehydrator or Oven: A dehydrator is the most efficient tool for drying the tomato chips, but you can also use your oven if you don’t have one.
Cutting Board and Knife: For slicing the tomatoes evenly.
Bowl: To toss the tomato slices with olive oil, cheese, and seasoning.
Parchment Paper or Dehydrator Trays: To prevent the tomato slices from sticking and ensure even dehydration.
Once you have all your ingredients and tools ready, you can jump into the step-by-step process!
Step-by-Step Instructions for Crispy Parmesan Tomato Chips
Step 1: Prepare the Tomatoes
Start by washing the tomatoes thoroughly to remove any dirt or residue. Next, slice them into thin, even rounds. The thinner the slices, the crispier your chips will be. Aim for about 1/8-inch thickness for the perfect balance between crispiness and tenderness. If you slice them too thick, they may not dry properly, leaving them soft or soggy.
After slicing, remove the seeds from the tomatoes. This is optional, but removing them can help with the drying process as they contain a lot of moisture. You can gently scoop out the seeds with a spoon if you choose to do so.
Step 2: Season the Tomatoes
In a bowl, toss the tomato slices with a drizzle of olive oil, making sure each slice is evenly coated. The olive oil helps the seasoning stick and also contributes to the crispiness during dehydration. Then, sprinkle on the grated Parmesan cheese, salt, pepper, garlic powder, and any other spices you’re using. Toss the tomatoes once more to ensure that the seasoning is evenly distributed across all the slices.
At this stage, you can get creative with your seasonings! Some people like to add a pinch of sugar to bring out the sweetness of the tomatoes, while others may prefer a bit of balsamic vinegar for an extra layer of flavor. The possibilities are endless!
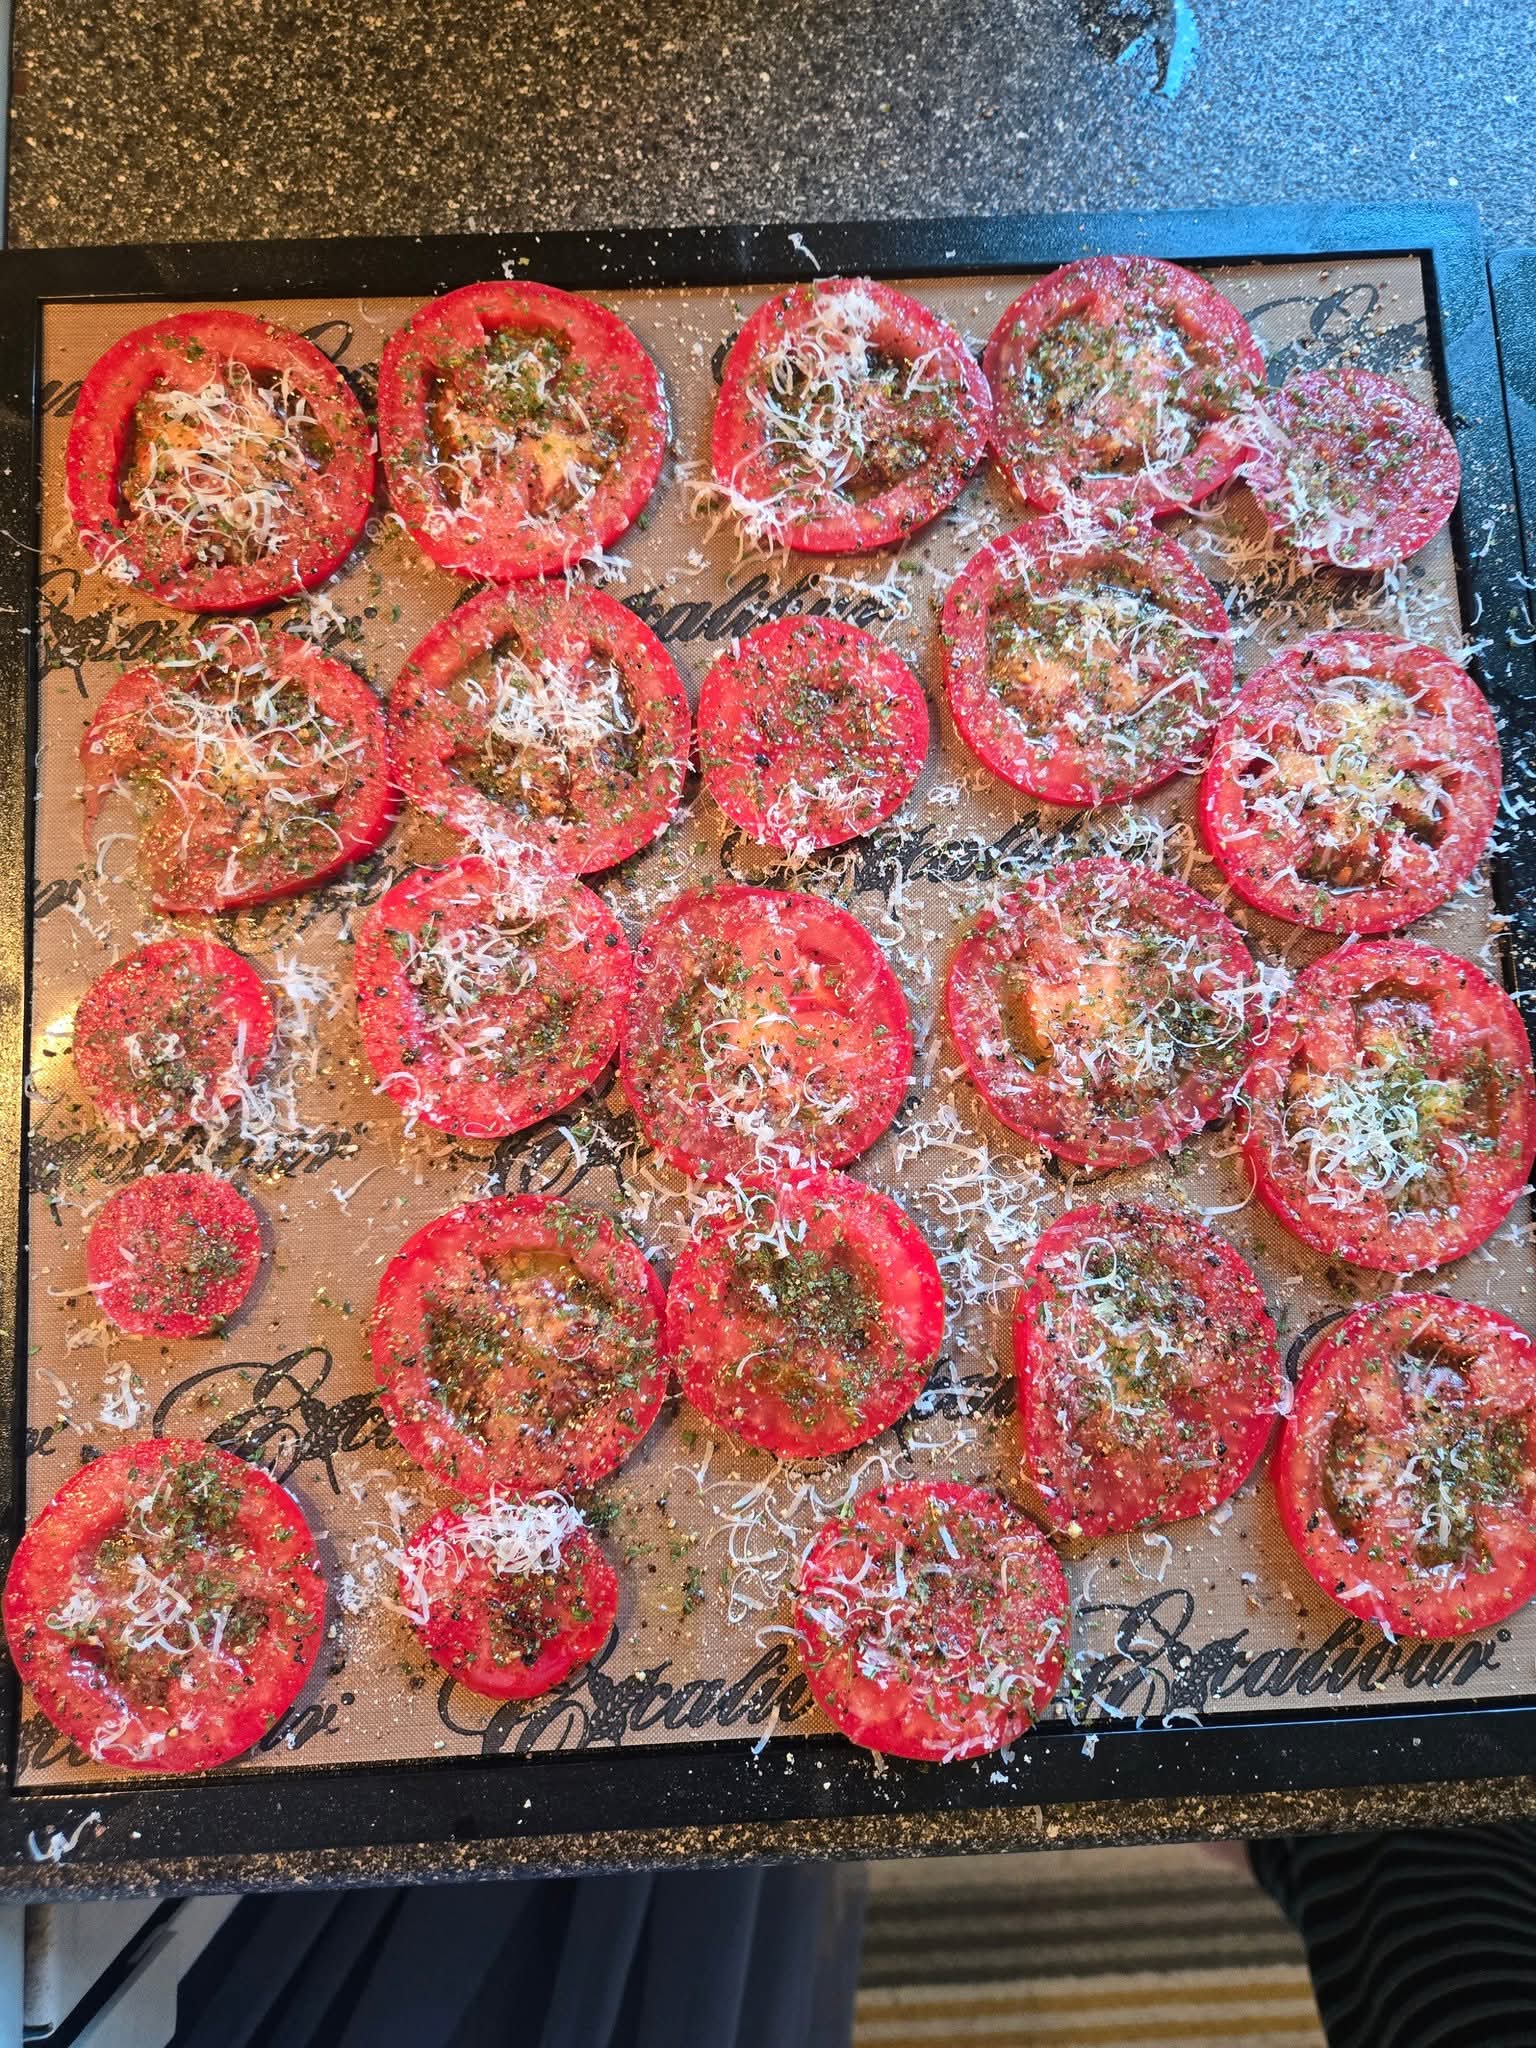
Step 3: Arrange the Tomatoes for Dehydration
Once your tomato slices are seasoned, it’s time to arrange them on the dehydrator trays or a baking sheet. For dehydrators, make sure to arrange the slices in a single layer on the trays without overlapping. Overlapping can prevent the chips from drying evenly, leading to some parts being soggy while others are crispy. If you’re using an oven, line a baking sheet with parchment paper to prevent sticking and spread the tomato slices out in a single layer.
It’s essential to keep enough space between the slices for air to circulate properly during the dehydration process. This will ensure an even and consistent dry.
Step 4: Dehydrate the Tomatoes
Set your dehydrator to a temperature between 125-135°F (52-57°C). This is the optimal range for drying tomatoes without cooking them. Depending on the thickness of the slices and the specific dehydrator model, dehydration can take anywhere from 6 to 8 hours. It’s a good idea to check the tomatoes periodically to ensure they’re drying properly.
If you’re using an oven, set it to the lowest temperature possible (usually around 150°F or 65°C) and keep the door slightly ajar to allow moisture to escape. This method may take a bit longer, anywhere between 6 to 10 hours, so be patient and check the chips frequently.
You’ll know the chips are ready when they’re crispy, and no moisture remains inside. They should snap easily when you break them in half. If they feel leathery or soft, they need more time to dehydrate.
Step 5: Cool and Store the Chips
Once your chips are fully dehydrated, allow them to cool on the trays or baking sheets for a few minutes. Once cool, store them in an airtight container to maintain their crispiness. If you’re planning to store them for an extended period, vacuum-sealing them is an excellent option to preserve their freshness.
You can store the chips in a cool, dark place like a pantry, or even refrigerate them if you prefer. The key is to keep them away from moisture to maintain their crispy texture.
The Science Behind Dehydration: Why It Works So Well for Tomatoes
Dehydrating food works by removing the moisture that would otherwise lead to spoilage and bacterial growth. When you dehydrate tomatoes, you remove about 90% of their water content, which makes it impossible for bacteria to thrive. This allows your tomatoes to be stored for a long time without refrigeration.
Tomatoes are naturally high in water content, which is why they make an excellent candidate for dehydration. The combination of the tomato’s natural sugars and the added Parmesan cheese creates a snack that’s both sweet and savory, with the perfect balance of flavors.
The olive oil in this recipe also plays an important role. It not only helps the Parmesan adhere to the tomatoes but also adds healthy fats that contribute to the rich flavor of the chips.
Health Benefits of Crispy Parmesan Tomato Chips
While potato chips are often associated with empty calories, dehydrated tomato chips offer a much healthier alternative. Here’s why:
Low in Calories: Unlike fried chips, dehydrated tomato chips contain fewer calories. By drying them instead of frying, you retain the nutrients while reducing the calorie count.
Rich in Vitamins and Antioxidants: Tomatoes are packed with vitamin C, potassium, and antioxidants like lycopene. Dehydrating the tomatoes doesn’t significantly reduce their nutritional value, so you can enjoy the health benefits in a convenient snack form.
No Added Sugars: Many store-bought chips are laden with added sugars and preservatives. With homemade dehydrated tomato chips, you can control the ingredients, ensuring that there are no hidden sugars or chemicals.
Healthy Fats from Olive Oil: Olive oil is a heart-healthy fat that’s rich in monounsaturated fats, which have been shown to reduce the risk of heart disease. It also helps with the absorption of fat-soluble vitamins.
High in Fiber: Tomatoes are a good source of fiber, which promotes healthy digestion. Dehydrated tomato chips provide a satisfying crunch while giving you a fiber boost.
How Long Can You Store Crispy Parmesan Tomato Chips?
As with all dehydrated foods, the shelf life of your crispy tomato chips will depend on how well they’re stored. The presence of olive oil and Parmesan cheese can reduce the shelf life compared to standard dehydrated fruits. These chips will generally last for about 2 to 3 weeks when stored in an airtight container in a cool, dry place. For even longer storage, you can vacuum seal them or refrigerate them, but this may slightly affect their crispiness.
If you plan to store them for months, consider freezing the chips, although keep in mind that freezing may alter their texture once thawed.
Conclusion: A Versatile, Delicious, and Healthy Snack
Crispy Parmesan Tomato Chips are an easy-to-make, flavorful, and nutritious snack that can be enjoyed any time of day. Whether you’re looking for a healthier alternative to traditional chips or simply want to try something new with your dehydrator, this recipe is a must-try. With just a few simple ingredients and some patience, you’ll have a delicious snack that’s perfect for sharing or keeping all to yourself.
So, get your dehydrator ready and start making your Crispy Parmesan Tomato Chips today! They’re guaranteed to become your new favorite snack.
More Recipes You Might Like
-

I Sprayed This on My Plants… Now They Bloom Nonstop Like Magic!
Discover the simple homemade spray that encourages nonstop blooms! Made with sugar, apple cider vinegar, and dish soap, this natural solution helps African violets and other flowering plants thrive. Easy, budget-friendly, and surprisingly effective. Let me introduce you to the spray that turned my shy African violets into blooming machines. I’ve always loved flowering houseplants,…
-

I Sprinkled This Powder… And My Plant Exploded With Blooms
Discover the homemade powder that made my flowers explode! A simple mix of natural ingredients – banana peel powder, eggshell powder, and Epsom salt – that encourages prolific blooming. Easy, cheap, and incredibly effective. Let me tell you about the moment my peace lily went from a leafy green wallflower to a blooming machine. I’d…
-
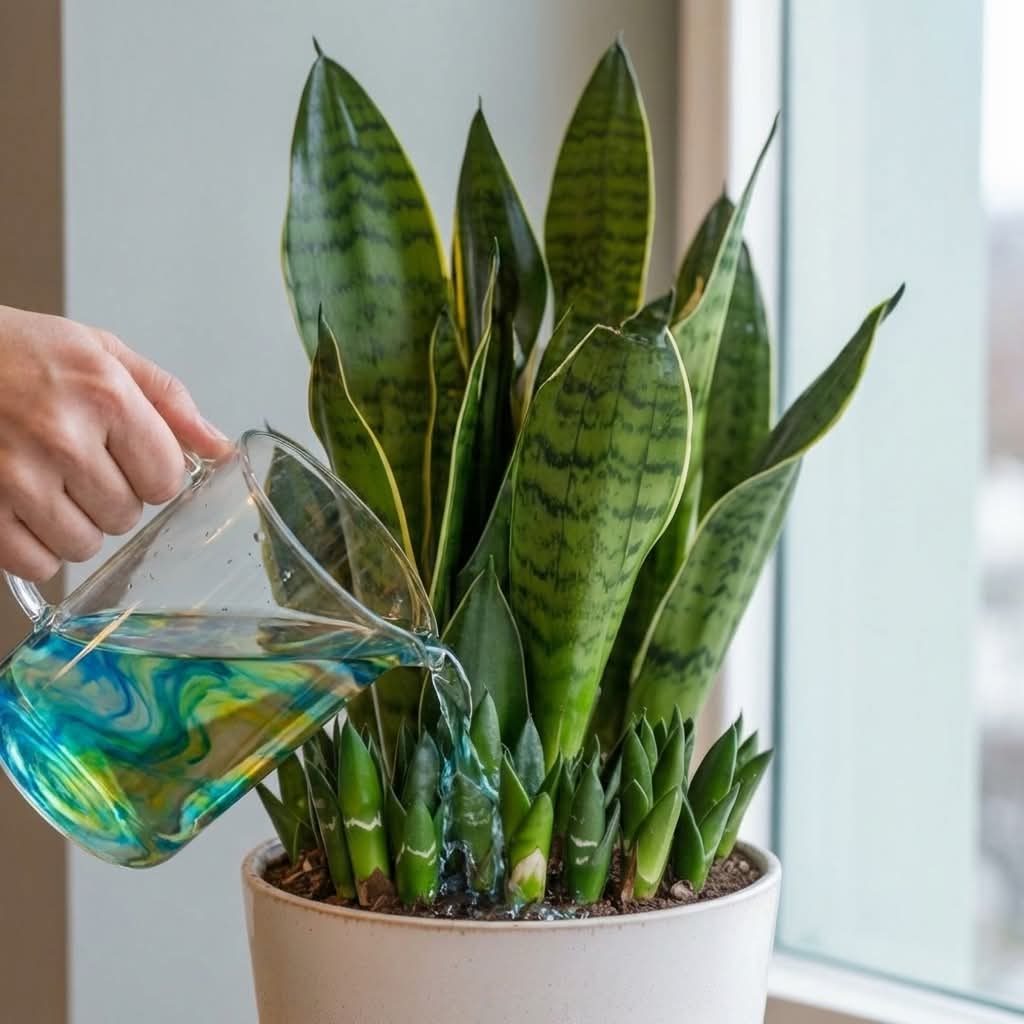
The Secret Trick to Get Endless Snake Plant Babies Fast
Want more snake plants without buying them? Discover the secret trick to encourage your Sansevieria to produce endless pups quickly. Simple propagation methods, natural rooting boosters, and expert tips. Let me tell you about the snake plant that taught me the secret to multiplying them like crazy. I’ve always loved snake plants (Sansevieria, now Dracaena…