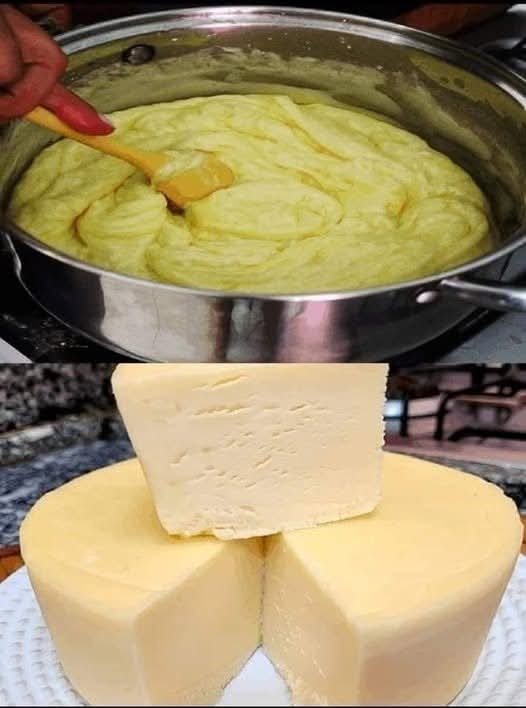
Why buy cheese when you can make your own at home? With just a few ingredients and a little time, you can create fresh, creamy, and flavorful cheese that beats store-bought every time. Whether you’re looking for a new culinary adventure or want to know exactly what goes into your food, this homemade cheese recipe is perfect for you.
In this post, we’ll walk you through the simple steps of making cheese at home with just milk, vinegar, butter, and herbs. It’s so easy, and the result is an incredibly delicious cheese that can be used in countless dishes. Get ready to skip the store and make your own fresh cheese right in your kitchen!
1. The Power of Homemade Cheese
Homemade cheese has a special quality that store-bought versions simply can’t match. It’s fresher, more customizable, and, best of all, it’s made with love. By making cheese at home, you have complete control over the flavor and texture. Whether you like your cheese mild or tangy, smooth or a bit crumbly, you can adjust it to your preference.
Making cheese at home also allows you to know exactly what’s going into your food—no preservatives, artificial additives, or mystery ingredients. Plus, it’s an enjoyable and satisfying process that connects you with the art of food-making in a way that buying pre-made cheese never could.
2. What You’ll Need
This recipe is super simple and requires only four ingredients to make delicious homemade cheese:
1.5 liters of milk (6 1/3 cups): Whole milk works best for a rich, creamy texture, but you can also use skim milk if you prefer a lighter version.
Salt, to taste: For seasoning, to enhance the flavor of the cheese.
2 tablespoons apple cider vinegar (30 ml): This is the acid that will help the milk curdle and separate into curds and whey.
50 grams melted butter (1/4 cup): This adds richness and smoothness to the final cheese.
1 tablespoon Provencal herbs (15 ml): These are optional but add a wonderful aromatic flavor to the cheese. You can use fresh or dried herbs like thyme, rosemary, or a blend of your favorites.
That’s it! Simple ingredients you likely already have in your kitchen.
3. The Step-by-Step Process
Making cheese is easier than you might think. Here’s how to do it:
Step 1: Heat the Milk
Start by pouring the 1.5 liters of milk into a large pot. Heat the milk on medium heat, stirring occasionally to prevent it from scorching. You want the milk to heat up slowly, but not boil. The goal is to get it to just under a boil—about 180°F (82°C), which is when it begins to froth and steam.
Step 2: Add the Vinegar
Once the milk is heated, add the 2 tablespoons of apple cider vinegar. Stir gently and let the milk sit for a few minutes. The vinegar will cause the milk to curdle, separating into curds (solid) and whey (liquid). You’ll start to see the curds form right before your eyes.
Step 3: Let it Set
After stirring in the vinegar, turn off the heat and let the milk sit for about 5 minutes to allow the curds to fully form and separate from the whey. If needed, gently stir the curds to help them separate.
Step 4: Strain the Curds
Next, place a fine-mesh strainer or cheesecloth over a bowl to catch the whey. Carefully pour the curds into the strainer, allowing the liquid to drain out. The curds will be soft, so be gentle as you handle them.
Step 5: Add Butter and Seasoning
Once the curds have drained, return them to the pot. Stir in the melted butter and a pinch of salt to taste. This will make the cheese creamy and flavorful. For an extra touch, add 1 tablespoon of Provencal herbs or any other herbs you like, such as basil or oregano, to give the cheese a unique flavor.
Step 6: Let it Set and Cool
Once everything is mixed well, transfer the cheese mixture into a mold or simply shape it with your hands into a block or ball. Let the cheese cool at room temperature. You can refrigerate it afterward to firm it up even more, but it’s ready to enjoy as soon as it cools!
4. The Best Uses for Your Homemade Cheese
Now that you’ve made your homemade cheese, what can you do with it? Here are a few ideas:
Spread on Toast: Enjoy it on a warm piece of toast or a slice of freshly baked bread.
Salads: Crumble the cheese on top of your salads for a creamy, fresh addition.
Pasta: Mix it into your favorite pasta dishes for added creaminess and flavor.
Snacks: Pair it with crackers, fruits, and nuts for a simple but delicious snack.
Sandwiches: Add it to sandwiches or wraps for a rich and savory bite.
The best part about homemade cheese is that you can enjoy it however you like, whether it’s fresh and soft or left to firm up for a more sliceable texture.
5. Why You Should Make Your Own Cheese
Making your own cheese isn’t just about the joy of creating something from scratch—though that’s a big part of it. Here are a few reasons why homemade cheese is a great choice:
No Preservatives: Homemade cheese has no added preservatives or artificial ingredients, just simple, wholesome milk and vinegar.
Customization: You can adjust the salt and herbs to create a cheese that suits your taste perfectly.
Freshness: There’s nothing quite like the taste of fresh cheese that you’ve just made yourself.
Cost-Effective: Making cheese at home is a fraction of the cost of store-bought versions, especially when you’re buying in bulk.
6. Final Thoughts
This homemade cheese recipe is a simple, satisfying way to create fresh cheese without any fancy equipment or complicated techniques. With just a few ingredients, you can make a creamy, delicious cheese that can be enjoyed in countless ways. Whether you’re a cheese lover or just want to try something new, this recipe is sure to become a staple in your kitchen.
Give it a try, and you’ll see how easy and rewarding it is to make your own cheese. Plus, once you’ve mastered the basics, you can experiment with different flavor combinations and techniques to make your own signature cheese!
Enjoy your homemade cheese, and share it with family and friends—it’s a fun and delicious way to show off your culinary skills!
More Recipes You Might Like
-

The Simple Secrets to Make African Violets Bloom Abundantly All Year Long
Are your African violets not blooming? Learn the simple secrets – bright indirect light, proper watering, small pots, gentle feeding, … Read more
-

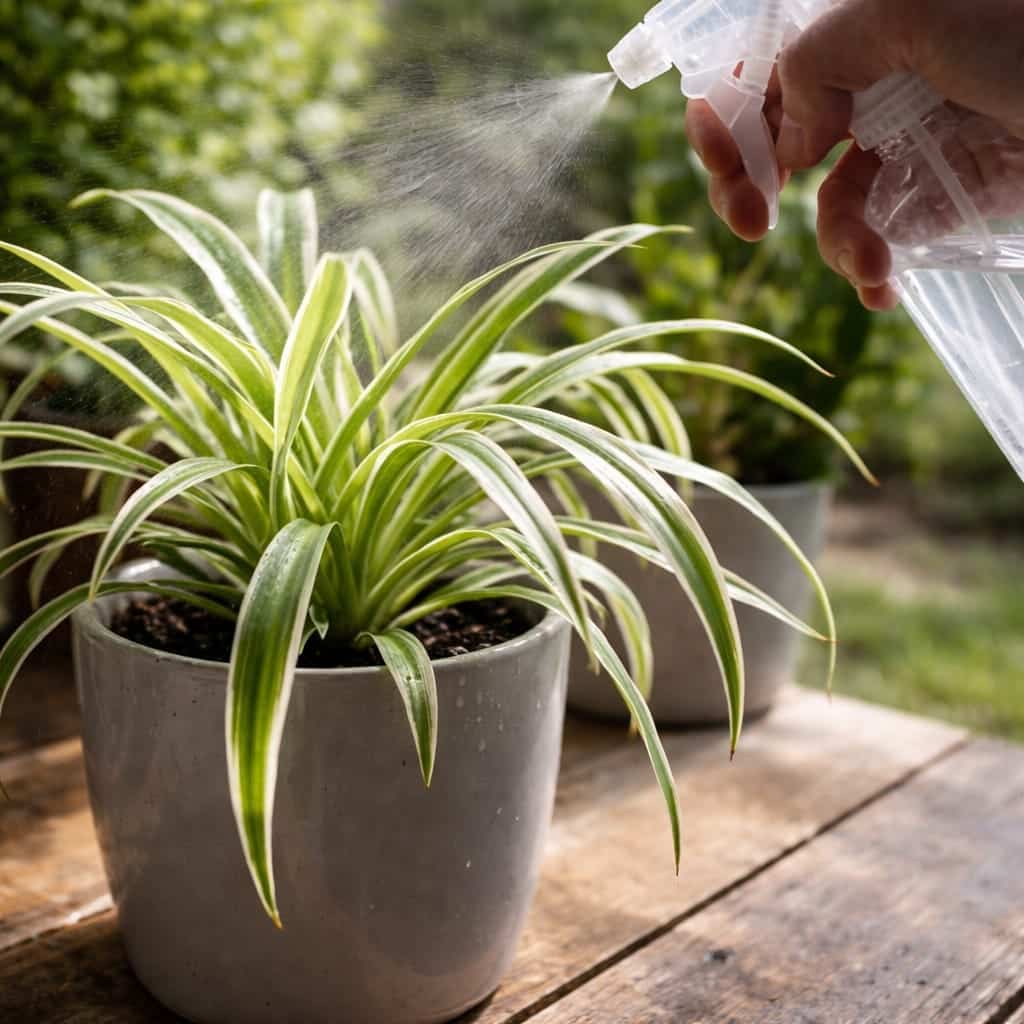
How to Make Your Spider Plant Bushy and Full Instead of Thin and Stringy – The Complete Guide
Is your spider plant looking thin, leggy, or sparse? Learn the proven secrets to make it bushy and full – … Read more
-
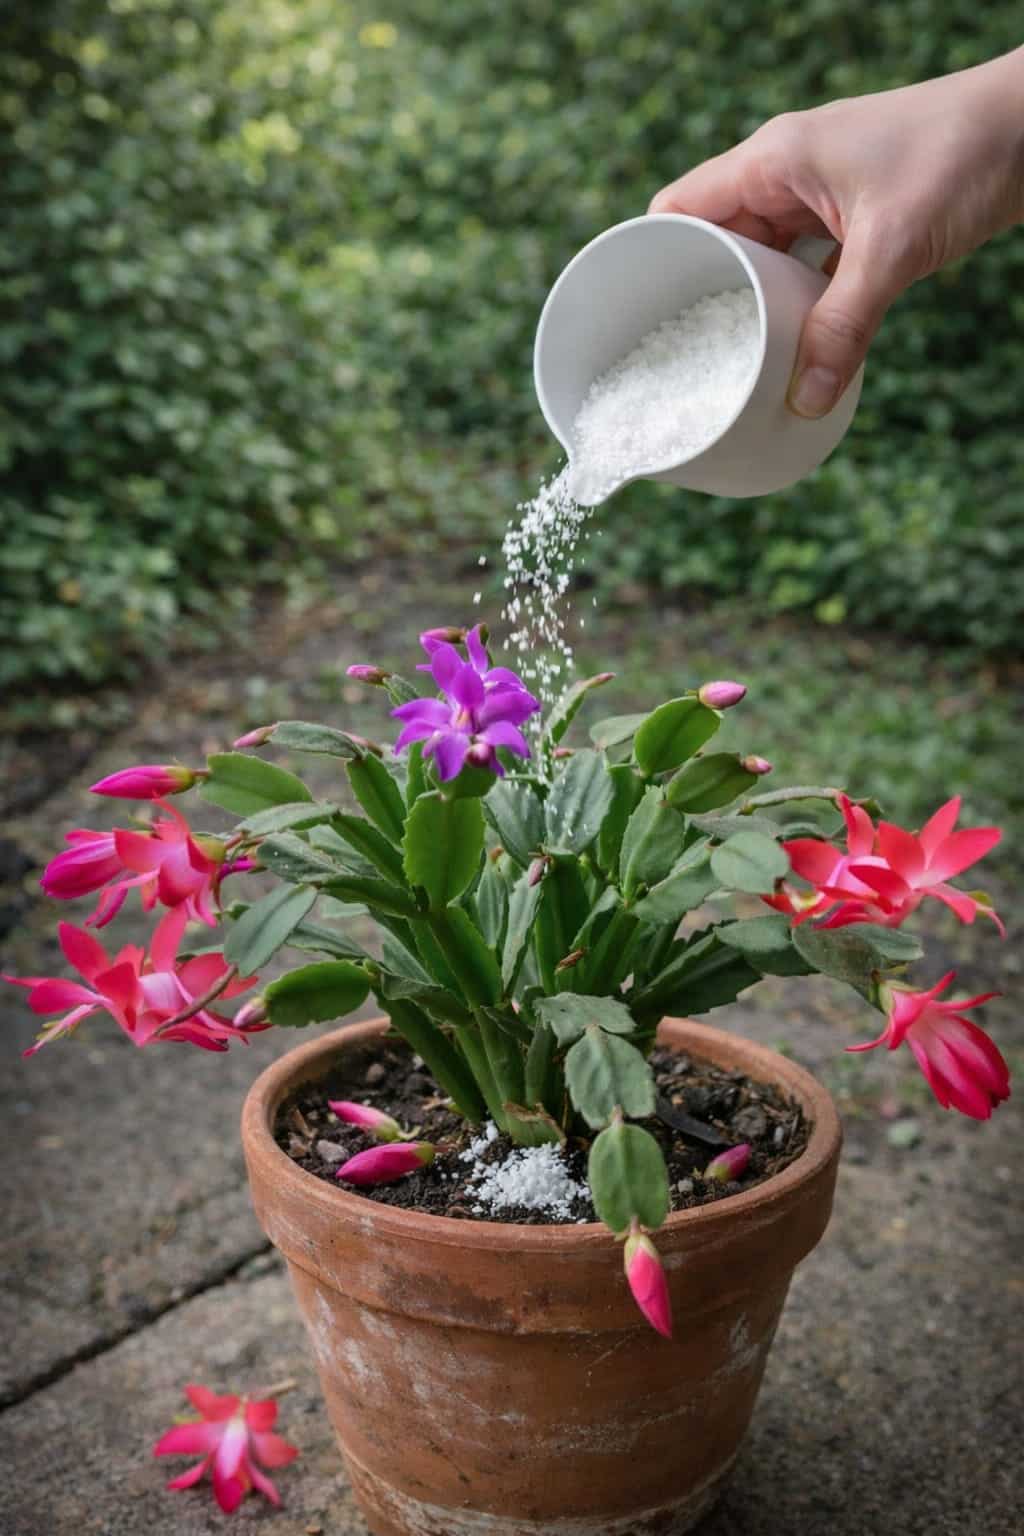
How to Keep Your Christmas Cactus Blooming Longer with This Easy Trick
Are your Christmas cactus blooms fading too fast? Learn the simple trick to keep flowers fresh for weeks – stable … Read more