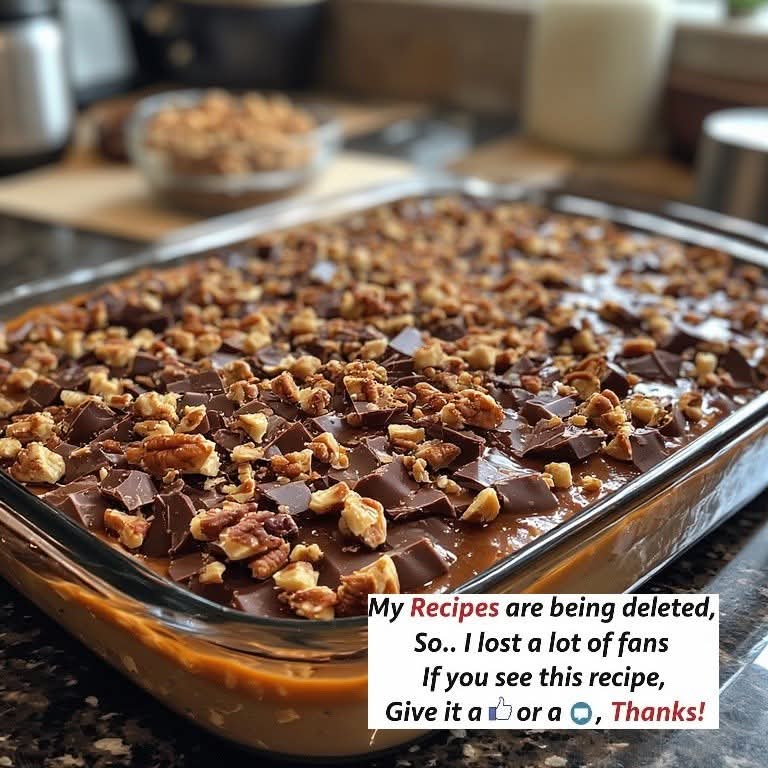
These 5-ingredient Caramel Chocolate Crunch Bars are the ultimate easy no-bake dessert! Layers of buttery cracker crunch, gooey caramel & rich chocolate. Perfect for potlucks!
Imagine a treat that delivers the perfect symphony of textures in every single bite: a crisp, buttery, salty foundation, a layer of sweet, gooey, chewy caramel, all enrobed in a smooth, rich blanket of chocolate. This is the magic of Caramel Chocolate Crunch Bars—the easy no-bake dessert that is quite literally irresistible. If you need a last-minute potluck hero, a kid-friendly cooking project, or a make-ahead treat that promises empty pans and recipe requests, your search is officially over.
In the world of simple desserts, this recipe is a reigning champion. It requires just 5 basic ingredients, zero baking, and about 15 minutes of active time. It’s the kind of dessert that looks impressively layered and decadent but is deceptively simple to create. The contrast between the salty-sweet base, the luxurious caramel, and the snap of the chocolate creates a flavor experience so addictive, it’s earned nicknames like “Crack Bars” and “Hello Dollies’ richer cousin.”
Whether you’re a busy parent needing a quick holiday treat, a new baker looking for a foolproof recipe, or a chocolate-caramel aficionado seeking your next fix, this recipe is your blueprint for success. It’s endlessly adaptable, travels perfectly, and satisfies that deep craving for something both crunchy and chewy, sweet and salty. Let’s dive into how to make these legendary bars that truly live up to their name.
Why This Caramel Chocolate Crunch Bar Recipe is Dangerously Good
Before we unwrap the caramels, let’s talk about why this dessert is a guaranteed hit. First, it’s the ultimate emergency dessert recipe. With ingredients you likely have on hand (or can grab in one quick store trip), you can have a stunning pan of treats ready to slice in under two hours. No oven, no fuss, no fail.
Second, the textural contrast is pure genius. The base doesn’t get soggy—it stays surprisingly crisp under the layers, providing a essential crunch against the soft caramel and firm chocolate. This careful balance is what makes them impossible to stop eating after just one “little piece.”
Finally, it’s a masterpiece of customizable simplicity. Don’t have chocolate chips? Use peanut butter chips. Want to get fancy? Sprinkle the top with flaky sea salt or chopped pecans. Need it gluten-free? Use gluten-free crackers. This recipe is a perfect canvas for creativity while being bulletproof in its basic form. This isn’t just a recipe; it’s your new secret weapon for every occasion.
Gathering Your Ingredients: The Fab Five of Flavor
The power of this recipe lies in the quality of its simple components. Here’s your short shopping list for these crowd-pleasing no-bake bars:
For the Crunchy Base & Topping:
· 1 sleeve (about 35-40) whole saltine crackers or graham crackers
· 1 cup (2 sticks / 227g) unsalted butter
For the Gooey Caramel Layer:
· 1 bag (11 oz) good-quality soft caramel candies (like Kraft Caramels), unwrapped
· 1/3 cup heavy cream or full-fat coconut milk
For the Chocolate Shell:
· 2 cups (12 oz) semi-sweet chocolate chips
· Optional: 1 tablespoon refined coconut oil or shortening (for a shinier, smoother chocolate set)
Optional Add-Ins & Toppings:
· Flaky sea salt (Maldon)
· 1 cup chopped pecans, walnuts, or pretzels
· 1 teaspoon pure vanilla extract (added to caramel)
Ingredient Spotlight & Pro Substitutions
· The Crackers: Saltine crackers provide a iconic salty contrast that balances the extreme sweetness. Graham crackers yield a sweeter, more traditional base. Ritz crackers are a sublime buttery alternative. For gluten-free, use your favorite GF crackers.
· The Caramels: Using pre-wrapped soft caramels is the easiest route. For a from-scratch caramel layer, you can use a can of dulce de leche, simply spread straight from the can.
· The Chocolate: Semi-sweet chocolate balances the sweetness perfectly. Dark chocolate (60-70%) is excellent for a more sophisticated bar. Milk chocolate will be very sweet. A chopped chocolate bar often melts smoother than chips.
· The Cream: Heavy cream makes the caramel silky. In a pinch, whole milk or even evaporated milk can work, but the caramel will be slightly less rich.
Essential Kitchen Tools: The No-Bake Bar Toolkit
You don’t need any special equipment, but the right tools make the process seamless and mess-free.
- The Pan & Lining Station
A 9×13 inch baking pan is the standard size. For perfect bars and effortless removal, line the pan with aluminum foil or parchment paper, leaving an overhang on two sides. This creates a “sling” to lift the entire slab out for clean, crumb-free cutting. A light spray of cooking spray on the foil helps the first layer release perfectly.
- The Melting & Layering Essentials:
· Medium Saucepan: For melting the butter and, later, for melting the caramels with cream. A heavy-bottomed pan prevents scorching.
· Heatproof Mixing Bowls: One for melting chocolate (if using microwave or double-boiler method).
· Double Boiler (or DIY): The best method for melting chocolate without seizing. Create one by placing a heatproof bowl over a pot of gently simmering water (make sure the bowl doesn’t touch the water).
· Silicone Spatula: Essential for stirring the caramel and spreading the chocolate without scratching your pans.
· Pastry Brush (Optional): Handy for helping to spread the butter evenly over the cracker base.
- Helpful Extras for Perfection:
· Offset Spatula: Makes spreading the hot caramel and melted chocolate into perfectly smooth, even layers a professional-level breeze.
· Sharp Chef’s Knife: For scoring and cutting the chilled bars cleanly. Run it under hot water and wipe dry for the cleanest cuts through the chocolate.
· Cooling Rack: Allows air to circulate if you need to chill the bars quickly.
Step-by-Step Instructions: Building the Perfect Crunch Bar
The process is all about the layers. Work efficiently while each layer is warm for the best adhesion.
Step 1: Prep the Pan & Create the Crunchy Base
Line the Pan: Line your 9×13 pan with foil or parchment, leaving overhang. Lightly grease.
Arrange Crackers: Line the bottom of the pan with a single, tight layer of whole crackers. You may need to break some to fill gaps.
Butter It Up: In a saucepan, melt the 1 cup of butter over medium heat. Pour about half of the melted butter evenly over the cracker layer, ensuring it seeps into the cracks. Reserve the other half.
Step 2: Create the Gooey Caramel Layer
Melt Caramels: In the same saucepan (no need to wash), combine the unwrapped caramels and heavy cream. Cook over medium-low heat, stirring constantly with your spatula, until the caramels are completely melted and the mixture is smooth.
Pour & Spread: Immediately pour the hot caramel over the buttered cracker base. Use your offset spatula to spread it into an even layer, working quickly before it sets.
Step 3: Add the Top Crunch & Chill
Second Cracker Layer: Place another single layer of whole crackers directly on top of the hot caramel, pressing down gently.
Butter Again: Pour the remaining melted butter evenly over this top cracker layer. Use a pastry brush to ensure it’s fully coated. This will be the “glue” for the chocolate.
Brief Chill: Place the pan in the refrigerator for 15-20 minutes to let the caramel layer firm up slightly before adding the chocolate. This prevents the layers from mixing.
Step 4: Finish with the Chocolate Shell
Melt Chocolate: Combine chocolate chips (and coconut oil, if using) in a heatproof bowl. Melt using a double-boiler or in the microwave in 20-second bursts, stirring until smooth.
Spread the Chocolate: Pour the melted chocolate over the chilled top cracker layer. Tilt the pan and use your offset spatula to spread it into a flawless, even coating.
Add Toppings: Immediately sprinkle with flaky sea salt or chopped nuts, if desired.
Step 5: The Crucial Chill & Slice
Set Completely: Refrigerate the pan for at least 2 hours, or until the chocolate is completely hard. For a faster set, you can freeze for 45-60 minutes.
Lift and Cut: Use the foil or parchment sling to lift the entire slab onto a cutting board. Peel away the lining. Using a sharp knife, cut into squares or rectangles. For clean cuts, wipe the knife blade with a hot, damp cloth between slices.
Chef’s Pro-Tips for Flawless, Professional Results
· Prevent Caramel Scorching: Use medium-low heat and constant stirring when melting the caramels. A splash more cream can save it if it starts to seize.
· Perfect Chocolate Tempering (Simple Method): Adding 1 tablespoon of refined coconut oil or vegetable shortening to the chocolate chips as they melt creates a more stable, shiny finish that cuts cleanly and has a perfect snap.
· Layer Adhesion is Key: Pouring the caramel and chocolate while they are warm and spreadable ensures they bond with the cracker layers, preventing separation when you bite.
· For Ultimate Clean Slices: Score the chocolate lightly with a knife after 15 minutes of chilling, then finish cutting once fully set. This prevents the chocolate from cracking unpredictably.
· Room Temp for Serving: Let the bars sit at room temperature for 5-10 minutes before serving for the ideal chewy-crunchy texture.
Serving Suggestions & Next-Level Variations
These bars are a showstopper on their own, but here’s how to customize:
· The Gourmet Touch: Drizzle finished bars with a zigzag of white chocolate.
· Flavor Twists:
· Salted Pretzel: Use a base of pretzels and sprinkle with coarse sea salt.
· Peanut Butter Lovers: Swirl ½ cup of warm peanut butter into the caramel layer.
· Turtle Bars: Press whole pecans into the caramel before adding the top cracker layer.
· Holiday Style: Use festive sprinkles on the wet chocolate for Christmas or Halloween.
How to Store & Freeze for Lasting Freshness
· Storage: Keep in an airtight container in the refrigerator for up to 2 weeks. The cold keeps the layers distinct and the chocolate firm.
· Freezing: These bars freeze exceptionally well. Layer them between sheets of parchment in an airtight container and freeze for up to 3 months. Thaw in the fridge or at room temperature for 15 minutes.
Final Thoughts: The Legendary Bar That Lives Up to the Hype
Caramel Chocolate Crunch Bars are more than a dessert; they are a phenomenon. They represent the pinnacle of no-bake ingenuity, where simple, humble ingredients are transformed into something extraordinary through the magic of layers and contrasting textures. Baking them is an act of joy, sharing them is an act of generosity, and eating them is a pure, unadulterated pleasure.
So, the next time you need a guaranteed winner, bypass the complicated recipes and turn to this classic. In less time than it takes to watch a movie, you’ll have created a pan of pure, irresistible delight that will have everyone begging for the secret.
Don’t forget to pin this recipe, rate it, and leave a comment below telling me what your favorite add-in is! What creative twist will you try first?
More Recipes You Might Like
-

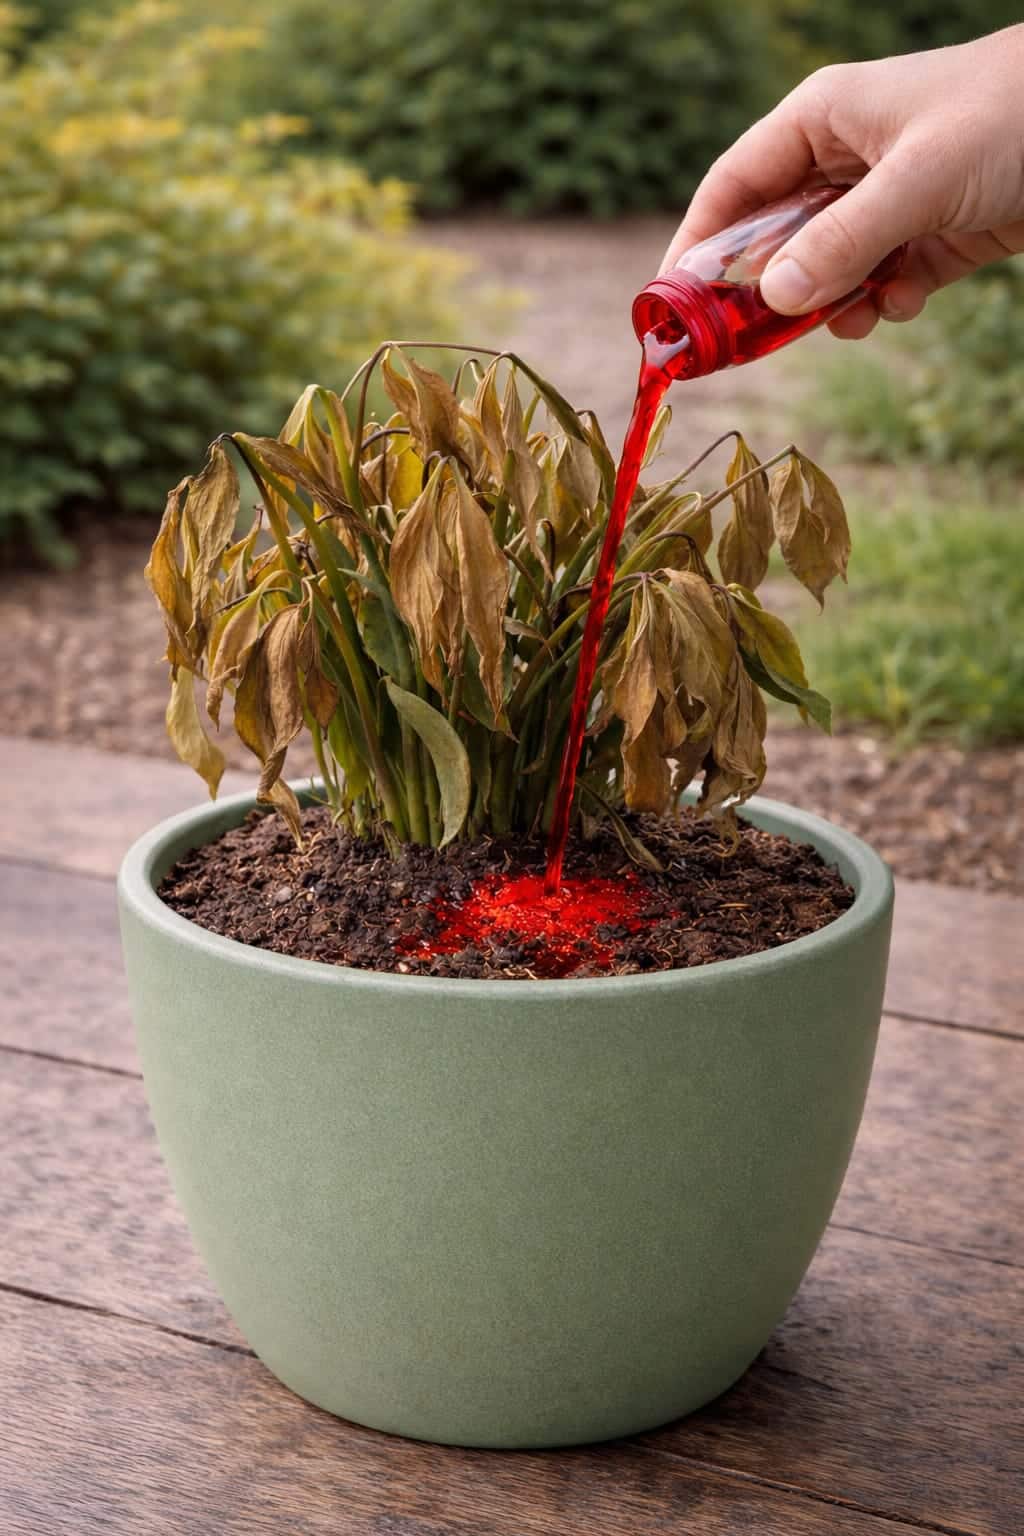
Why Smart Homeowners Are Pouring This Red Liquid on ZZ Plants – The Results Are Shocking (But Not for the Reason You Think)
Is the red liquid trend for ZZ plants a miracle growth hack or a risky mistake? Learn what the red … Read more
-
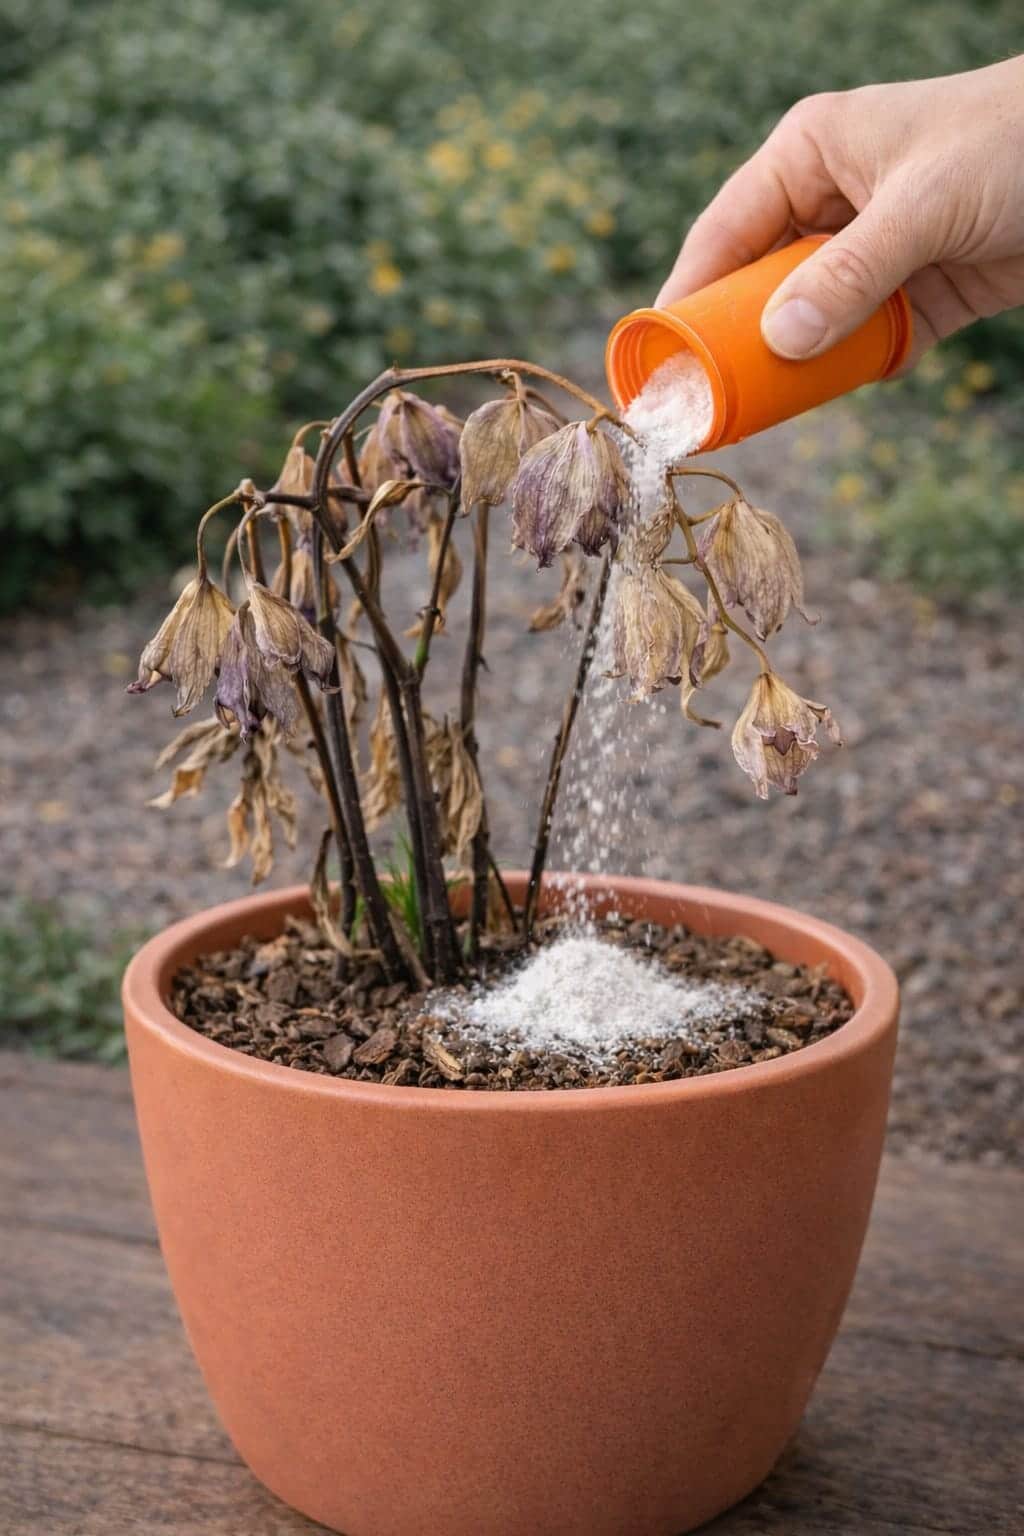
The Orchid Revival Method Luxury Homeowners Swear By – Why This White Powder Is Getting Attention
Is your orchid declining after the blooms fade? Learn why luxury homeowners use a simple white powder (mineral supplement) as … Read more
-
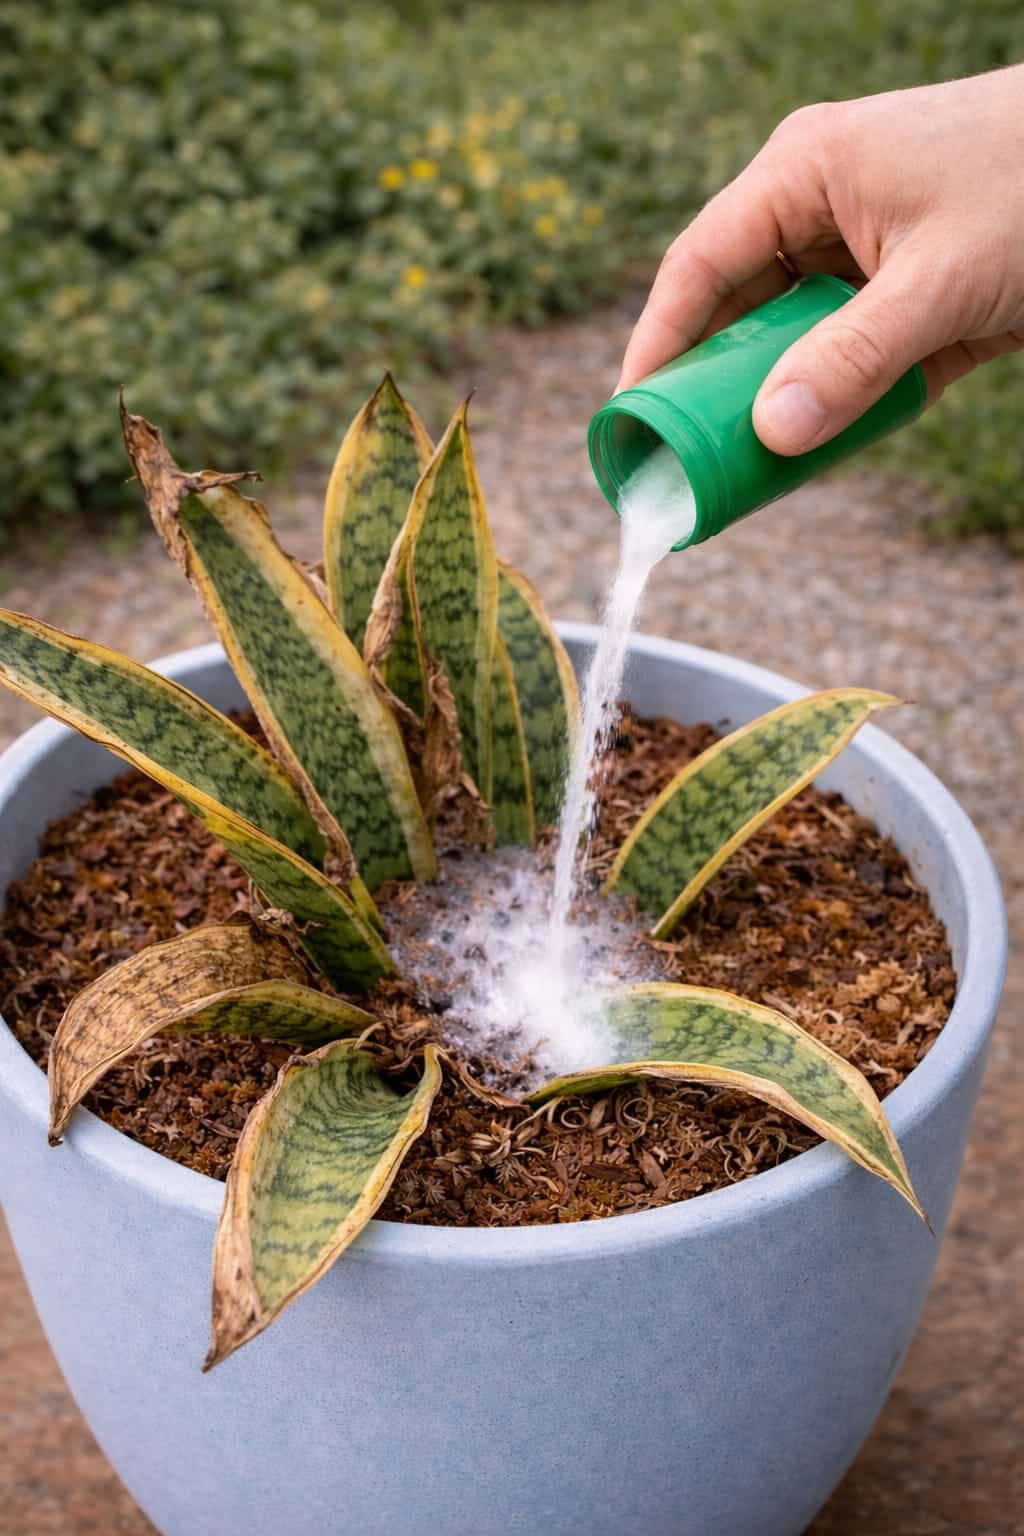
Why Smart Homeowners Are Using This White Liquid on Snake Plants – The Indoor Comeback Everyone Is Talking About
Is your snake plant losing color with yellowing edges and dry tips? Learn why a white liquid (diluted nutrient solution) … Read more