Close your eyes and imagine the first bite: a cloud of impossibly moist, tender cake giving way to the vibrant, sun-kissed sweetness of juicy pineapple, all wrapped in a buttery, caramelized brown sugar glaze. This is Juicy Pineapple Heaven Cake—a dessert that’s not just a treat, but a tropical vacation on a plate. Whether you know it as a supremely moist pineapple upside-down cake or a doctored pineapple cake mix masterpiece, this recipe is your guaranteed path to a dessert that’s as stunning to look at as it is divine to eat.
Perfect for easy summer desserts, potluck showstoppers, or a bright, sunny birthday cake, this recipe balances nostalgic comfort with bursts of fresh, juicy flavor. It’s the best make-ahead party cake that stays moist for days and solves the eternal question of how to make a cake that wows a crowd without wracking your nerves. Let’s bake a slice of paradise.
Why This Pineapple Heaven Cake is a Dessert Revelation
Before we preheat the oven, let’s explore what makes this cake a cut above the rest:
· Unbeatable Moisture & Tenderness: The combination of crushed pineapple, its juice, and often sour cream or buttermilk creates a cake crumb so tender and moist it practically melts.
· Stunning Visual Appeal: The classic caramelized pineapple ring topping is a natural work of art, making it look professionally decorated with zero fuss.
· Make-Ahead & Travel-Friendly: This cake is sturdy, moist, and actually improves in flavor a day after baking. It’s the perfect potluck dessert and easy holiday cake that transports without disaster.
· Nostalgic Yet Sophisticated: It taps into beloved retro vibes while tasting bright, fresh, and perfectly balanced—never cloyingly sweet.
· Two-in-One Versatility: Master the classic pineapple upside-down cake method or the easy right-side-up pineapple sheet cake with cream cheese frosting. One recipe, endless joy.
Juicy Pineapple Heaven Cake Ingredients
This recipe is for the classic, show-stopping upside-down version. For a right-side-up sheet cake, see the variations below.
For the Luscious Pineapple Topping:
· 1/2 cup (1 stick) unsalted butter
· 1 cup packed light brown sugar
· 1 can (20 oz) pineapple rings in juice, drained (reserve 1/2 cup juice for the cake!)
· 1 jar (6 oz) maraschino cherries, drained (optional, but classic)
· A pinch of salt
For the Heavenly Cake Batter:
· 1 ½ cups all-purpose flour, spooned and leveled
· 1 ½ teaspoons baking powder
· ½ teaspoon baking soda
· ½ teaspoon salt
· ½ cup (1 stick) unsalted butter, softened to room temperature
· 1 cup granulated sugar
· 2 large eggs, at room temperature
· 1 teaspoon pure vanilla extract
· ½ cup full-fat sour cream or plain Greek yogurt, at room temperature
· ½ cup reserved pineapple juice (from the can)
Step-by-Step Instructions for a Flawless Cake
Step 1: Create the Caramelized Pineapple Topping
Preheat your oven to 350°F(175°C). In a 9-inch or 10-inch round cake pan (or a 9×13 pan for a sheet cake version), melt the 1/2 cup of butter over low heat on the stovetop or in the preheating oven. Once melted, remove from heat. Sprinkle the brown sugar evenly over the melted butter and stir to combine. It will look gritty; that’s fine.
Arrange the pineapple rings in a single,beautiful layer over the brown sugar mixture. Place a maraschino cherry in the center of each ring. Set the pan aside.
Step 2: Mix the Dry Ingredients
In a medium bowl,whisk together the flour, baking powder, baking soda, and salt. This aerates the flour and ensures the leaveners are evenly distributed. Set aside.
Step 3: Cream Butter and Sugar for a Light Crumb
In a large mixing bowl,using a hand mixer or stand mixer fitted with the paddle attachment, beat the softened butter and granulated sugar together on medium-high speed for 2-3 minutes. The mixture should become pale, fluffy, and creamy. This step incorporates air, which is key for a light cake.
Step 4: Incorporate Eggs and Vanilla
Add the eggs one at a time,beating well after each addition until fully incorporated. Scrape down the bowl. Beat in the vanilla extract.
Step 5: Alternate Wet and Dry Ingredients
With the mixer on low speed,add one-third of the dry flour mixture, mixing until just combined. Follow with half of the sour cream/yogurt and the pineapple juice, mixing until just combined. Repeat with another third of the flour, the remaining sour cream/juice, and finally the last of the flour. Mix until just combined—do not overmix. The batter will be thick and luxurious.
Step 6: Bake to Golden Perfection
Carefully spoon the batter over the arranged pineapple topping in your pan.Use a spatula to gently spread it into an even layer, being careful not to disturb the fruit.
Bake for 40-50 minutes(for a 9-inch round) or 30-35 minutes (for a 9×13 sheet). The cake is done when the top is golden brown, springs back when lightly touched, and a toothpick inserted into the center of the cake (not the pineapple) comes out clean or with a few moist crumbs.
Step 7: The Critical Flip
Remove the cake from the oven and let it cool in the pan on a wire rack foronly 10-15 minutes. This allows the topping to set slightly but not stick. Place a large, heatproof serving platter or cake stand upside-down over the pan. Using oven mitts, firmly and confidently flip the pan and platter over in one smooth motion. Gently lift the pan away. If any pineapple sticks, gently place it back on the cake. Let cool completely before serving.
Pro Tips & Heavenly Variations
· Preventing Sogginess: Ensure your pineapple rings are well-drained on paper towels. The reserved juice is for the batter, not the topping.
· Fresh Pineapple? You can use fresh pineapple rings! Sauté them in a skillet with a little of the butter and brown sugar from the topping recipe for 2-3 minutes to caramelize slightly before arranging in the pan.
· Flavor Twists:
· Coconut-Pineapple Heaven: Add 1/2 teaspoon of coconut extract to the batter and sprinkle 1/2 cup of toasted coconut flakes over the topping after flipping.
· Spiced Rum Glaze: Mix 1 cup of powdered sugar with 1-2 tablespoons of spiced rum or pineapple juice for a simple, adult-friendly drizzle.
· Right-Side-Up Sheet Cake: Skip the topping steps. Pour batter into a greased 9×13 pan. Bake. Frost with Cream Cheese Frosting (8 oz cream cheese, 1/4 cup butter, 2 cups powdered sugar, 1 tsp vanilla, pinch of salt).
· The Ultimate Moisture Secret: Substitute the granulated sugar in the batter with 1 cup of light brown sugar for an even deeper, moister crumb.
Essential Baking Equipment for Cake Success
The right tools ensure your cake releases perfectly and bakes evenly.
Your Cake Heaven Toolkit
Heavy-Duty Cake Pan: For upside-down cake, a 9-inch or 10-inch round cake pan with at least 2-inch high sides is essential. A light-colored metal pan promotes even browning. For sheet cake, a standard 9×13-inch metal baking pan is perfect.
Stand Mixer or Hand Mixer: While you can mix by hand, an electric mixer is crucial for properly creaming the butter and sugar to achieve a light, tender cake texture. A stand mixer makes the process effortless.
Quality Mixing Bowls: A set of nesting bowls in various sizes for dry ingredients, wet ingredients, and mixing.
Flexible Silicone Spatula: For folding batter, scraping the bowl clean, and spreading batter without scratching your pan.
Wire Cooling Racks: At least one, but two is better. Vital for cooling the cake in the pan initially and then for cooling completely after flipping. Air circulation prevents a soggy bottom.
Large, Flat Serving Platter or Cake Stand: Non-negotiable for the flip. Ensure it’s larger than your cake pan and completely flat (not lipped) to make a clean seal for the inversion.
This toolkit sets you up for success with this cake and all your future easy homemade cake baking projects.
Serving, Storing, and Make-Ahead Guide
· Serving Suggestions: This cake is sublime on its own, but a dollop of freshly whipped cream or a scoop of vanilla bean ice cream or coconut ice cream takes it over the top. Serve with a pot of coffee or a glass of cold milk.
· Make-Ahead Instructions: This cake is a dream for planners. Bake and cool it completely. Wrap tightly in plastic wrap and store at room temperature for up to 2 days. The flavors will meld and the crumb will become even more tender. You can also freeze the fully cooled, unfrosted cake (wrapped in plastic and foil) for up to 3 months. Thaw overnight at room temperature.
· Storage: Due to the moist fruit topping, store any leftover cake covered loosely with plastic wrap or in a cake carrier at room temperature for 2-3 days. Avoid refrigeration, as it can dry out the cake and cause the topping to weep.
Conclusion: Your Slice of Sweet, Sunny Bliss
Juicy Pineapple Heaven Cake is more than a dessert—it’s a mood. It’s the taste of sunshine, shared laughter, and the simple, profound joy of a perfectly baked treat. It proves that stunning desserts don’t require complex techniques, just great ingredients and a little bit of love (and a confident flip!).
So, the next time you crave a dessert that’s as beautiful as it is delicious, that promises to bring smiles and satisfy every sweet tooth, turn to this timeless classic. Bake it, share it, and watch as one simple cake turns an ordinary day into a little slice of heaven.
Ready to bake your own paradise? Drain that pineapple, cream that butter, and get ready for the magic. One perfect, caramelized, juicy slice is all it takes.
More Recipes You Might Like
-

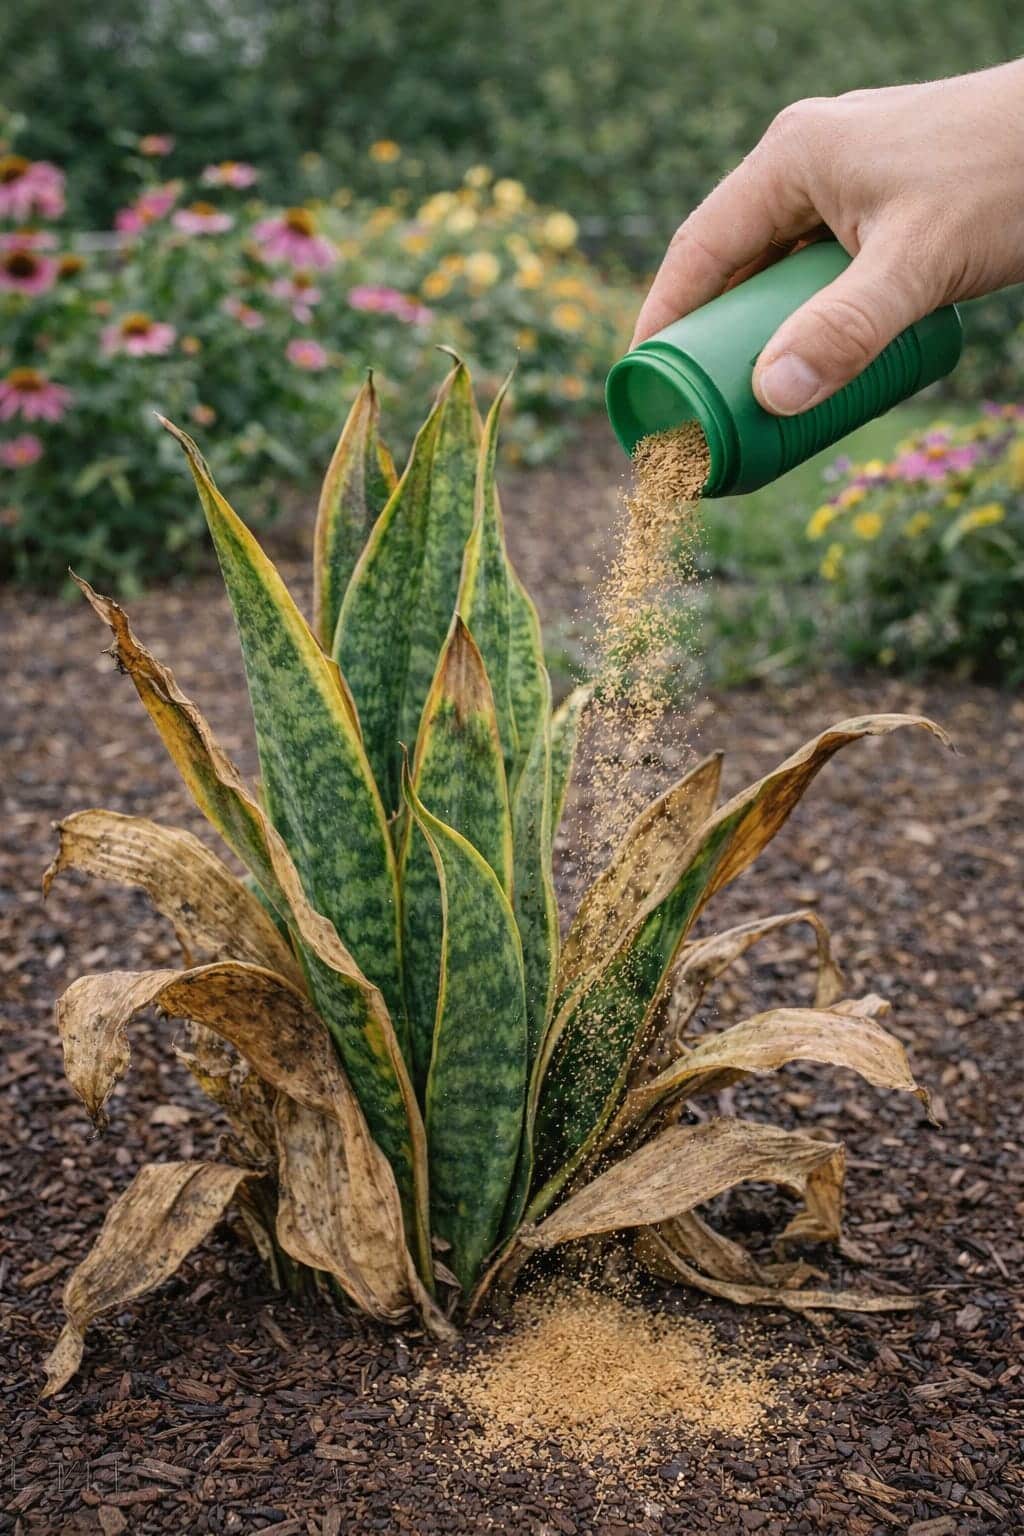
The Snake Plant Recovery Method Using a Simple Natural Powder – How to Fix Dry Leaves and Improve Outdoor Growth
Moving your snake plant outdoors? Leaves may dry out or turn brown. Learn how a simple natural powder (mineral supplement … Read more
-
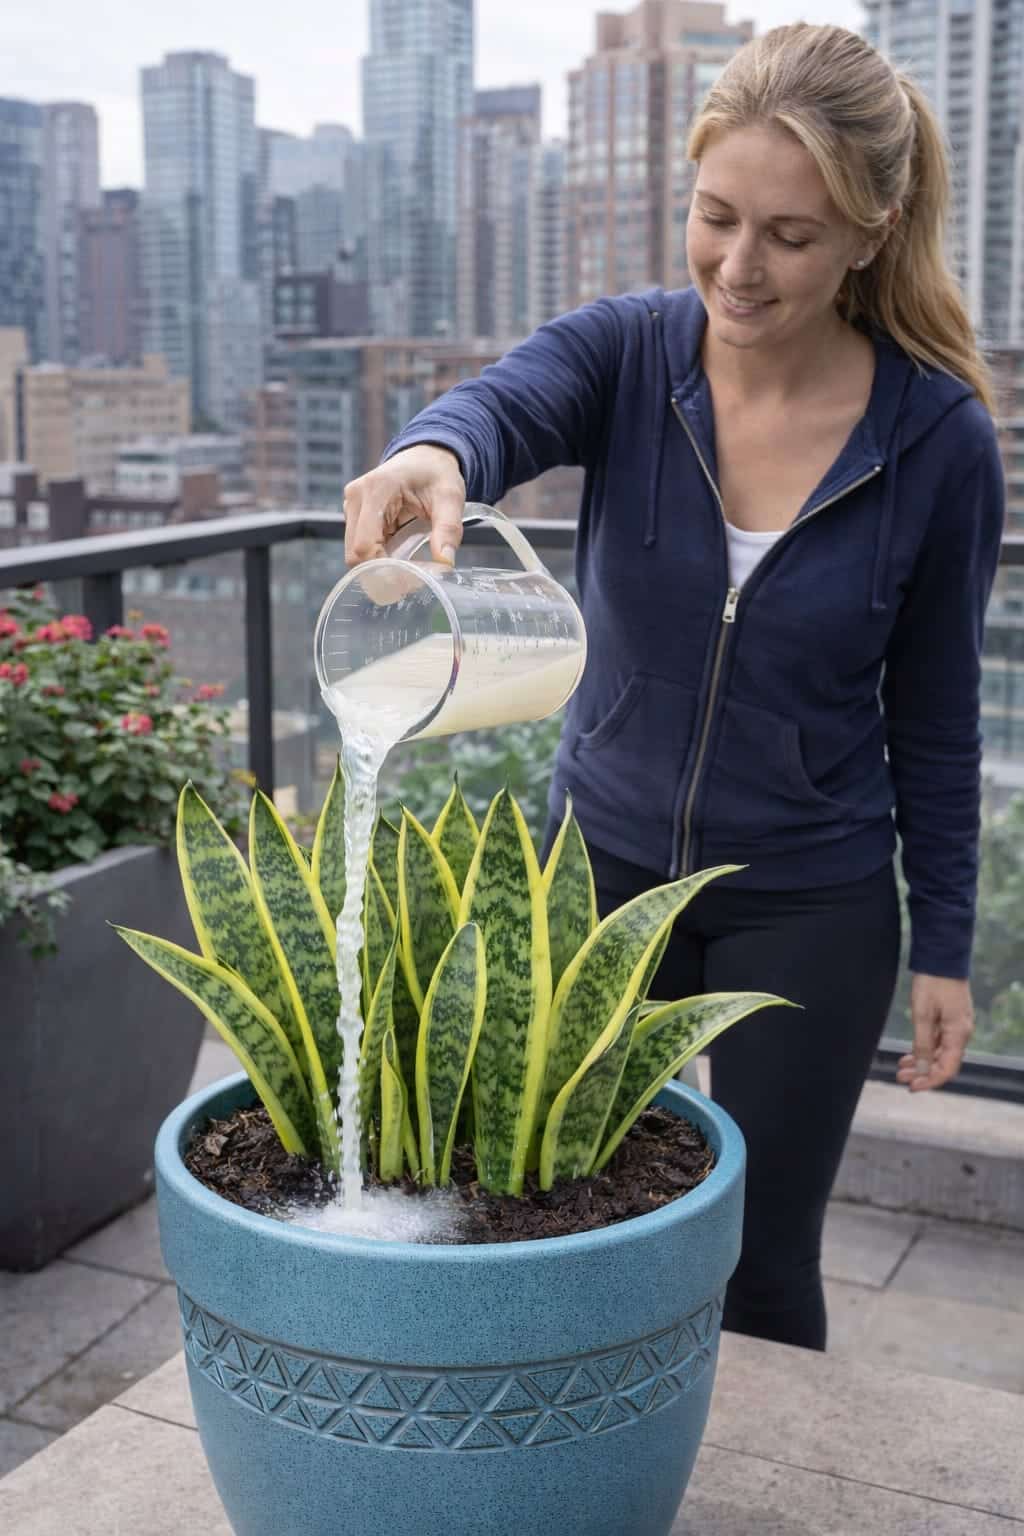
The Snake Plant Growth Method Using Rice Water – How to Revive, Improve Leaf Health, and Support Natural Blooming
Can rice water help your snake plant grow faster and healthier? Learn how to use rice water correctly – as … Read more
-
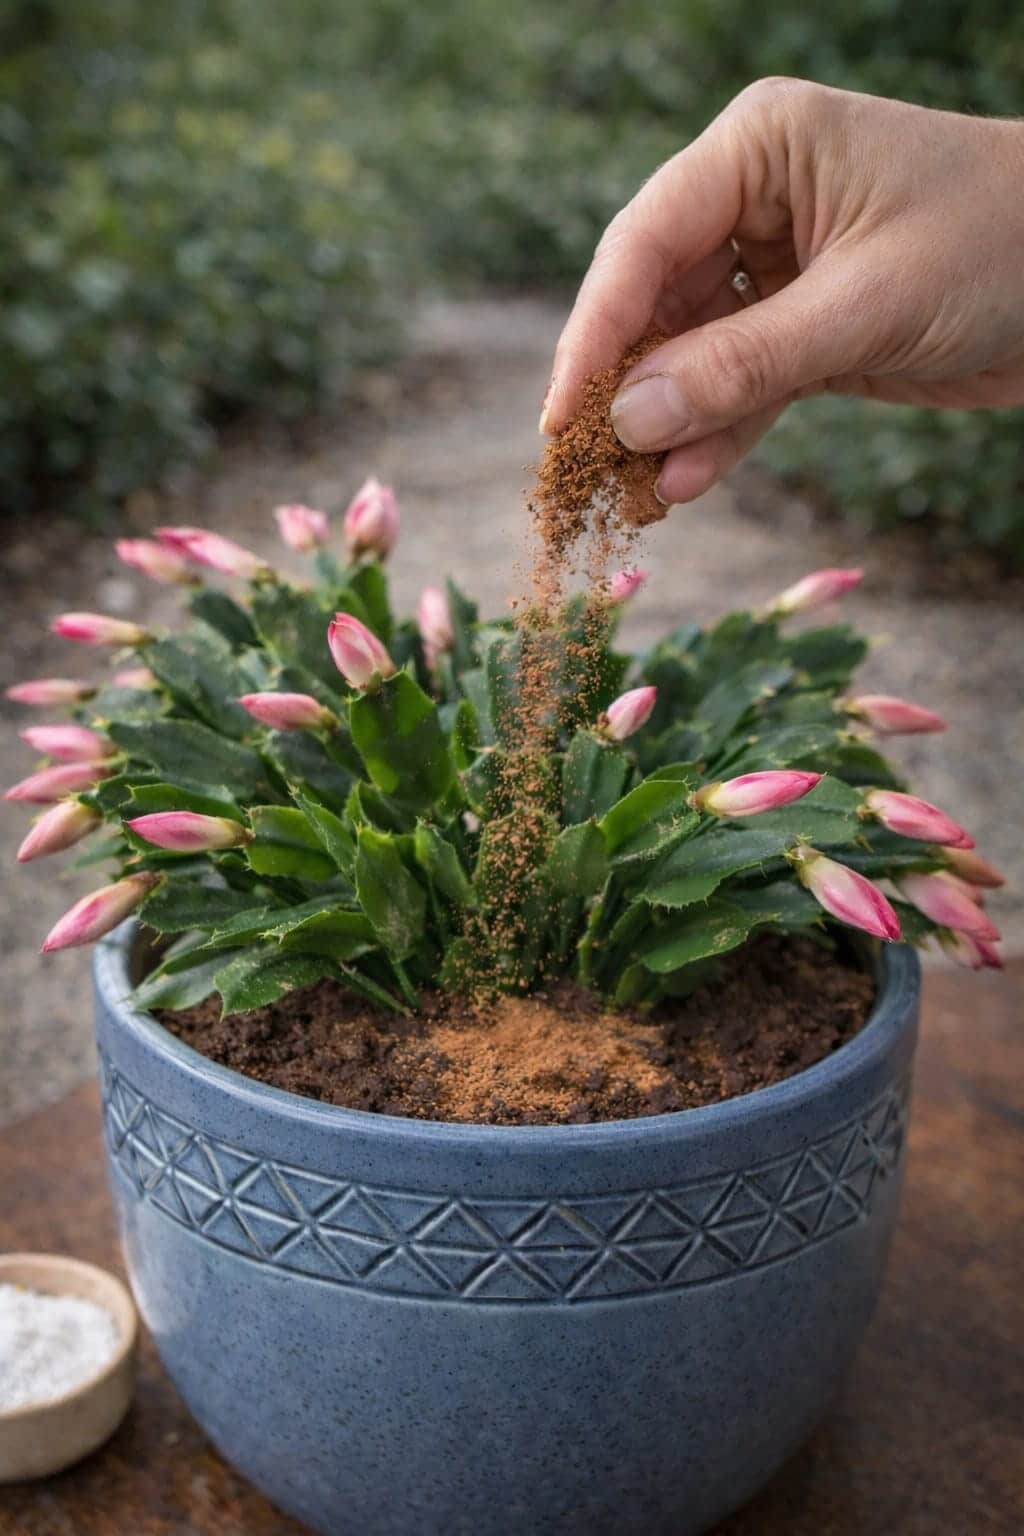
Indoor Gardeners Are Sprinkling This Powder on Christmas Cactus — Here’s Why It Helps Flowers Open Faster
Are your Christmas cactus buds falling off or failing to open? Learn how a simple natural powder (mineral supplement or … Read more