
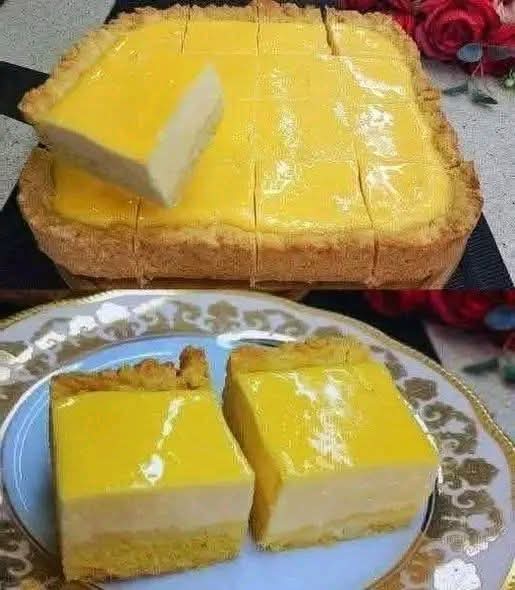
If you love desserts that strike the perfect balance between sweetness and refreshing citrus flavor, then Lemon Dream Dessert Bars are about to become your new obsession. This recipe—taught by a professional chef—produces a dessert so silky, tangy, and delicious that people genuinely describe it as “the best cake I’ve ever eaten.” With its buttery base, creamy lemon center, and glossy lemon topping, every bite melts in your mouth.
Whether you’re preparing a dessert for a special occasion, impressing guests, or just treating yourself to a homemade indulgence, these bars are guaranteed to become a household favorite.
In this article, we’ll explore everything you need to know—from the ingredients, the secret chef technique, how to store them, and creative variations. By the end, you’ll be ready to make the perfect Lemon Dream Bars every time.
1. What Makes These Lemon Dream Bars So Special?
Some lemon bars are overly sweet. Others are too sharp. Some are cakey, while others crumble apart. Lemon Dream Bars, however, offer the perfect balance. The texture is smooth like a custard yet firm enough to cut into beautiful squares. The flavor is bright, sunny, and refreshing—exactly what a lemon dessert should be.
The secret lies in three layers:
A buttery shortbread base
A creamy lemon custard center
A glossy lemon topping that sets beautifully
This combination creates a multi-textured bite with rich flavor and elegant presentation.
2. Ingredients You Will Need
To make perfect Lemon Dream Bars, gather the following ingredients:
For the Crust
2 cups all-purpose flour
1 cup softened butter
½ cup powdered sugar
For the Creamy Lemon Filling
3 large eggs
1 cup granulated sugar
½ cup freshly squeezed lemon juice
1 tablespoon lemon zest
2 tablespoons cornstarch
1 cup whole milk or cream
For the Glossy Lemon Layer
1 cup lemon juice
½ cup sugar
2 tablespoons cornstarch
2 tablespoons butter
Optional: a drop of food-safe yellow coloring for vibrancy
3. The Secret Chef Technique That Changes Everything
According to the chef who taught this recipe, the true magic comes from cooking each layer properly and allowing slow cooling.
Here’s what chefs do differently:
Bake the crust separately until lightly golden—never pour filling onto raw crust.
Cook the creamy filling gently, avoiding curdling.
Chill between layers, so the topping sets without sinking.
Finish with a glossy lemon topping that gives the dessert that signature elegant shine.
These steps ensure the bars have distinct layers and a perfect texture.
4. Step-by-Step Instructions
Step 1: Prepare the Crust
Preheat your oven to 350°F (180°C).
Combine flour, powdered sugar, and softened butter.
Press the dough firmly into a baking dish lined with parchment paper.
Bake 20 minutes, or until edges turn lightly golden.
This forms a firm base that holds the creamy layer beautifully.
Step 2: Make the Creamy Lemon Layer
In a saucepan, whisk together eggs, sugar, lemon juice, lemon zest, and cornstarch.
Add the milk or cream and mix well.
Cook over medium heat, stirring constantly until thickened (about 5–7 min).
Pour evenly over the baked crust.
Bake another 15 minutes until just set.
Cool for 20 minutes before adding the final layer.
Step 3: Prepare the Glossy Lemon Topping
In a clean saucepan, combine lemon juice, sugar, and cornstarch.
Cook until thick and shiny.
Remove from heat and stir in butter for a silky finish.
Spread evenly over the cooled custard layer.
Refrigerate at least 4 hours before cutting.
5. Tips for Perfect Texture Every Time
Getting that restaurant-quality finish is easier when you follow these simple tips:
Use fresh lemons, never bottled juice—flavor is dramatically better.
Whisk constantly when cooking the filling to avoid lumps.
Don’t overbake the creamy layer—it should be just set.
Chill fully before slicing to get sharp squares.
Use a hot knife (dip in hot water) to cut smooth edges.
6. Why Fresh Lemon Makes a Huge Difference
Fresh lemon juice is vibrant, aromatic, and naturally sweet-tart. Bottled lemon juice tastes dull and acidic. The zest adds oils that bring out deep lemon fragrance.
Using fresh lemons ensures:
Bright flavor
Strong citrus aroma
Natural color
This one change makes the bars taste gourmet.
7. How to Make These Bars Gluten-Free
Simply replace the crust flour with:
Gluten-free all-purpose blend
OR
Almond flour (gives a rich, nutty taste)
Everything else stays the same!
8. Low-Sugar or Sugar-Free Version
To make a diabetic-friendly version:
Replace:
Sugar with erythritol or monk fruit
Powdered sugar with powdered erythritol
Flavor stays delicious but with fewer carbs.
9. How to Store Lemon Dream Bars
These bars store beautifully!
Refrigerator
Keep in an airtight container.
Stays fresh 5–7 days.
Freezer
Wrap tightly and freeze up to 3 months.
Thaw overnight for best texture.
10. When to Serve Lemon Dream Bars
These bars are ideal for:
Birthday parties
Baby showers
Easter or spring celebrations
Summer picnics
Holiday dessert trays
Afternoon tea
They are refreshing, elegant, and crowd-pleasing.
11. Add-Ins and Creative Variations
Want to get creative? Try these twists:
1. Coconut Lemon Bars
Add shredded coconut to the crust.
2. Lemon Cheesecake Bars
Mix cream cheese into the custard layer.
3. Berry Lemon Bars
Top with fresh blueberries or raspberries before chilling.
4. Lavender-Infused Lemon Bars
Add a hint of edible lavender for a floral touch.
12. Why These Bars Are Foolproof for Beginners
This dessert is easy because:
Mixing is simple
Ingredients are basic
Hard to overbake
Layers naturally look impressive
No special equipment needed
Even if you’re new to baking, you can produce a bakery-quality dessert.
13. Serving Tips to Impress Guests
To elevate presentation:
Dust the top lightly with powdered sugar
Serve with fresh berries
Place on decorative dessert plates
Add a thin twist of lemon as garnish
Cut into neat squares for a professional look
These small touches make the dessert feel luxurious.
14. Common Mistakes to Avoid
Here are the mistakes bakers make—and how to avoid them:
Watery topping → not cooking long enough
Cracked custard → heat too high
Soggy crust → didn’t pre-bake
Dull color → used bottled lemon juice
Bars fall apart → didn’t chill long enough
Follow the instructions, and yours will look just like the photo.
15. Final Thoughts: The Lemon Dessert You’ll Make Again and Again
Lemon Dream Dessert Bars are more than just a recipe—they’re a nostalgic, refreshing, indulgent treat that brings joy with every bite. Whether you’re making them for guests or keeping them all for yourself, they are guaranteed to steal the show.
With their bright yellow shine, creamy center, buttery crust, and unforgettable flavor, it’s no surprise that so many people call this recipe “the best dessert I have ever eaten.”
Once you make them, you’ll understand exactly why.
More Recipes You Might Like
-
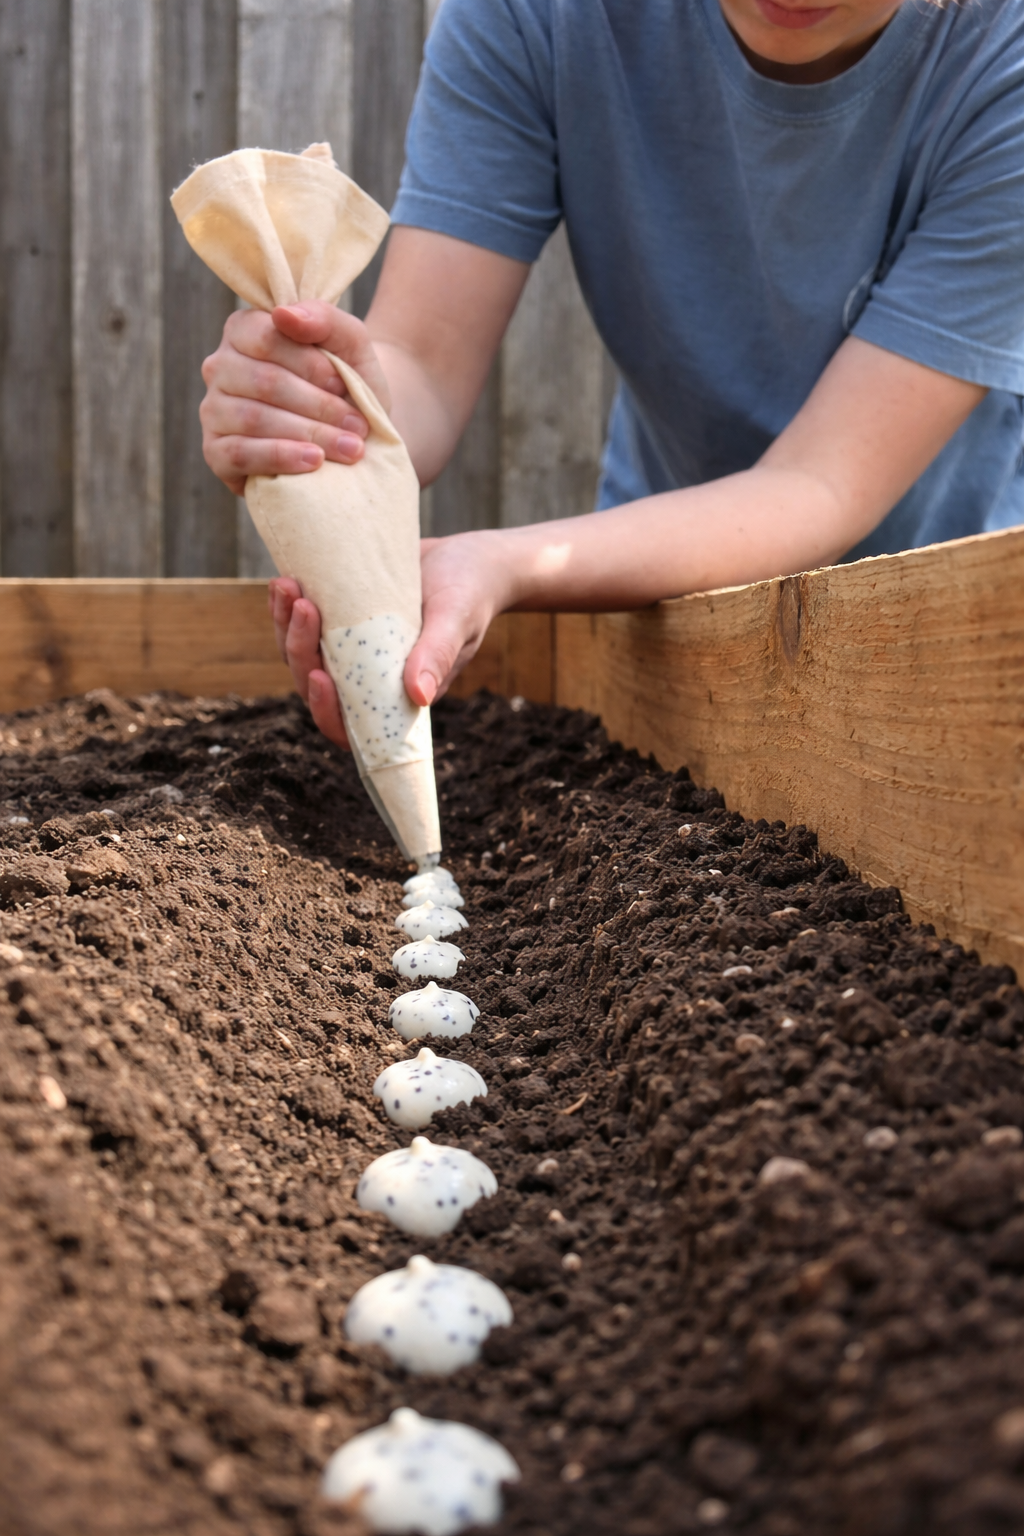
The Easy Garden Hack That Guarantees Straight, Healthy Carrots
Say goodbye to crooked, stunted carrots! Discover the simple seed paste hack that ensures perfect spacing and straight roots. This easy planting technique will transform your carrot harvest. Let me tell you about the gardening trick that turned my carrot patch from a tangle of twisted roots into a picture-perfect harvest. I love growing carrots.…
-

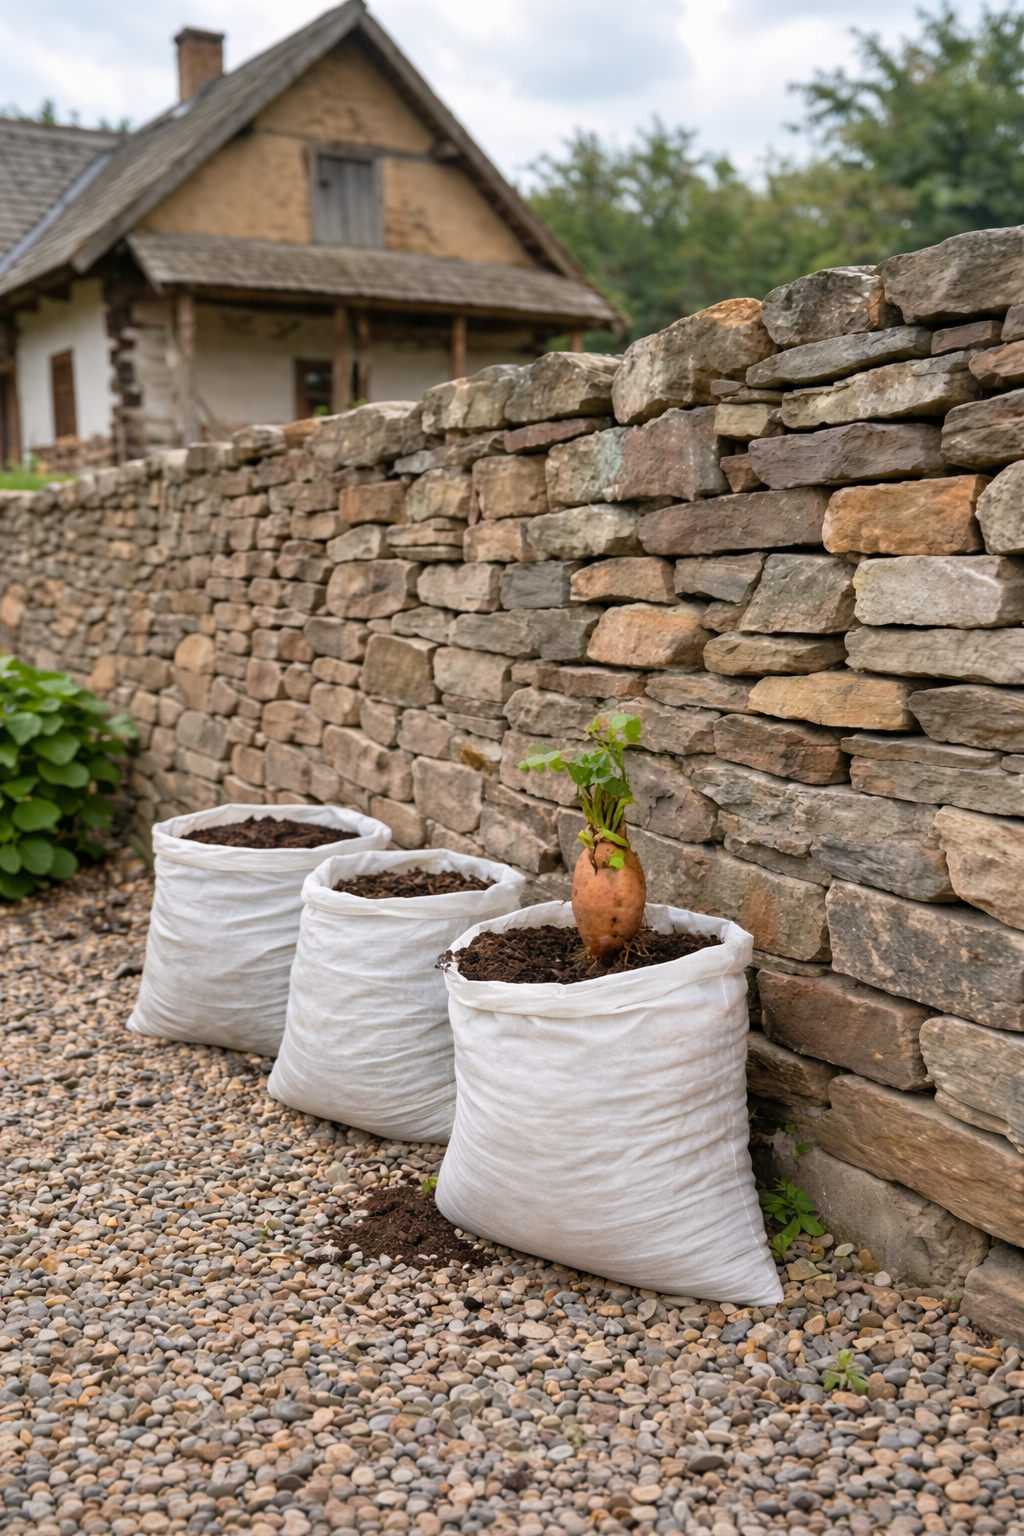
Grow 3X More Sweet Potatoes at Home with This Simple Soil Bag Trick
Want to grow 3 times more sweet potatoes in a small space? This clever soil bag trick is a game-changer. Learn how to plant sweet potatoes in bags for a massive harvest—perfect for small gardens and patios. Let me tell you about the gardening trick that turned my tiny patio into a sweet potato factory.…
-
Grow 3X More Sweet Potatoes at Home with This Simple Soil Bag Trick
Want to grow 3 times more sweet potatoes in a small space? This clever soil bag trick is a game-changer. Learn how to plant sweet potatoes in bags for a massive harvest—perfect for small gardens and patios. Let me tell you about the gardening trick that turned my tiny patio into a sweet potato factory.…