
Is your snake plant just surviving, not thriving? The secret isn’t milk or magic potions – it’s fixing the basics. Learn the simple indoor adjustment that finally made my snake plant grow faster and healthier.
Let’s be honest: for the longest time, my snake plant just… existed. It wasn’t dying – the leaves were green, no obvious rot, no pests. But it wasn’t thriving either. The leaves stayed the same size, growth was painfully slow, and nothing really changed month after month. I assumed that’s just how snake plants are – low effort, low growth. A plant you buy because you can’t kill it, not because it will ever impress you.
But then I made one small indoor adjustment… and everything changed.
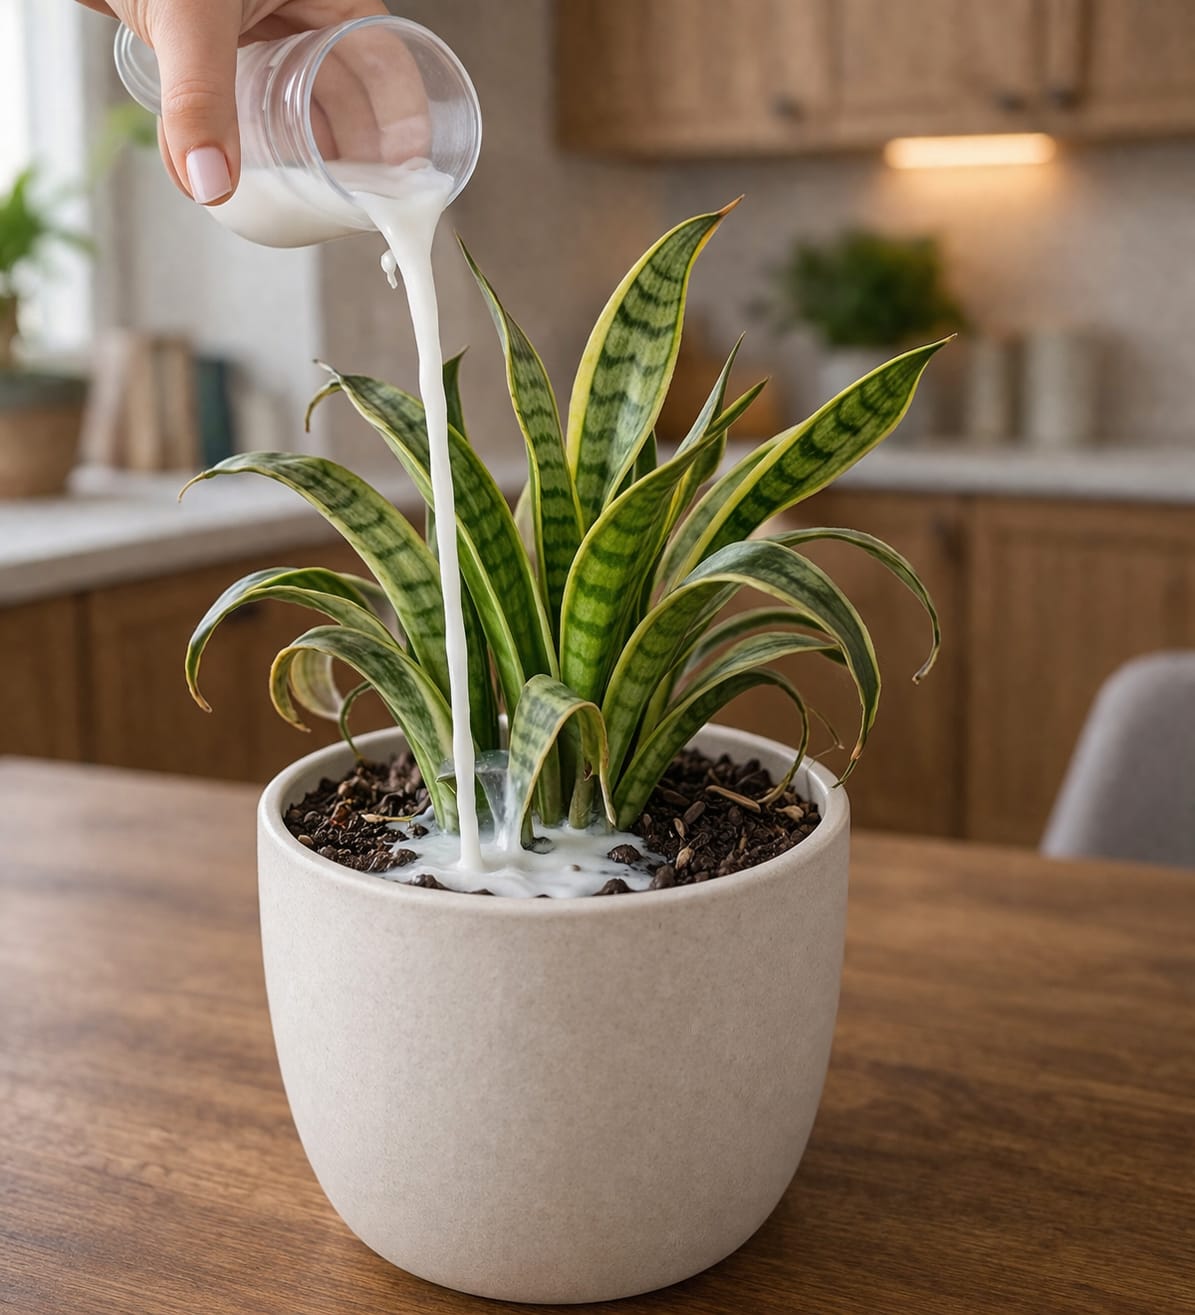
At first, I thought adding things like milk, rice water, or other household liquids would help my plant grow faster. It seemed logical – plants need nutrients, right? Maybe a little milk would give it calcium. Maybe some coffee grounds would acidify the soil. Maybe an eggshell powder would provide a boost.
Here’s what I discovered: pouring substances like milk directly into the soil can actually harm your plant. And once I stopped experimenting and focused on the basics, I saw real results – new leaves, faster growth, and a snake plant that finally looked like it was thriving.
In this guide, I’ll share the simple indoor trick that made all the difference, explain why common “plant hacks” backfire, and give you a step‑by‑step plan to transform your own snake plant – without any magic potions.
Let’s get growing.
The “Trick” That Made the Difference – And What Didn’t Work
When I first wanted to boost my snake plant’s growth, I turned to the internet. I saw videos of people pouring milk into soil, sprinkling coffee grounds, or adding sugar water. The claims were bold: “Instant growth!” “More pups!” “Shinier leaves!”
So I tried a few. I poured a little diluted milk into the pot. I sprinkled used coffee grounds on top. I even tried rice water (the leftover water from rinsing rice). Surely, these natural “fertilizers” would help.
They didn’t. In fact, things got worse. The soil started to smell sour. A white fuzzy mold appeared on the surface. Tiny fungus gnats began buzzing around. My snake plant’s leaves, which had been fine before, started to look dull.
That’s when I realized: pouringsubstances like milk directly into the soil can actually harm your plant. What seems like a helpful boost indoors often backfires because snake plants are succulents – they evolved in dry, rocky environments with very little organic matter. They aren’t designed to handle decomposing milk or fermenting rice water in their root zone.
Why Milk and Household Liquids Are Harmful to Snake Plants
Substance Why It’s a Problem
Milk Contains fats and proteins that rot, creating foul smells, mold, and bacteria. Can cause root rot and attract pests.
Coffee grounds Too acidic for snake plants; compacts soil, reducing drainage; can burn roots.
Rice water Ferments quickly, smells bad, and feeds fungus gnats. Offers negligible nutrition.
Sugar water Feeds harmful soil bacteria and fungi; can cause root rot; attracts ants.
Eggshell water Minimal calcium benefit; takes months to break down; can clog soil pores.
Cooking water (pasta, vegetables) Contains salt and oils that harm roots and soil structure.
The common habit of adding kitchen leftovers to houseplants comes from outdoor gardening, where soil microbes, worms, and weather help break things down. Indoors, in a small pot with limited drainage, these substances become a liability.
What Actually Helped My Snake Plant Grow – The Real Trick
Once I stopped experimenting and focused on the basics, I saw real results within weeks. The “trick” wasn’t a secret ingredient – it was fixing the fundamentals. Here’s exactly what I changed.
💧 1. Smarter Watering Routine – The #1 Change
Before, I watered my snake plant on a schedule – every Sunday, like clockwork. The soil was often still damp, but I watered anyway. That was my biggest mistake.
The fix: Only water when the soil is completely dry all the way through.
Old Habit New Habit
Watered every 7 days Check soil with finger (2 inches deep) – water only if dry
Used tap water directly Let tap water sit overnight to dissipate chlorine (or use filtered)
Poured until water pooled on top Water thoroughly until it runs out the bottom, then empty saucer
Watered the same year‑round Reduce watering in winter to once every 4–6 weeks
Why this matters: Snake plant roots are adapted to take in water quickly and then dry out. Sitting in wet soil suffocates them and leads to rot. A plant that’s struggling with root rot will not grow – it will just decline slowly.
Result: Within two weeks, the leaves felt firmer. Within a month, I noticed a new shoot emerging from the soil.
☀️ 2. Better Light Placement – The Growth Accelerator
My snake plant was sitting in a dark corner of the living room – about 10 feet from the nearest window. It was surviving, but just barely. Snake plants are famous for tolerating low light, but “tolerate” is not “thrive.”
The fix: I moved it to a spot right next to an east‑facing window. It now gets 3–4 hours of gentle morning sun and bright indirect light for the rest of the day.
Light Level Growth Rate
Low light (dark corner) 1–2 new leaves per year (if any)
Medium light (few feet from window) 3–4 new leaves per year
Bright indirect light (right by window) 5–8 new leaves per year + pups
Pro tip: If you don’t have a bright window, use a full‑spectrum LED grow light for 8–10 hours a day. Snake plants respond beautifully to supplemental light.
Result: Within 3 weeks, I saw the first new leaf in over a year. The existing leaves became more upright and vibrant.
🌬️ 3. Proper Soil & Drainage – The Foundation
My snake plant was still in the nursery pot with the original soil – a dense, peat‑based mix that stayed wet for weeks. That was a recipe for root suffocation.
The fix: I repotted into a terracotta pot with a drainage hole and fresh cactus/succulent soil (2 parts potting soil + 1 part perlite + 1 part coarse sand).
Old Soil New Soil
Dense, water‑retentive Light, airy, fast‑draining
No added perlite or sand 50% potting mix, 50% drainage amendments
Plastic pot without drainage (decorative) Terracotta pot with hole – wicks away moisture
Why this matters: Snake plant roots need oxygen. In dense soil, water fills the air pockets, roots can’t breathe, and rot sets in. Fast‑draining soil allows water to pass through quickly, leaving air behind.
Result: The plant stopped dropping occasional yellow leaves. New growth came in stronger and more upright.
🌿 4. Occasional Proper Feeding – Less Is More
Instead of random kitchen hacks, I started using a real fertilizer – but sparingly.
The fix: Once a month during spring and summer, I use a balanced houseplant fertilizer (10-10-10) diluted to half strength. I water the plant first, then apply the fertilizer solution. No fertilizer in fall or winter.
Old “Feeding” New Feeding
Milk, coffee grounds, rice water Diluted balanced fertilizer (spring/summer only)
Applied directly to dry soil Water plant first, then apply
No schedule Once every 4–6 weeks during growing season
Why this matters: Snake plants are light feeders. Too much fertilizer (or the wrong kind) can burn roots. But a little boost during active growth helps produce more leaves and pups.
Result: The plant produced two new pups (offsets) within three months – something it had never done before.
The Results I Noticed – Before vs. After
After making these changes, the transformation was undeniable:
Before (Wrong Habits) After (Correct Care)
0–1 new leaf per year 4–5 new leaves + pups in 6 months
Leaves felt soft, slightly droopy Leaves firm, upright, glossy
Dull, dark green color Rich green with subtle yellow edges (variegation popped)
Occasional yellow leaf No yellow leaves
Soil stayed wet for weeks Soil dried out in 5–7 days
No pups (offsets) 2 pups appeared
It finally looked like a plant that was thriving – not just surviving. And the best part? I didn’t add any “secret” ingredients. I just stopped doing the wrong things and started doing the basics correctly.
The Real Lesson – Remove Bad Habits Before Adding Anything New
The biggest improvement didn’t come from adding something new. It came from removing the wrong habits.
· I stopped watering on a schedule.
· I stopped pouring milk and rice water into the soil.
· I stopped keeping the plant in a dark corner.
· I stopped using dense, water‑retentive soil.
Once I removed those mistakes, the plant finally had the conditions it needed to grow. The “trick” wasn’t a trick at all – it was simply giving the plant what it actually needs.
Common “Boosters” to Avoid – And What to Do Instead
Viral Hack Why to Avoid Better Alternative
Milk Sours, causes mold and bacteria Proper watering + occasional diluted fertilizer
Coffee grounds Too acidic, compacts soil Use only in compost, not directly on indoor plants
Rice water Ferments, attracts fungus gnats Plain water
Sugar water Feeds harmful microbes, causes root rot Plain water
Eggshell water Minimal benefit, attracts pests Balanced fertilizer if needed
Cooking water Contains salt and oils Never use – salt damages roots
Epsom salt Can cause magnesium toxicity Only if diagnosed deficiency (rare)
The rule of thumb: If you wouldn’t put it on your own salad, don’t pour it on your snake plant. Stick to water and proper fertilizer.
Step‑by‑Step Plan to Make Your Snake Plant Thrive
If your snake plant is just existing, follow this plan. You’ll see results within weeks.
Week 1: Assess and Adjust
· Check the light: Is your plant more than 3 feet from a window? Move it closer. East or west windows are ideal.
· Check the soil: Is it dense and wet? If it takes more than 7 days to dry out, consider repotting into cactus mix.
· Stop all “home remedies.” No milk, coffee, rice water, or sugar.
Week 2: Establish a Watering Routine
· Water only when the soil is completely dry. Use your finger – poke 2 inches deep. If dry, water thoroughly. If damp, wait.
· Empty the saucer after watering. Never let the plant sit in water.
Week 3: Clean the Leaves
· Wipe dust off leaves with a soft, damp cloth. Clean leaves absorb more light.
· Do not use oil or leaf shine products.
Week 4+: Fertilize (If in Spring or Summer)
· Use a balanced houseplant fertilizer at half strength. Apply once every 4–6 weeks.
· Do not fertilize in fall or winter.
Ongoing: Be Patient
· Snake plants are naturally slow growers. With proper care, you’ll see new leaves every few weeks during spring and summer. Don’t expect overnight miracles.
Signs Your Snake Plant Is Finally Thriving
Positive Sign What It Means
New leaves emerging from the center The plant has enough light and water to produce growth.
Pups (offsets) appearing around the base The plant is happy and mature enough to reproduce.
Leaves feel firm and stand upright Proper hydration and root health.
Rich green color (or bright variegation) Adequate light and nutrition.
Soil dries out within 5–7 days after watering Good drainage and root function.
Frequently Asked Questions (FAQs)
Q: Can I use banana peel water for my snake plant?
No. Banana peels break down slowly and can attract fruit flies. The potassium benefit is minimal. Use a balanced fertilizer instead.
Q: How often should I water my snake plant in winter?
In winter, snake plants go semi‑dormant. Water only when the soil is completely dry – often every 4–6 weeks, or even less. Overwatering in winter is a common cause of root rot.
Q: My snake plant leaves are turning yellow. What’s wrong?
Yellow leaves usually mean overwatering. Stop watering immediately, let the soil dry out completely. If the stem is soft, you may have root rot – remove the plant, cut away rotten roots, and repot in fresh dry soil.
Q: Can I use a grow light for my snake plant?
Yes – snake plants respond very well to grow lights. Use a full‑spectrum LED light for 8–10 hours per day, placed 12–18 inches above the plant.
Q: How do I make my snake plant grow taller?
Provide more light – bright, indirect light encourages upward growth. Also, ensure you’re not overwatering (wet soil stunts roots). Fertilize lightly in spring and summer.
Q: Why isn’t my snake plant producing pups?
Pups often appear when the plant is slightly root‑bound and receiving adequate light. If your pot is very large, the plant focuses on root growth instead of offsets. Move to a slightly smaller pot if needed, and ensure bright light.
Q: Can I cut the brown tips off my snake plant leaves?
Yes, but only the brown part. Cut at an angle to mimic the natural leaf shape. Avoid cutting into the green tissue – it will leave a brown edge.
Final Thoughts – Simple Changes, Big Results
If your snake plant isn’t growing like you expected, don’t rush to try every trick you see on social media. Don’t pour milk into the soil. Don’t sprinkle coffee grounds. Don’t believe that a secret potion will transform your plant overnight.
Start with the basics:
· Water only when the soil is completely dry.
· Give it bright, indirect light – closer to a window.
· Use well‑draining soil and a pot with drainage holes.
· Fertilize lightly, only in spring and summer.
· Be patient – growth takes time.
The biggest difference came from removing bad habits, not adding new ones. Once I stopped experimenting and started providing consistent, proper care, my snake plant finally began to thrive.
Sometimes, the simplest changes make the biggest difference.
Now it’s your turn! Have you tried any “plant hacks” that backfired? What finally worked for your snake plant? Drop a comment below – I’d love to hear your story.
And if you found this guide helpful, share it with a friend who’s been pouring milk on their plants. Pin it for later, and subscribe to our newsletter for more no‑hype, evidence‑based plant care.
Stay simple, stay consistent, and watch your snake plant grow. 🌿✨