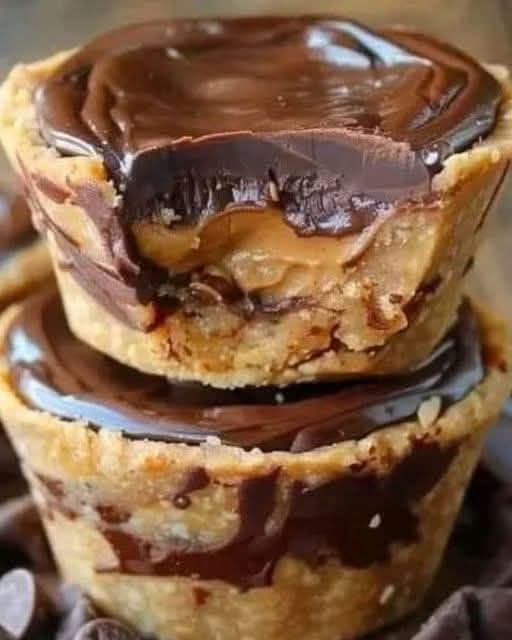
This easy no-bake chocolate peanut butter cups recipe requires just 5 ingredients! Healthier, tastier & customizable homemade Reese’s in 30 minutes. No oven needed!
Imagine biting into a rich, dark chocolate shell that gives way to a creamy, salty-sweet peanut butter center—a perfect harmony of flavors and textures that feels both indulgent and somehow nostalgic. Now imagine making that perfect treat in your own kitchen, with ingredients you recognize and trust, in less time than it takes to run to the store. Welcome to the world of Homemade No-Bake Chocolate Peanut Butter Cups, the ultimate easy dessert recipe that proves you don’t need a factory to create magic. If you’re looking for a quick healthy snack, a last-minute homemade gift, or a kid-friendly cooking project that yields seriously impressive results, you’ve just struck gold.
In an era of complicated baking shows, this recipe is a beautiful return to simplicity. With just 5 core ingredients and zero oven time, you can create a confection that rivals—no, surpasses—anything you can buy in a wrapper. These cups are deeply customizable, allowing you to control the sweetness, use dark chocolate for antioxidants, opt for natural peanut butter, and avoid the preservatives and excess sugar found in commercial versions. They are the perfect intersection of guilt-free indulgence and unmatched deliciousness.
Whether you need a meal prep-friendly treat for the week, a stunning addition to a holiday candy platter, or simply a quick chocolate fix that won’t derail your day, this recipe is your secret weapon. They’re naturally gluten-free, easily adaptable to be vegan and dairy-free, and so simple that failure is virtually impossible. Let’s dive into how to make the most delicious, creamy, and satisfying peanut butter cups of your life.
Why This Homemade Peanut Butter Cup Recipe is a Game-Changer
Before we melt our first piece of chocolate, let’s talk about why this homemade version is infinitely superior. First, it’s all about ingredient control. You choose the chocolate: bittersweet for depth, semi-sweet for classic flavor, or even sugar-free chocolate chips for a low-sugar dessert. You choose the peanut butter: a natural, drippy kind for pure peanut flavor, or a standard version for extra creaminess. This is clean eating made decadent.
Second, the textural perfection you can achieve at home is unmatched. The chocolate shell is as thin or thick as you like. The peanut butter filling can be fluffy and light or dense and fudgy. You can even add a sprinkle of Maldon sea salt on top for a gourmet touch that elevates every single bite.
Finally, it’s unbelievably fast and fun. From start to finish, you’re looking at about 30 minutes, mostly hands-off chilling time. It’s a fantastic cooking activity with kids, a therapeutic solo kitchen project, or a surefire way to impress guests with your “from-scratch” candy-making skills. This isn’t just a recipe; it’s a mini culinary adventure with a deliciously sweet reward.
Gathering Your Ingredients: The Simple Quintet of Bliss
The beauty is in the minimalist, high-quality ingredients. Here’s all you need for these easy no-bake treats:
For the Chocolate Shells:
· 2 cups (12 oz) high-quality chocolate chips or chopped chocolate bars (semi-sweet, dark, or milk chocolate)
· 1 tablespoon refined coconut oil (this makes the chocolate shell snappy and easy to bite)
For the Peanut Butter Filling:
· ¾ cup creamy peanut butter (natural or conventional)
· ¼ cup powdered sugar (confectioners’ sugar), or maple syrup for unrefined option
· 2 tablespoons graham cracker crumbs or almond flour (for structure & classic flavor)
· 1 tablespoon softened butter, coconut oil, or nut butter (for creaminess)
· A generous pinch of fine sea salt (trust me, this is key!)
Optional Toppings & Variations:
· Flaky sea salt for garnish
· Crushed peanuts, pretzels, or freeze-dried raspberries
· A drizzle of melted white chocolate
Ingredient Spotlight & Pro Substitutions
· The Chocolate: The better the chocolate, the better the cup. A chopped chocolate bar (like Ghirardelli or Baker’s) often melts smoother than chips, which contain stabilizers. For a vegan peanut butter cup, use dairy-free chocolate chips.
· Peanut Butter: Natural peanut butter (just peanuts & salt) gives a pure, robust peanut flavor. If using a very runny natural PB, you may reduce or omit the extra tablespoon of butter/oil. Conventional peanut butter (like Jif or Skippy) will yield a sweeter, denser, and easier-to-handle filling.
· The Sweetener: Powdered sugar incorporates seamlessly into the filling. For a paleo or refined sugar-free version, use coconut sugar powder (blitz coconut sugar in a blender until powdery) or pure maple syrup (note: the filling will be softer).
· The Binder: Graham cracker crumbs mimic the classic texture. For gluten-free, use gluten-free graham crumbs or almond flour. For a grain-free option, crushed gluten-free pretzels add amazing salty contrast.
Essential Kitchen Tools: The No-Bake Candy Making Kit
You don’t need a candy thermometer or any fancy equipment, just a few basics.
The Molding Station: Your Cup Vessel
A silicone mini muffin pan is the absolute best tool. It’s flexible, making removal effortless, and creates a perfect cup shape. Paper mini muffin liners placed on a baking sheet are the classic, foolproof alternative. You could even use a shallow ice cube tray for fun shapes!
The Melting & Mixing Setup:
Double Boiler or Heatproof Bowl: The best way to melt chocolate without seizing. Create a DIY double boiler by placing a heatproof glass or stainless steel bowl over a pot of gently simmering water (ensure the bowl doesn’t touch the water). A microwave in 20-second bursts works too, but requires more caution.
Small Mixing Bowls: One for melting chocolate, one for mixing the peanut butter filling.
Small Whisk & Spatula: A whisk for combining the filling ingredients until smooth, and a small rubber spatula for scraping every last bit of chocolate and filling.
Measuring Cups & Spoons: For accuracy.
Pastry Brush or Small Spoon (Optional but Helpful): For coaxing the chocolate up the sides of the liners to create a proper shell. A small spoon works perfectly fine.
Step-by-Step Instructions: Crafting Your Perfect Cups
The process is simple: create a chocolate shell, fill it, and seal it shut.
Step 1: Prep & Create the Chocolate Shells
Prepare Your Molds: If using a silicone pan, place it on a sturdy tray. If using paper liners, place 12-16 liners on a baking sheet. This makes them easy to transport to the fridge.
Melt the Chocolate: Combine the chocolate chips and coconut oil in your heatproof bowl. Set over simmering water (double boiler method), stirring frequently until completely smooth and fluid. Alternatively, microwave in 20-second bursts, stirring well after each, until melted. Remove from heat.
Form the Shells: Using a small spoon, add about 1 teaspoon of melted chocolate to the bottom of each liner or silicone cup. Using the back of the spoon or a small pastry brush, swirl the chocolate up the sides to coat evenly. You want a solid base and sides—this is your edible “cup.” Place the tray in the freezer for 10-15 minutes to set completely.
Step 2: Make the Peanut Butter Filling
Mix: While the shells set, combine the peanut butter, powdered sugar, graham cracker crumbs, softened butter (or coconut oil), and that crucial pinch of fine sea salt in a bowl. Mix vigorously with a whisk or fork until completely smooth and creamy. It should have the consistency of a stiff, moldable dough.
Step 3: Assemble & Seal
Fill the Shells: Remove the set chocolate shells from the freezer. Scoop about ½ to 1 teaspoon of the peanut butter filling (roll into a small ball for neatness, if desired) and press it gently into the center of each chocolate shell. Leave a small margin around the edges.
Seal with Chocolate: Re-melt the remaining chocolate if it has thickened (a few seconds in the microwave or over the double boiler will do). Spoon another teaspoon of melted chocolate over each cup, covering the peanut butter center completely and sealing it to the edges. Gently tap the tray on the counter to smooth the top.
Garnish: Immediately sprinkle the tops with a few grains of flaky sea salt or your chosen topping.
Step 4: Set & Serve
Chill to Perfection: Return the tray to the freezer for at least 20 minutes, or the refrigerator for at least 1 hour, until the chocolate is completely firm.
Serve: Peel away the silicone mold or paper liner. Enjoy immediately! Store leftovers (if there are any) in an airtight container in the fridge for up to 2 weeks, or freeze for up to 3 months.
Chef’s Pro-Tips for Flawless, Professional Results
· Avoid Chocolate Seizing: Ensure no water or steam gets into your melting chocolate, as it will cause it to seize (become grainy and clumpy). Keep the bowl over—not in—the simmering water and dry your utensils thoroughly.
· The Perfect Filling Texture: If your filling is too crumbly, add more peanut butter or a tiny bit more softened butter. If it’s too runny, add more powdered sugar or almond flour. It should be pliable like Play-Doh.
· For a Thicker Shell: Simply add a second layer of chocolate to the cups after the first 5-minute freeze, then chill again before adding the filling.
· Room Temperature Matters: Let the finished cups sit at room temperature for 2-3 minutes before eating for the ideal creamy, not rock-hard, bite.
Serving Suggestions & Next-Level Variations
These cups are perfect straight from the fridge, but here’s how to get creative:
· The Gourmet Gift: Place them in mini paper candy cups and pack them in a decorative box for a thoughtful homemade gift.
· Dessert Charcuterie: Add them to a board with fresh fruit, nuts, and other small sweets.
· Flavor Twists:
· Dark Chocolate Sea Salt: Use 70% dark chocolate and top with flaky salt.
· White Chocolate Raspberry: Use white chocolate and add a drop of raspberry extract to the filling.
· Cookie Butter Cup: Swap peanut butter for speculoos cookie butter.
· Almond Joy: Use almond butter, and add shredded coconut to the filling.
How to Store & Freeze for Lasting Freshness
· Refrigeration: Store in an airtight container in the fridge for up to 2 weeks. They taste best cool.
· Freezing: These freeze spectacularly well. Layer them between parchment paper in an airtight container and freeze for up to 3 months. Thaw in the fridge or for a few minutes at room temperature.
Final Thoughts: The Sweet Rewards of Homemade
Making your own No-Bake Chocolate Peanut Butter Cups is more than just saving a trip to the store; it’s an act of delicious craftsmanship. It’s about knowing exactly what goes into your food, customizing it to your cravings, and experiencing the simple joy of creating something beautiful and delicious with your own hands.
So, gather that handful of ingredients and take 30 minutes for yourself. The process is calming, the result is spectacular, and the taste—that perfect, rich, salty-sweet bite—is your well-earned reward.
Don’t forget to pin this recipe, rate it, and leave a comment below telling me your favorite chocolate-to-peanut-butter ratio! What creative variations will you try?
More Recipes You Might Like
-

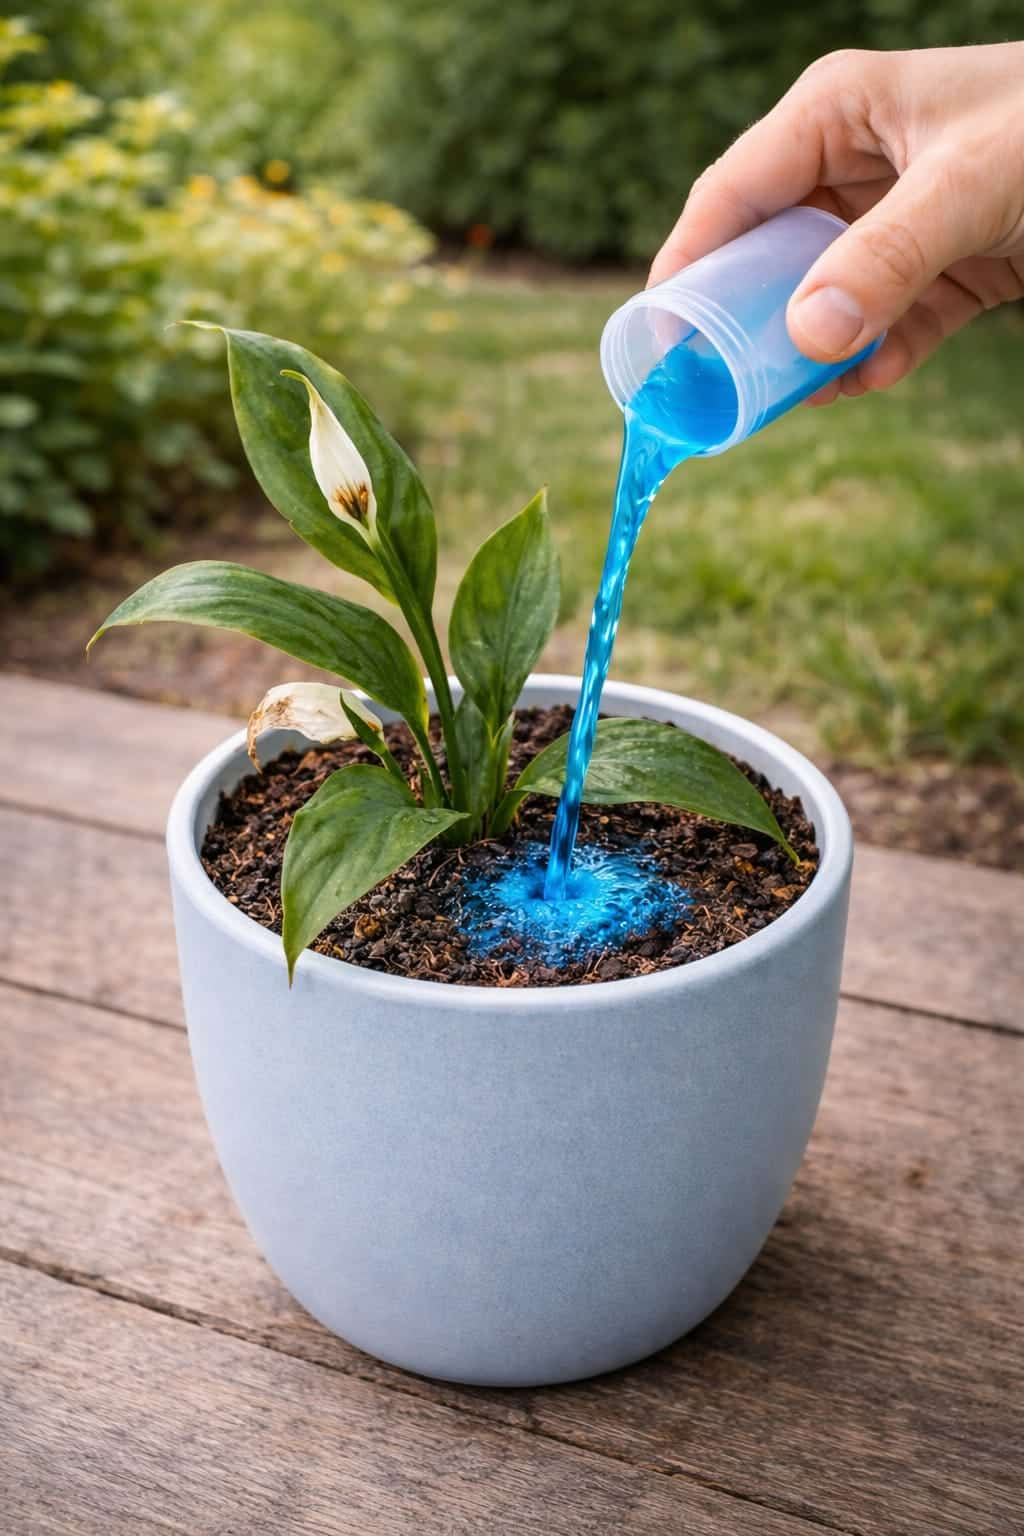
Why Smart Homeowners Are Using This Blue Liquid on Peace Lilies Indoors – The Complete Guide to Revive, Grow, and Boost Blooms Naturally
Is your peace lily drooping with brown tips and weak blooms? Learn why a blue liquid (diluted nutrient solution) can … Read more
-
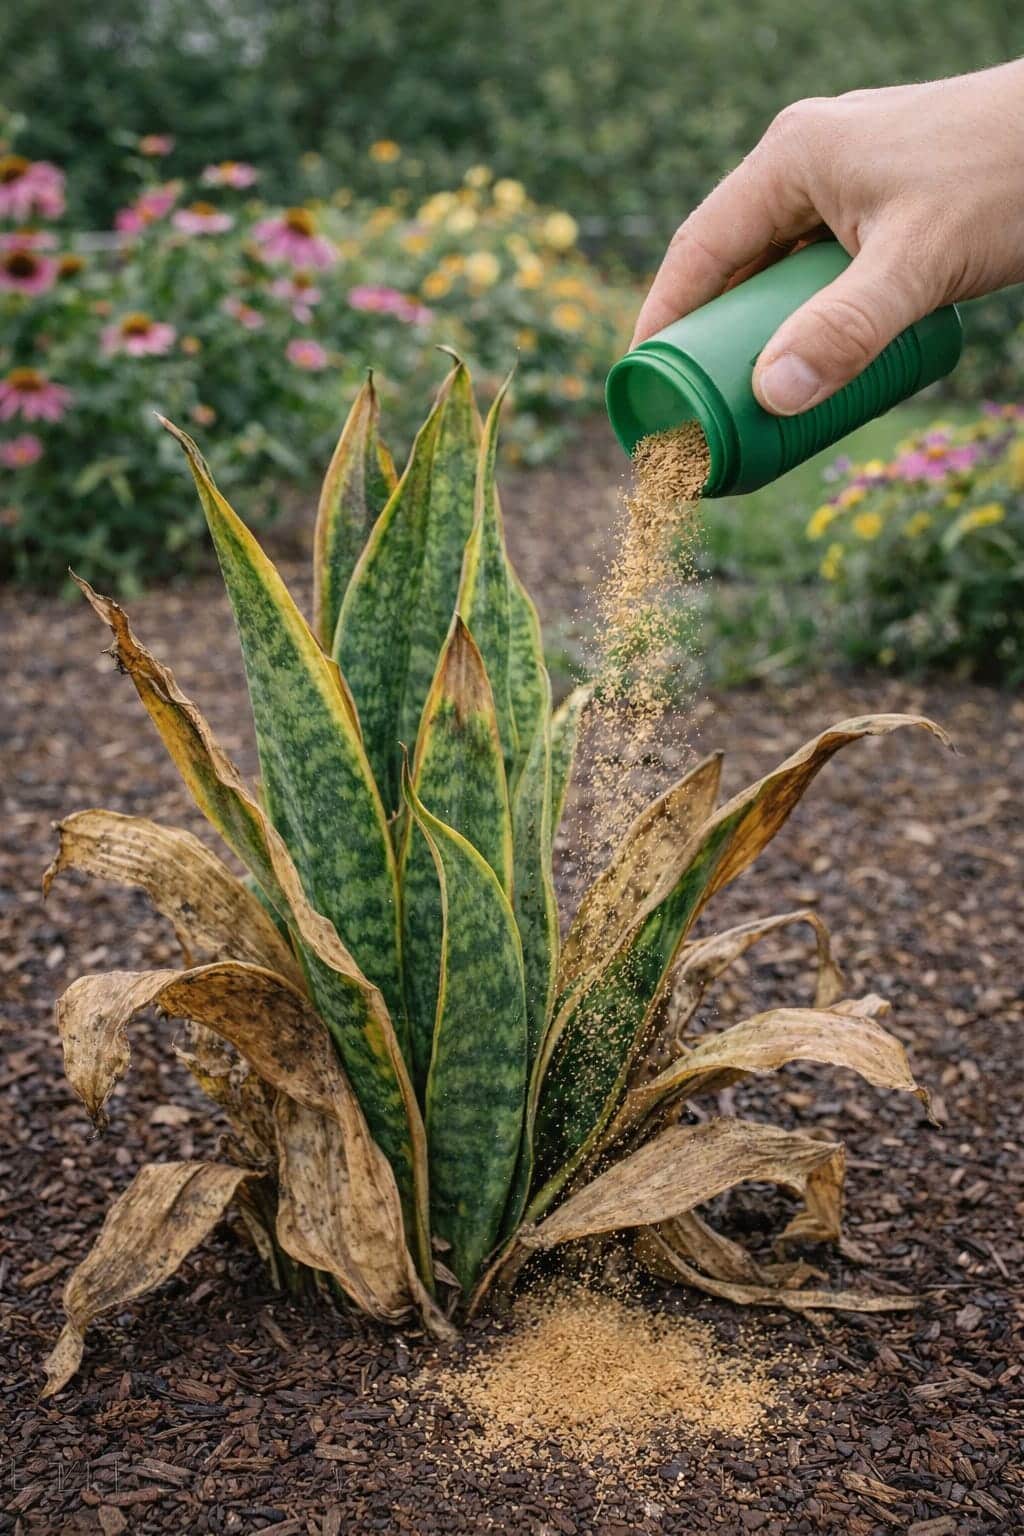
The Snake Plant Recovery Method Using a Simple Natural Powder – How to Fix Dry Leaves and Improve Outdoor Growth
Moving your snake plant outdoors? Leaves may dry out or turn brown. Learn how a simple natural powder (mineral supplement … Read more
-
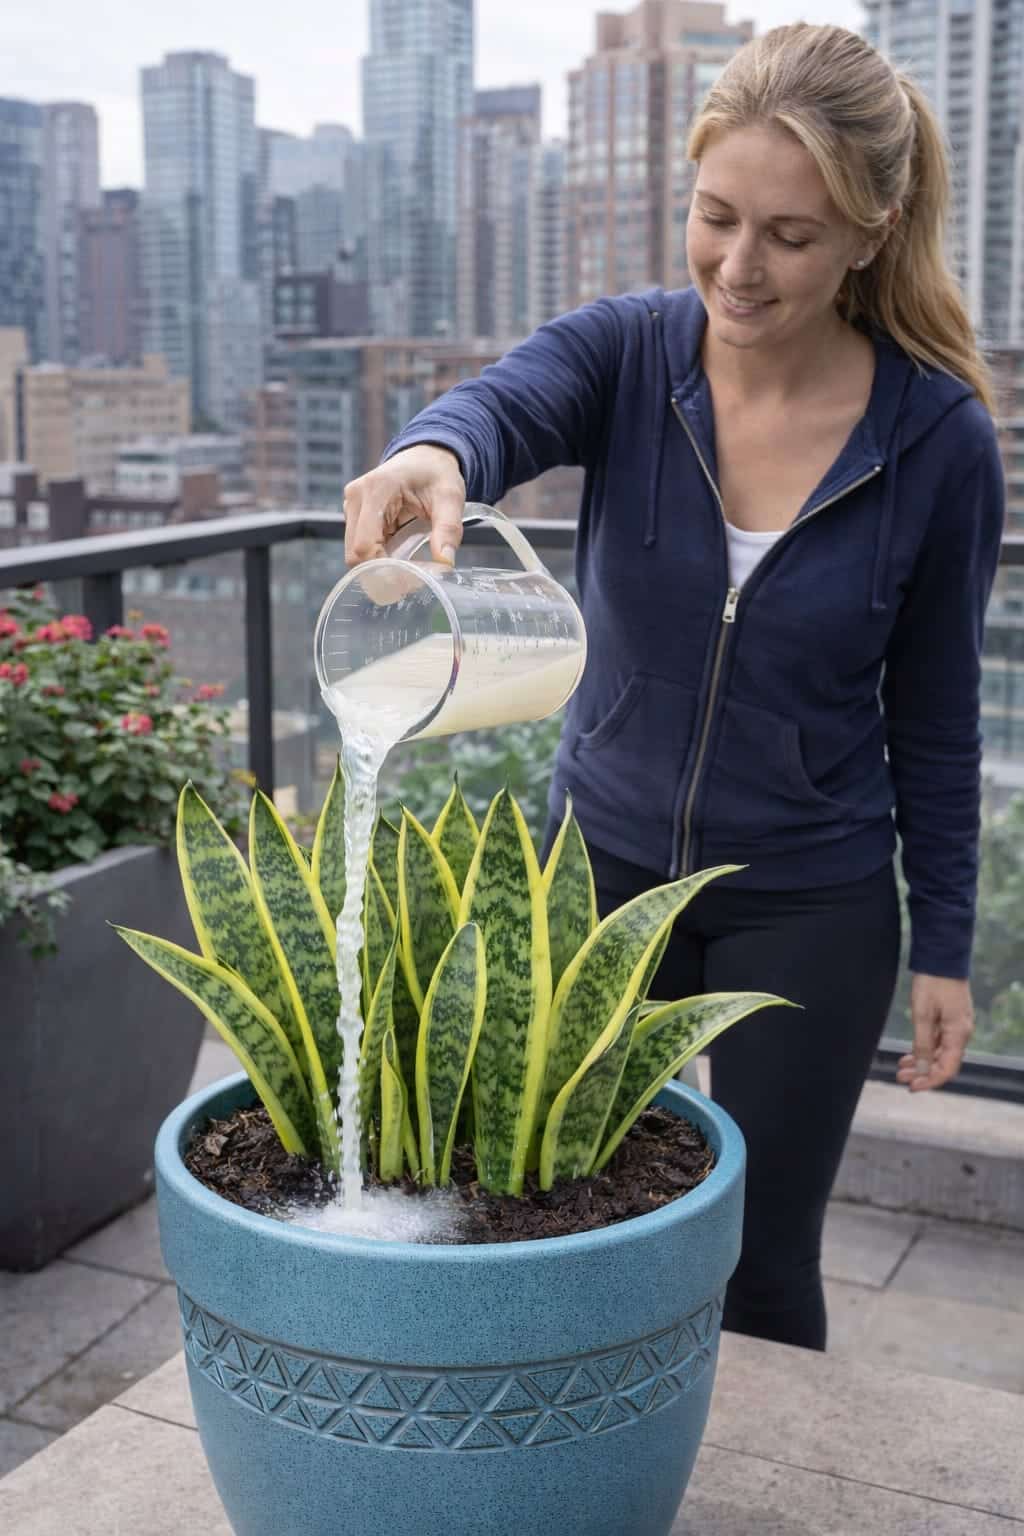
The Snake Plant Growth Method Using Rice Water – How to Revive, Improve Leaf Health, and Support Natural Blooming
Can rice water help your snake plant grow faster and healthier? Learn how to use rice water correctly – as … Read more