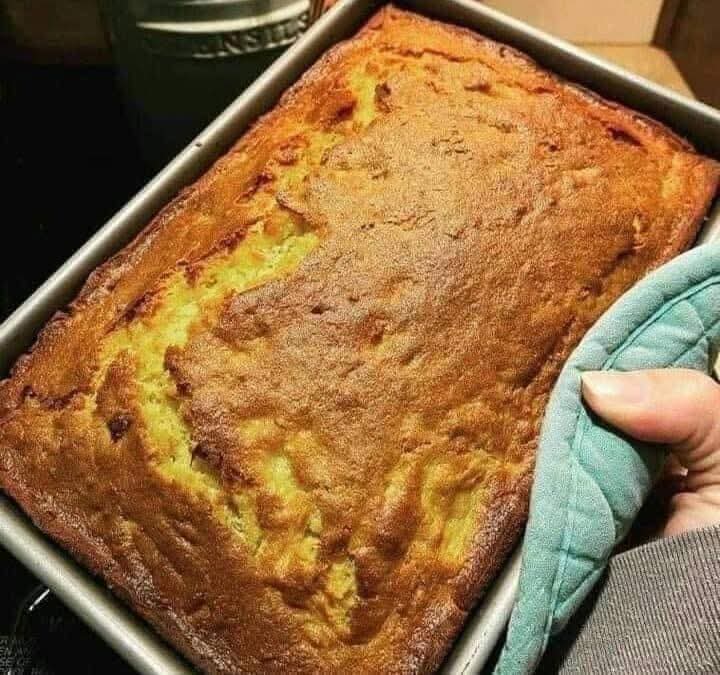
Let’s be honest: the world is full of sad, dry, dense banana breads. They sit on counters like forgotten bricks, their only purpose to soak up coffee in desperation. But the banana bread of your dreams is something else entirely. It’s a loaf with a deeply caramelized, crackly crown that gives way to an impossibly soft, moist, and tender crumb. It’s fragrant with banana, warmly spiced, and so satisfying it feels like a hug from the inside. This isn’t just another recipe—this is your foolproof blueprint for perfect, never-dry banana bread every single time.
Achieving that legendary texture isn’t magic; it’s method. This guide dives deep into the why behind each step, turning you from a casual baker into a banana bread maestro. Whether you’re salvaging overripe bananas, seeking the best easy breakfast meal prep, or craving the ultimate comfort food snack, this recipe is your answer. Let’s transform those speckled bananas into a moist masterpiece.
Why This Recipe Guarantees Moist Banana Bread Every Time
Before you mash a single banana, understand the science of success behind this formula:
· The Moisture Matrix: The perfect balance of ripe bananas, Greek yogurt (or sour cream), and brown sugar creates a hydrated, tender loaf that stays soft for days.
· The “No Overmixing” Guarantee: Detailed instructions prevent gluten development, which is the #1 cause of tough, rubbery bread.
· Flavor Layering: Using a mix of spices and both brown and white sugars builds a complex, bakery-style flavor profile that’s far from one-dimensional.
· Make-Ahead & Freezer Friendly: This bread tastes better on day two and freezes beautifully, making it the ultimate easy homemade gift or grab-and-go breakfast.
· Endlessly Adaptable: This is the perfect base for adding chocolate chips, nuts, or swirls of peanut butter.
Ultimate Soft & Moist Banana Bread Ingredients
Gather these simple ingredients. Using room-temperature items (eggs, yogurt, butter) is crucial for proper emulsification and a even, lofty rise.
Dry Ingredients:
· 2 cups (250g) all-purpose flour, spooned & leveled
· 1 teaspoon baking soda
· 1/2 teaspoon baking powder
· 3/4 teaspoon fine sea salt
· 1 teaspoon ground cinnamon
· 1/4 teaspoon ground nutmeg (optional but recommended)
Wet Ingredients:
· 1 1/2 cups (about 3 large) mashed overripe bananas (the spottier, the sweeter and more flavorful)
· 1/2 cup (115g) unsalted butter, melted and slightly cooled (or 1/2 cup neutral oil)
· 2/3 cup (135g) packed light brown sugar
· 1/3 cup (65g) granulated white sugar
· 2 large eggs, at room temperature
· 1/3 cup (80g) plain full-fat Greek yogurt or sour cream, at room temperature
· 2 teaspoons pure vanilla extract
Add-Ins (Optional):
· 1 cup chocolate chips, toasted walnuts or pecans, or a combination
Step-by-Step Instructions for Foolproof Moisture
Step 1: Prep and Preheat
Preheat your oven to350°F (175°C). Grease a 9×5-inch loaf pan thoroughly with butter or non-stick spray. For absolute certainty, line it with parchment paper with an overhang on the long sides.
Step 2: Combine Dry Ingredients
In a medium bowl,whisk together the flour, baking soda, baking powder, salt, cinnamon, and nutmeg. Whisk for at least 30 seconds to ensure the leaveners are evenly distributed. If using add-ins like nuts, toss 1 tablespoon of this flour mixture with them in a small bowl (this prevents sinking).
Step 3: Mash and Mix Wet Ingredients
In a large mixing bowl,mash the bananas with a fork until mostly smooth, with a few small lumps for texture. To the bananas, add the melted (and slightly cooled) butter, brown sugar, and white sugar. Whisk vigorously for a full minute until the mixture is smooth, glossy, and well-combined.
Add the eggs one at a time,whisking well after each. Then whisk in the Greek yogurt and vanilla extract until the batter is uniform.
Step 4: The Critical Combining Step
Add the dry ingredients to the wet ingredients.Using a silicone spatula, gently fold the mixture together. Stop folding the moment the last streak of flour disappears. The batter will be thick and lumpy—THIS IS PERFECT. Do not overmix.
Step 5: Fold and Pan
If using add-ins,fold them in now with just 2-3 strokes. Pour the thick batter into your prepared loaf pan. Smooth the top with the spatula. For a professional touch, run a wet finger down the center of the loaf—this encourages an even split in the crown.
Step 6: Bake to Perfection
Bake for55-70 minutes. Ovens vary, so start checking at 55 minutes. The bread is done when it is deeply golden brown, and a long wooden skewer inserted into the very center comes out clean or with a few moist crumbs (no wet batter). If the top is browning too quickly, tent it loosely with aluminum foil for the remaining bake time.
Step 7: The Patience Payoff (Key for Moisture!)
Let the bread cool in the pan,set on a wire rack, for 20 minutes. Then, using the parchment overhang, lift it out of the pan and place it directly on the wire rack to cool completely (about 2 hours). Slicing into a warm loaf releases steam and traps that moisture, preventing a gummy texture. For the cleanest slices and best flavor, wait until it’s fully cool.
Pro Tips & Science-Backed Variations
· Banana Rule: The darker the banana peel, the sweeter and more potent the flavor. You need about 1.5 cups of mash. Not enough? Supplement with unsweetened applesauce.
· The Yogurt Secret: The acidity in yogurt or sour cream tenderizes the gluten and reacts with the baking soda for a better rise, all while adding fat and moisture.
· Why Two Sugars? Brown sugar adds moisture and molasses-like depth; white sugar promotes a beautiful crust. Don’t skip either.
· Flavor & Texture Twists:
· Brown Butter Banana Bread: Brown the melted butter until nutty and golden before adding. It’s a game-changer.
· Cream Cheese Swirl: Beat 4 oz softened cream cheese with 1/4 cup sugar and 1 egg yolk. Drop spoonfuls onto batter in pan and swirl with a knife.
· Double Chocolate: Replace 1/4 cup flour with 1/4 cup unsweetened cocoa powder and add chocolate chips.
· Muffin Conversion: This batter makes 12-14 excellent muffins. Bake at 425°F for 5 minutes, then reduce to 350°F for 12-15 more minutes.
Essential Baking Equipment for Perfect Loaves
Having reliable tools makes the process seamless and ensures consistent results.
Your Banana Bread Toolkit
9×5-Inch Metal Loaf Pan: This is the standard. A light-colored aluminum pan provides the most even baking. Avoid glass or dark non-stick for this recipe, as they can cause over-browning of the crust before the center is done.
Digital Kitchen Scale: This is the single best investment for baking accuracy. Measuring flour by weight (250g) is foolproof and prevents a dry loaf from using too much packed flour.
Large & Medium Mixing Bowls: You need separate bowls for wet and dry ingredients. Glass or stainless steel are ideal.
Whisk & Flexible Silicone Spatula: A whisk is perfect for combining dry ingredients and emulsifying wet ones. The spatula is gentle for folding without overmixing.
Wire Cooling Rack: Non-negotiable for proper cooling. It allows air to circulate, preventing a soggy bottom and ensuring the structure sets correctly.
Long Wooden Skewer or Cake Tester: More accurate than a toothpick for testing the deep center of a tall loaf.
This toolkit empowers you to bake with confidence, ensuring your banana bread is always a triumph.
Storing & Freezing for Lasting Moistness
· Storing at Room Temperature: Once completely cool, wrap the loaf tightly in plastic wrap or aluminum foil. It will stay soft and moist for up to 4 days on the counter.
· Refrigerating: For longer storage (up to a week), keep it wrapped in the fridge. Let slices come to room temperature or warm them slightly before eating.
· Freezing for Long-Term: Wrap the cooled whole loaf or individual slices tightly in plastic wrap, then in a layer of foil or a freezer bag. Freeze for up to 3 months. Thaw overnight on the counter or in the microwave directly from frozen.
Conclusion: Your Search for the Perfect Loaf is Over
This Soft & Moist Banana Bread is more than a recipe—it’s a reliable source of comfort, a smart solution for food waste, and a testament to the fact that the simplest baked goods, when made with care, can be the most extraordinary. It forgoes fuss for fundamental technique, delivering a loaf that is humble in its ingredients but majestic in its result.
So, the next time you see those bananas turning brown on your counter, don’t sigh—celebrate. You’re just a few steps away from creating a warm, fragrant, irresistibly tender loaf that will make your kitchen feel like home. This is the one.
Ready to bake the best banana bread of your life? Preheat that oven, mash those bananas, and get ready for the moist, flavorful, perfect slice you’ve been dreaming of. Share it, savor it, and know you’ve mastered a classic.
More Recipes You Might Like
-

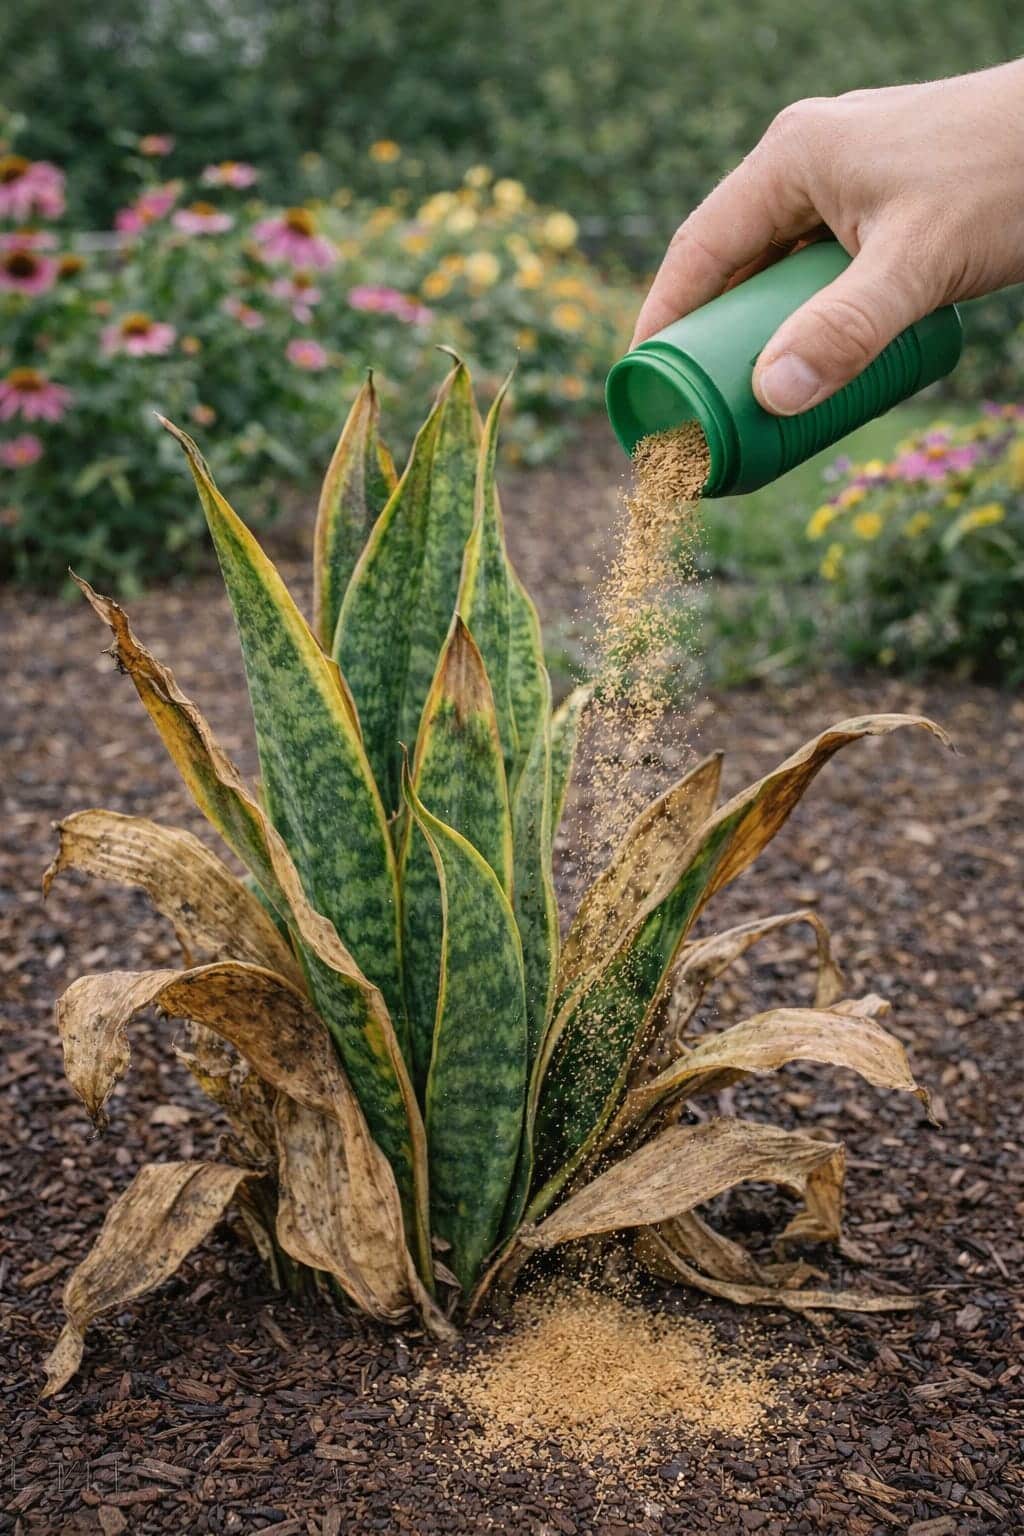
The Snake Plant Recovery Method Using a Simple Natural Powder – How to Fix Dry Leaves and Improve Outdoor Growth
Moving your snake plant outdoors? Leaves may dry out or turn brown. Learn how a simple natural powder (mineral supplement … Read more
-
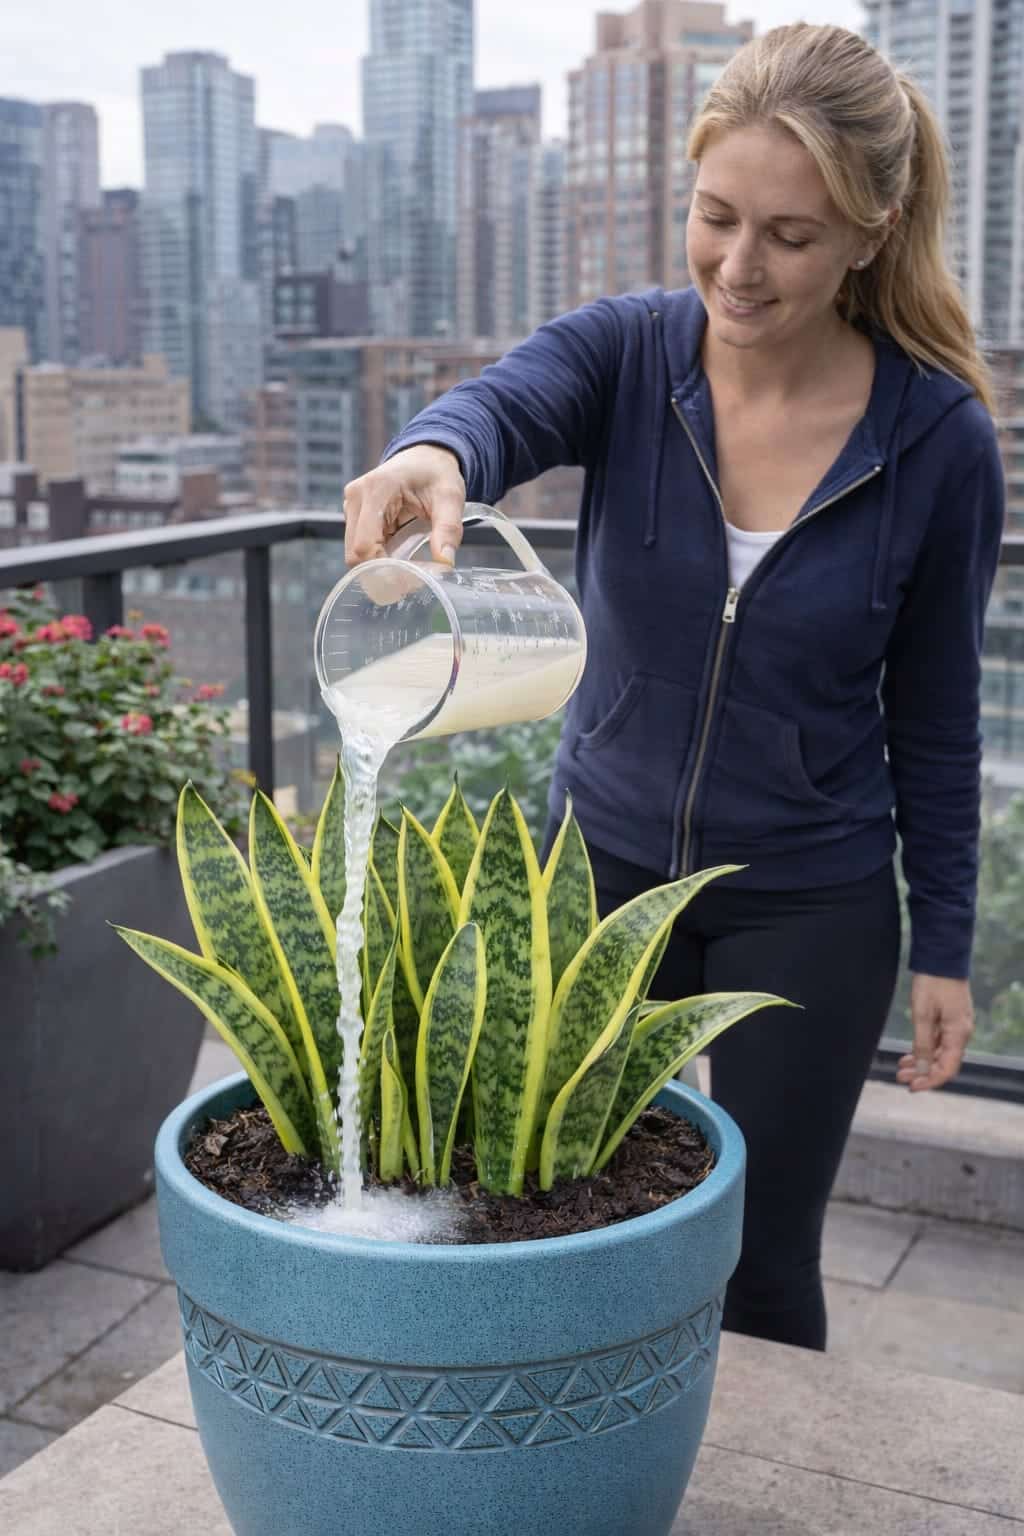
The Snake Plant Growth Method Using Rice Water – How to Revive, Improve Leaf Health, and Support Natural Blooming
Can rice water help your snake plant grow faster and healthier? Learn how to use rice water correctly – as … Read more
-
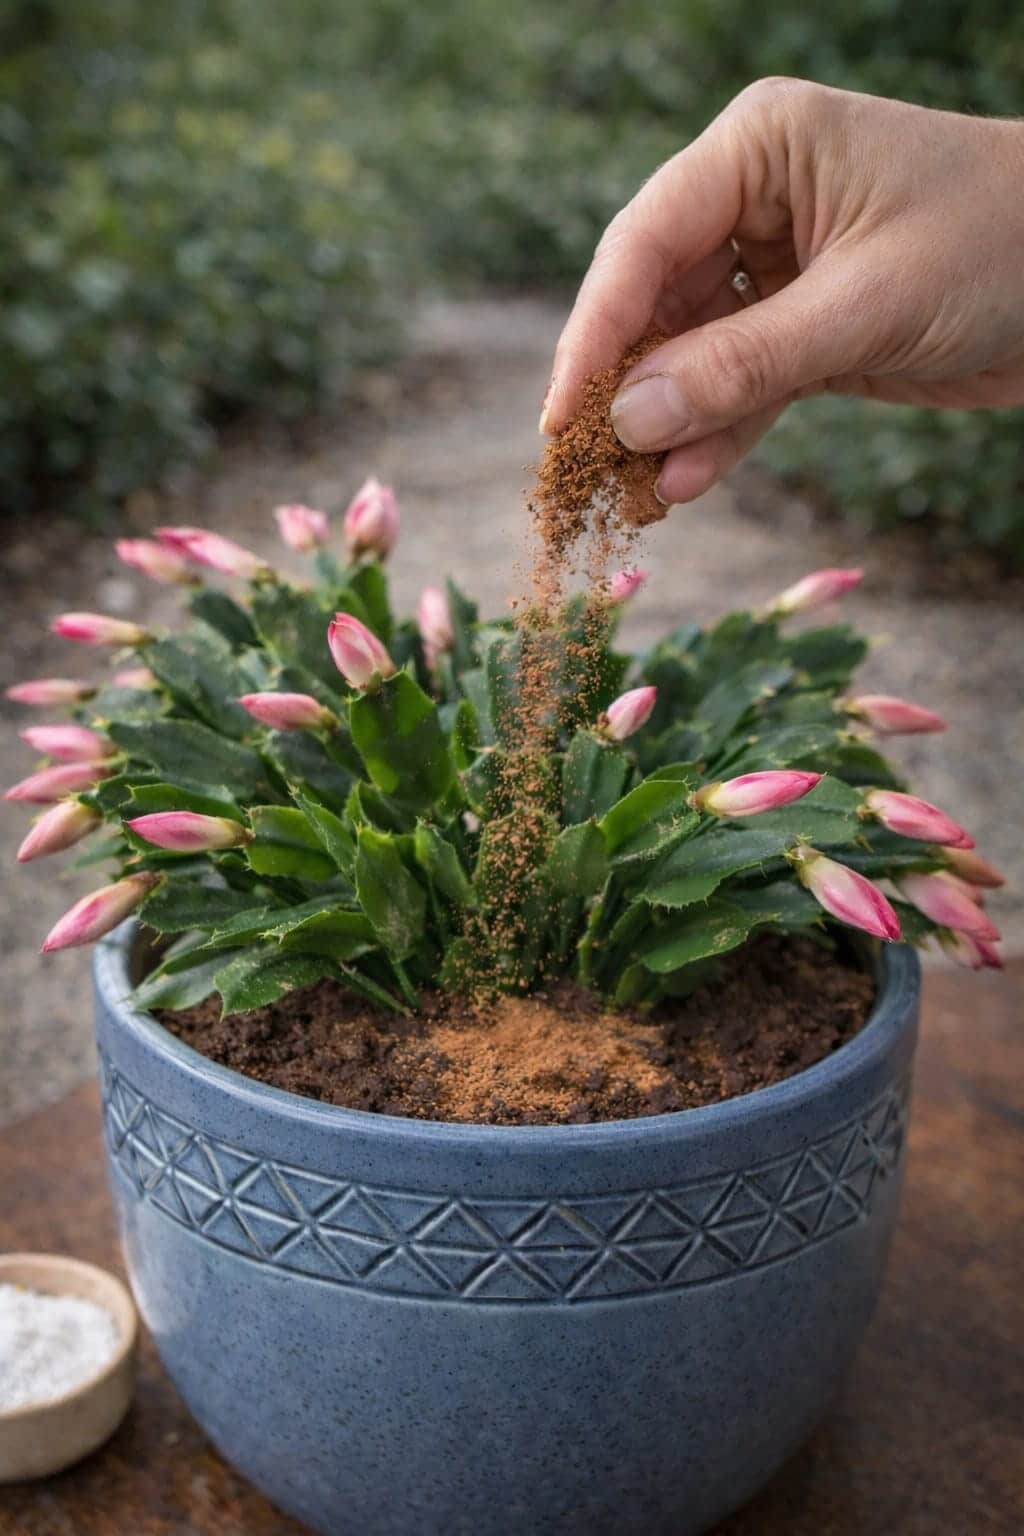
Indoor Gardeners Are Sprinkling This Powder on Christmas Cactus — Here’s Why It Helps Flowers Open Faster
Are your Christmas cactus buds falling off or failing to open? Learn how a simple natural powder (mineral supplement or … Read more