

Cleaning oven racks is arguably one of the most dreaded kitchen chores. The baked-on grease, the stubborn grime, the awkward size that never fits in the sink properly—it’s enough to make anyone postpone the task indefinitely. But what if there was a method so simple, so effective, and so clean (for you!) that it transformed this headache into an almost effortless task? Enter the Genius 1-Bag Method.
This isn’t about elbow grease; it’s about chemical leverage and patience. The principle is simple: you let a powerful degreaser do all the work for you while the rack is safely contained in a sealed plastic bag. No scrubbing, no soaking your sink in filth, and no toxic fumes filling your kitchen. Whether you use household ammonia for a deep chemical cut or a baking soda paste for a more natural approach, the result is the same: a rack that emerges looking “as good as new” with minimal effort on your part.
As someone who has tried every method—from oven cleaners (too caustic) to scrubbing in the bathtub (too messy)—this bag method is a game-changer. It’s perfect for apartment dwellers without a backyard hose, busy parents who need to multitask, and anyone who values a truly hassle-free clean. Let’s banish oven rack dread forever.
Why the 1-Bag Method is a Total Game-Changer
Traditional cleaning requires you to battle the mess directly. This method uses passive, targeted action. By sealing the rack and cleaner in a bag, you create a concentrated, fume-contained environment where the degreaser can work without evaporating. It attacks grime on all sides simultaneously, even in the hard-to-reach nooks and crannies of the rack’s wires. You literally walk away and let science handle it.
Safety First: Crucial Precautions Before You Start
· Ammonia Warning: If using ammonia, it is a powerful chemical. Never mix it with bleach (creates lethal gas). Use in a well-ventilated area (like a balcony or open garage), keep away from children and pets, and wear gloves.
· Bag Integrity: Use a heavy-duty, large garbage bag (like a 13-gallon bag) without holes. Consider double-bagging for extra security.
· Surface Protection: Place the bagged rack on a protected surface (like an old towel or in an empty bathtub) in case of leaks.
Method 1: The Powerful Ammonia “Fume” Clean (For Heavy Buildup)
This is the most effective, zero-scrub method for racks with years of baked-on grease.
You’ll Need:
· 1 large, heavy-duty plastic garbage bag
· 1/4 – 1/2 cup of clear household ammonia
· Gloves and mask (recommended)
· A well-ventilated space
The Process:
Take your oven rack outside or to a very well-ventilated area.
Wearing gloves, place the rack inside the plastic bag.
Pour the ammonia into a small, disposable bowl or cup. DO NOT pour it directly onto the rack.
Place the cup with ammonia inside the bag with the rack.
Immediately and carefully seal the bag tightly, trapping the ammonia fumes inside. The fumes will do the work.
Let it sit for 12 hours (overnight is perfect). The longer it sits, the more the grease liquefies.
The next day, open the bag carefully (avoid inhaling fumes), remove the rack, and rinse it off with a garden hose or in your shower/bathtub. The grime will slide right off. Wipe with a soapy sponge for a final polish.
Method 2: The Natural Baking Soda Paste (For Moderate Grime)
A fantastic, non-toxic alternative that’s safe to do inside your home.
You’ll Need:
· 1 large, heavy-duty plastic garbage bag
· 1 cup of baking soda
· Water to make a thick paste
· White vinegar (for rinsing/activation)
The Process:
In a bowl, mix baking soda with enough water to form a thick, spreadable paste.
Wearing gloves, use a brush or your hands to coat the entire oven rack liberally with the paste. Ensure every wire is covered.
Carefully place the pasty rack into the plastic bag. Seal it tightly.
Let it sit for at least 12 hours, or up to 24 for tough grime. The baking soda will work to break down the grease.
Unbag the rack. Before rinsing, you can spray or pour a little white vinegar over it. The fizzing reaction helps lift the residue.
Rinse thoroughly with warm water and scrub lightly with a non-abrasive sponge. The grime should be significantly loosened.
The Secret is in the Seal: How to Properly Bag Your Rack
The effectiveness hinges on a contained environment.
Lay the Bag Flat: Open the bag and lay it flat on the floor or in your bathtub.
Center the Rack: Place the rack in the middle. If using the ammonia-in-a-cup method, place the cup beside the rack.
Remove Air & Seal: Carefully gather the top of the bag, push out as much air as possible, and twist the top. Secure it with a strong knot or several tight knots. For added security, wrap the twisted top with duct tape.
The Waiting Game: Why Overnight is Non-Negotiable
This is a marinating process, not a quick wipe. The degreaser needs time to penetrate, break down, and dissolve the polymerized grease and carbon deposits. A minimum of 8-12 hours is crucial. Plan to do this before bed or when you leave for work. The patience pays off when you see the results.
The Big Reveal & Final Rinse: What to Expect
When you open the bag after the ammonia method, you’ll find the grease has turned into a brown, liquidy sludge. Simply take the rack to a rinse area (outdoor hose is best) and watch the grime wash away. For the baking soda method, you’ll have a dried paste holding the loosened grime, which rinses off easily. A final wipe with dish soap will make it gleam.
Pro Tips for the Absolute Best Results
· Pre-Clean Loose Debris: Tap the rack over a trash can to remove large, loose crumbs before bagging.
· Warmth Helps: If possible, perform this method in a warm space (like a sunlit garage). Heat accelerates the chemical reaction.
· For Extra Tough Spots: After unbagging, for any remaining spots, make a paste of baking soda and a drop of dish soap. Let it sit on the spot for 15 minutes, then scrub lightly.
· Dry Immediately: After rinsing, dry the rack thoroughly with a towel to prevent water spots and flash rusting.
What If My Rack is Too Big? Adapting the Method
For extra-large or stubborn racks, use a large plastic storage tote with a sealing lid instead of a bag. Place the rack inside, add your cleaning agent (ammonia in a bowl or baking soda paste applied directly), seal the lid, and let it sit. This is more secure and reusable.
FAQs: Your Oven Rack Cleaning Questions Answered
Q: Does the ammonia damage the rack’s chrome or coating?
A:No. Pure household ammonia is safe for metal oven racks. It attacks organic material (grease, food) but not the metal itself.
Q: Can I reuse the bag/ammonia?
A:No. Dispose of the bag and any leftover ammonia solution safely after one use. The bag will be contaminated with liquefied grease.
Q: What’s the white, chalky residue after the baking soda method?
A:That’s just dried baking soda. It rinses off easily with water and a little vinegar.
Q: Is the smell overpowering?
A:With the bag sealed, you shouldn’t smell anything. When you open it (ammonia method), do so in your ventilated area. The baking soda method has no harsh smell.
Why This Beats Spray-On Oven Cleaners
Spray-on cleaners are messy, their fumes are dangerous to inhale, and they often require heavy scrubbing on vertical rack surfaces. This bag method contains everything, uses less product, and requires zero scrubbing. It’s also more economical.
Maintaining Your Sparkling Clean Racks
To make future cleans easier, give your racks a quick wipe with a damp cloth after major oven spills cool down. For regular maintenance, you can run them through a self-cleaning oven cycle (check your manual first, as some racks are not suitable), but the bag method is gentler and more targeted.
The Final Wipe: Embrace the Easy Clean
This 1-bag method demystifies a universally hated chore. It leverages simple chemistry to do the hard work for you, saving your time, your sink, and your sanity. Once you try it and see your racks emerge looking truly new, you’ll never go back to scraping and scrubbing.
So, grab a bag, choose your cleaner, and give yourself the gift of a sparkling oven rack with almost zero effort. Your future self will thank you.
Quick Guide: The 1-Bag Oven Rack Clean
Goal: Deep-clean oven rack with no scrubbing.
Time:15 mins active, 12+ hours passive.
Tools:1 Heavy-duty plastic bag, gloves, ventilation.
Ammonia Method (Heavy Duty):
- VENTILATE. Take bag & rack outside/to garage.
- Place rack in bag. Add small bowl with ½ cup ammonia.
- Seal bag tightly. Wait 12+ hours.
- Open bag outdoors, rinse rack with hose. Wipe dry.
Baking Soda Method (Natural):
- Coat rack thickly with baking soda paste.
- Place in bag, seal tightly.
- Wait 12+ hours.
- Rinse, use vinegar for stubborn spots, dry.
⚠️ Never mix ammonia & bleach. Always ventilate.
Tried this bag method? Share your before-and-after success (or your favorite tip) in the comments below! Save this pin for the next time your oven racks need some love.
More Recipes You Might Like
-
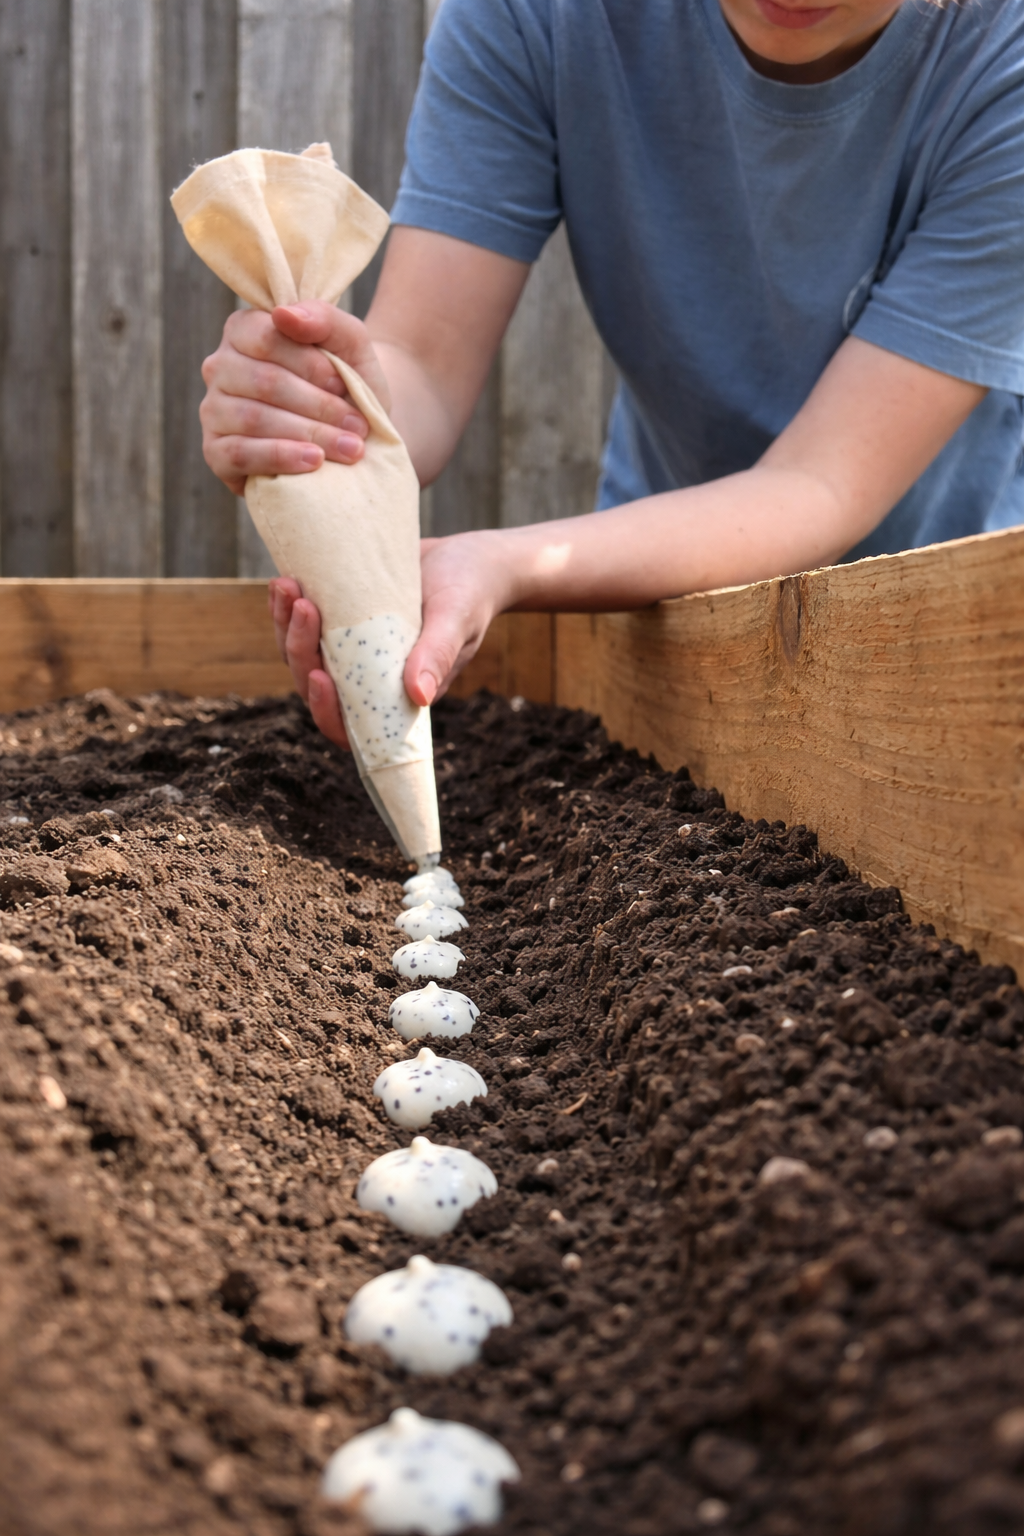
The Easy Garden Hack That Guarantees Straight, Healthy Carrots
Say goodbye to crooked, stunted carrots! Discover the simple seed paste hack that ensures perfect spacing and straight roots. This easy planting technique will transform your carrot harvest. Let me tell you about the gardening trick that turned my carrot patch from a tangle of twisted roots into a picture-perfect harvest. I love growing carrots.…
-
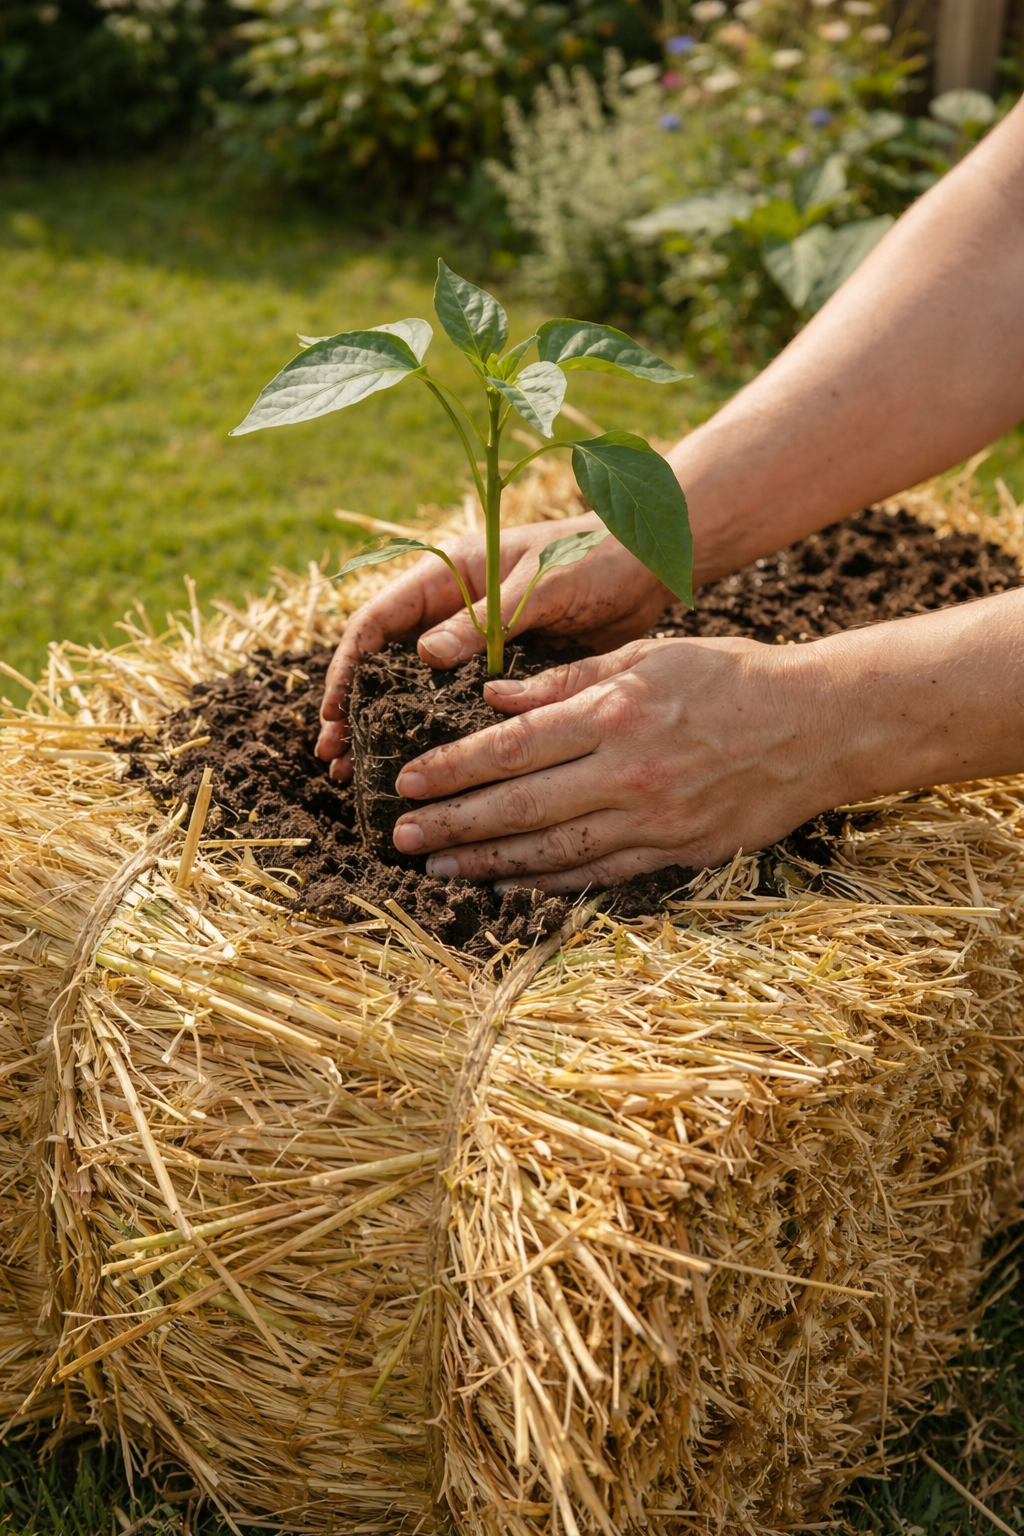
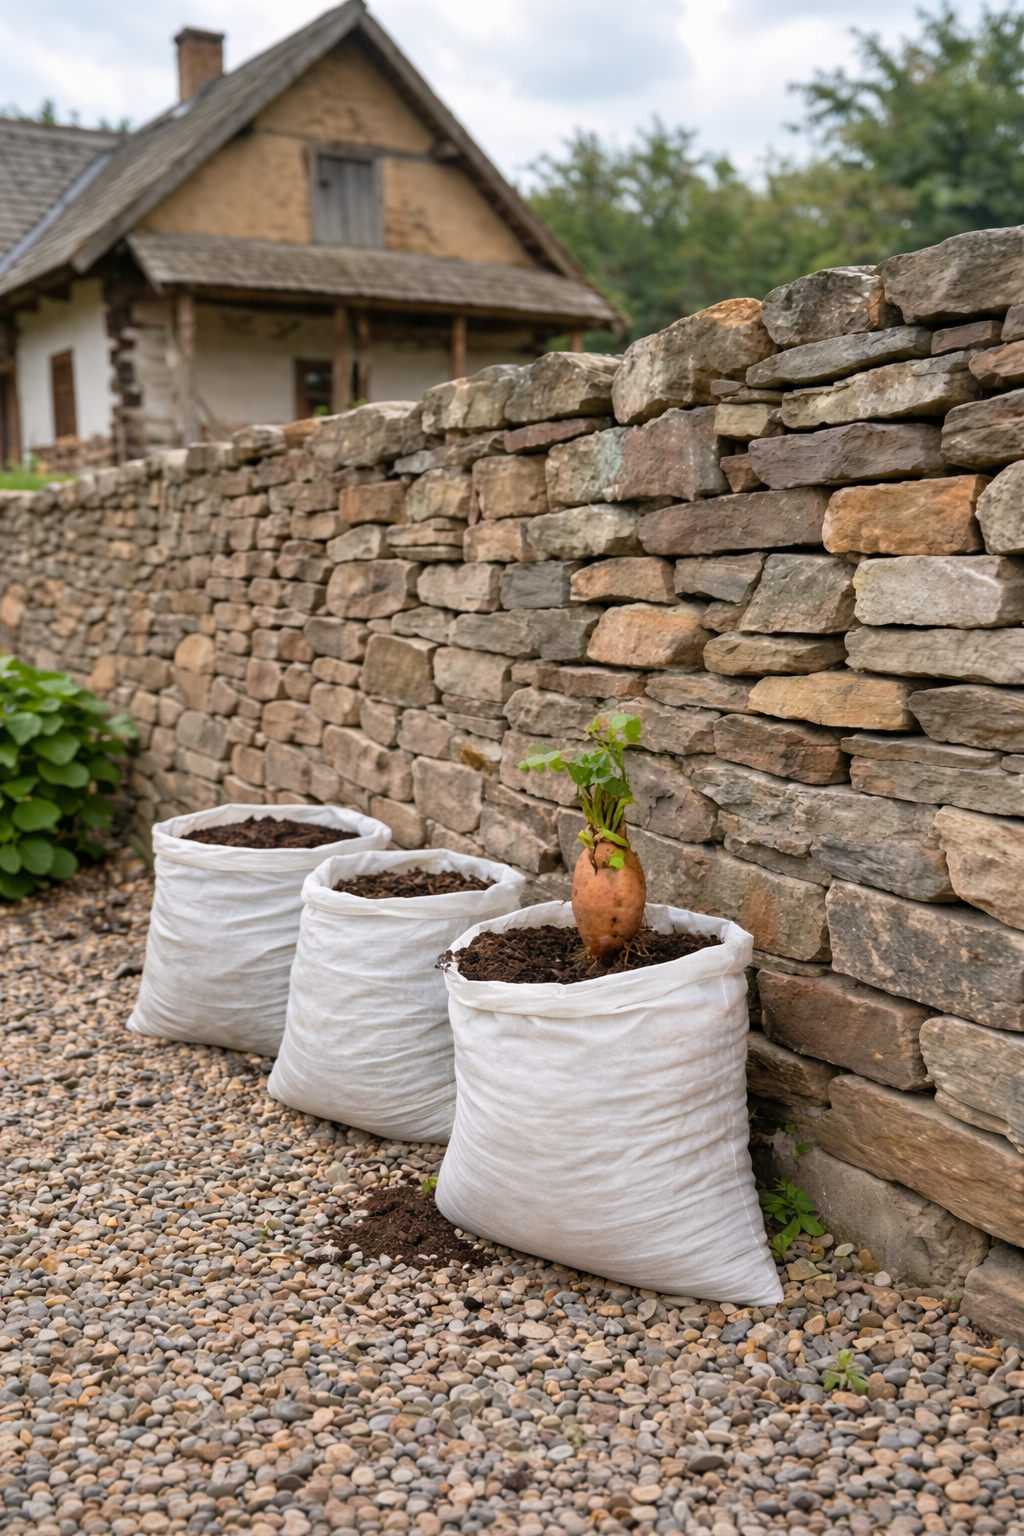
Grow 3X More Sweet Potatoes at Home with This Simple Soil Bag Trick
Want to grow 3 times more sweet potatoes in a small space? This clever soil bag trick is a game-changer. Learn how to plant sweet potatoes in bags for a massive harvest—perfect for small gardens and patios. Let me tell you about the gardening trick that turned my tiny patio into a sweet potato factory.…
-
Grow 3X More Sweet Potatoes at Home with This Simple Soil Bag Trick
Want to grow 3 times more sweet potatoes in a small space? This clever soil bag trick is a game-changer. Learn how to plant sweet potatoes in bags for a massive harvest—perfect for small gardens and patios. Let me tell you about the gardening trick that turned my tiny patio into a sweet potato factory.…