

Freezers are essential appliances in any household, offering a reliable way to store food for long periods. However, over time, they can accumulate frost and ice, which can affect their efficiency and capacity. If you’ve ever opened your freezer to find it covered in layers of ice, you know how frustrating it can be to clear it out. While it’s tempting to put off defrosting, it’s a necessary task to keep your freezer running smoothly.
Luckily, defrosting a freezer doesn’t have to be a daunting, time-consuming chore. With the right methods and a little planning, you can defrost your freezer in just a few minutes with minimal effort. In this guide, we’ll walk you through the most efficient and easy ways to clear out that ice build-up, ensuring your freezer stays in top condition without hours of hard work.
1. Why You Need to Defrost Your Freezer Regularly
Before diving into the actual process of defrosting, it’s important to understand why this task is so essential. The build-up of frost and ice inside your freezer can affect both its efficiency and the longevity of the appliance.
Improved Efficiency: When a layer of frost accumulates in your freezer, it reduces the amount of usable space inside. Moreover, the freezer needs to work harder to maintain a cold temperature, resulting in higher energy consumption. By defrosting your freezer, you’re allowing it to operate at optimal efficiency.
Prevents Damage: Over time, thick ice layers can cause damage to the freezer’s internal components. If left unchecked, the excess ice can interfere with the cooling system, potentially leading to more serious issues and expensive repairs.
Better Organization: A defrosted freezer gives you a fresh start, making it easier to organize and store food. You’ll have more room to store new items, and the lack of ice will also make it easier to find and retrieve food when needed.
2. Understanding When to Defrost Your Freezer
You don’t need to defrost your freezer constantly, but it’s essential to know when to do it. Generally, you should defrost your freezer when:
The Ice Layer is ¼ to ½ Inch Thick: A thin layer of frost won’t typically affect the freezer’s performance, but when it starts to reach a thickness of about ¼ to ½ inch, it’s time to clear it out. At this point, the ice can obstruct airflow, causing the freezer to use more energy.
There’s Visible Ice Build-Up: If you can visibly see large chunks of ice on the walls or shelves of your freezer, it’s a clear sign that it’s time to defrost.
Freezer’s Efficiency Declines: If your freezer is running longer than usual or the food isn’t freezing as quickly as before, it could be due to excess frost. In this case, a defrost could solve the problem.
3. How to Defrost a Freezer Quickly Without Effort
Defrosting your freezer doesn’t need to be a complicated or labor-intensive task. Below are step-by-step instructions for the most efficient and easiest methods for defrosting your freezer in minutes.
Step 1: Unplug the Freezer
The first thing you’ll want to do is unplug your freezer to ensure safety while working. This also saves you energy while the appliance is idle during the defrosting process. If you have food inside the freezer that you want to preserve, it’s important to keep it cool while you work. You can either transfer it to another freezer or use a cooler filled with ice packs.
Step 2: Remove Items from the Freezer
Once the freezer is unplugged, remove all the items inside. This is an excellent opportunity to go through your freezer and toss out any expired or unwanted items. With the freezer empty, you’ll have more room to work and can better assess the amount of ice that needs to be removed.
Place the items on the kitchen counter or in a cooler to prevent them from thawing while you defrost the freezer.
Step 3: Prepare the Freezer for Defrosting
To make the process more efficient, place towels or old newspapers on the floor of the freezer and around the appliance to absorb the water as the ice melts. This will help prevent a mess in your kitchen.
4. Defrosting Methods: The Easiest and Quickest Ways
Now, let’s get into the methods you can use to defrost your freezer quickly and effortlessly.
Method 1: Using Hot Water and Steam
One of the quickest and easiest ways to melt ice is by using steam. Steam will loosen up the frost without you needing to manually scrape it off.
Instructions:
Boil some water: Boil several cups of water on the stove. Pour the boiling water into a heatproof bowl or pan that fits inside your freezer.
Place the bowl in the freezer: Put the bowl of hot water inside the freezer, on the bottom shelf, and close the door.
Let the steam work: The steam from the boiling water will soften the ice. Leave the bowl inside for about 10-15 minutes. During this time, the ice will begin to loosen and melt.
Wipe away the ice: Once the ice is soft and starting to drip, use a plastic spatula to scrape the ice off the walls of the freezer. Be sure to remove as much as you can, and periodically wipe down the area with towels.
Method 2: Using a Hair Dryer
If you want to speed up the process even more, using a hair dryer can be an effective way to melt the ice quickly. The hot air from the dryer will help loosen up the frost and speed up the melting process.
Instructions:
Plug in the hair dryer: Set your hair dryer to the hottest setting.
Direct the hot air: Hold the hair dryer about 6 inches from the ice, moving it around to target all the areas with frost. Focus on the thicker ice layers, but be careful not to get too close to the freezer’s walls to avoid damaging them.
Melt the ice: Continue using the hair dryer until the ice is fully melted. You can use a plastic spatula to gently scrape off the remaining frost.
Clean the water: As the ice melts, it will create water. Make sure to clean it up quickly with towels to avoid any flooding.
Method 3: Using a Plastic Spatula or Ice Scraper
For those who prefer a more hands-on approach, you can always use a plastic spatula or an ice scraper to manually remove the ice. While this may take a bit more time, it’s a simple and effective method.
Instructions:
Gently scrape the ice: Use a plastic spatula or ice scraper to break off the layers of ice. Avoid using metal tools, as they could damage the freezer’s interior.
Work in sections: Work your way around the freezer, scraping the ice in small sections. This will prevent any damage to the walls and allow for a more efficient removal of the frost.
Dispose of the ice: Once the ice is removed, dispose of it safely in the sink or outside. Make sure no ice cubes or shards get stuck in the freezer’s components.
5. How to Clean After Defrosting
Once the ice has melted, it’s important to clean the inside of the freezer to ensure it’s free of moisture and bacteria.
Wipe down the walls: Use a clean cloth or sponge to wipe down the walls of the freezer. This will remove any remaining moisture or residue from the melted ice.
Clean the shelves and drawers: Take out any removable shelves or drawers and wash them with warm soapy water. Dry them thoroughly before placing them back inside the freezer.
Air dry: Leave the freezer door open for a while to let the interior air dry completely before plugging it back in.
6. Reorganizing and Restocking Your Freezer
Once your freezer is clean and dry, it’s time to restock it. As you place your food back inside, consider organizing it for better accessibility. Label items with dates, and use airtight containers to maximize freshness. This is also an excellent time to evaluate the food you store and clear out anything that is no longer needed.
Conclusion
Defrosting a freezer doesn’t need to be an intimidating task. With the right methods and a little effort, you can easily defrost your freezer in a fraction of the time. Whether you choose to use hot water, a hair dryer, or simply scrape away the ice, the key is to do it regularly to keep your freezer running efficiently. A clean, defrosted freezer will save you money on energy bills, prevent unnecessary damage, and give you the extra space you need for all your frozen goods. So, roll up your sleeves, follow these steps, and get your freezer in top condition today!
More Recipes You Might Like
-

I Sprayed This on My Plants… Now They Bloom Nonstop Like Magic!
Discover the simple homemade spray that encourages nonstop blooms! Made with sugar, apple cider vinegar, and dish soap, this natural solution helps African violets and other flowering plants thrive. Easy, budget-friendly, and surprisingly effective. Let me introduce you to the spray that turned my shy African violets into blooming machines. I’ve always loved flowering houseplants,…
-
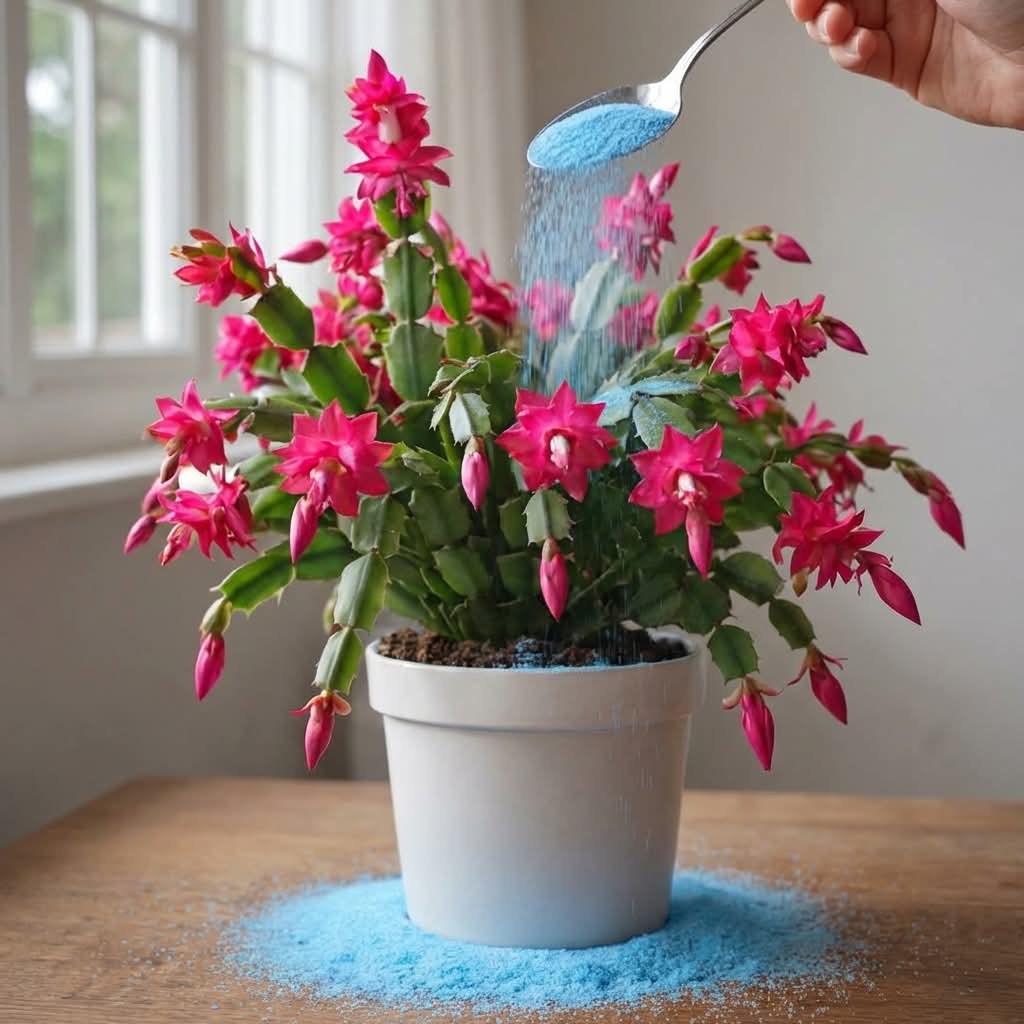
I Sprinkled This Powder… And My Plant Exploded With Blooms
Discover the homemade powder that made my flowers explode! A simple mix of natural ingredients – banana peel powder, eggshell powder, and Epsom salt – that encourages prolific blooming. Easy, cheap, and incredibly effective. Let me tell you about the moment my peace lily went from a leafy green wallflower to a blooming machine. I’d…
-
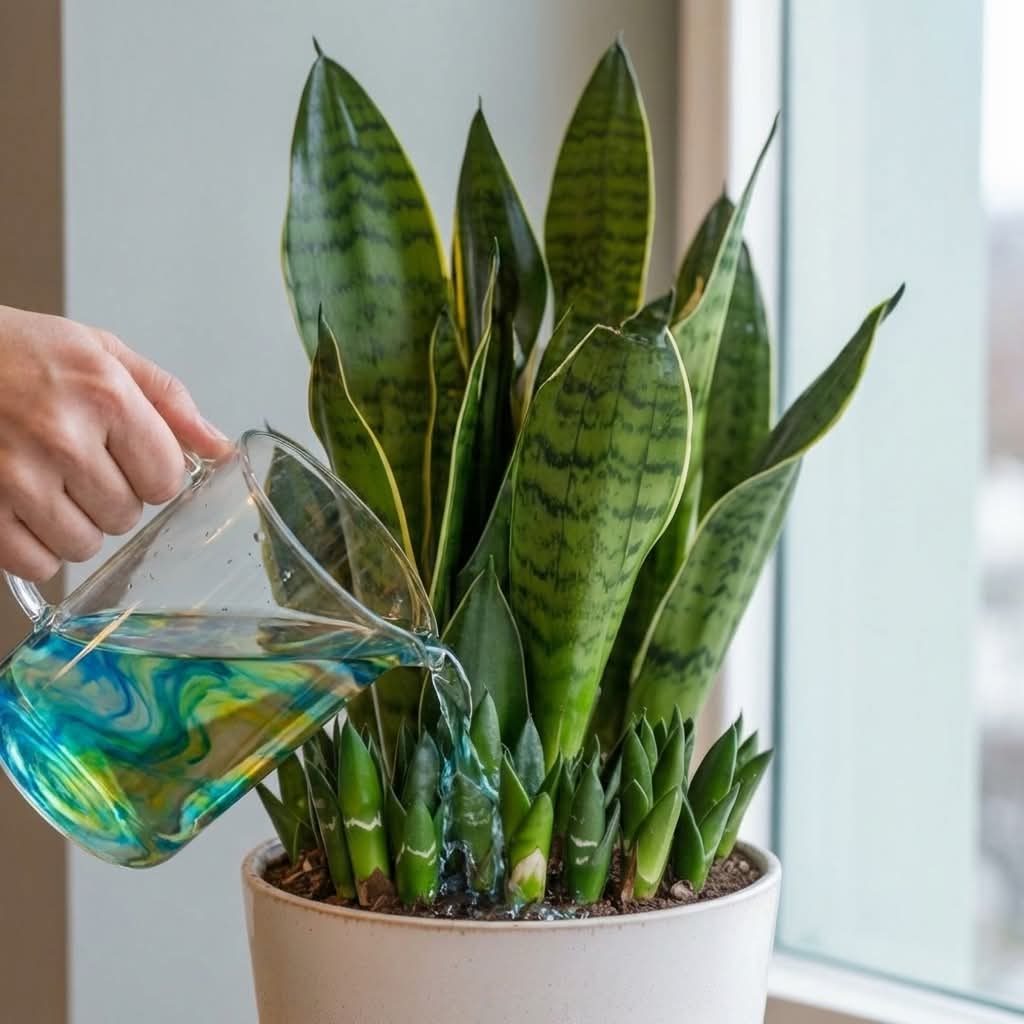
The Secret Trick to Get Endless Snake Plant Babies Fast
Want more snake plants without buying them? Discover the secret trick to encourage your Sansevieria to produce endless pups quickly. Simple propagation methods, natural rooting boosters, and expert tips. Let me tell you about the snake plant that taught me the secret to multiplying them like crazy. I’ve always loved snake plants (Sansevieria, now Dracaena…