
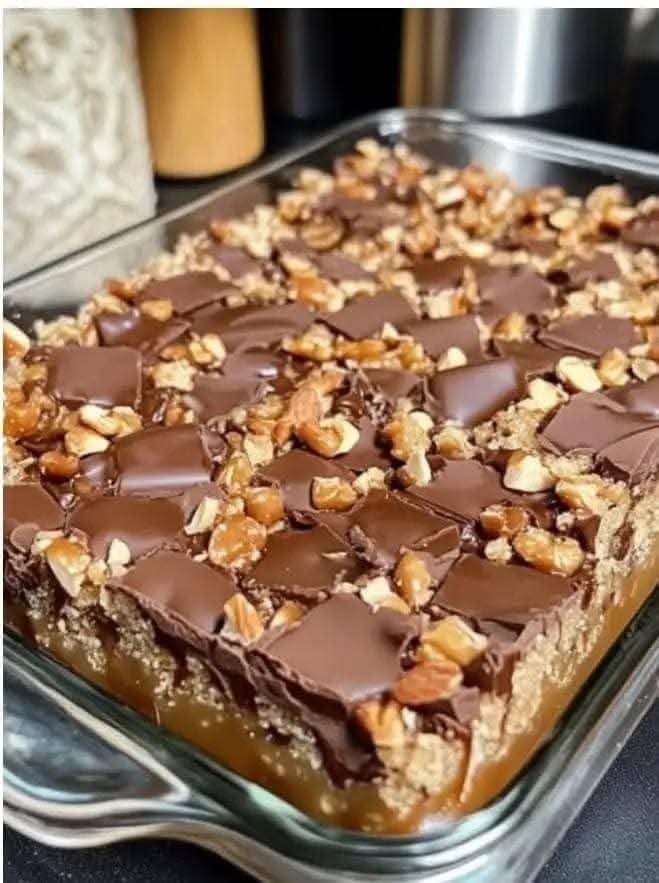
If you’re someone who loves a rich, indulgent dessert but doesn’t have the time or energy to bake something from scratch, this recipe is a total game-changer. It’s a no-bake chocolate caramel bar that combines layers of buttery shortbread, gooey caramel, crunchy nuts, and rich chocolate. The best part? It’s incredibly easy to make, and you don’t need to spend hours in the kitchen! Whether you’re hosting a party, craving something sweet, or need a quick treat for your family, these bars will hit the spot every time.
Let’s dive into how to make this simple yet decadent dessert that everyone will adore.
The Simplicity of No-Bake Desserts: A Perfect Treat for Busy Days
Life gets busy, and sometimes you just want to enjoy a sweet treat without the fuss. No-bake desserts are perfect for those moments when you need a quick fix for your sweet tooth. Whether you’re pressed for time, or simply prefer a hassle-free dessert, this no-bake chocolate caramel bar recipe is ideal. It’s a great option for busy weeknights, potlucks, family gatherings, or even as a special treat just for you.
The beauty of no-bake desserts lies in their simplicity. You don’t need to preheat the oven, and there’s no need to worry about complicated steps. Just layer, chill, and you’re done. It’s that easy!
Ingredients You’ll Need: The Magic Behind the Layers
The ingredients for this dessert are simple, and you likely already have most of them in your pantry. Here’s what you’ll need:
For the Shortbread Base:
2 cups of crushed digestive biscuits or graham crackers
1 cup unsalted butter, melted
1/4 cup granulated sugar
For the Caramel Layer:
1/2 cup unsalted butter
1/2 cup packed brown sugar
1/4 cup sweetened condensed milk
For the Chocolate Topping:
1 1/2 cups milk chocolate chips or chopped chocolate
1/4 cup crushed salted peanuts or your choice of nuts (optional but adds a nice crunch)
3. Preparing the Shortbread Base: The Foundation of the Bars
The shortbread base is what makes this dessert irresistible. It’s simple to make but adds a buttery, crumbly texture that perfectly complements the creamy caramel and smooth chocolate layers.
Steps to Prepare the Shortbread:
Crush the Biscuits: Start by crushing the digestive biscuits (or graham crackers) into fine crumbs. You can do this by placing them in a plastic bag and rolling a rolling pin over them, or you can use a food processor for a quicker method.
Mix the Base Ingredients: In a large mixing bowl, combine the crushed biscuits with the melted butter and sugar. Stir everything together until the crumbs are evenly coated, and the mixture starts to clump together.
Press Into the Pan: Line an 8×8-inch baking dish with parchment paper or lightly grease it. Press the shortbread mixture into the bottom of the dish, making sure it’s packed tightly and evenly. Use the back of a spoon or your hands to smooth it out.
Refrigerate: Place the pan in the refrigerator while you prepare the caramel layer. This allows the base to firm up and set, making it easier to add the next layers.
4. Making the Gooey Caramel Layer: Sweet and Silky
The caramel layer is the heart of this dessert. It’s gooey, sweet, and perfectly complements the crunchiness of the shortbread and the richness of the chocolate topping.
Steps to Prepare the Caramel:
Melt the Butter and Sugar: In a medium saucepan over medium heat, melt the butter. Add the brown sugar and stir constantly until the sugar dissolves, and the mixture becomes smooth.
Add Sweetened Condensed Milk: Pour in the sweetened condensed milk, stirring to combine. Bring the mixture to a gentle simmer, stirring constantly to prevent burning. Let it simmer for about 3-4 minutes, or until it thickens and becomes a luscious caramel consistency.
Pour Over the Base: Take the shortbread base out of the refrigerator and carefully pour the warm caramel over the top. Use a spatula to spread it evenly over the base.
Chill the Caramel Layer: Return the dish to the refrigerator and let the caramel layer set for at least 30 minutes, or until it firms up.
5. The Chocolate Topping: The Finishing Touch
The final layer of rich, melted chocolate is what makes this dessert truly indulgent. It creates a smooth, glossy topping that contrasts beautifully with the gooey caramel and crunchy base.
Steps to Prepare the Chocolate Layer:
Melt the Chocolate: In a heatproof bowl, melt the milk chocolate chips using a double boiler or in the microwave (heating in 30-second intervals, stirring in between). Stir until the chocolate is completely smooth.
Spread the Chocolate: Once the caramel layer has set, pour the melted chocolate over it. Use a spatula to spread the chocolate evenly across the top.
Add the Nuts: Sprinkle the crushed salted peanuts (or other nuts of your choice) over the chocolate while it’s still soft. This adds both crunch and flavor to the topping.
Chill Again: Place the dish back in the refrigerator and allow the chocolate to fully set. This may take about 30 minutes or so.
6. Slicing and Serving: Enjoy Your Delicious Creation
Once the chocolate has set and the bars are firm, it’s time to slice and serve. Use a sharp knife to cut the dessert into squares or rectangles. The layers should be visible, showcasing the golden shortbread, gooey caramel, and shiny chocolate with the added crunch of the nuts on top.
7. Why This No-Bake Chocolate Caramel Bar is a Game-Changer
This dessert is a crowd-pleaser for several reasons:
No-Bake Convenience: You don’t need an oven or hours of prep time. It’s simple, quick, and can be made in advance.
Layered Perfection: The combination of buttery shortbread, gooey caramel, smooth chocolate, and crunchy nuts is a flavor match made in heaven.
Customizable: You can swap the peanuts for other nuts like almonds, pecans, or even cashews. If you’re not a fan of milk chocolate, dark chocolate works just as well for a richer taste.
Perfect for Any Occasion: Whether it’s a holiday, a birthday, or just a casual gathering, this dessert is perfect for any event. It’s sweet, satisfying, and sure to impress your guests.
8. Tips and Tricks for Perfecting Your No-Bake Bars
Chill Between Layers: Make sure to chill each layer before adding the next one. This will prevent the caramel and chocolate from mixing with the base or running off the sides.
Use Quality Chocolate: The chocolate topping is a key part of this recipe, so make sure to use good-quality chocolate. Opt for milk chocolate with a smooth texture for the best results.
Serve Cold: These bars are best served chilled to allow the layers to set and stay firm. They make the perfect make-ahead dessert.
9. Customizing Your No-Bake Chocolate Caramel Bars
Add More Layers: If you love chocolate and caramel, why not add an extra layer of chocolate ganache or caramel in between the shortbread and the top chocolate layer? You can never go wrong with more delicious layers!
Add a Touch of Salt: For a salted caramel twist, sprinkle a pinch of sea salt on top of the caramel before adding the chocolate. This contrast in flavor will take your dessert to a whole new level.
10. Final Thoughts: The Perfect Sweet Treat
This no-bake chocolate caramel bar recipe is perfect for anyone looking for a quick, easy, and indulgent dessert. With its layers of buttery shortbread, gooey caramel, and rich chocolate, it’s sure to satisfy any sweet tooth. Plus, it’s incredibly versatile, so you can make it your own by adding different nuts, switching up the chocolate, or adding extra layers.
No matter the occasion, this dessert is bound to become a favorite. It’s simple, satisfying, and irresistibly delicious. Enjoy!
More Recipes You Might Like
-
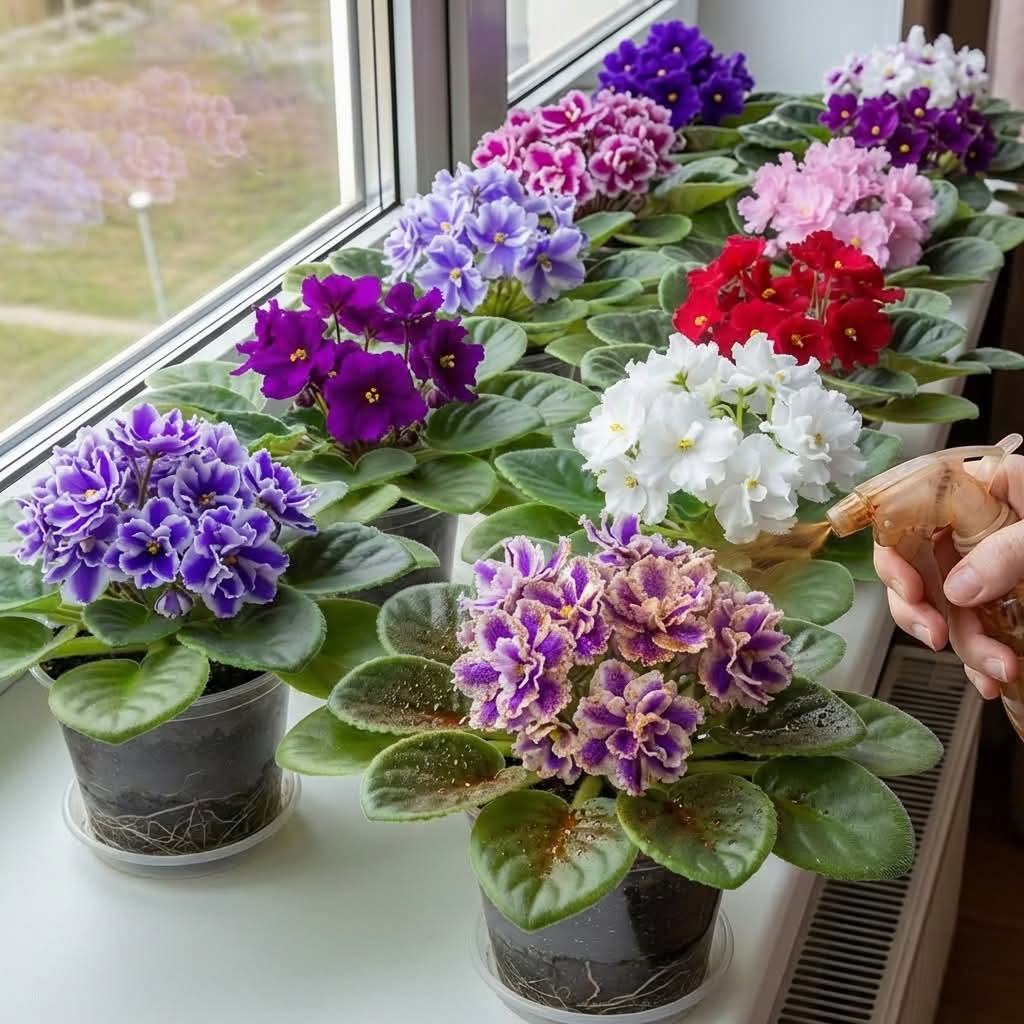
I Sprayed This on My Plants… Now They Bloom Nonstop Like Magic!
Discover the simple homemade spray that encourages nonstop blooms! Made with sugar, apple cider vinegar, and dish soap, this natural solution helps African violets and other flowering plants thrive. Easy, budget-friendly, and surprisingly effective. Let me introduce you to the spray that turned my shy African violets into blooming machines. I’ve always loved flowering houseplants,…
-
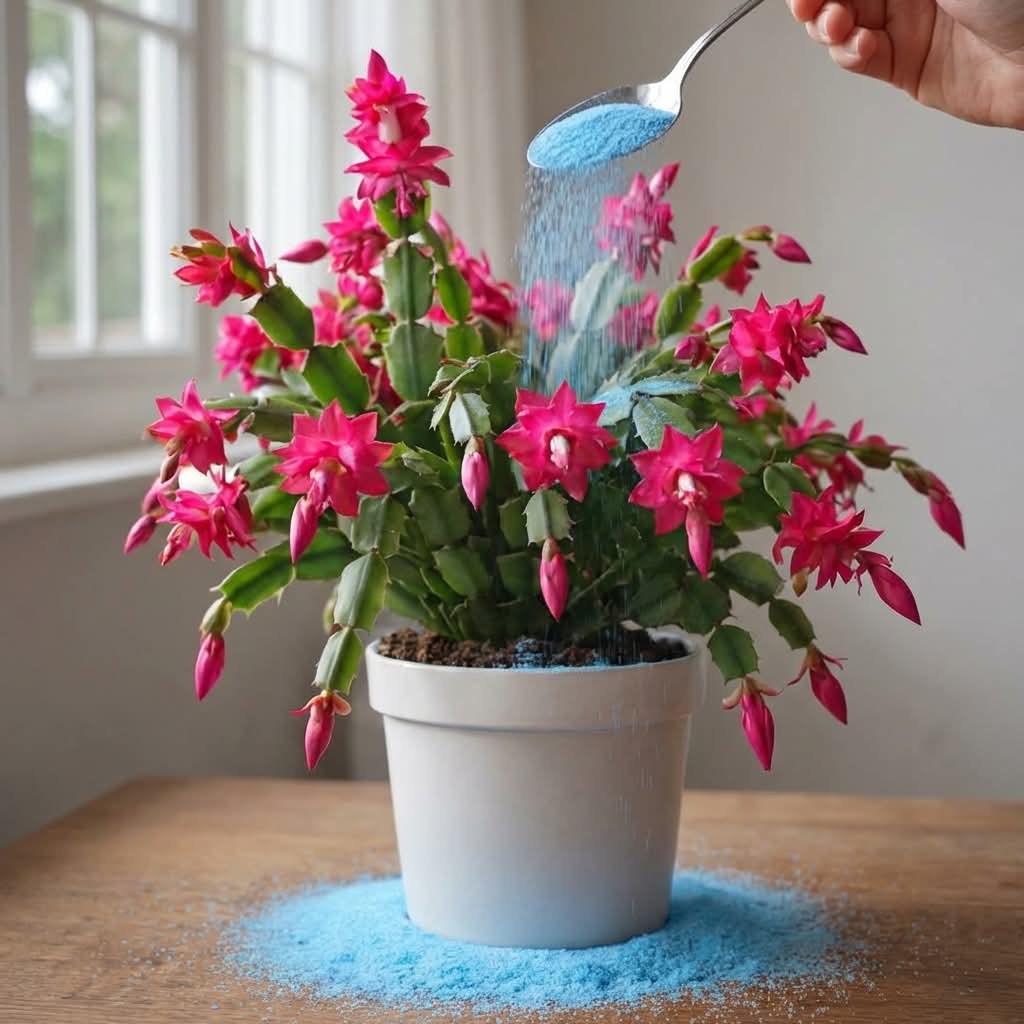
I Sprinkled This Powder… And My Plant Exploded With Blooms
Discover the homemade powder that made my flowers explode! A simple mix of natural ingredients – banana peel powder, eggshell powder, and Epsom salt – that encourages prolific blooming. Easy, cheap, and incredibly effective. Let me tell you about the moment my peace lily went from a leafy green wallflower to a blooming machine. I’d…
-
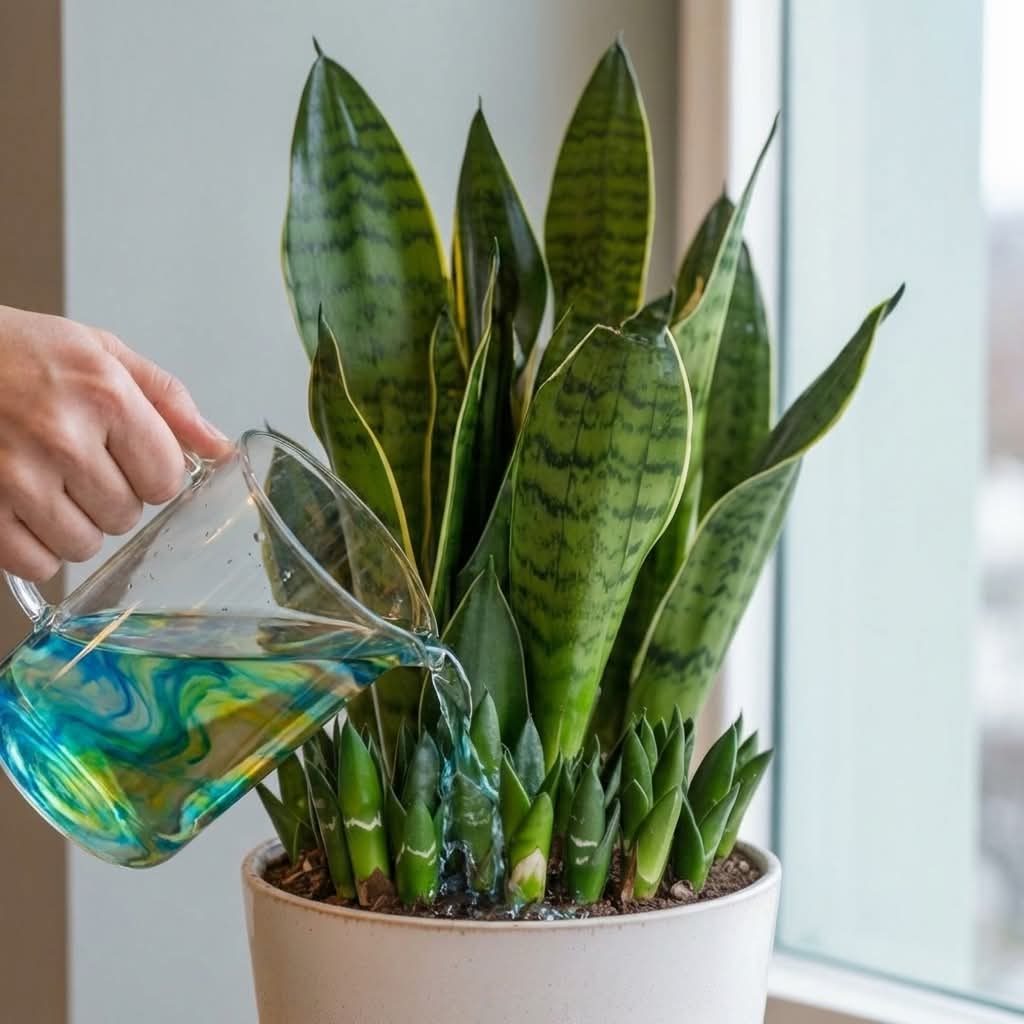
The Secret Trick to Get Endless Snake Plant Babies Fast
Want more snake plants without buying them? Discover the secret trick to encourage your Sansevieria to produce endless pups quickly. Simple propagation methods, natural rooting boosters, and expert tips. Let me tell you about the snake plant that taught me the secret to multiplying them like crazy. I’ve always loved snake plants (Sansevieria, now Dracaena…