Peace lilies are among the most beautiful indoor plants you can grow. Their deep green leaves, elegant white blooms, and soft tropical look make them perfect for living rooms, bedrooms, offices, apartments, shaded corners, and calm indoor plant displays. A healthy peace lily can brighten a room instantly with glossy foliage and graceful flowers.
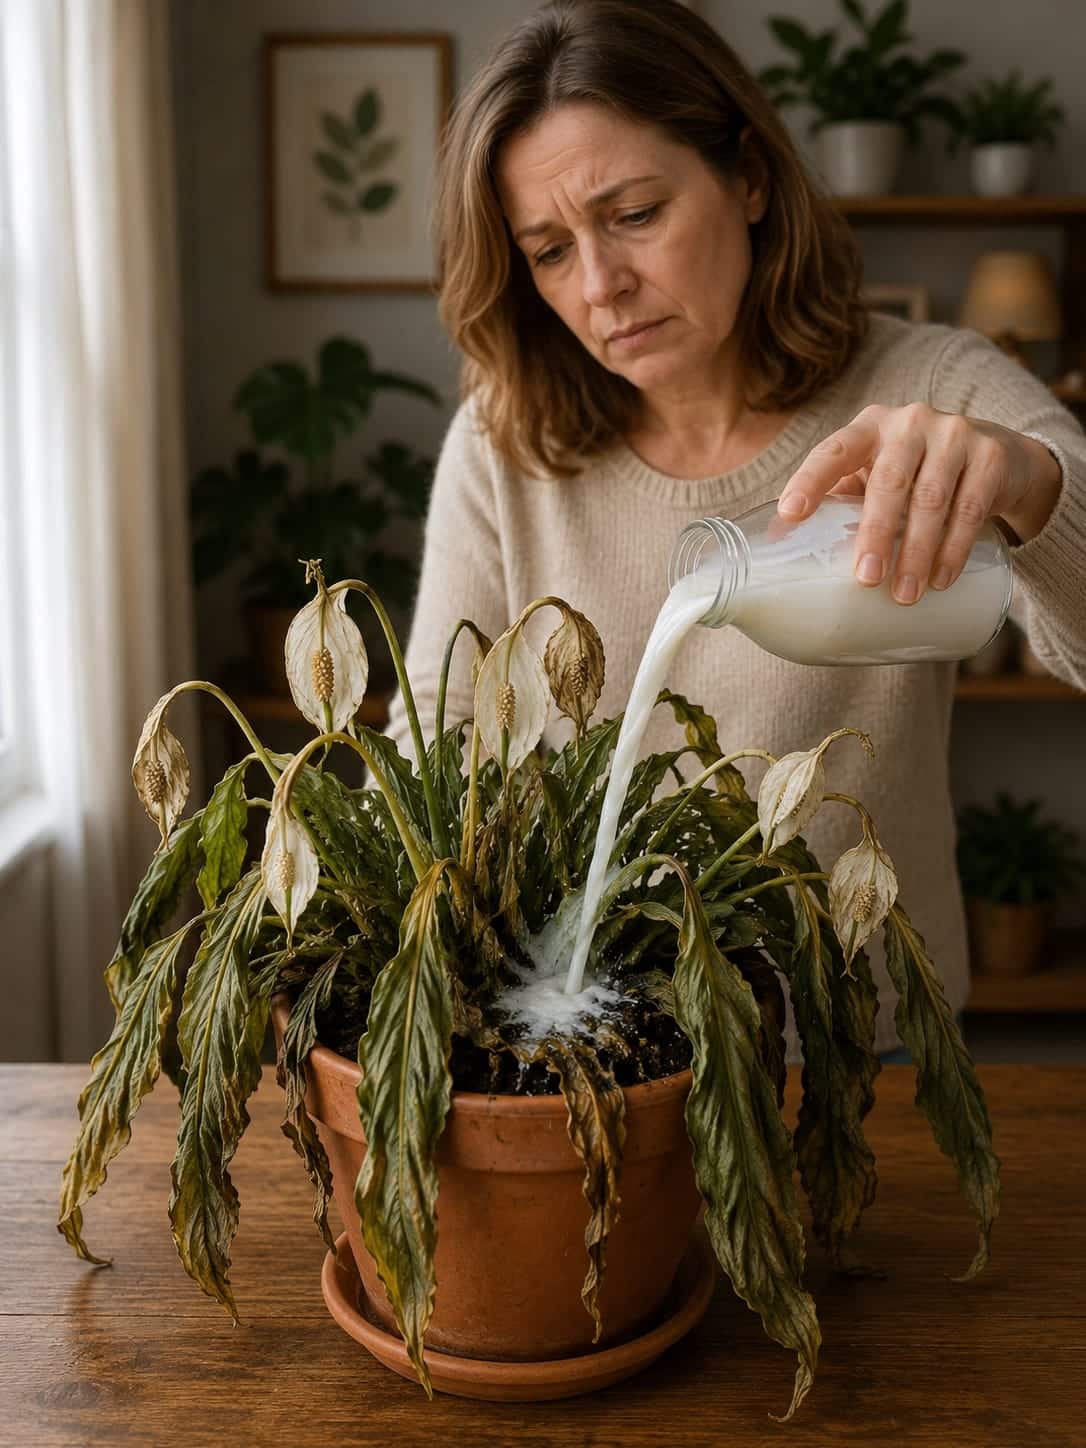
But peace lilies are also dramatic. When something goes wrong, they show it quickly. Their leaves droop, flowers collapse, edges turn brown, and the whole plant can look like it is dying overnight. In the image, the peace lily is severely stressed. The leaves are limp, wrinkled, yellowing, and brown. The white flowers are faded and hanging. A person is pouring a thick white liquid directly into the center of the pot.
This image suggests a common homemade plant trick: using milk or a white liquid as a rescue fertilizer. But for a peace lily in this condition, pouring thick white liquid into the soil is risky. It can make the problem worse if the plant is already suffering from root rot, overwatering, poor drainage, or decaying roots.
The truth is simple: a dying peace lily does not need milk first. It needs diagnosis.
Milk water can sometimes be used as a very diluted occasional soil tonic for healthy plants, but it should never be poured thickly into a collapsing peace lily. A stressed peace lily needs clean water, healthy roots, proper drainage, fresh soil if needed, and stable light. If the soil is already wet or sour, adding milk can create odor, mold, fungus gnats, and more root damage.
This guide explains what is wrong with the plant in the image, why the white liquid trick must be used carefully, how to make a safer diluted version, and how to rescue a peace lily step by step without destroying the roots.
What Plant Is in the Image?
The plant appears to be a peace lily, also known as Spathiphyllum. Peace lilies are tropical houseplants with long green leaves and white spathe flowers. They are popular because they tolerate indoor conditions better than many flowering plants and can bloom indoors with proper care.
A healthy peace lily usually has:
- Glossy green leaves
- Firm upright stems
- White or cream flowers
- Moist but not soggy soil
- Strong roots
- No sour smell from the pot
- Bright indirect light
The plant in the image is not simply thirsty. It is deeply stressed. The leaves are limp and damaged, and the flowers are fading badly. This means the root system may not be working properly.
What Is the White Liquid?
The white liquid in the image looks like milk or a milk-water mixture. Some gardeners use diluted milk for plants because milk contains calcium, proteins, and small amounts of nutrients. However, milk is not a complete fertilizer, and it is not an emergency cure for a dying plant.
Milk may sound natural, but inside a pot it can spoil. If used too thick or too often, it can create problems such as:
- Sour smell
- Mold on soil
- Fungus gnats
- Sticky soil surface
- Root stress
- Bacterial growth
- Poor oxygen around roots
- Worse root rot
For a peace lily that already looks weak, thick milk is especially risky because peace lilies need oxygen around their roots. If the soil becomes heavy, sour, or waterlogged, the plant declines faster.
Why This Peace Lily Looks Like It Is Dying
The damage in the image could come from several causes. Peace lilies wilt for many reasons, and the right treatment depends on the real problem.
Common causes of a collapsing peace lily include:
- Overwatering
- Root rot
- Underwatering
- Compacted old soil
- No drainage holes
- Too much fertilizer
- Cold drafts
- Direct sunlight damage
- Low humidity
- Tap water mineral buildup
- Natural flower aging
The leaves in the image look wrinkled, dull, and heavily drooped. The soil also appears very wet. That combination often points to root stress. When roots are damaged, the plant cannot absorb water properly, so it wilts even when the soil is moist.
The Big Mistake: Feeding Before Checking the Roots
When a peace lily looks like this, many people try to “feed” it immediately. They add milk, rice water, coffee, sugar water, fertilizer, banana peel water, or eggshell tea. But if the roots are already damaged, feeding can make the situation worse.
A weak plant does not always need more nutrients. Sometimes it needs less water, better airflow, cleaner soil, and root repair.
Before using any white liquid trick, you must check:
- Is the soil wet or dry?
- Does the pot have drainage holes?
- Does the soil smell sour?
- Are the roots white and firm or brown and mushy?
- Are the leaves crispy or soft?
- Is the plant sitting in water?
Without checking these things, pouring milk into the pot is a gamble.
Why You Should Not Pour Thick Milk Into a Peace Lily Pot
Milk does not instantly turn into plant food. It must break down first. In a garden bed with active soil life, that breakdown may be less problematic. But in a small indoor pot, thick milk can spoil before it benefits the plant.
Peace lily soil should stay lightly moist, not swampy or sour. Thick milk can coat soil particles and reduce airflow. It can also feed unwanted microbes and pests.
Never pour these into peace lily soil:
- Undiluted milk
- Condensed milk
- Sweetened milk
- Flavored milk
- Heavy cream
- Thick yogurt
- Sour milk
- Milk mixed with sugar
- Milk that has expired
These are not safe indoor plant fertilizers.
Can Diluted Milk Ever Be Used on Peace Lilies?
Yes, but only in a very weak form and only on a stable plant. A healthy peace lily may tolerate a very diluted milk-water solution occasionally. The goal is not to soak the pot with dairy. The goal is to provide a tiny calcium-supporting soil tonic.
The safe version is:
1 tablespoon plain milk mixed into 1 cup water.
For a sensitive or stressed peace lily, make it even weaker:
1 teaspoon plain milk mixed into 1 cup water.
Even then, it should be used only if the soil is not wet, the roots are healthy, and the plant is actively growing.
The Safe White Liquid Recipe for Peace Lilies
Ingredients
- 1 teaspoon plain milk
- 1 cup clean water
- Small watering cup or spoon
How to Make It
- Use plain unsweetened milk only.
- Add 1 teaspoon milk to 1 cup water.
- Stir until the liquid looks thin and cloudy.
- Use immediately.
- Do not store leftovers.
The mixture should look like cloudy water, not thick milk. If it looks creamy, add more water.
How to Apply It Safely
If the peace lily is healthy enough to receive it, apply the diluted mixture carefully.
- Check that the top inch of soil is slightly dry.
- Make sure the pot has drainage holes.
- Pour only a small amount around the outer soil edge.
- Avoid the crown and leaf bases.
- Do not pour onto flowers or leaves.
- Let excess liquid drain fully.
- Empty the saucer after 10 to 15 minutes.
Do not pour the mixture directly into the center of the plant like in the image. The crown area should not stay wet and sticky.
How Often Should You Use Milk Water?
Rarely. Peace lilies do not need milk water often.
A safe schedule is:
- Spring: once if the plant is actively growing
- Summer: once if needed
- Fall: avoid or use very lightly
- Winter: do not use
Do not use milk water weekly. Do not use it as every watering. Do not use it on a plant that is already collapsing.
What to Do Instead for the Peace Lily in the Image
The plant in the image needs rescue care before any tonic. Here is the correct order.
Step 1: Stop Pouring Anything Into the Pot
Do not add more milk, fertilizer, rice water, coffee, or homemade mixtures. A plant this stressed needs a pause. Too many treatments can overwhelm the roots.
Step 2: Check Soil Moisture
Push your finger into the soil. Check deeper than the surface.
If the soil is wet:
Do not water. Wet soil plus wilted leaves often means root rot or poor oxygen around the roots.
If the soil is dry:
The plant may be dehydrated. Give plain water slowly and let it drain fully.
If the soil smells sour:
Repotting is likely needed. Sour soil means decay or root problems.
Step 3: Remove the Plant From the Pot
For a peace lily this damaged, root inspection is important. Gently slide the root ball out of the pot.
Healthy peace lily roots look:
- White or cream
- Firm
- Fresh-smelling
- Flexible but not slimy
Rotten roots look:
- Brown or black
- Mushy
- Slimy
- Bad-smelling
- Easy to pull apart
If many roots are rotten, milk water will not help. The plant needs trimming and fresh soil.
Step 4: Trim Dead Leaves and Flowers
The faded white flowers in the image are no longer helping the plant. Old blooms use energy and can collect moisture. Remove them with clean scissors.
Also trim:
- Fully brown leaves
- Mushy stems
- Yellow collapsing leaves
- Dead flower stalks
- Rotten leaf bases
Do not remove every leaf if some green tissue remains. The plant needs some leaves to photosynthesize.
Continue to Page 2
Continue to page 2 for more details about this article and the key points many readers miss on the first page.