
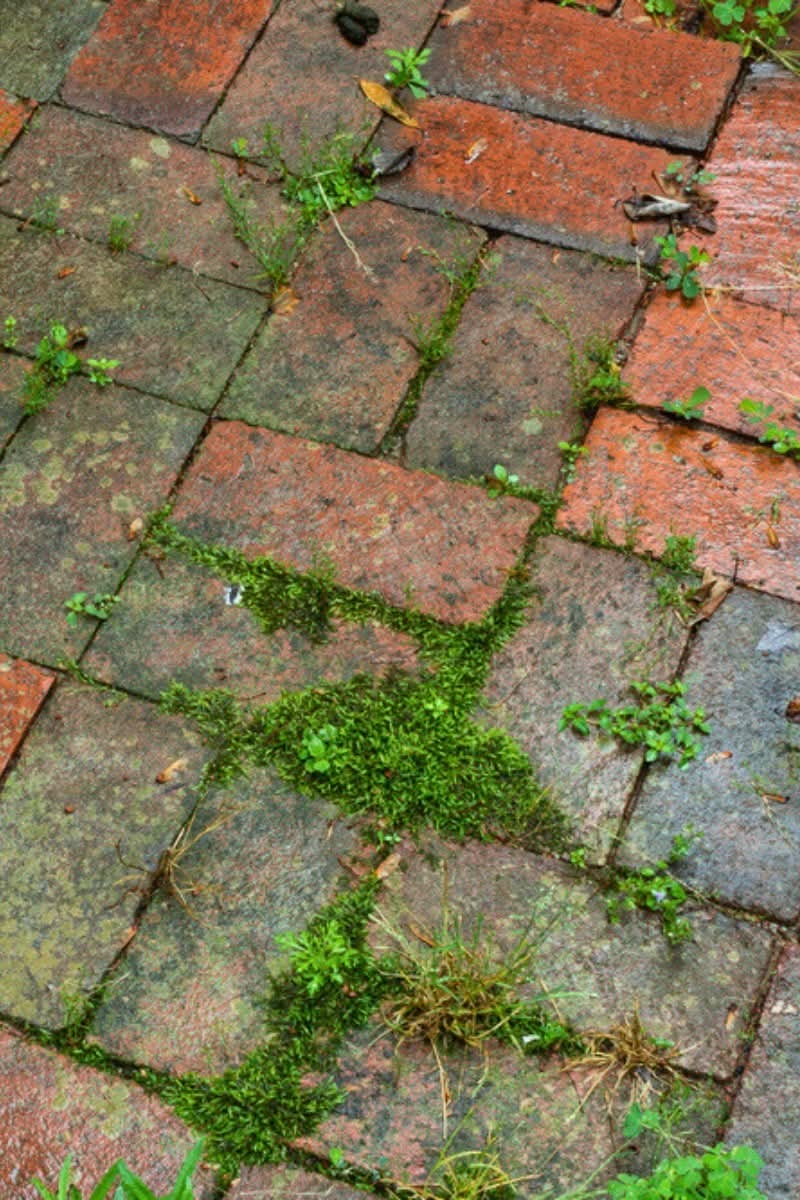
If you’ve ever battled weeds in your garden, driveway, or walkway, you know how frustrating it can be. No matter how much time you spend pulling, cutting, or spraying, they always seem to come back stronger. Chemical weed killers are effective, but many gardeners hesitate to use them because they can damage the soil, harm beneficial plants, or pose risks to children and pets. That’s why natural solutions are growing in popularity — and one of the most effective is something you probably already have in your kitchen: vinegar.
This simple household ingredient, often overlooked as just a cooking staple, can become your go-to natural herbicide. It works quickly, is cost-effective, and is safe to use when handled properly. My sister-in-law introduced me to this method, and I was blown away by how fast it worked — within just 10 minutes, the weeds in my walkway were visibly wilting. As bigzazoo, I’ve tested countless home and garden hacks, and I can confidently say this one is a game-changer.
In this guide, you’ll learn exactly how vinegar works against weeds, why it’s so effective, and how to apply it correctly to keep your outdoor spaces neat, tidy, and chemical-free.
Why This Method Works
The secret weapon in vinegar is acetic acid. This natural compound is what gives vinegar its tangy taste and sharp smell. When applied to weeds, acetic acid goes straight to work by:
Breaking down plant cell walls – Vinegar draws out the moisture from weed leaves and stems, causing them to dehydrate and die.
Attacking at the root – Unlike hand-pulling, which often leaves behind fragments of the root system, vinegar penetrates into the soil and disrupts regrowth.
Fast visible results – Within hours, you can see weeds turning brown, curling, and wilting.
This method is particularly effective on young, tender weeds. While mature, deep-rooted weeds may require repeated applications, vinegar remains a powerful, natural tool in your weed-control arsenal.
What sets vinegar apart is its eco-friendliness. Unlike synthetic herbicides, it doesn’t leave harmful chemicals in the soil. That means you can garden with peace of mind, knowing that your plants, pets, and kids are safe.
What You’ll Need
The beauty of this method is its simplicity. You only need a handful of basic items to get started:
Vinegar – White vinegar is the most commonly used type for weed control. Household vinegar usually contains 5% acetic acid, which is enough for most small weeds. For stubborn weeds, you can use horticultural vinegar (20% acetic acid), but it should be handled with extra caution.
Spray bottle or garden sprayer – Essential for applying the vinegar directly onto weeds.
Protective gloves – Acetic acid can dry out your skin, especially if you’re using higher-strength vinegar.
Paper towels or rags – Useful for spot applications in tight spaces.
Optional boosters (if you want extra strength):
Salt – Helps prevent regrowth by making the soil less hospitable to weeds.
Dish soap – Acts as a surfactant, helping vinegar stick to leaves.
Equipment
You don’t need fancy tools to use this method. The following basic equipment will get the job done:
Measuring cup (to portion vinegar)
Spray bottle (for small jobs)
Pump sprayer (for large areas like driveways)
Garden gloves (to protect your hands)
Safety goggles (recommended if using stronger vinegar outdoors)
How to Apply Vinegar for Weed Control
Here’s a simple step-by-step guide to using vinegar against weeds:
Choose the Right Day
Apply vinegar on a hot, sunny day. Sunlight speeds up the dehydration process and makes vinegar more effective. Avoid windy days, as drift can harm nearby plants.
Prepare the Vinegar Solution
For small weeds: use plain white vinegar (5%).
For tougher weeds: mix 1 gallon of vinegar with 1 cup of salt and 1 tablespoon of dish soap. Stir until dissolved.
Protect Surrounding Plants
Vinegar is non-selective, which means it can kill or damage any plant it touches. Shield your desirable plants by covering them with cardboard or plastic while spraying.
Apply Directly to Weeds
Pour the vinegar into your spray bottle or garden sprayer. Spray directly onto the leaves and stems of the weeds until they are fully saturated. Make sure to target the base where the weed meets the soil.
Wait and Observe
Within 10 minutes, you should notice the weeds beginning to wilt, especially in full sun. By the next day, they’ll likely be brown and dry.
Repeat if Needed
For deep-rooted or particularly stubborn weeds, reapply every 2–3 days until the weed is completely gone.
Tips + Tricks & More For Success
Timing Matters – Apply vinegar during the hottest part of the day for best results.
Focus on Young Weeds – The younger and smaller the weed, the faster vinegar works.
Protect Your Lawn – Don’t use vinegar on your grass unless you want to create bare spots.
Use Horticultural Vinegar Wisely – It’s stronger and works faster but can irritate skin and damage nearby plants. Always wear gloves.
Apply Directly, Not Generously – Vinegar is most effective when it directly touches the leaves. Pouring excess vinegar into the soil won’t improve results.
Test First – If you’re treating weeds near sensitive plants, test on a small section first.
Safety Notes
While vinegar is natural, it’s still an acid and should be used with care:
Wear gloves to protect your skin.
Keep vinegar away from eyes.
Avoid overusing in vegetable gardens, as excess acetic acid can temporarily lower soil pH.
Store vinegar mixtures safely out of reach of children and pets.
How to Use Around Different Areas
Walkways and Driveways
Spray directly into cracks where weeds pop up. Vinegar penetrates quickly and prevents regrowth.
Garden Beds
Use a spray bottle for precision targeting. Cover nearby flowers or vegetables to prevent accidental spray drift.
Fences and Borders
Vinegar is perfect for those stubborn weeds that grow along fence lines. Spray liberally and watch them disappear.
Gravel Paths
A vinegar, salt, and soap mixture works wonders in gravel, where weeds are hard to pull by hand.
Time & Effectiveness
One of the best parts of using vinegar is how fast it works. Unlike chemical herbicides that may take days, vinegar shows visible results within 10 minutes to a few hours. Most weeds are completely dead within 24 hours.
For deep-rooted weeds, repeated applications may be necessary. But compared to back-breaking pulling or expensive sprays, vinegar offers quick, lasting relief with minimal effort.
Final Thoughts
Weeds may be persistent, but they don’t stand a chance against vinegar. With its natural acetic acid, this household staple attacks weeds at the root, leaving your garden, driveway, and walkways neat and tidy. It’s safe, affordable, and eco-friendly — the perfect alternative to harsh chemicals.
The best part? You’ll see results in as little as 10 minutes. My sister-in-law’s trick has saved me hours of work, and now I swear by it. If you’re looking for a weed-killing method that works without harming the environment, vinegar is the way to go.
As bigzazoo, I’ve tested plenty of gardening hacks, but this one stands out for its simplicity and power. Next time you’re staring down a patch of pesky weeds, skip the store-bought herbicides and grab that bottle of vinegar from your kitchen. You’ll be amazed at how quickly and effortlessly your yard transforms.
More Recipes You Might Like
-
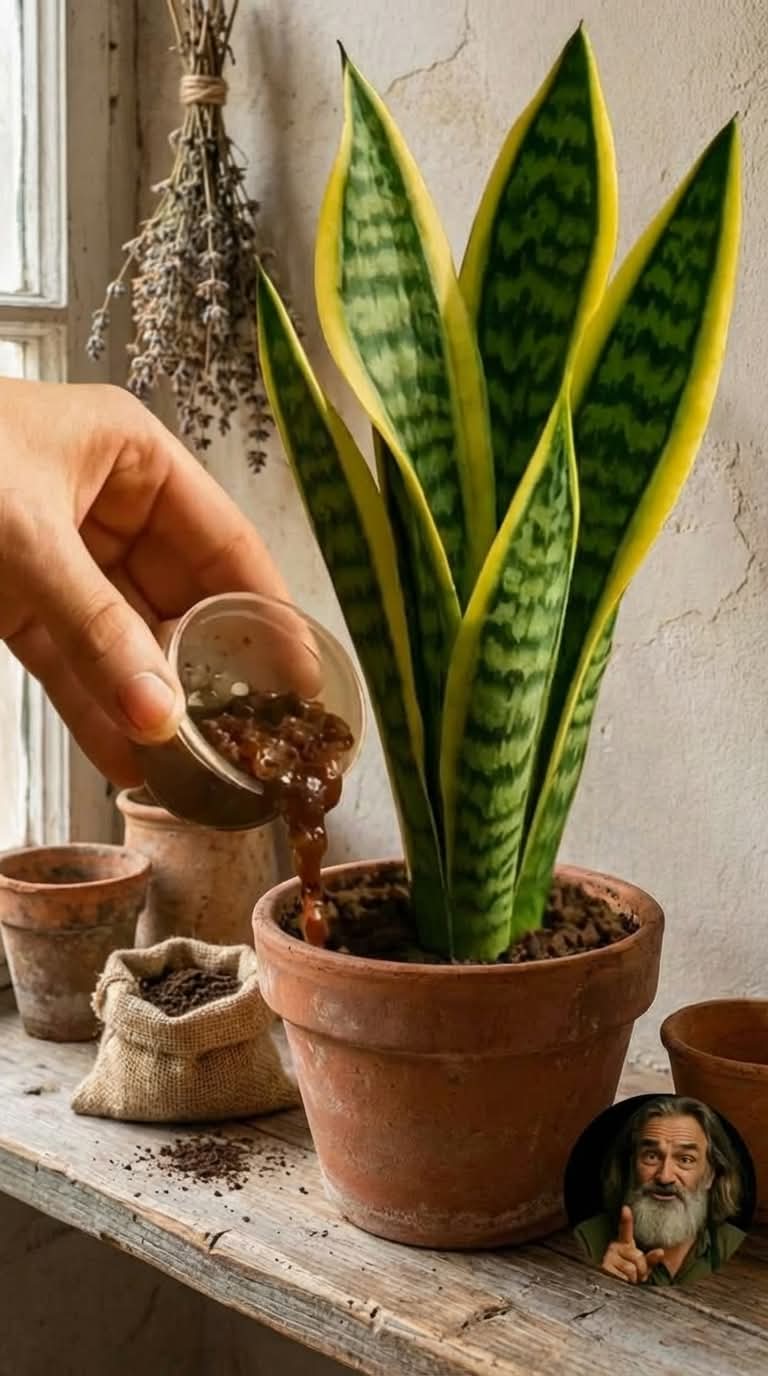
This Simple Trick Makes Your Snake Plant Grow Faster
Want your snake plant to grow faster? Discover the simple trick that combines bright light and natural feeding to boost growth dramatically. Proven tips for lush, thriving Sansevieria. Let me tell you about the snake plant that finally decided to grow. I’d owned my Sansevieria for nearly two years. It was healthy—green, upright, unbothered by…
-
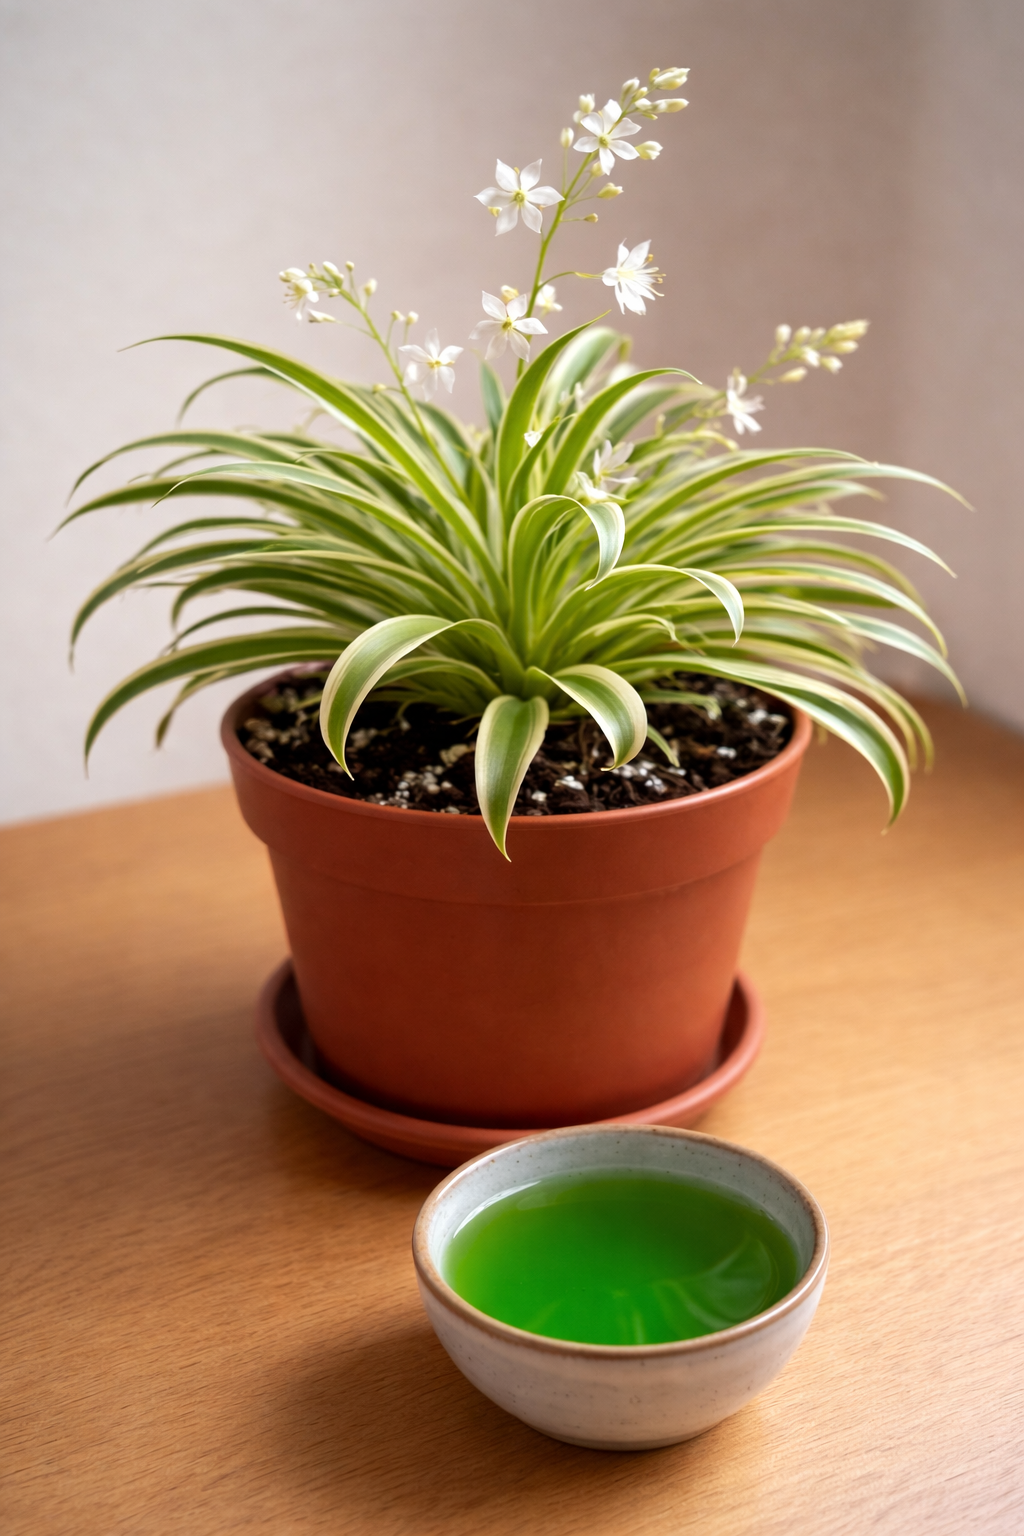
I Added This Simple Mix… Now My Plant Is Covered in Flowers
Discover the simple homemade mix that turned my struggling plant into a blooming machine! Natural ingredients like banana peels and Epsom salt create the ultimate flower booster. Easy, cheap, and incredibly effective. Let me show you the mix that finally made my peace lily burst into bloom—and turned my geraniums into a riot of color.…
-
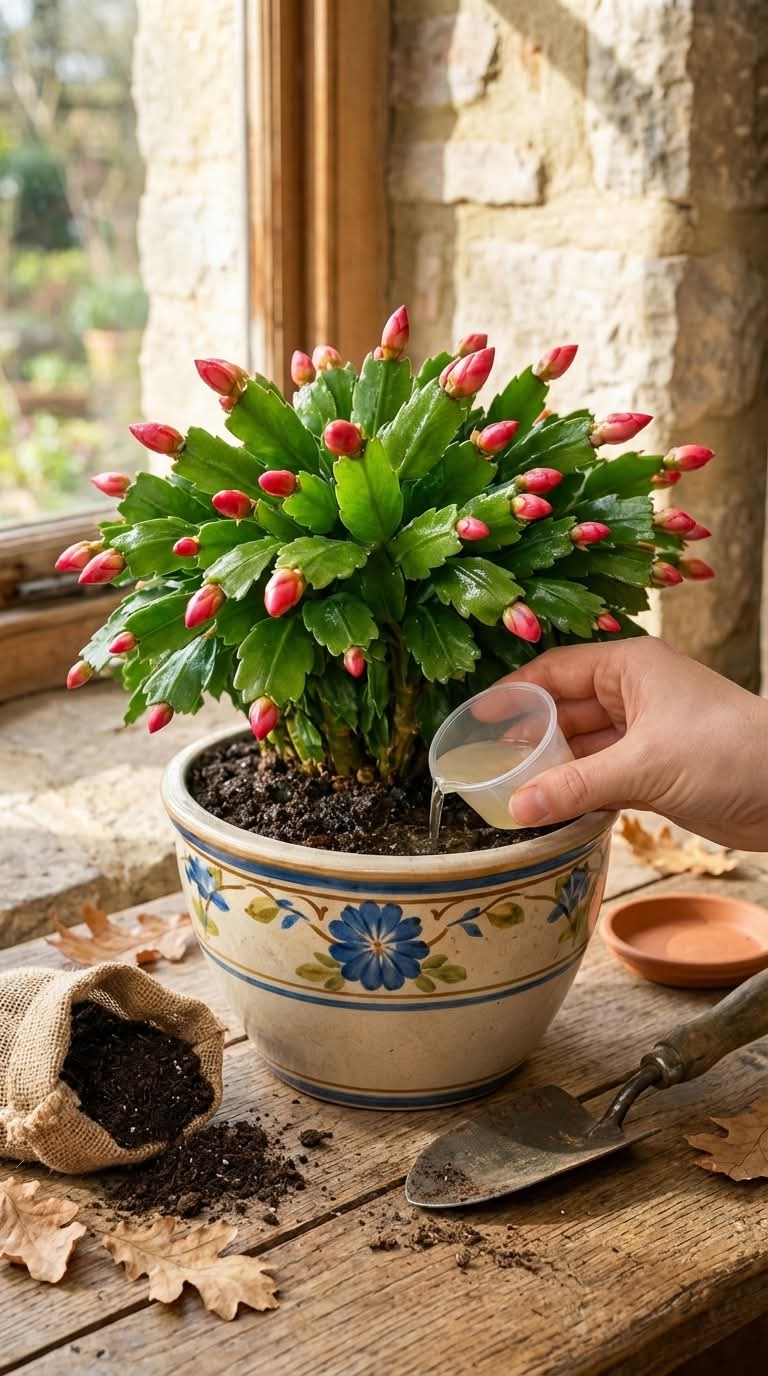
This Simple Trick Makes Your Christmas Cactus Bloom Like Crazy
Struggling to get your Christmas cactus to bloom? Discover the simple dark treatment trick that forces spectacular flowers year after year. Step-by-step guide, pro tips, and troubleshooting. Let me tell you about the year my Christmas cactus finally lived up to its name. I’d owned the plant for three years. Every December, I’d wait impatiently…