
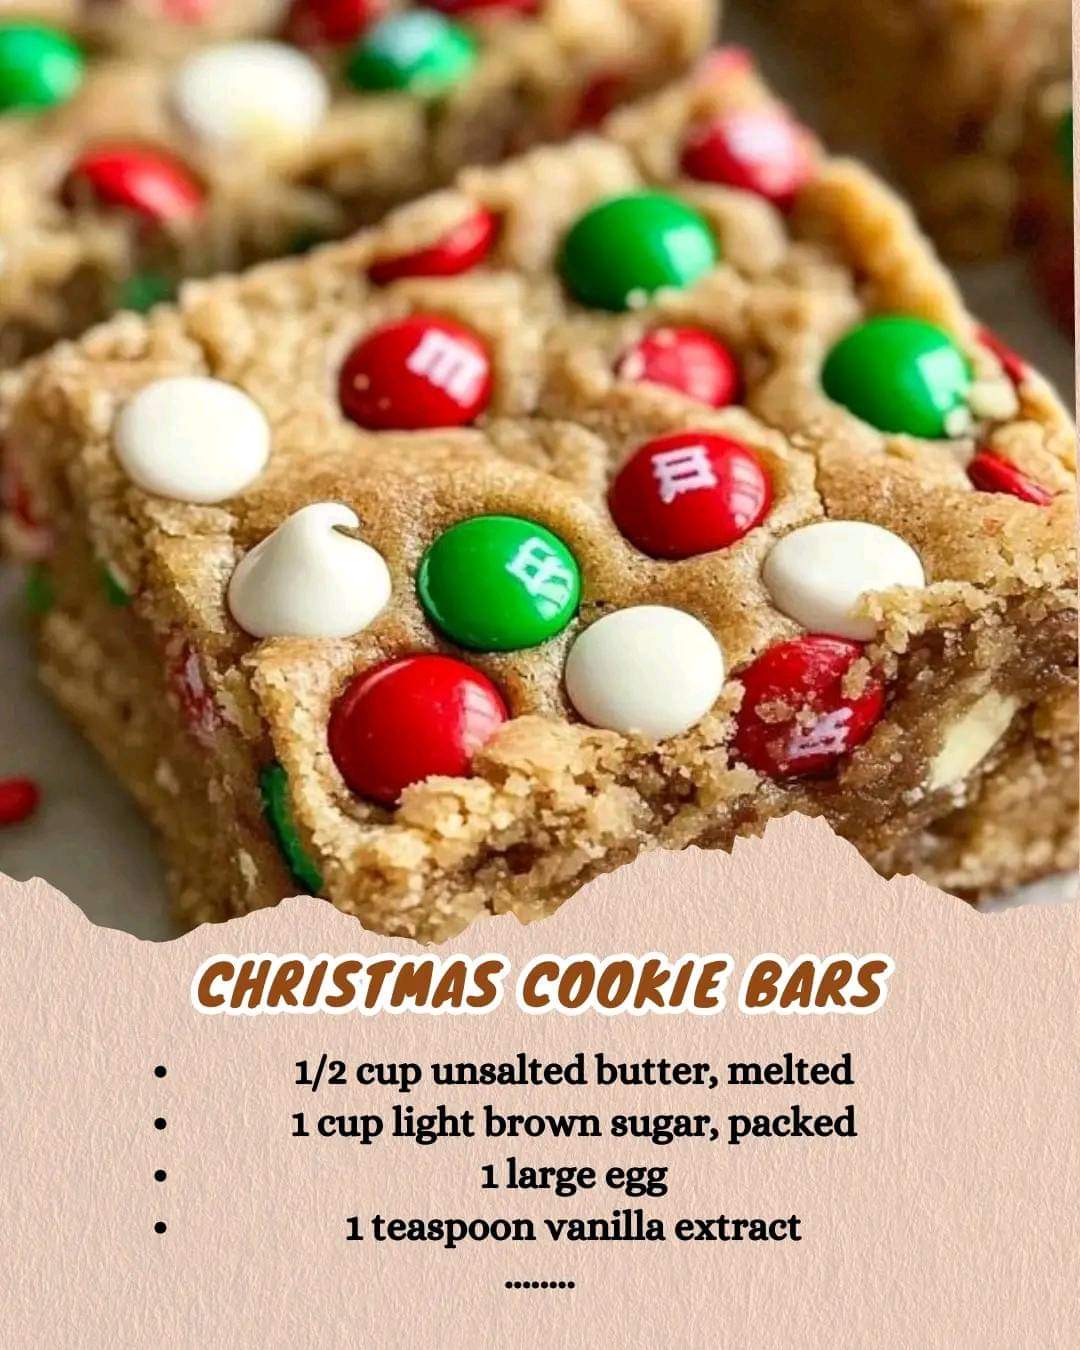
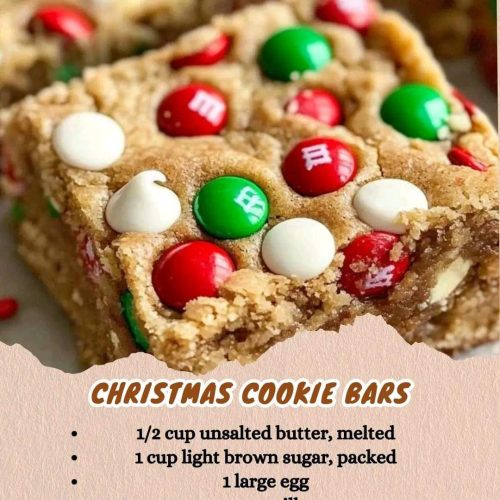
The holidays are a time for sharing delicious sweets, and nothing says Christmas quite like the cheerful combination of red and green candies, holiday sprinkles, and the buttery, chewy goodness of cookie bars. These Christmas Cookie Bars are the perfect dessert to make your holiday season even sweeter. Whether you’re baking with family, bringing treats to a holiday party, or just indulging in the festive spirit, these bars are bound to be a hit. With simple ingredients and a quick prep time, they’re easy to make and full of holiday cheer.
In this article, we’ll explore why this recipe works so well, the key ingredients you’ll need, step-by-step instructions to make the bars, tips and tricks for perfect results, and serving suggestions to make your Christmas Cookie Bars the highlight of any festive gathering. Let’s get started!
Why This Recipe Works
Christmas Cookie Bars are not only delicious but incredibly easy to make, making them a perfect go-to dessert during the busy holiday season. Here’s why this recipe works:
- Buttery Base: The melted butter combined with brown sugar creates a rich and flavorful base, giving the cookie bars a moist, chewy texture that’s irresistible.
- Holiday Colors: The red and green M&M’s and sprinkles make these bars festive and eye-catching, perfect for Christmas parties or as gifts.
- Balanced Sweetness: The combination of light brown sugar, vanilla, and white chocolate chips provides the right amount of sweetness without being overwhelming.
- Quick and Easy: With just a handful of ingredients and minimal prep time, you can whip up these bars in under 35 minutes, making them ideal for last-minute holiday treats.
Whether you’re an experienced baker or just starting out, this Christmas Cookie Bars recipe is foolproof and sure to bring a smile to everyone’s face.
What You’ll Need for This Recipe
To make these Christmas Cookie Bars, you don’t need any complicated ingredients. Here’s a list of what you’ll need:
For the Cookie Bars:
- 1/2 cup unsalted butter, melted: Provides richness and moisture.
- 1 cup light brown sugar, packed: Adds sweetness and gives a soft texture.
- 1 large egg: Helps bind the ingredients together.
- 1 teaspoon vanilla extract: Adds a subtle, warm flavor.
- 1/4 teaspoon salt: Balances the sweetness.
- 1 1/4 cups all-purpose flour: Forms the base of the cookie dough.
- 1/2 teaspoon baking powder: Helps the bars rise slightly.
- 1/4 teaspoon baking soda: Ensures the bars have a light, airy texture.
- 1 cup red and green M&M’s: Festive candies that add crunch and color.
- 1/2 cup white chocolate chips: Creamy and sweet, they pair well with the M&M’s.
- 1/4 cup holiday sprinkles: For an extra festive touch and fun texture.
How to Make Christmas Cookie Bars
Now that you have all your ingredients ready, it’s time to start baking! Follow these simple steps to create the perfect Christmas Cookie Bars:
Step 1: Preheat the Oven
Preheat your oven to 350°F (175°C). Prepare a 9×9-inch baking dish by lining it with parchment paper or lightly greasing it with butter or cooking spray. This will make it easier to remove the bars once they’re baked.
Step 2: Prepare the Wet Ingredients
In a large bowl, whisk together the melted butter and light brown sugar until smooth and fully combined. Add the egg and vanilla extract, continuing to whisk until the mixture becomes light and creamy.
Step 3: Combine the Dry Ingredients
In a separate bowl, whisk together the flour, baking powder, baking soda, and salt. Slowly add the dry ingredients to the wet ingredients, stirring gently until everything is just combined. Be careful not to overmix the batter, as this can result in tougher cookie bars.
Step 4: Add the Mix-Ins
Once the dough is ready, fold in the red and green M&M’s, white chocolate chips, and holiday sprinkles. Stir until they are evenly distributed throughout the dough, giving the bars a colorful, festive appearance.
Step 5: Spread and Bake
Transfer the dough to the prepared baking dish, spreading it out evenly. Place the dish in the oven and bake for 20-25 minutes, or until a toothpick inserted into the center comes out clean or with a few moist crumbs. Be careful not to overbake the bars, as they can become dry.
Step 6: Cool and Serve
Allow the Christmas Cookie Bars to cool completely in the baking dish before slicing them into squares. This will ensure that they hold their shape and are easy to cut. Once cool, slice into 12 bars and enjoy!
Tips + Tricks & More for Recipe Success
To ensure your Christmas Cookie Bars turn out perfectly every time, here are a few helpful tips and tricks:
- Use Room Temperature Ingredients: Make sure your egg and butter are at room temperature before starting the recipe. This helps the ingredients blend together more smoothly and ensures an even texture.
- Don’t Overmix the Dough: Stir the ingredients until just combined. Overmixing can result in dense, tough bars.
- Check for Doneness Early: Ovens can vary, so check the bars at the 20-minute mark to ensure they don’t overbake. They should be lightly golden on the edges but still soft in the center.
- Customize Your Mix-Ins: While red and green M&M’s and white chocolate chips are perfect for Christmas, you can easily swap them out for other candies or nuts depending on the occasion or your preferences.
- Chill Before Slicing: If you’re in a hurry, place the bars in the fridge for 20 minutes to cool quickly before slicing. This helps the bars firm up and makes cutting them easier.
Serving Suggestions
Christmas Cookie Bars are incredibly versatile and can be served in a variety of ways. Here are a few serving ideas to make them extra special:
- With a Glass of Milk: There’s nothing better than pairing these sweet treats with a cold glass of milk.
- Holiday Dessert Platter: Add the cookie bars to a dessert tray along with other holiday cookies, fudge, and candies for a festive spread.
- As Gifts: Package the bars in decorative holiday boxes or tins, and give them to friends, family, or coworkers as homemade Christmas gifts.
- With Ice Cream: For an extra indulgent treat, serve the cookie bars warm with a scoop of vanilla ice cream on top.
Time and Nutrition
One of the best things about this recipe is how quick and easy it is to prepare. Here’s a breakdown of the time and nutrition for Christmas Cookie Bars:
- Prep Time: 10 minutes
- Cook Time: 25 minutes
- Total Time: 35 minutes
- Servings: 12 bars
- Calories per Serving: 280 kcal
These bars are the perfect balance of sweetness and festive cheer, and they’re sure to become a holiday favorite in your home.
Final Thoughts
Christmas Cookie Bars are the perfect holiday treat for anyone looking to add a little more festive spirit to their baking. With their soft, chewy texture and colorful, festive appearance, they’re sure to be a hit at any holiday gathering. Whether you’re making them with family, bringing them to a holiday party, or just indulging in the joy of holiday baking, these bars are as fun to make as they are to eat. Try this recipe with your own twists, and watch as these Christmas Cookie Bars become a cherished tradition in your home. Enjoy, and happy baking!
Recipe Card
Christmas Cookie Bars
Ingredients
For the Cookie Bars:
- – **1/2 cup unsalted butter melted**: Provides richness and moisture.
- – **1 cup light brown sugar packed**: Adds sweetness and gives a soft texture.
- – **1 large egg**: Helps bind the ingredients together.
- – **1 teaspoon vanilla extract**: Adds a subtle warm flavor.
- – **1/4 teaspoon salt**: Balances the sweetness.
- – **1 1/4 cups all-purpose flour**: Forms the base of the cookie dough.
- – **1/2 teaspoon baking powder**: Helps the bars rise slightly.
- – **1/4 teaspoon baking soda**: Ensures the bars have a light airy texture.
- – **1 cup red and green M&M’s**: Festive candies that add crunch and color.
- – **1/2 cup white chocolate chips**: Creamy and sweet they pair well with the M&M’s.
- – **1/4 cup holiday sprinkles**: For an extra festive touch and fun texture.
Instructions
Step 1: Preheat the Oven
- Preheat your oven to **350°F (175°C)**. Prepare a **9×9-inch baking dish** by lining it with parchment paper or lightly greasing it with butter or cooking spray. This will make it easier to remove the bars once they’re baked.
Step 2: Prepare the Wet Ingredients
- In a large bowl, whisk together the **melted butter** and **light brown sugar** until smooth and fully combined. Add the **egg** and **vanilla extract**, continuing to whisk until the mixture becomes light and creamy.
Step 3: Combine the Dry Ingredients
- In a separate bowl, whisk together the **flour**, **baking powder**, **baking soda**, and **salt**. Slowly add the dry ingredients to the wet ingredients, stirring gently until everything is just combined. Be careful not to overmix the batter, as this can result in tougher cookie bars.
Step 4: Add the Mix-Ins
- Once the dough is ready, fold in the **red and green M&M’s**, **white chocolate chips**, and **holiday sprinkles**. Stir until they are evenly distributed throughout the dough, giving the bars a colorful, festive appearance.
Step 5: Spread and Bake
- Transfer the dough to the prepared baking dish, spreading it out evenly. Place the dish in the oven and bake for **20-25 minutes**, or until a toothpick inserted into the center comes out clean or with a few moist crumbs. Be careful not to overbake the bars, as they can become dry.
Step 6: Cool and Serve
- Allow the **Christmas Cookie Bars** to cool completely in the baking dish before slicing them into squares. This will ensure that they hold their shape and are easy to cut. Once cool, slice into **12 bars** and enjoy!