When an orchid starts turning yellow, it can feel like the plant is already lost. The once-firm leaves soften, the flower spike dries, the bark looks old, and the whole plant seems tired. Many orchid owners panic at this stage and begin adding anything they can find: powders, kitchen liquids, strong fertilizers, or homemade treatments that promise fast recovery. But orchids do not recover from stress through dramatic tricks. They recover when the real problem is identified and corrected.
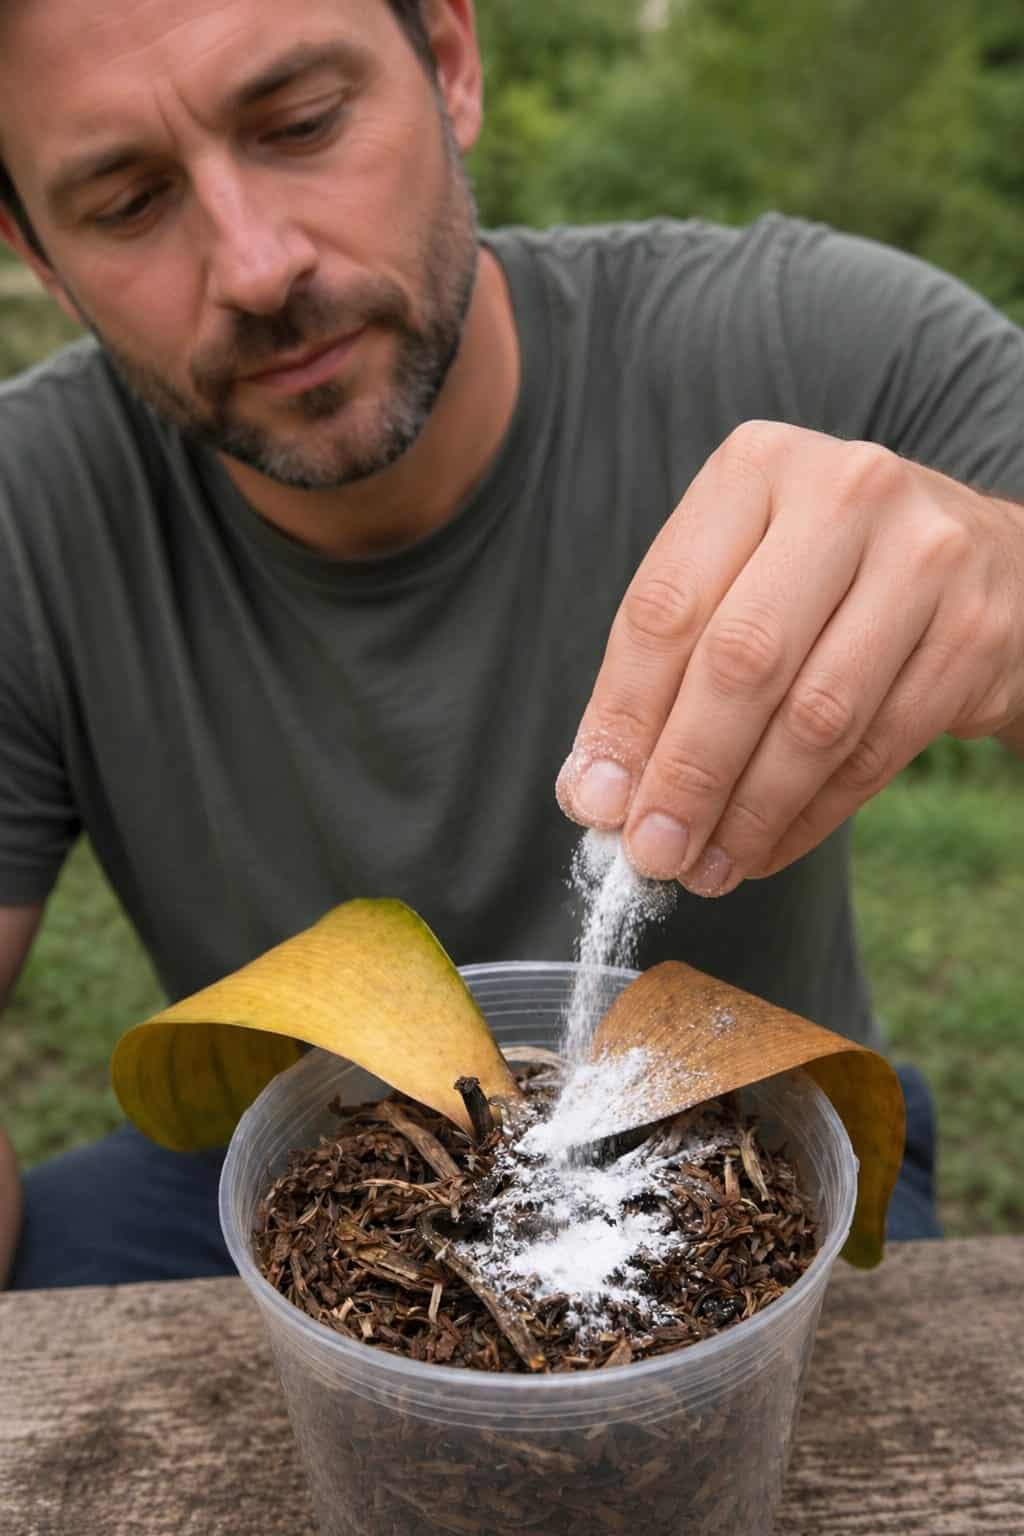
The image shows a stressed orchid in a clear pot with yellowing leaves and old bark. A white powder is being sprinkled over the surface. This kind of visual is often used for a common homemade plant-care idea: using a small amount of baking soda around a sick plant to help with surface issues, bad smells, or fungal-looking problems. But with orchids, this method must be handled very carefully. Baking soda is not a fertilizer, not a root-growth booster, and not a miracle cure for yellow leaves.
Baking soda can be useful in very specific plant-care situations, especially when diluted properly and used as part of a cleaning routine. However, sprinkling it heavily onto orchid bark or around exposed roots can be risky. Orchids have sensitive roots that need air, moisture balance, and a clean growing medium. Too much baking soda can change the surface environment, create salt buildup, irritate roots, and make recovery harder.
The safest way to help a yellowing orchid is not to cover it with powder. The safest way is to inspect the roots, remove dead material, refresh the bark if needed, correct watering, improve light, and use any treatment only as a small supportive step. If baking soda is used at all, it should be used sparingly and carefully, never as a heavy layer on the pot.
This guide explains what causes orchid leaves to turn yellow, when an orchid can still recover, how to use baking soda safely if needed, and what steps actually help a stressed orchid grow new roots and prepare for future blooms.
Why Orchid Leaves Turn Yellow
Yellow leaves on orchids can happen for several reasons. Sometimes it is natural. A lower leaf may turn yellow and fall as the plant ages. This is not always a problem, especially if the rest of the plant has healthy roots and firm green leaves. But when several leaves turn yellow at once, or when yellowing comes with soft roots, bad smell, or drooping, the plant is likely stressed.
The most common cause is root trouble. Orchids, especially Phalaenopsis orchids, are often grown in bark or moss. Their roots need air as much as they need water. If the bark stays wet for too long, roots can rot. Rotten roots cannot absorb water properly, so the leaves begin to yellow, wrinkle, or droop even if the pot looks moist.
Yellowing can also happen when the orchid is too dry for too long. Dry roots may shrivel and stop functioning. The leaves may then lose firmness and color. In this case, the plant needs careful rehydration, not powder or fertilizer.
Other possible causes include old bark, poor drainage, low light, too much direct sun, cold drafts, fertilizer burn, pests, or crown rot. This is why the first step is always diagnosis. Yellow leaves are a warning sign, but they do not tell the full story by themselves.
Is the Orchid Still Alive?
Before trying any treatment, check whether the orchid still has living tissue. A yellow leaf does not mean the whole orchid is dead. Flowers can fade, spikes can dry, and old leaves can fall while the main plant remains alive.
Look at the crown first. The crown is the center of the orchid where the leaves meet. If the crown is firm and green, there is still hope. If it is black, mushy, hollow, or smells rotten, recovery is much more difficult.
Next, look at the roots. Healthy orchid roots are firm. They may be green when wet and silver-gray when dry. Some older roots may be tan or pale but still alive if they are firm. Dead roots are usually mushy, hollow, black, brown, or papery.
If the orchid has a firm crown and at least a few living roots, it may recover. If the roots are mostly gone but the crown is still firm, recovery is possible but slow. If the crown and roots are both dead, no powder or homemade trick can bring the plant back.
What Is the White Powder Often Used on Orchids?
The white powder in images like this is often presented as baking soda, though some plant-care posts may also use powdered fungicides, lime, perlite dust, or other white materials. If the ingredient is baking soda, it must be used with caution. Baking soda is sodium bicarbonate. It is alkaline and contains sodium. In small diluted amounts, it is sometimes used in gardening sprays for surface fungal issues. But in orchid pots, too much sodium can be harmful.
Orchid roots are sensitive. They are not designed to sit in salty or alkaline conditions. A heavy layer of baking soda on bark can dissolve during watering and move down toward the roots. This can create an unfavorable root environment, especially in a small pot where buildup does not wash away easily.
Baking soda is also not plant food. It does not provide the balanced nutrients an orchid needs. It does not contain the nitrogen, phosphorus, potassium, calcium, magnesium, and trace elements required for long-term growth. If the orchid is weak from poor roots, baking soda will not feed it back to health.
For this reason, baking soda should never be used as a regular orchid treatment. If used at all, it should be used only in a very controlled way and only after the real problem has been identified.
Can Baking Soda Save a Yellowing Orchid?
Baking soda cannot save a yellowing orchid by itself. If the yellowing is caused by root rot, the solution is to remove rotten roots, repot into fresh bark, and correct watering. If the yellowing is caused by dehydration, the solution is careful rehydration. If the yellowing is caused by low light, the solution is brighter indirect light.
Baking soda may help only in very limited situations, such as cleaning a pot, reducing surface odor temporarily, or being used in a very diluted spray away from sensitive roots. But it is not a true rescue treatment.
If the orchid bark smells sour or moldy, do not simply cover the surface with baking soda. That smell usually means the medium is breaking down or staying too wet. The better solution is repotting into fresh orchid bark.
If there is white fungus-like growth on the bark, the issue may be excess moisture and poor airflow. Again, fresh bark, better drainage, and improved watering are more important than powder.
The safest message is this: baking soda may have limited use, but orchid recovery depends on roots, medium, moisture, and light.
⚠️ Important: Baking soda is not a substitute for proper orchid care. It should never be used as a heavy layer on bark or roots. Focus on root health, fresh medium, correct watering, and bright indirect light first.
Why Sprinkling Baking Soda Directly Can Be Risky
Sprinkling dry baking soda directly onto orchid bark can create concentrated spots. When you water the orchid, the powder dissolves and may move into the root zone. Because orchid pots are small and bark holds moisture in pockets, the concentration may not spread evenly.
This can stress the roots. Orchid roots have a spongy outer layer called velamen, which absorbs water quickly. If that layer contacts a strong alkaline solution or salt buildup, it may become damaged. Damaged roots cannot absorb water well, and the plant may wilt or yellow further.
Another risk is false confidence. A powder can make the surface look cleaner, but it does not fix rotten roots below the surface. Many orchid problems are hidden inside the pot. Covering the top does not solve the root issue.
For a plant that is already yellowing and stressed, heavy powder is especially risky. A weak orchid needs a clean, breathable environment, not extra buildup around the roots.
When Baking Soda Should Not Be Used
- Do not use if the orchid has root rot: Rotten roots need trimming and fresh bark. Baking soda does not rebuild dead roots.
- Do not use if the orchid is severely dehydrated: Dry roots may be sensitive, and baking soda can add stress. Rehydrate with plain water first.
- Do not use if the plant is in old, broken-down bark: Repotting is the correct solution. Powder on old bark does not restore airflow.
- Do not use on healthy green root tips: These tips are delicate growing tissue. Contact with concentrated powder can slow or damage growth.
- Do not pour baking soda into the crown: The crown should stay dry and clean. Powder trapped in the crown can create irritation or hide developing rot.
- Do not use baking soda repeatedly: Frequent use can lead to buildup and root stress.
When a Tiny Amount May Be Considered
A tiny amount of baking soda may be considered only for surface cleaning or odor control outside the root zone, and even then it is usually better to solve the underlying cause. If the pot or saucer has residue, baking soda can be used to clean the empty container, then rinsed thoroughly before the orchid is returned.
If you are dealing with a mild surface issue on the bark, it is safer to remove the affected top layer of bark instead of sprinkling powder over it. Fresh bark is cleaner and less risky.
If you want to use a baking soda spray for a fungal-looking leaf issue, it must be very diluted and tested carefully. However, orchids can be sensitive, and leaf problems should be diagnosed before spraying anything. Many leaf spots are not solved by baking soda.
For most orchid owners, baking soda should be treated as a cleaning ingredient, not a root treatment.
The Better First Step: Remove the Orchid From the Pot
If your orchid looks like the one in the image, with yellowing leaves and old medium, the best first step is root inspection. Gently remove the orchid from the pot. Do not pull roughly. Roots may be attached to the bark or pot.
Once the plant is out, remove old bark from around the roots. If the bark is soft, dark, compacted, or sour-smelling, it has likely broken down. Old bark holds too much moisture and reduces airflow. This is one of the most common reasons orchids decline.
Inspect every root. Healthy roots are firm. Dead roots are mushy, hollow, or papery. Cut away only the dead roots with sterilized scissors. Keep firm roots even if they are silver or pale.
This inspection tells you what the orchid truly needs. If roots are healthy, the problem may be watering, light, or natural leaf aging. If roots are rotten, the plant needs repotting and careful recovery.
How to Trim Damaged Roots Safely
Use clean, sharp scissors. Sterilize them before cutting. This reduces the risk of spreading disease. Cut dead roots close to where healthy tissue begins. Do not cut healthy roots just because they look dry. A firm silver root can still be alive.
After trimming, let the orchid sit for a short time so cut areas can dry slightly. Some growers use a tiny amount of cinnamon on cut ends to help dry wounds, but even cinnamon should be used only on cuts, not on healthy roots. Baking soda is not ideal for root wounds because of its sodium content and alkalinity.
If many roots were removed, the orchid will need a gentle recovery period. It should not be overwatered or fertilized heavily. A plant with fewer roots cannot absorb water as quickly.
Repotting Into Fresh Orchid Bark
After trimming damaged roots, repot the orchid into fresh orchid bark or a suitable orchid mix. Do not use regular potting soil. Phalaenopsis orchid roots need air, and ordinary soil is too dense.
Choose a pot with drainage holes. A clear orchid pot is helpful because it lets you see root color and moisture. The pot should be only large enough to hold the roots. A pot that is too large holds extra moisture and can slow recovery.
Place the orchid so the crown sits above the bark. Do not bury the crown. Add bark gently around the roots without packing it too tightly. The plant should be stable, but the roots still need airflow.
Fresh bark gives the orchid a cleaner environment. This is far more useful than sprinkling powder on old bark.
Continue to Page 2
Continue to page 2 for more details about this article and the key points many readers miss on the first page.