Jade plants (Crassula ovata) are not only beautiful and easy to care for, but they are also one of the easiest houseplants to multiply. With just a small cutting, you can grow a brand‑new plant and expand your indoor garden effortlessly. These succulent beauties have thick, glossy leaves and sturdy stems that root readily when given the right conditions.
If you have ever wanted to propagate your jade plant quickly and successfully, there is a simple method that can improve your results and help roots develop faster. The secret is not a magic powder or a complex formula. It is a basic, natural step that mimics how jade plants heal themselves in the wild.
In this guide, you will learn why jade plants are perfect for propagation, the simple trick that boosts rooting success, a step‑by‑step walkthrough, common mistakes to avoid, and how to care for your new baby jade plants until they become stunning, mature specimens.
Why Jade Plants Are Perfect for Propagation
Jade plants (Crassula ovata) are succulents, which means they store water in their thick stems and leaves. This makes them incredibly resilient and ideal for propagation. Unlike many tropical houseplants that require high humidity and constant moisture to root, jade plants prefer dry conditions. This natural adaptation works in your favor.
You can grow a new jade plant from:
· A single leaf – Takes longer but works beautifully.
· A stem cutting – Faster and more reliable.
· Even a broken branch – As long as it is healthy.
With the right steps, success is almost guaranteed. Jade plants are so forgiving that even beginners can achieve a high rooting rate. And once you master the technique, you can create dozens of new plants to fill your home, give as gifts, or even sell.
The Simple Trick: Preparing the Cutting Properly (The Callusing Step)
In many propagation methods, you may see a white powder or dry substance being used. This usually represents a drying or protective step that helps the cutting heal before planting. In reality, most successful jade propagators do not use any powder at all. Instead, they rely on callusing, which is the plant’s natural healing process.
Why This Step Is Important:
· It prevents rot – A fresh cut is vulnerable to bacteria and fungi. Letting it dry creates a protective barrier.
· Protects the cut area – The callus seals the wound, much like a scab on human skin.
· Encourages healthy root development – Roots emerge from the callused area, not from a wet, rotting cut.
Some gardeners lightly dust the cut end with cinnamon powder (a natural antifungal) or rooting hormone powder to give an extra boost. But these are optional. The essential step is letting the cutting dry. That is the “simple trick” that most viral videos show but rarely explain.
The real secret: Not a magic ingredient — it is about giving the cutting the right start. Let it dry, let it heal, then plant.
Step‑by‑Step Guide to Propagate Your Jade Plant (Fast Root Growth)
Follow these steps for the highest success rate. The process takes patience, but each step is simple.
Step 1 – Take a Healthy Cutting
· Choose a thick, healthy stem with several leaves. Avoid weak, thin, or damaged stems.
· Use clean, sharp scissors or pruning shears – Sterilize with rubbing alcohol to prevent introducing bacteria.
· Cut just below a node (the point where leaves attach). A cutting that is 3–5 inches long is ideal.
· You can also use individual leaves – Gently twist a healthy leaf from the stem. Make sure the base of the leaf is intact.
Step 2 – Let It Dry (The Most Important Step)
· Leave the cutting in a dry, shaded place for 1–2 days (or up to 3 days for thicker stems).
· Do not place in direct sun – It can dry out the cutting too much.
· The cut end will form a protective callus – It will look slightly dried, whitish, or brownish.
Do not skip this step. Planting a fresh, wet cut directly into soil is the #1 reason jade cuttings rot. The callus is your insurance against failure.
Step 3 – Optional: Use a Dry Medium or Powder
· Some people lightly dip the callused end into cinnamon powder – This adds a natural antifungal layer.
· Rooting hormone powder can speed up root development, but it is not necessary. If you use it, dip only the callused end.
· Do not use wet or sticky substances – They encourage rot.
Remember, the callus itself does most of the work. Powders are optional helpers.
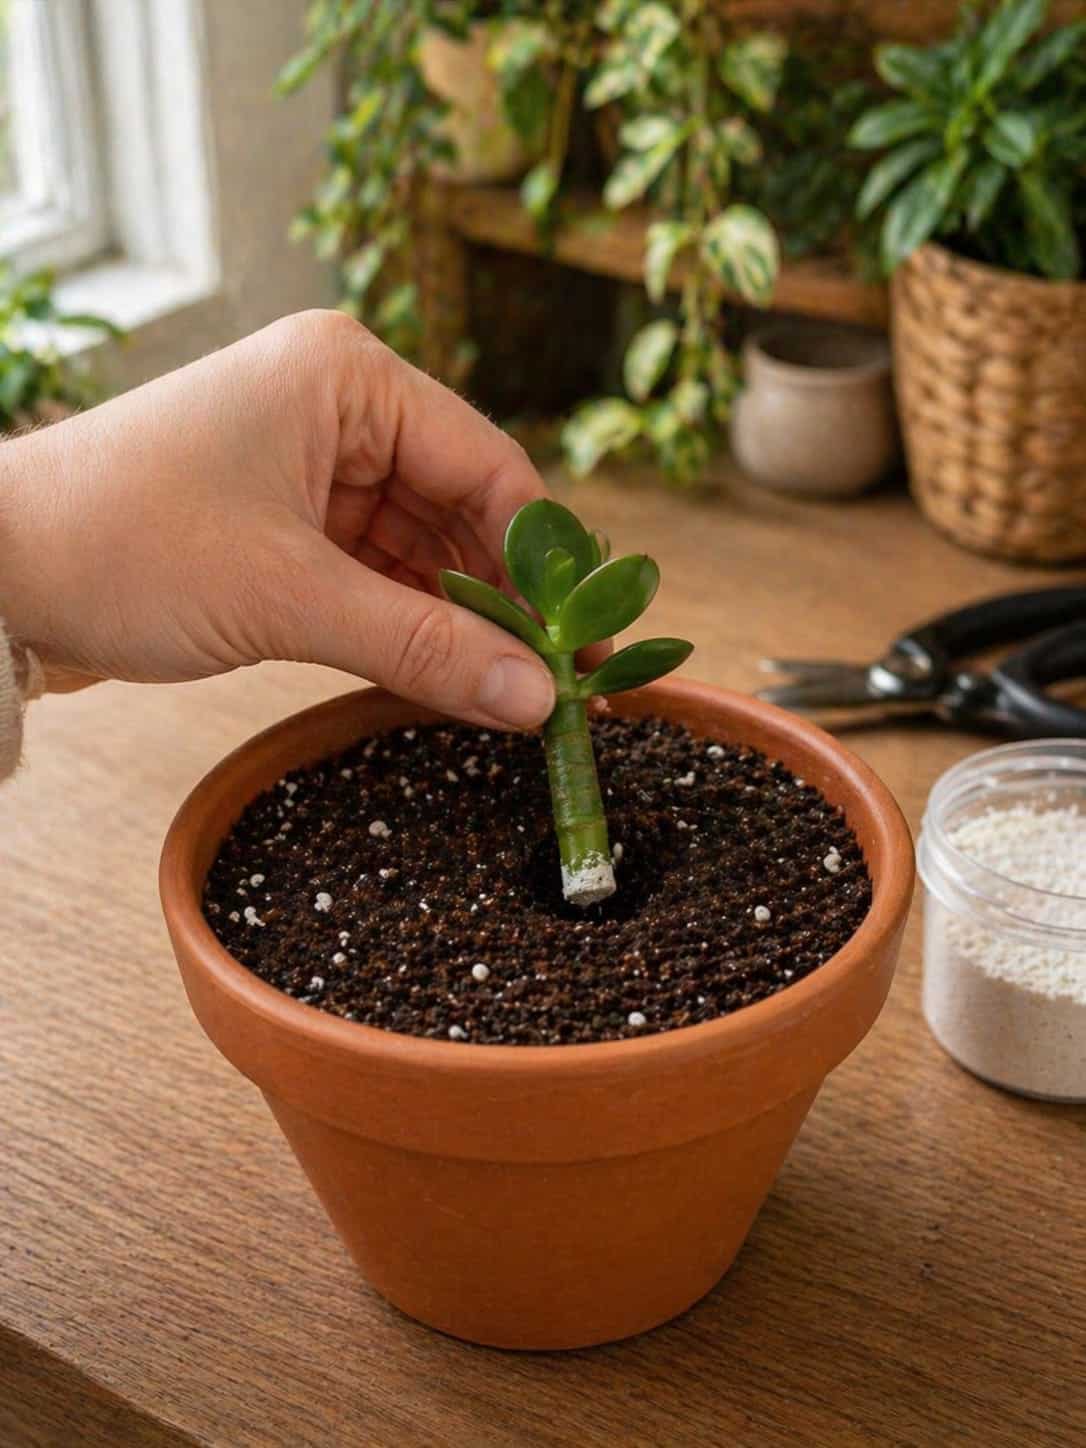
Step 4 – Plant in Well‑Draining Soil
· Use cactus or succulent potting mix – Regular potting soil holds too much moisture.
· Make a small hole with your finger or a pencil.
· Insert the cutting gently into the soil, burying about 1–2 inches of the stem. For a leaf cutting, lay it on top of the soil with the base slightly buried.
· Do not water immediately – The soil should be barely moist, not wet.
Step 5 – Water Lightly After a Few Days
· Wait 3–5 days before the first watering. This allows any minor damage to heal and gives the callus time to settle.
· Then water lightly – Just enough to moisten the soil around the cutting. Do not soak.
· Let the soil dry completely between waterings – Overwatering is the fastest way to kill a new cutting.
Step 6 – Provide the Right Environment
· Place in bright, indirect light – An east window or a south/west window with a sheer curtain is perfect.
· Maintain warm temperatures – 65–75°F (18–24°C) is ideal. Avoid cold drafts.
· No direct sun – Harsh sun can scorch the cutting before roots form.
Best Conditions for Fast Root Growth
To speed up propagation, make sure your cutting has the following:
· Bright, indirect light – 10–12 hours daily. If natural light is low, use a grow light.
· Warm temperature – Consistency is key; avoid sudden drops.
· Dry, well‑draining soil – Cactus mix with perlite is perfect.
· Minimal watering at the start – Too much moisture early on is the biggest mistake.
· Good air circulation – A gentle fan or open window helps prevent fungal issues.
When these conditions are met, roots can appear in as little as 2 weeks. In less ideal conditions, it may take 4–6 weeks. Be patient.
Common Mistakes to Avoid (Even with Jade Plants)
Even though jade plants are easy, a few mistakes can slow down or stop root growth entirely.
- Planting Before the Cut Dries
The fix: Always let the cutting callus for 1–3 days. Do not skip this.
- Overwatering Too Soon
The fix: Wait 3–5 days before the first watering. Then water only when the soil is completely dry.
- Using Heavy, Compact Soil
The fix: Use cactus/succulent mix. Add perlite for extra drainage.
- Placing in Low Light
The fix: Move the cutting to a bright windowsill. Low light = slow or no roots.
- Using Too Many “Home Remedies”
The fix: Keep it simple. The callus and good soil are enough. Avoid milk, sugar water, or random powders.
- Checking for Roots Too Often
The fix: Do not pull the cutting out to check. You will damage new roots. Wait 4 weeks, then gently tug. If you feel resistance, roots have formed.
Continue to Page 2
Continue to page 2 for more details about this article and the key points many readers miss on the first page.