Best Conditions for Success
If you want the water method to work well, focus on these five basics.
- Bright Indirect Light
Anthuriums need enough light to keep the cutting energized. Without light, the cutting will slowly starve. Use a grow light if natural light is insufficient.
- Warm Indoor Temperatures
Anthuriums are tropical plants. They root fastest at 70–80°F (21–27°C). Cooler temperatures slow down or stop rooting. Avoid placing the jar near drafty windows or air conditioners.
- Clean Water
Fresh, oxygenated water reduces the risk of rot and stagnation. Change water regularly. If you see any slime or cloudiness, change it immediately.
- Healthy Parent Plant
A strong cutting starts with a strong plant. Take cuttings only from healthy, pest‑free, well‑watered anthuriums. Weak or stressed parent plants produce weak cuttings.
- Avoid Disturbance
Do not pull the cutting out of the water to check roots every day. Each time you disturb it, you can damage delicate new root tips. Trust the process.
Common Mistakes to Avoid (And How to Fix Them)
Many water propagation failures happen because of a few simple problems.
Mistake 1 – Using a Cutting Without a Node
Fix: Look closely at the stem. The node looks like a small bump, ring, or joint. If you do not see one, your cutting will not root. Try again with a proper cutting.
Mistake 2 – Submerging Leaves in Water
Fix: Leaves rot quickly when underwater. Adjust the water level so only the stem and node are submerged. Use a jar with a narrow neck or support the leaves with a rubber band.
Mistake 3 – Leaving the Water Unchanged Too Long
Fix: Change water every 3–5 days. Stagnant water becomes low in oxygen and can grow bacteria. If you see slime or smell anything unpleasant, change it immediately.
Mistake 4 – Keeping the Jar in Dim Light
Fix: Move the jar to a brighter location. An east window is ideal. If you cannot provide natural light, use a full‑spectrum LED grow light for 10–12 hours daily.
Mistake 5 – Using a Weak or Rotten Cutting
Fix: Start with a firm, green, healthy cutting. If the stem is soft, brown, or mushy, it will rot in water. Discard it and take a fresh cutting.
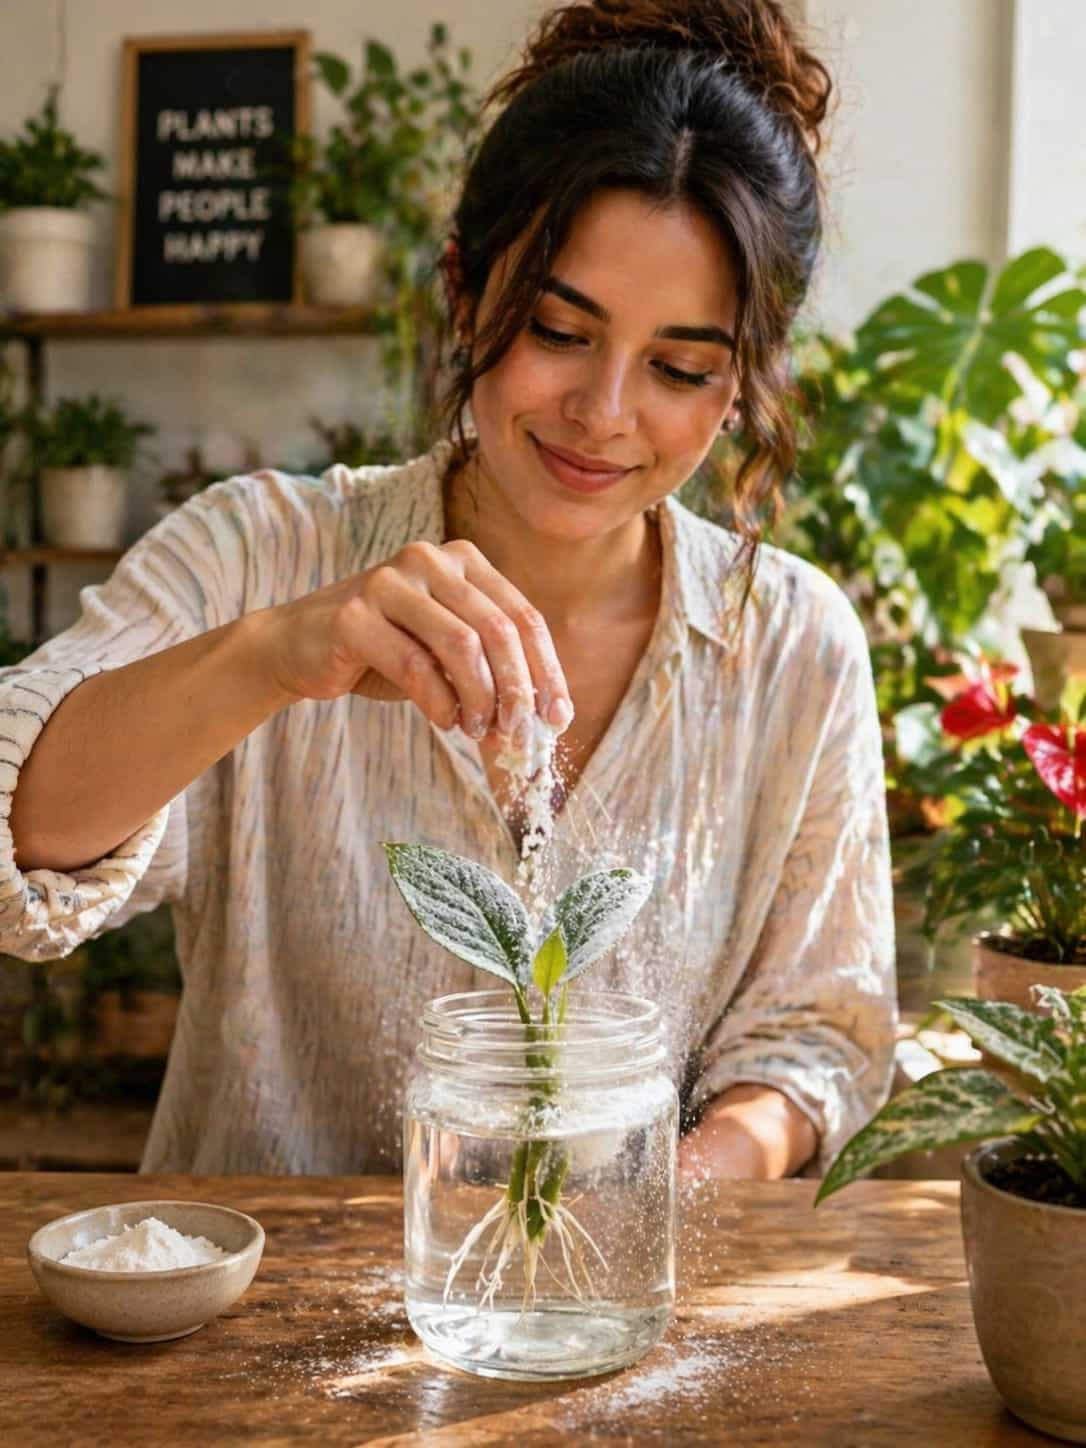
Mistake 6 – Adding Too Many Homemade Ingredients
Fix: Keep it simple. Clean water is usually enough. If you want to add a rooting hormone, use a commercial product as directed. Do not add sugar, honey, aspirin, or random powders.
When to Move the Cutting to Soil
Once the cutting has developed a decent root system, it can usually be moved into a loose, airy mix. For anthuriums, that often means a chunky blend that allows roots to breathe.
Signs It Is Ready:
· Roots are at least 2–3 inches long.
· There are several roots (not just one long strand).
· The roots have tiny side branches (secondary roots).
· The cutting has been in water for at least 6–8 weeks.
How to Transition:
- Prepare a small pot with a chunky aroid mix (bark, perlite, coco coir, charcoal).
- Gently remove the cutting from water. Do not pull on roots.
- Plant the cutting in the mix, keeping the stem at the same depth it was in water.
- Water lightly to settle the soil. Do not soak.
- Place in bright indirect light.
- Keep the soil evenly moist (but not soggy) for the first 2–3 weeks as the roots adjust.
Why Transition Gradually?
Water roots are different from soil roots. They are more delicate and adapted to constant moisture. Moving a cutting directly from water to dry soil can shock it. Keeping the soil slightly moist at first helps the roots adapt.
Why This Method Feels So Satisfying
Part of the beauty of this water method is that it makes plant growth visible. You get to witness what is usually hidden beneath the soil. That creates a strong connection to the process. You are not just waiting and hoping. You are watching life happen in real time: root by root, leaf by leaf, day by day.
That is why so many plant lovers become hooked on propagation jars. It turns plant care into a daily observation ritual. You check the jar each morning, look for new white tips, and celebrate tiny milestones.
Anthurium Varieties That Root Well in Water
While most anthuriums can be propagated in water, some do better than others.
Excellent for Water Propagation:
· Anthurium andraeanum (common flamingo flower) – Very reliable.
· Anthurium clarinervium – Velvet leaves, roots readily.
· Anthurium crystallinum – Another velvet leaf favorite.
· Anthurium veitchii (king anthurium) – Takes longer but works.
More Challenging but Possible:
· Anthurium warocqueanum (queen anthurium) – Slower to root.
· Anthurium luxurians – Requires extra humidity.
If you are a beginner, start with a common Anthurium andraeanum. They are forgiving and root quickly.
Frequently Asked Questions (Anthurium Water Propagation)
Can I keep my anthurium in water permanently?
Yes, but it is not ideal. Anthuriums can live in water for months if you add a diluted hydroponic fertilizer and change the water regularly. However, they will never grow as large or bloom as heavily as those in a proper aroid mix. Water is best for propagation, not long‑term growth.
Why are my anthurium roots turning brown in water?
Brown, mushy roots indicate rot. This usually happens because the water was not changed often enough, the cutting was unhealthy, or the node was damaged. Trim the rot, change the water, and start again with a fresh cutting.
Can I use tap water for propagation?
Tap water is fine if it is not heavily chlorinated. Let tap water sit out for 24 hours to allow chlorine to evaporate. Filtered or distilled water is even better.
Should I add fertilizer to the water?
No. Do not add fertilizer while rooting. Fresh cuttings have no roots to absorb nutrients, and fertilizer can encourage algae and bacteria. Wait until the cutting is potted in soil before feeding.
How do I prevent algae in the jar?
Algae grow when light hits water. Use an opaque jar, or wrap a clear jar in paper or foil. Change water frequently. If you see green algae, clean the jar with a mild bleach solution (1 part bleach to 9 parts water), rinse thoroughly, and refill with fresh water.
Can I propagate an anthurium from just a leaf?
No. A leaf without a node will not grow into a new plant. You need a stem cutting with at least one node.
How do I know if my cutting is rotting?
Signs of rot: soft, mushy stem; black or brown discoloration; foul smell; slime around the cut end. If you see any of these, remove the cutting immediately, cut above the rot, and start over with fresh water.
Can I propagate anthuriums in water during winter?
Yes, but rooting will be slower because temperatures are cooler. Use a seedling heat mat to warm the water gently (70–75°F). Keep the jar away from cold windows.
A Sample Propagation Timeline
Here is what you can expect when propagating anthurium in water under good conditions.
· Week 1–2: No visible changes. Cutting may look slightly wilted. Change water twice weekly.
· Week 2–3: Small white bumps (root primordia) appear at the node.
· Week 3–5: Tiny white root tips emerge. They may be only ¼ inch long.
· Week 6–8: Roots grow to 1–2 inches. Secondary roots begin.
· Week 8–12: Roots are 3+ inches with branching. Ready for soil.
Patience is essential. Some anthuriums take twice as long.
Final Thoughts
Most anthurium owners really do overlook how effective a simple water method can be. When done properly, it is one of the easiest ways to start new plants, monitor root growth, and enjoy the propagation process without digging through soil.
The real secret is not the mystery powder or any viral hack. It is:
· A healthy cutting with a node
· Clean, fresh water
· Bright indirect light
· Warm temperatures
· Patience
That is what gives this method real results.
Because sometimes the best plant trick is not the most dramatic one. It is the simple method that lets the roots do exactly what they were made to do — grow, reach, and create new life.
So next time you prune your anthurium, do not throw away those stem pieces. Place them in a jar of water. Set them on a bright windowsill. Change the water every few days. And watch as tiny white roots begin to emerge.
You will be amazed at how satisfying it is — and how many new plants you can grow from just one.
Have you tried propagating anthuriums in water? Share your experience in the comments below. And if you found this guide helpful, save it for later or send it to a friend who wants to turn one anthurium into many.
This article is for informational purposes only. Growing conditions vary. Always use clean tools and fresh water for propagation. When in doubt, start with a healthy parent plant.